How to Delete a Facebook Page
Facebook page is a place for your business to run advertising or marketing campaigns online. If you use it well, you can easily get a sales increase and high brand engagement from a Facebook page. Facebook pages are also beneficial for fans and personal projects. However, there will still be cases when you need to say goodbye and hit the Delete button.
Today, in this post, we will show you step-by-step instructions to delete a Facebook page on desktop and mobile versions.
Let’s dive in!
How to delete a Facebook page on desktop?
If you are using a PC or laptop to delete a Facebook page, follow the steps below to get ready and get rid of your Facebook page:
Step 1: Sign in to Facebook
Firstly, you need to visit the Facebook website and sign in to your account which is set as the admin goal of your Facebook page.
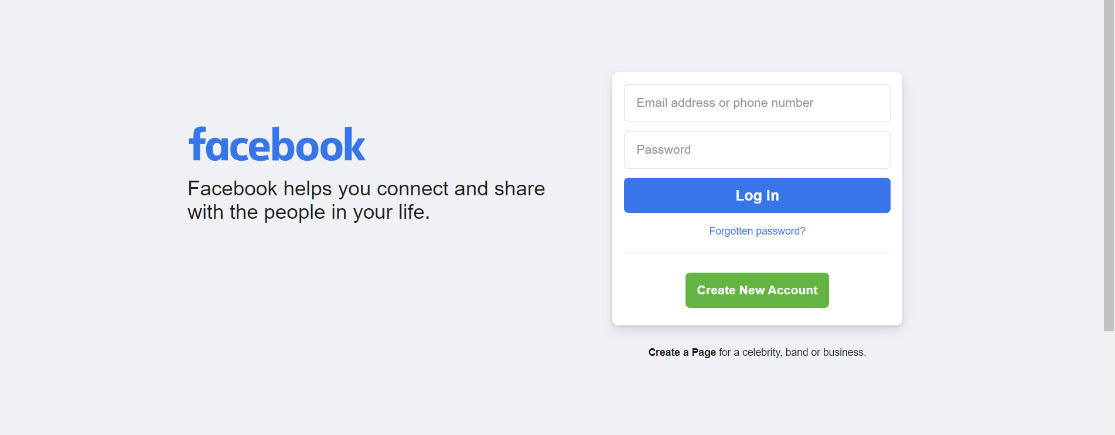
Step 2: Go to your Facebook pages
Look at the menu that is located on the left side of the screen. Then, click on the Pages option which stays under the “Explore” section.
Step 3: Choose the Facebook page you want to delete
When the next screen appears after you click on Pages, you will see each of your Facebook pages. Now, let’s click on the page name you want to delete. This Facebook page needs to be one that has not been running for many years.
Step 4: Choose Settings
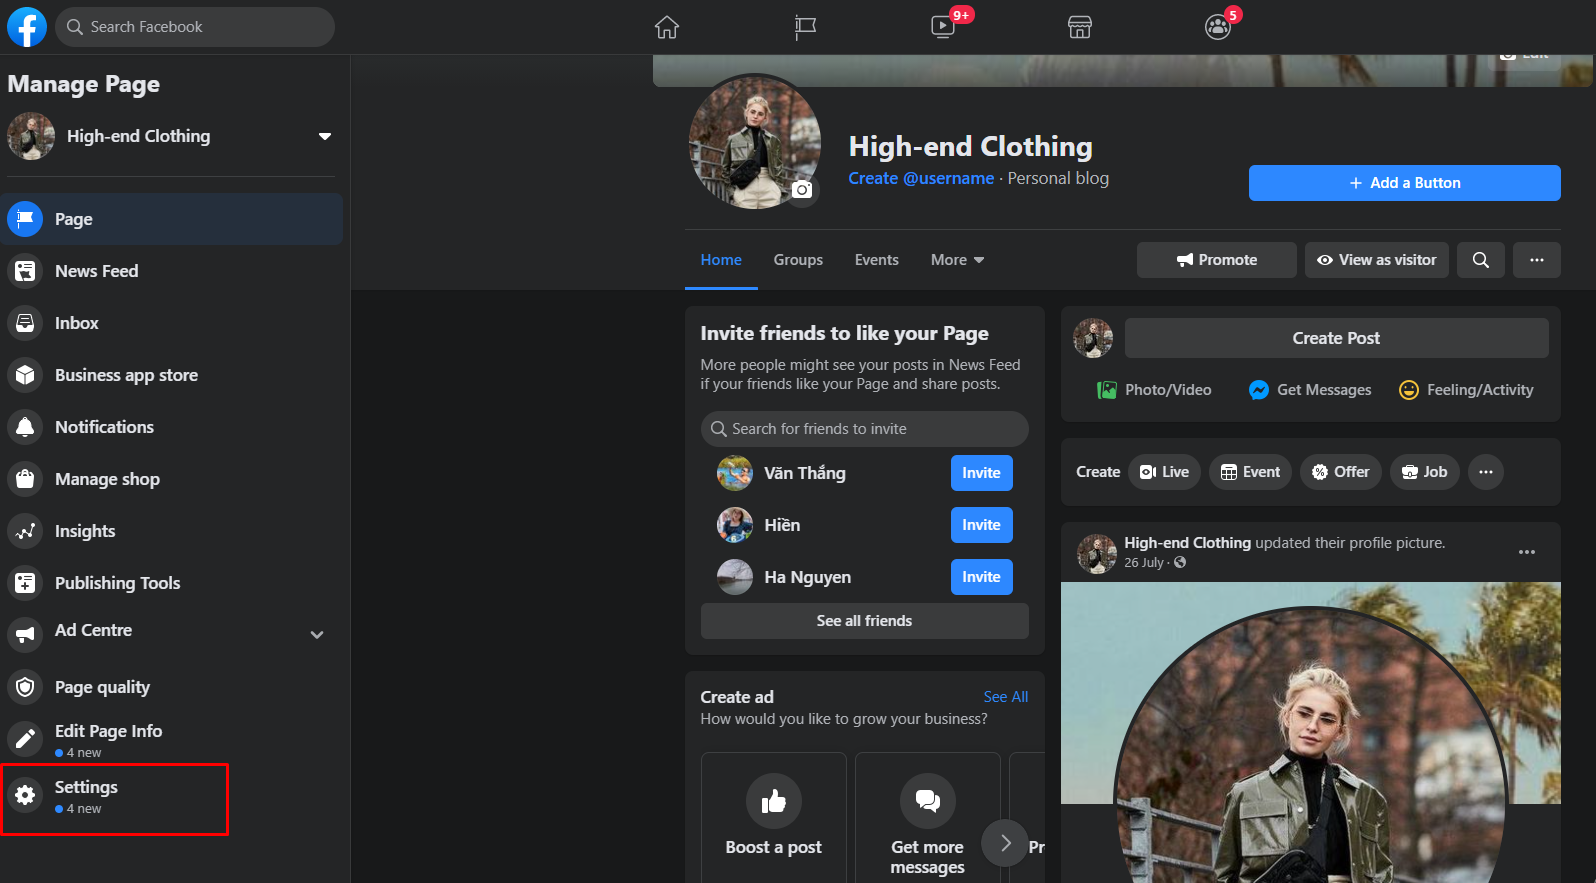
After choosing your Facebook page that you want to delete, click on the Settings option in the upper-right corner.
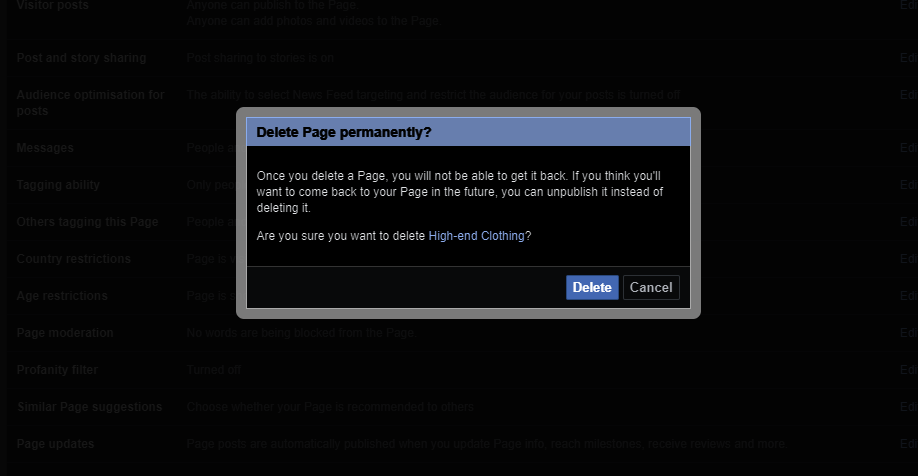
Step 5: Choose Edit option in the row saying “Remove Page”
Now you will see a lot of Facebook settings. Let’s scroll to the bottom of the page and look for the option “Delete your Page” in the very last row. Then, click on the Edit section in that row.
Step 6: Delete your Facebook page
Then, you will receive a notification that announces you will have 2 weeks to restore the page in case you change your decision. If you want to continue and delete your page, you should click on “Delete
Step 7: Click on the “Delete Page” option
Once you click the mentioned Delete button, Facebook will show up another pop-up that asks whether you are sure you want to delete your page or not.
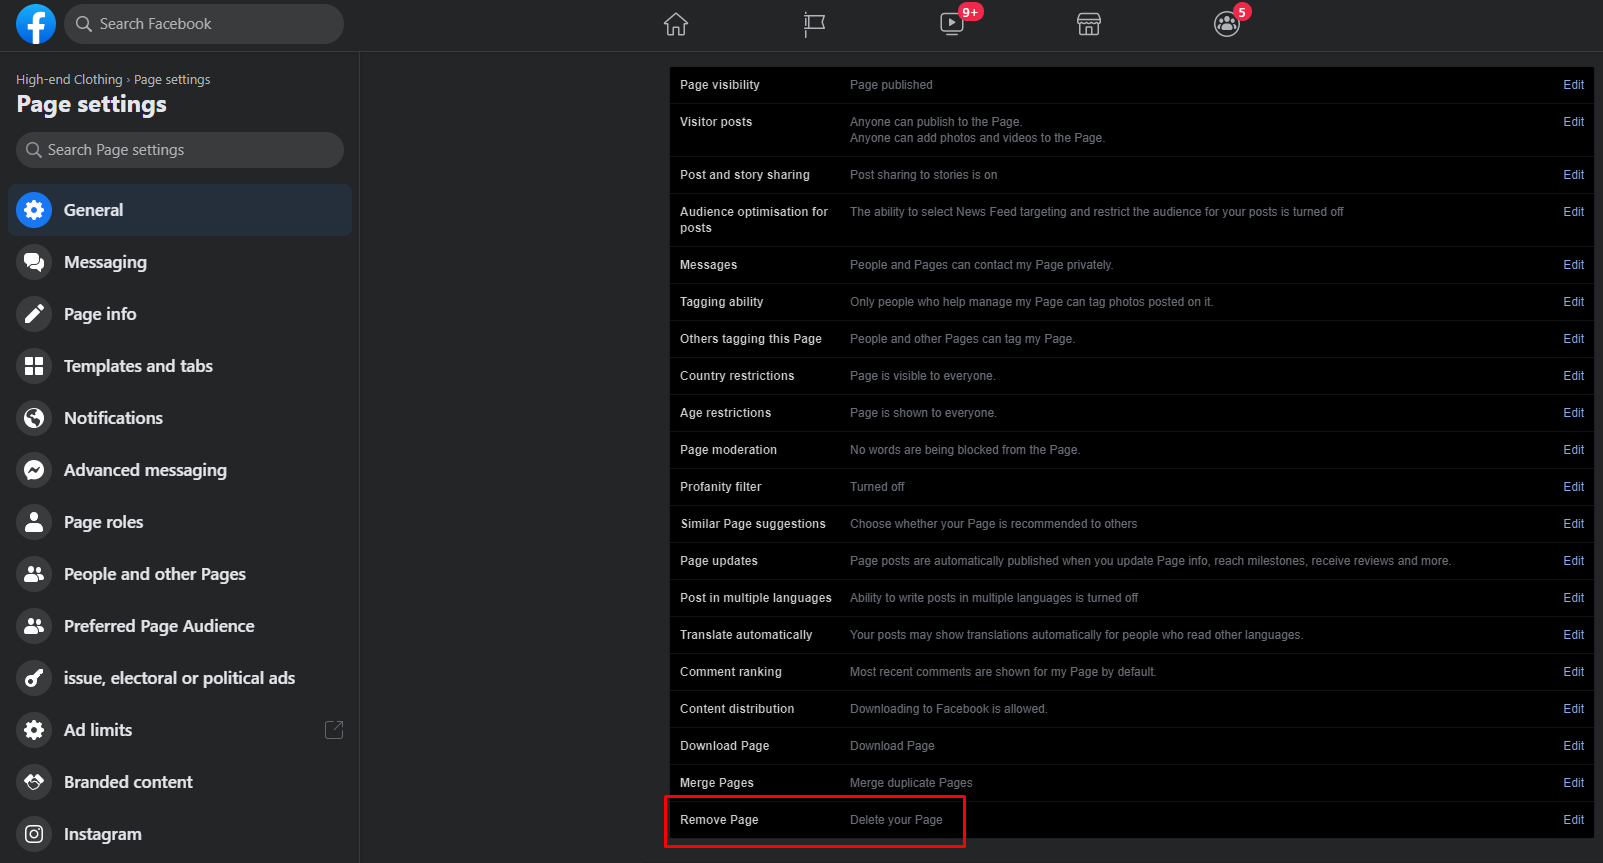
If you want to, continue and click the big blue button that says “Delete Page”.
Here you might see the box saying “Unpublishing this page”. More information about this box will be explained later. After you officially delete your Facebook page, you will find a pop-up window that confirms the page has been deleted. Next, click on the OK option. Here you need the fastest speed of the internet which may avoid any type of hurdle while deleting the Facebook page then choose Metronet internet.
How to delete a Facebook page on mobile?
So, what if your desktop is not available and you have to delete your Facebook page with your mobile phone.
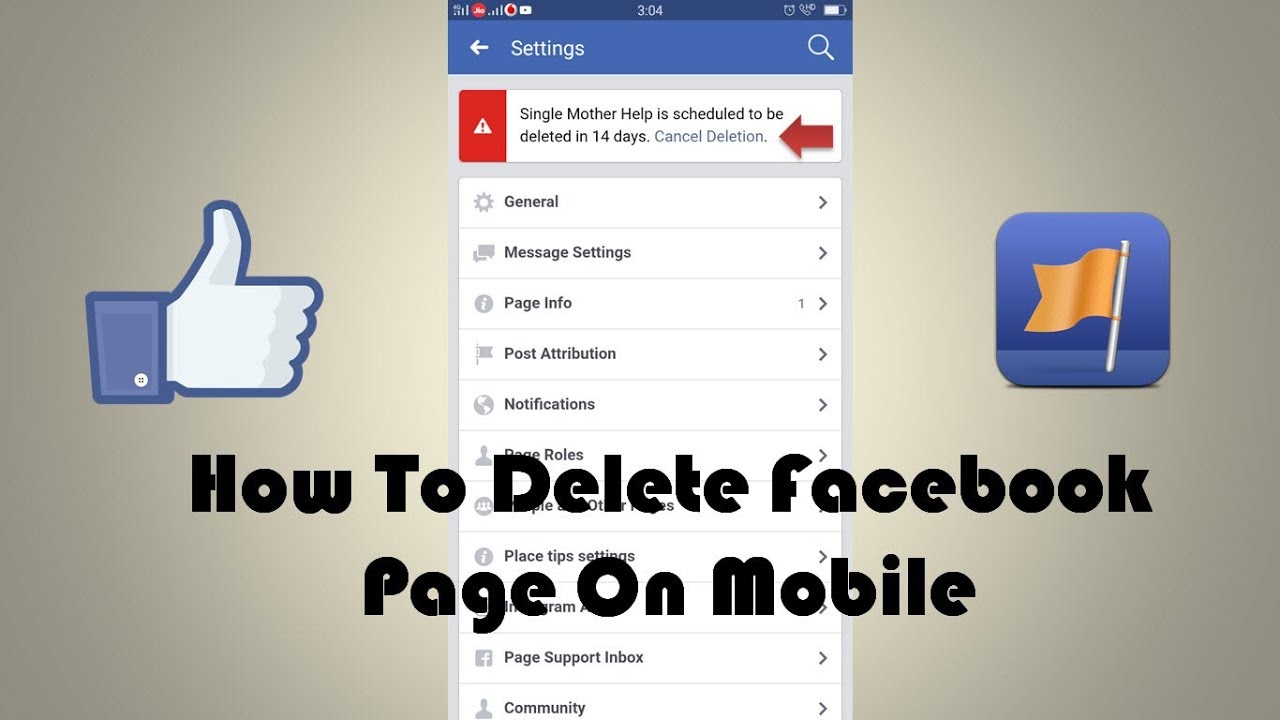
Step 1: Open the Facebook app
First of all, you need to open the app by tapping on the Facebook icon on the screen. You also need to log in if you have not done before.
Step 2: Click on the Facebook Menu
Now, find the three-line section which is located in the upper-right corner of your screen. Then, tap these three lines to open your Facebook menu.
Step 3: Go to your Facebook pages
After tapping to open the Facebook menu, it appears with the Pages option which is the yellow flag icon. However, the position of the Page is not set but the order of them can vary. Therefore, you need to scroll down to find that icon.
Step 4: Choose the page you want to delete
You will find all your Facebook pages are here. Let’s tap the page you want to delete. If you have so many pages and cannot see the page you are finding, simply tap See all.
Step 5: Choose the three dots
Let’s click on the three dots section which is in the upper right corner and next to the search bar.
Take an essential note that another “three dots section” is located next to the page button. The purpose of these three dots is for users to edit their buttons. To delete a Facebook page, you need to tap on the dots at the top of your screen.
Step 6: Choose the Edit page option
On the menu that appears, choose “Edit page”.
Step 7: Choose the Setting section
Now it’s time to go to Settings by tapping on the named option. You will see many areas of your Facebook page that you can change on your phone screen.
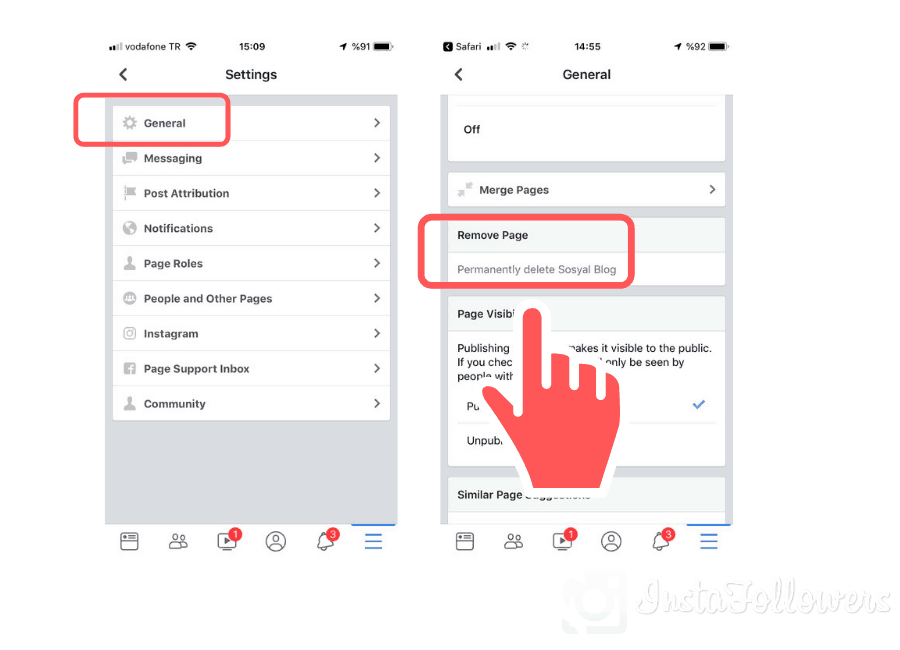
Step 8: Tap the General option
The very first option for your Facebook page settings is the General. Now let’s tap this option.
Step 9: Go to the Remove page section
Once you choose the General option, the next page will appear. You will need to scroll down to the section titled “Remove Page.”
You will be asked “Delete
Step 10: Delete Page on Facebook
You will find two buttons appearing. Going with them is the notification which says you only have 14 days to restore deleted pages if you change your mind.
In order to permanently delete your Facebook business page, click on the blue one which says “Delete Page.”
Common questions about deleting a Facebook page
Now you have known all steps of how to delete a Facebook page. If you still have questions about this topic or are confused about deleting and unpublishing your Facebook page, please follow the below common questions.
Why can’t I delete my Facebook page?
If you can delete your Facebook page, there is a possibility that you do not have admin access. Having administrative access means the user is an admin of the Page.
In case you are totally an admin of the page but you still can’t delete your Facebook Page, it might be another admin having canceled the Page deletion that you made before 14 days passed.
The things are different if your Page is a part of a Facebook Business Manager (FBM) account related to a parent business.
How can I become the Facebook page admin?
The Facebook page admin is the one who creates the page. The page admin can also be the one receiving the invitation to have this status.
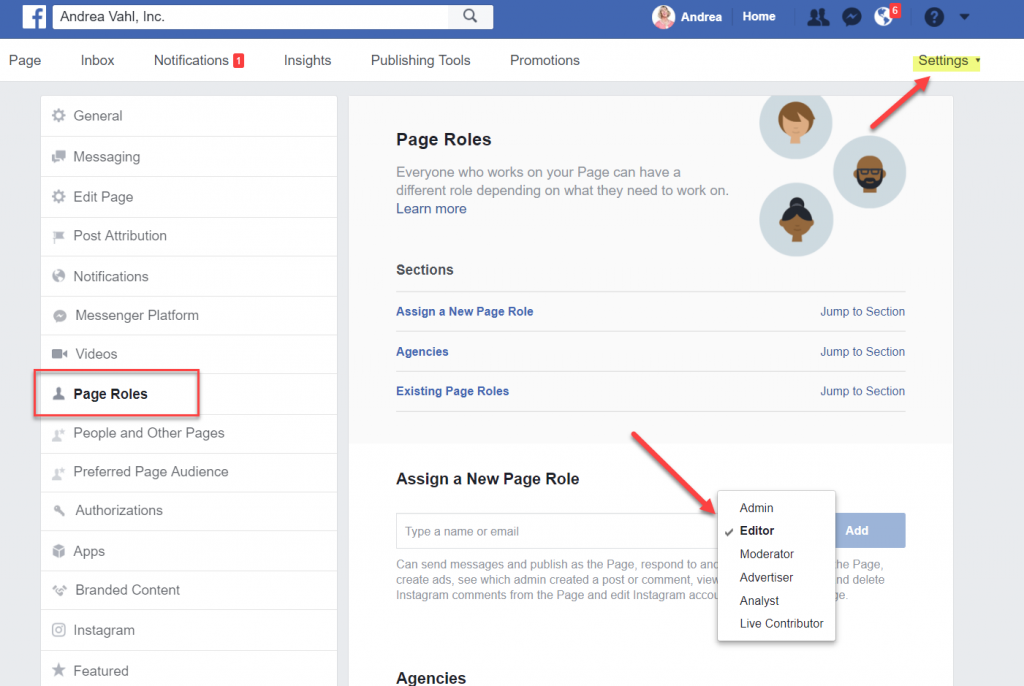
Therefore, if you create the page, you automatically are the page admin. If you don’t, you have to ask anyone who is to give you access. It does not need to be the page creator.
How to delete a Facebook page when I am not a page admin?
This case happens when you cannot connect to the page administrator. For instance, the one creating the page or those who are set as the page admins do not work for your business anymore. You cannot find their individual profiles, you cannot tell them to delete the page.
In this situation, you will need to report the page to Facebook for deletion by following the below guide:
- Step 1: Go to the page that you want to delete
- Step 2: Click on the three dots section which is located under the Facebook page’s cover photo
- Step 3: Click on the Report page option
- Step 4: Type in the detailed reasons why the page should be deleted
This process will take time since Facebook has to consider and decide whether to comply with your request or not.
What will happen if I delete a Facebook Business Page?
Deleting a Facebook page means that nobody will see or find the page. All data and content will be lost forever.
Therefore, Facebook gives you 14 days to restore the Page in case you change your mind. After 2 weeks, you will receive an order to confirm whether you want to delete it permanently.
If you decide to permanently get rid of the page, you will no longer find or see your created content, Page likes, comments, interactions, reviews, or analysis data.
What if I just want to hide my Page from the public?
If you do not want to lose all your data on your Facebook business page but still want to hide it from the public, you can choose to unpublish the Page. The followers or those liking your Page will not see or find your Facebook page anymore.
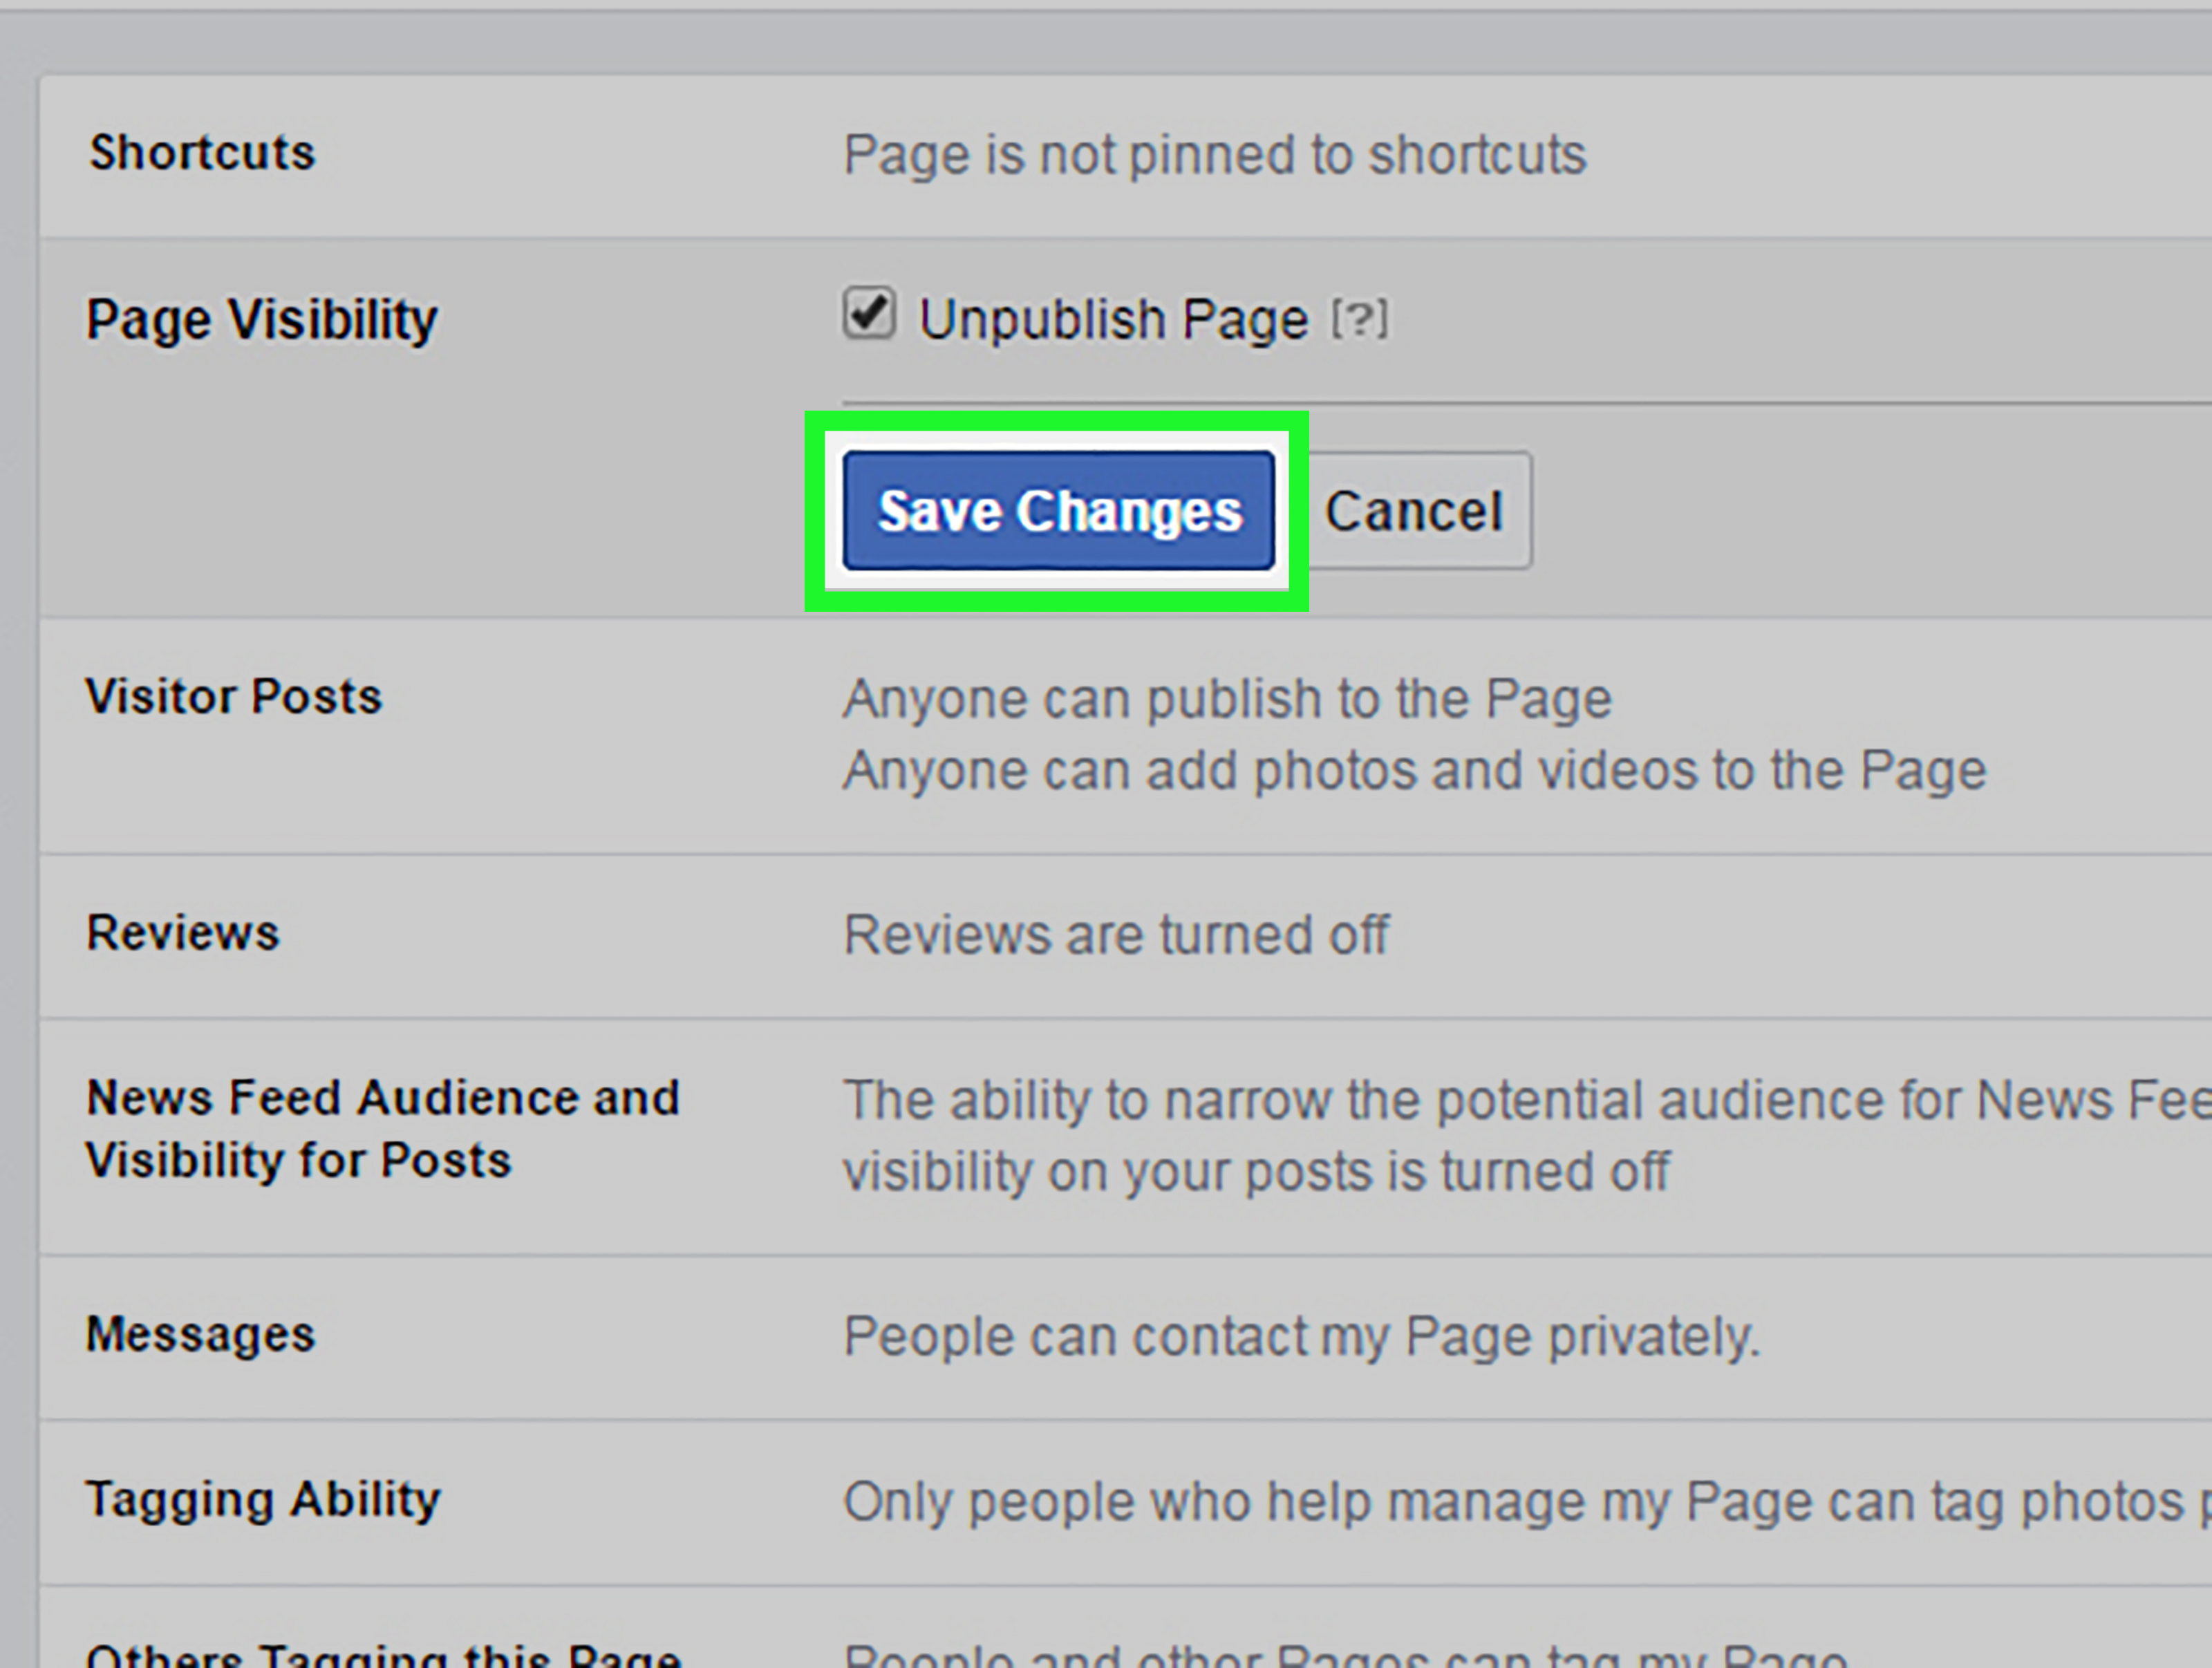
Again, you need to be a page admin to unpublish the page. After you click on to unpublish your Page, only those who manage the Page can view the unpublished pages. Only when you publish it again will it be visible to the public.
What if I change my mind after 14 days of deleting my Facebook page?
As you can see, Facebook is very strict when it comes to page deletion. After 14 days for you to bring back a deleted Facebook page and you still do not make a change, the page will disappear forever. You cannot do anything to restore it. Therefore, be careful and think long before running to the decision to delete your Facebook page.
How can I delete a Facebook Business Page by using FBM?
Facebook Business Manager is the business dashboard of the company for managing advertising accounts, pages, and even customer insights and reporting data for those who do not know. If a business becomes bigger with more customers and a higher brand reputation, it tends to manage better its users, employees, clients, and advertising accounts.
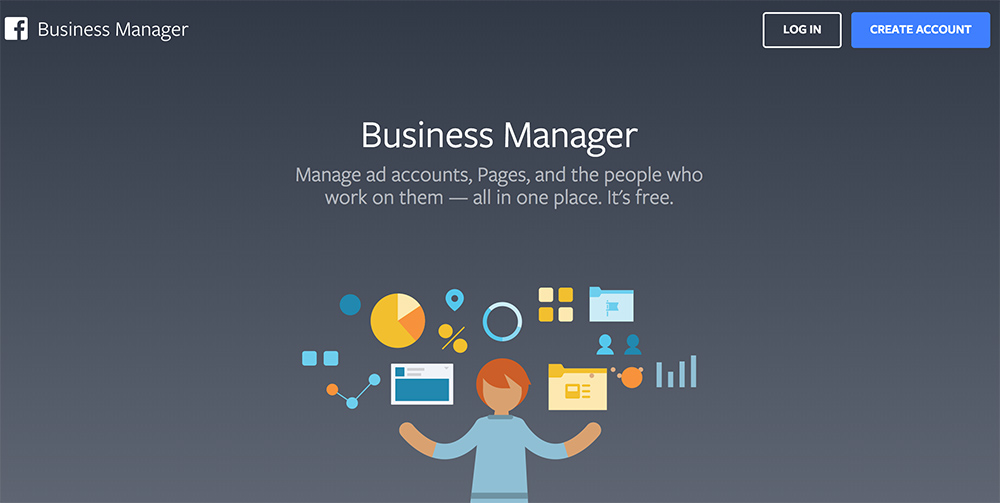
You can also delete your Facebook page using Facebook business manager (FBM):
- Step 1: Log into your Facebook Business Manager account. Then, when your home page appears, click on the Business settings section which is at the top right.
- Step 2: From the business settings page, click on Accounts which will be continued by Pages on the left side. Next, choose the page that you want to delete from Facebook business manager.
- Step 3: After you select the page, it will display on the right with its details. Look at the top of the Page details, you will find the option to remove the page from FBM.
- Step 4: Click on the option to remove your Facebook Business Page from FBM.
- Step 5: Delete your Facebook page in a traditional way.
Again, take notice that you still have 14 days to change your mind. If you are not sure, choose to unpublish your page. Unpublishing your page will not make you lose your followers, fans, reviews, or Facebook recommendations.
Final Thoughts
Having a Facebook page will help you manage and sell your products in a more systematic way. However, if this channel does not help you at all, it is ok to hide it from the public. Now you have known how to delete your Facebook business page or unpublish it from your followers.
Hopefully, the guide we gave out is understandable. If you have any questions, do not hesitate to leave us a comment in the section below. We will surely reply to you soon. Share this post with your friends and visit us for more interesting topics if you find it helpful.
New Posts


