Add Text to an Image on Shopify - A Step-By-Step Guide
There are a lot of occasions that the option to add text to your image is useful. For example, there is a sale season and you want your customers to know about that, you can add the text to your product images.
The below is my detailed guide on the topic how to add text to an image on Shopify. I hope you will read this writing carefully to apply it to your store.
Related Posts:
Step 1: Go to Text
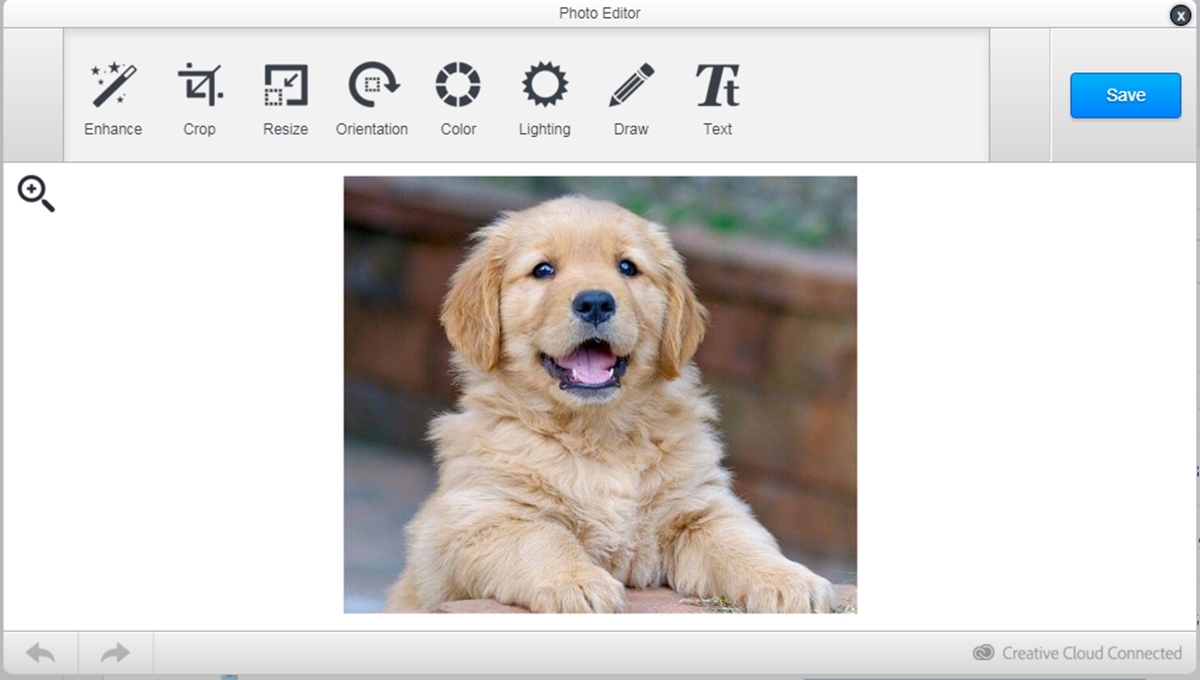
After you get to the Files page, click an image that you want to adjust its color. A new box will appear on your screen, click Edit to see the image editor dialog. From the dialog, click Text.

Step 2: Select a font and color
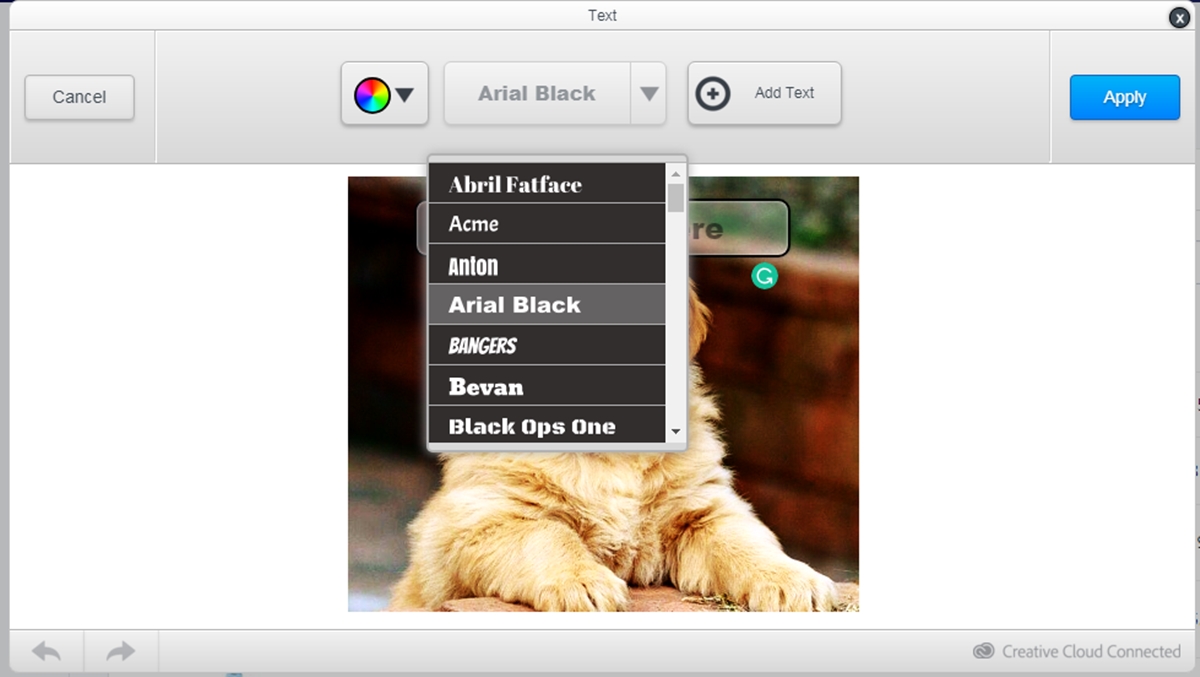
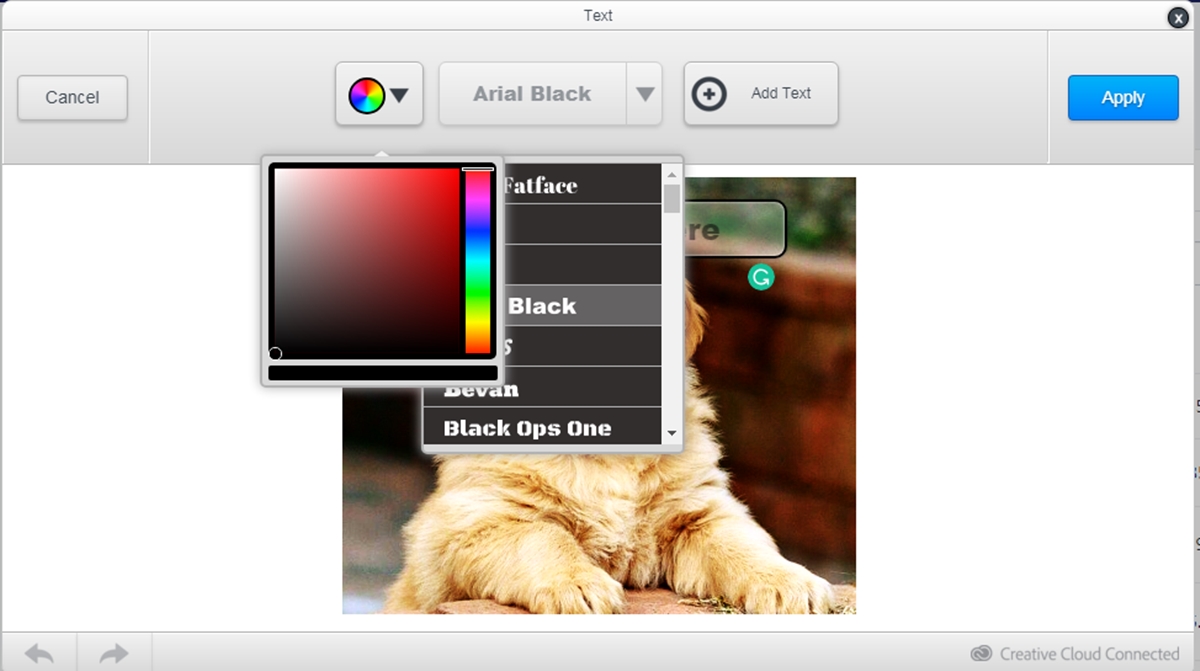
You can choose the text font from the font drop-box in the middle of the image editor box and choose the color of the text in the Color Picker.


Step 3: Click the text box
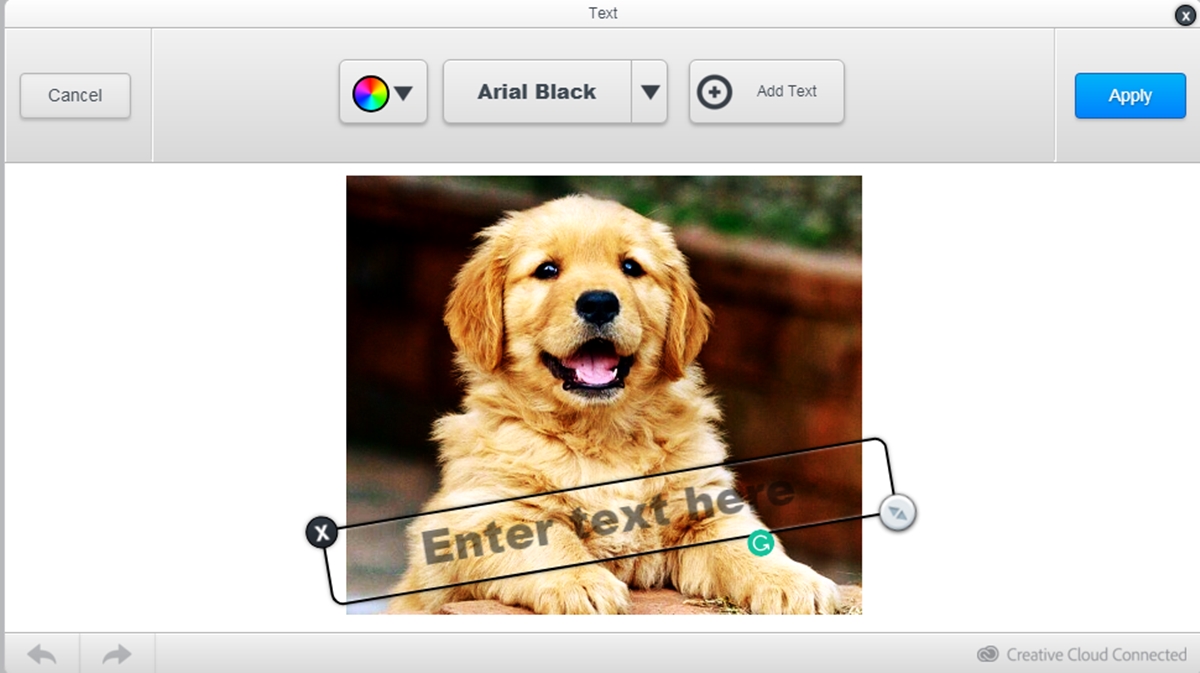
In the image, there is a box named Enter text here. Click on the box to enter your message.

Step 4: Adjust the size and orientation
There is an arrow on the bottom right of the text box, click and drag the arrow to change the size and orientation of the text box.
Step 5: Move the text box
If you think the current position of the box is not good enough, click on the arrow and drag the box to a new place that you want.

Step 6: Add another text box
Sometime, you may want to add more than one text box. In order to do this, click Add text.
Step 7: Click Apply
After finished adjusting, click Apply to apply the adjusted image.
Step 8: Saving
Finally, click Save to apply the changes to your image.
Conclusion
In conclusion, the above is my guideline on the topic how to add text to an image on Shopify. I hope this writing would be helpful for you while managing your store on Shopify.


