Are your product images/ photos not quite popping the way you’d like? Imagine effortlessly enhancing their colors, creating a visually stunning storefront that captivates shoppers.
In this latest post, we’ll unveil Shopify’s built-in image editor, allowing you to adjust colors, brightness, and more without needing fancy software. Ready to give your product images a professional touch and boost your sales? Keep reading!
How to Adjust Image Colors on Shopify
Step 1: Enter the Image Editor
In your Shopify admin, go to Content > Files.
Click on the image you want to edit.

Step 2: Adjust the image
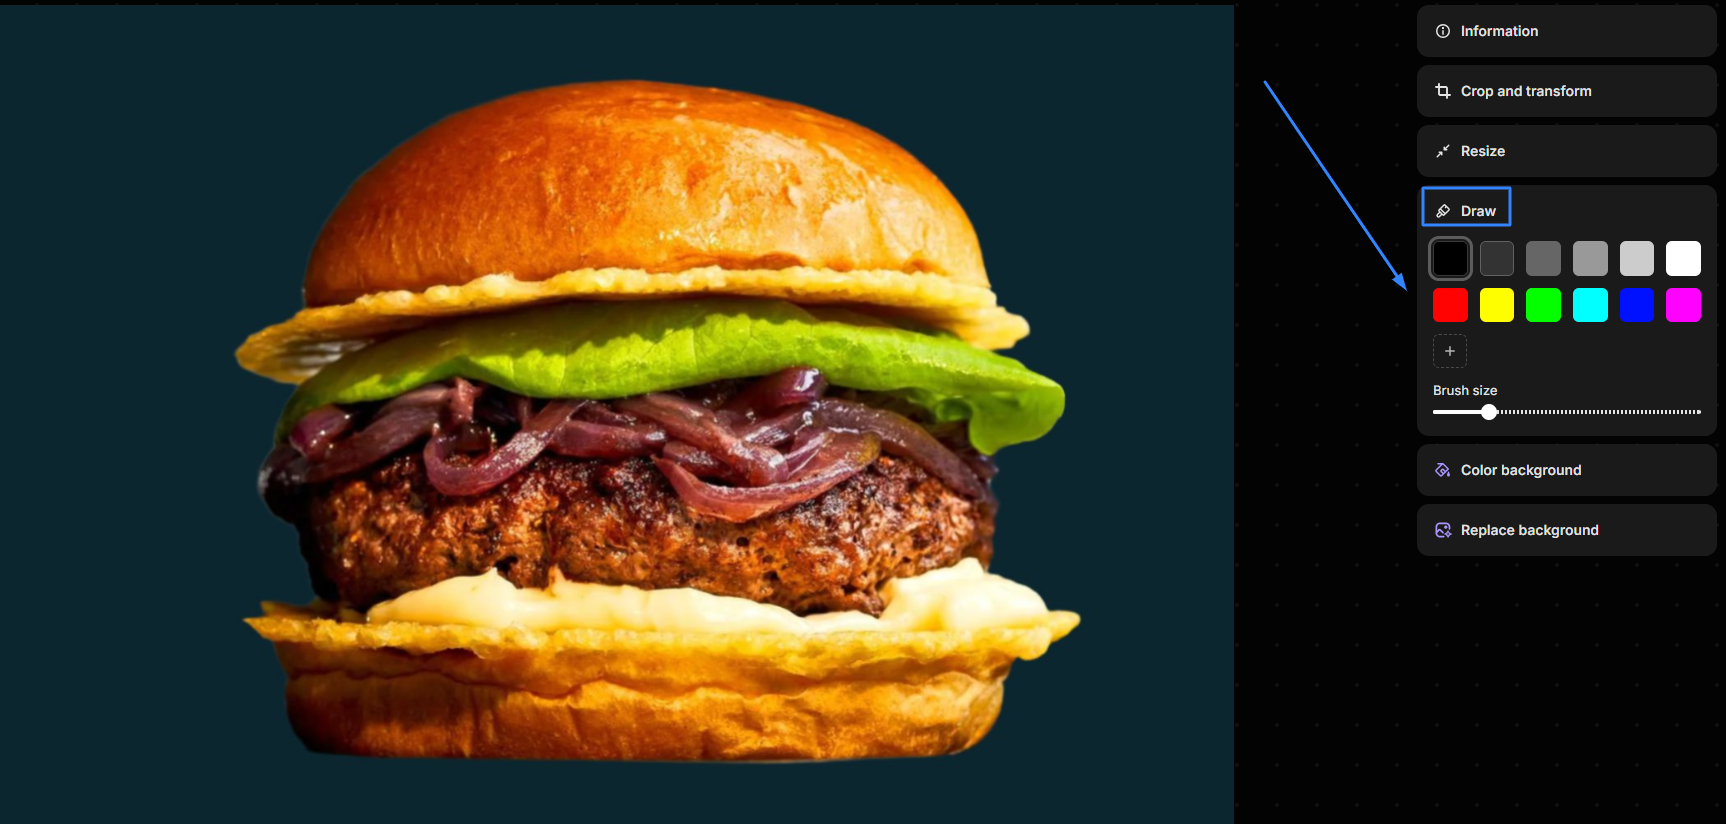
In the image editor screen, there are a few options to help you change colors, including:
Draw:
Add annotations or highlights using various brush sizes and colors.

Color background:
Fine-tune the image's background colors with adjustments for brightness, contrast, saturation, and hue.

Step 4: Preview and Save
Use the preview to see how the changes look.
If satisfied, click Save.

Note:
Shopify's built-in editor offers basic color adjustments.
For advanced editing, use external software like Photoshop before uploading.
Always optimize images for the web to ensure fast loading times.
Consider color profiles: If colors look different after upload, try converting the image to sRGB color space before uploading.
Possible obstacles when adjusting image colors on Shopify
While making changes to the image colors on Shopify, you are likely to deal with several issues. In such cases, we will provide you with the best solutions to overcome these, including:
Theme Limitations:
Some Shopify themes might have limited color customization options within their built-in image editor. This could restrict your ability to make significant color changes or apply specific filters.
Image Format & Quality:
The original image format (JPEG, PNG, etc.) and its quality can impact how color adjustments are rendered. Highly compressed images might lose details or exhibit color banding after adjustments.
Images with embedded color profiles (like Adobe RGB) may not display correctly in Shopify's image editor, leading to unexpected color shifts after editing. Convert these images to sRGB color space before uploading.
Color Accuracy & Consistency:
Different monitors and devices can display colors differently. This can make it challenging to achieve consistent color representation across various screens. It's essential to test your edited images on different devices to ensure visual consistency.
Technical Limitations:
Shopify's built-in image editor offers basic color adjustments. For complex color corrections or advanced image manipulations, you may need to use external image editing software like Photoshop.
Unexpected Results:
Sometimes, color adjustments might not produce the desired outcome, especially if the original image is poorly lit or has a limited color range. Experiment with different adjustments and consider retaking or sourcing higher-quality images for better results.
Browser Cache:
If you've made changes to an image but don't see them reflected on your storefront, try clearing your browser's cache and data. This will force the browser to reload the updated image.
By being aware of these potential obstacles and their solutions, you can effectively adjust image colors on Shopify and create visually appealing product displays that enhance your store's overall aesthetic and user experience.
FAQs
Shopify's built-in image editor currently allows you to adjust the color of the entire image. For more precise color adjustments on specific areas, you'd need to use external image editing software before uploading to Shopify.
This could be due to the image's original color profile. Try converting the image to sRGB color space before uploading, as this is the standard color profile used by web browsers.
Yes, you can always revert to the original image by clicking the "Revert" button in the Shopify image editor before saving your changes.
Currently, Shopify's built-in image editor doesn't offer keyboard shortcuts for color adjustments. You'll need to use the sliders or input fields manually.
Color adjustments generally have a negligible impact on file size. However, if you're making significant changes, it's always good practice to optimize your images for web use before uploading to ensure optimal performance.
To sum up
Our article has shown you how to easily enhance the visual appeal of your Shopify store by adjusting image colors directly within the platform or using external tools. Have any questions about specific color adjustments or want to share your own tips for creating stunning product images? Feel free to leave a comment below!


