Import Products After Making Changes to your CSV File on Shopify
Sometimes, you’d like to make changes to your CSV file so that it can be much better and suitable for your online shop. To do this, you have to export the file first and after you’ve edited, you wonder how could you import products after making changes to your CSV file. Here are some easy steps which just take you some minutes to complete.
To import products after making changes to your CSV file on Shopify
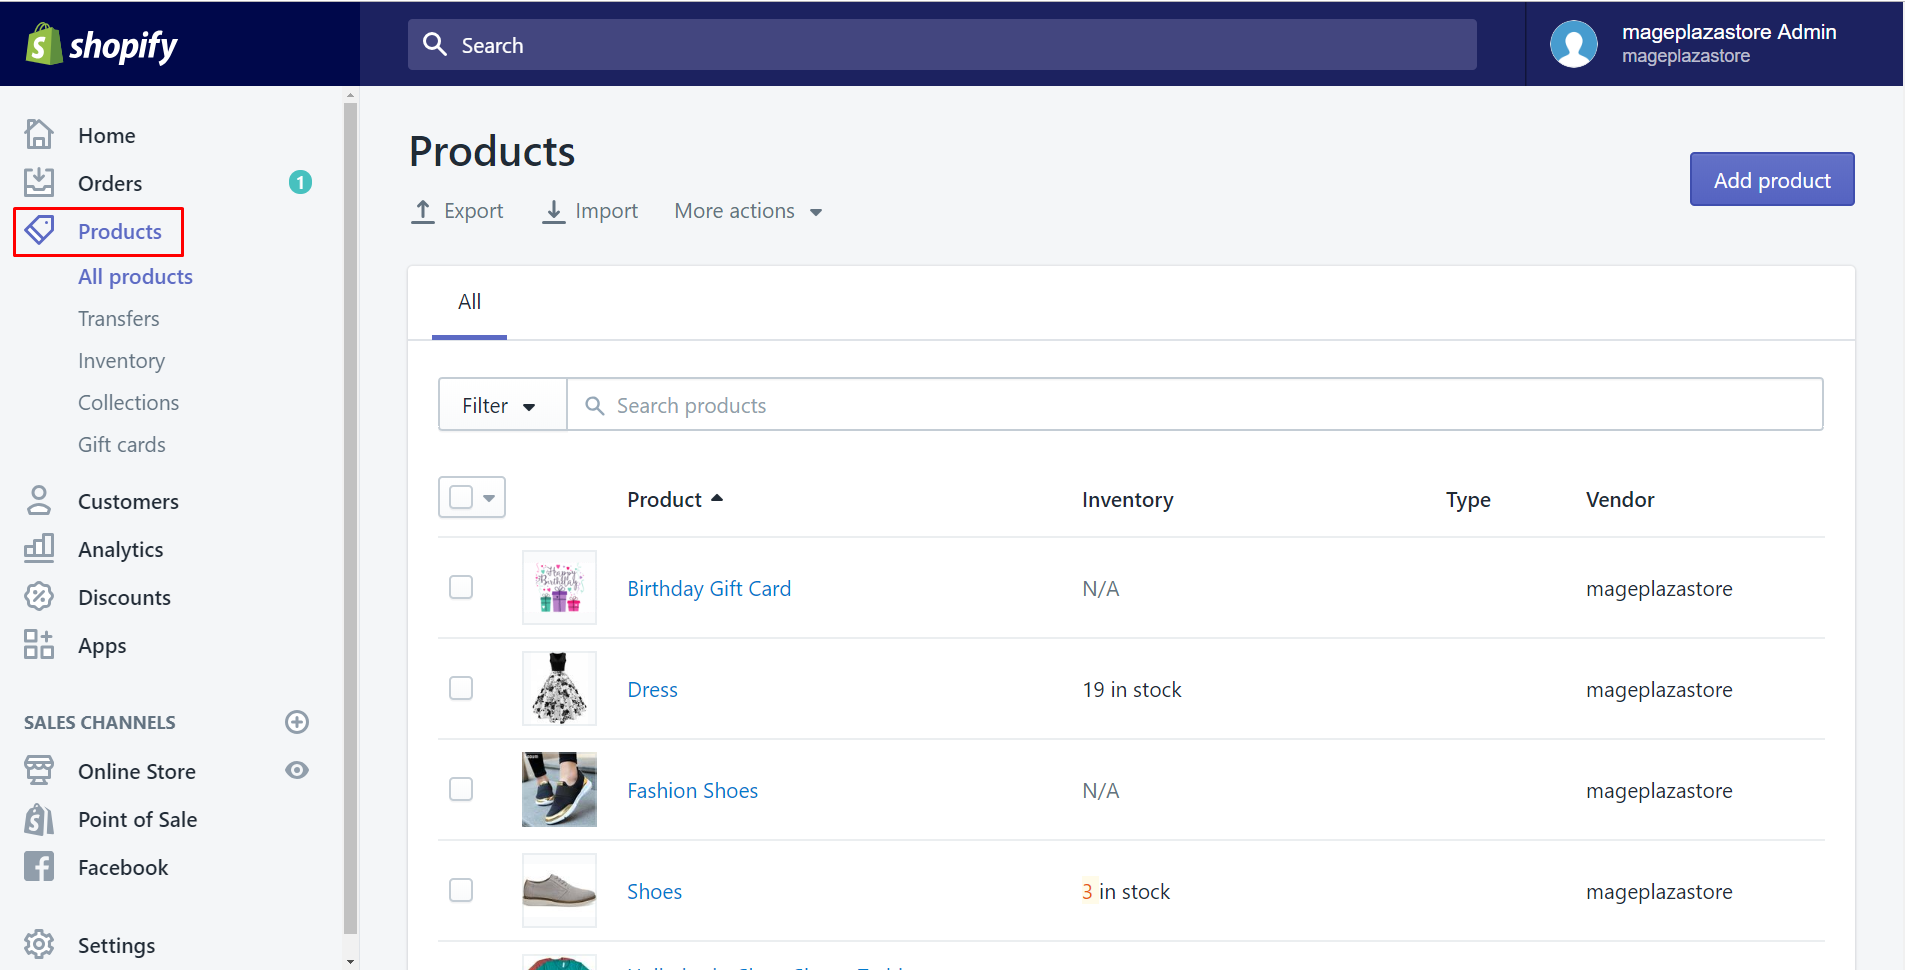
Step 1: Go to Products
After getting access to your Shopify admin, select Products.
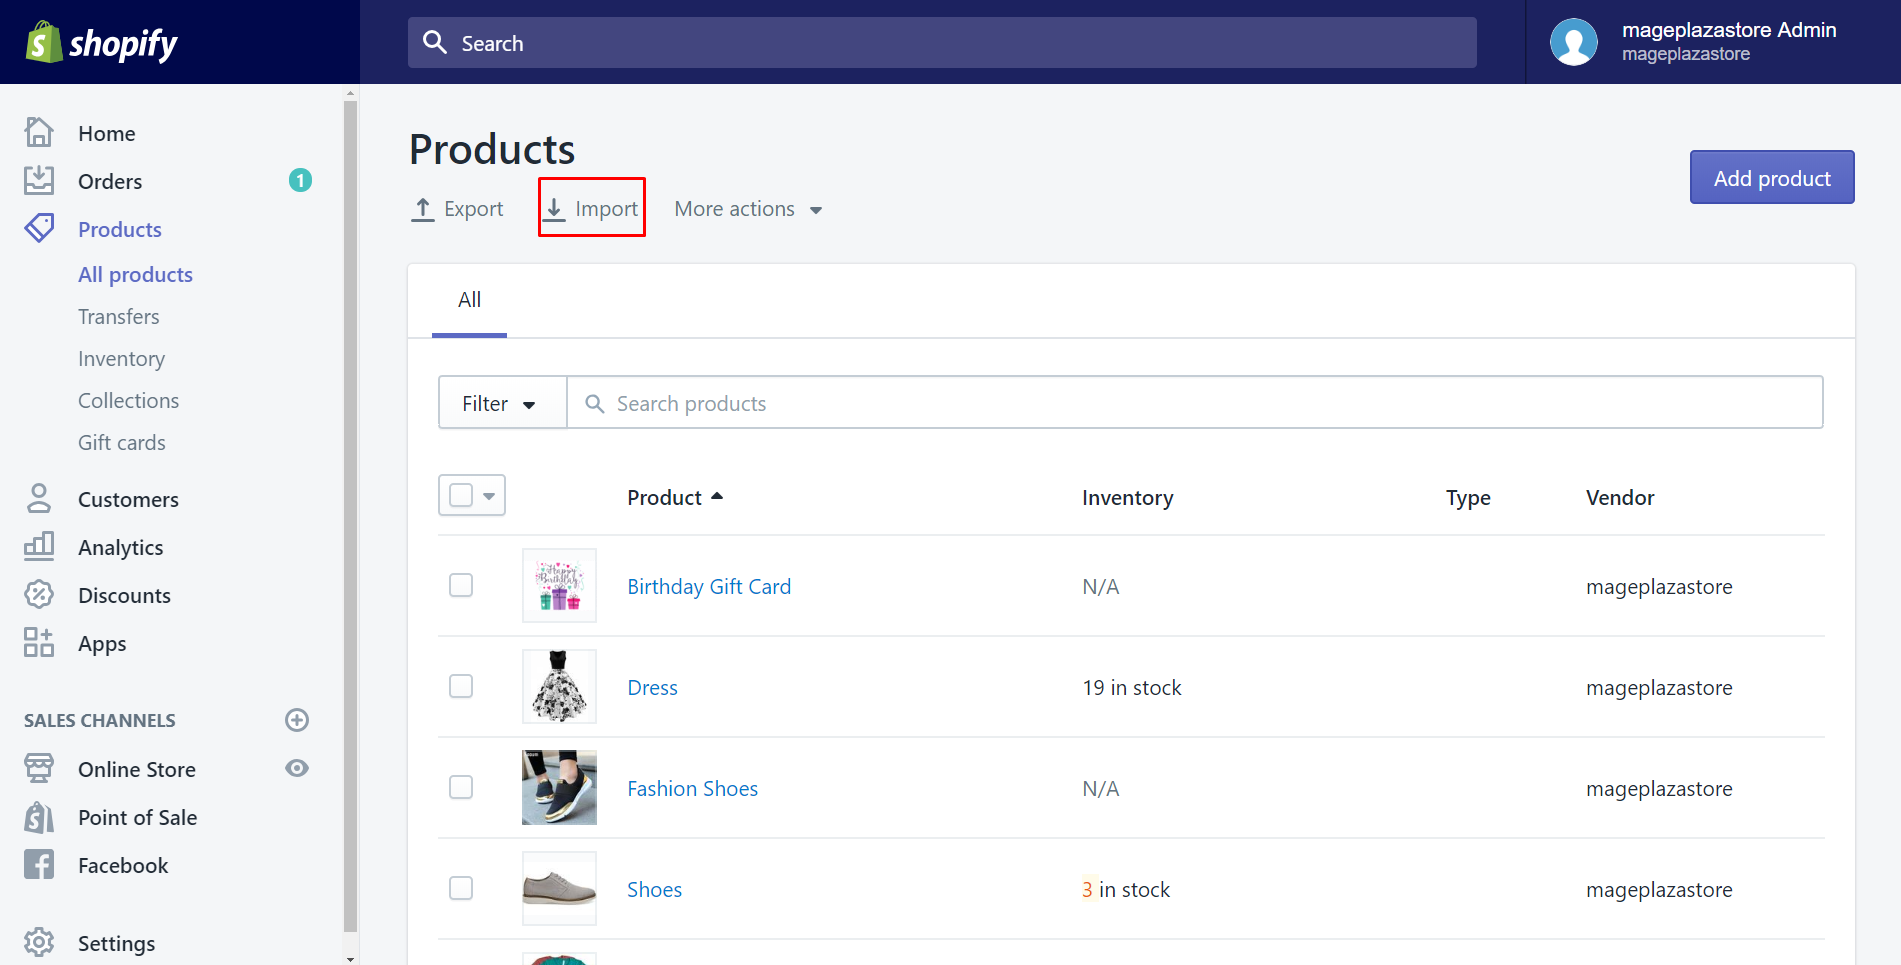
Step 2: Click Import
Then All products will appear. Click Import with an arrow down symbol below the title to upload your updated CSV file.
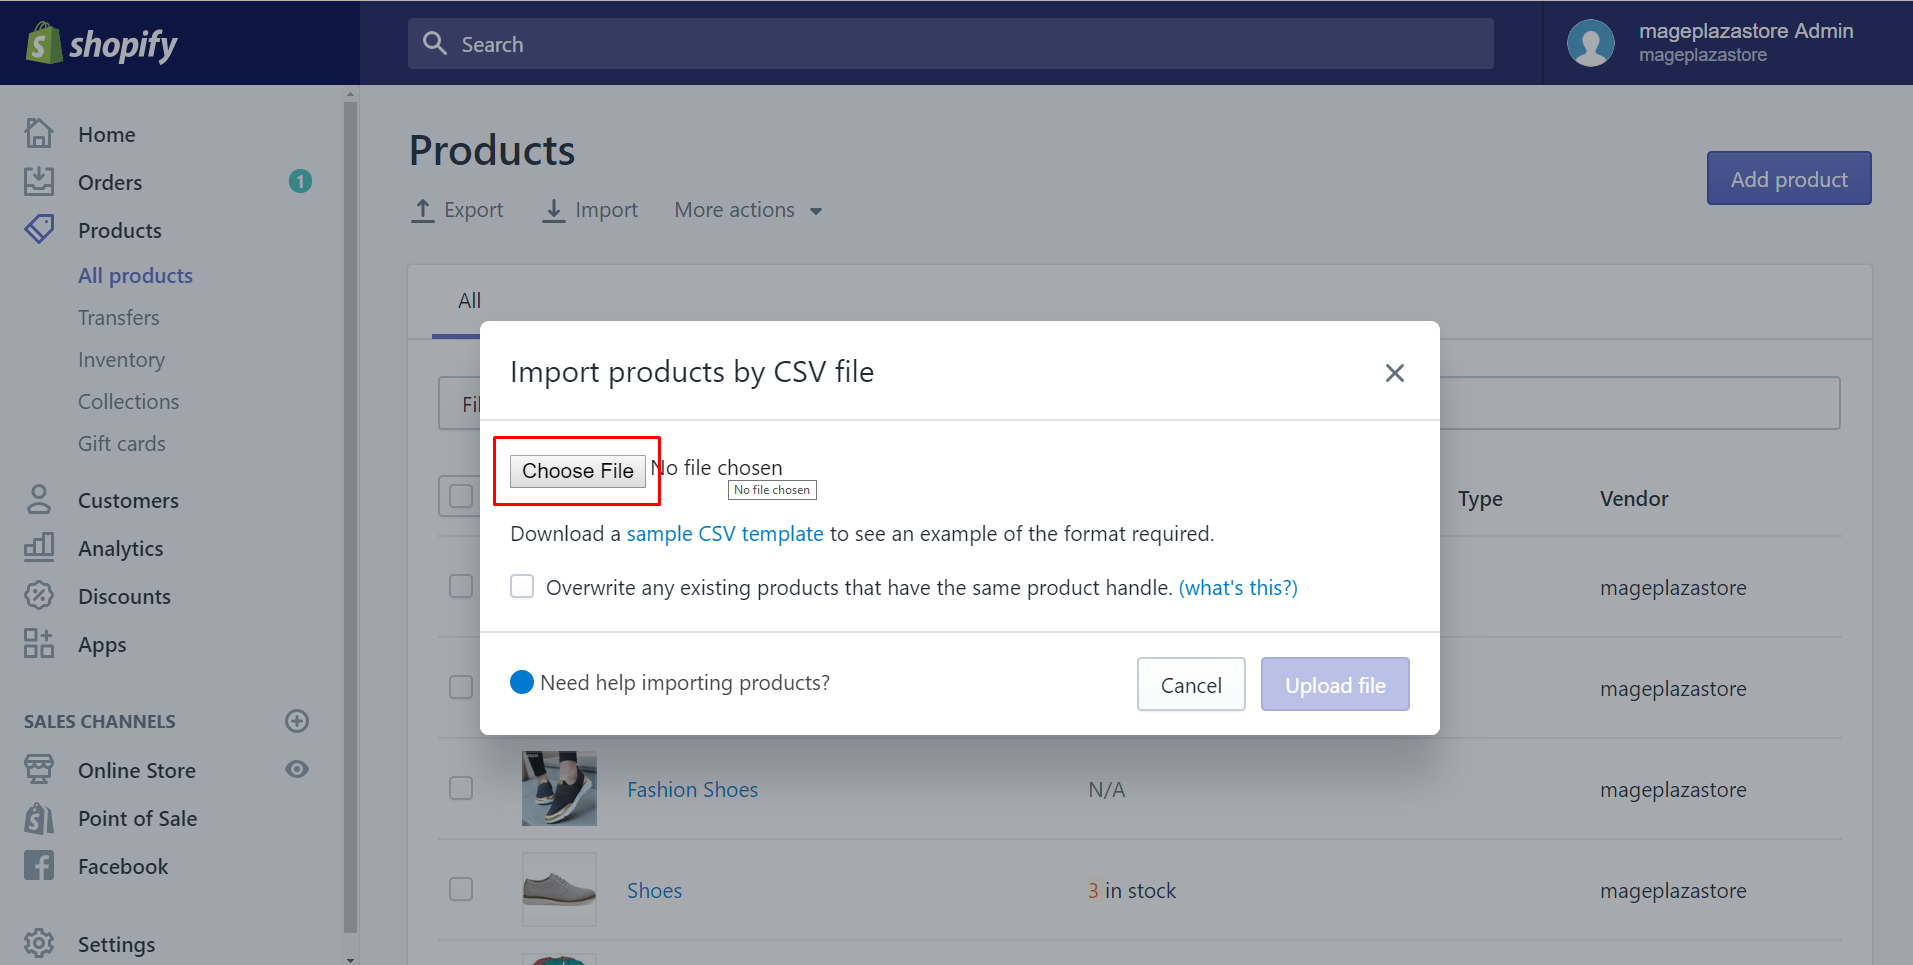
Step 3: Click Choose File
There’s a small dialog coming out. Take a look at it and make sure you select the button called Choose file to find your CSV file from your computer which you’ve exported and made changes to.
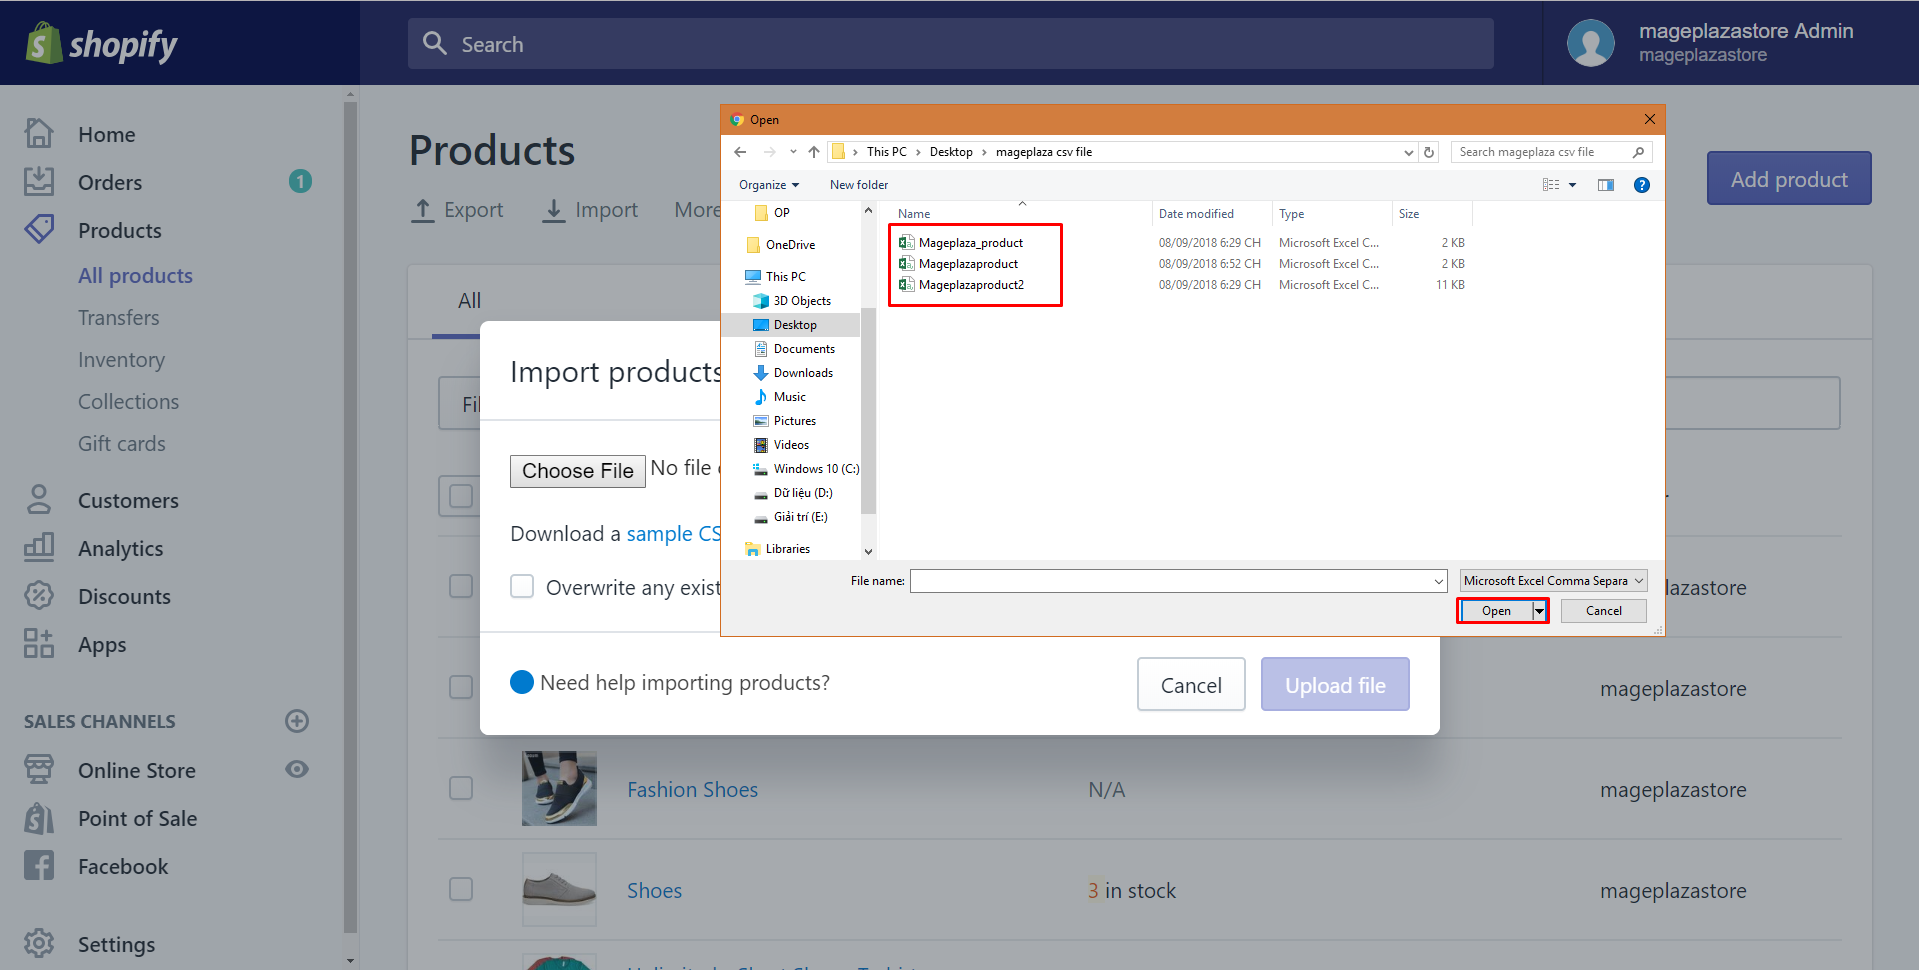
Step 4: Click Open
A new window appears for you to open the file. To be much more convenient, I suggest that you should locate your file in where you can easily remember and then, choose the one that you prefer to import after making changes. As you can see, I put it in desktop and I select Mageplaza_product.csv is an updated file and by clicking Open, you can open this file.
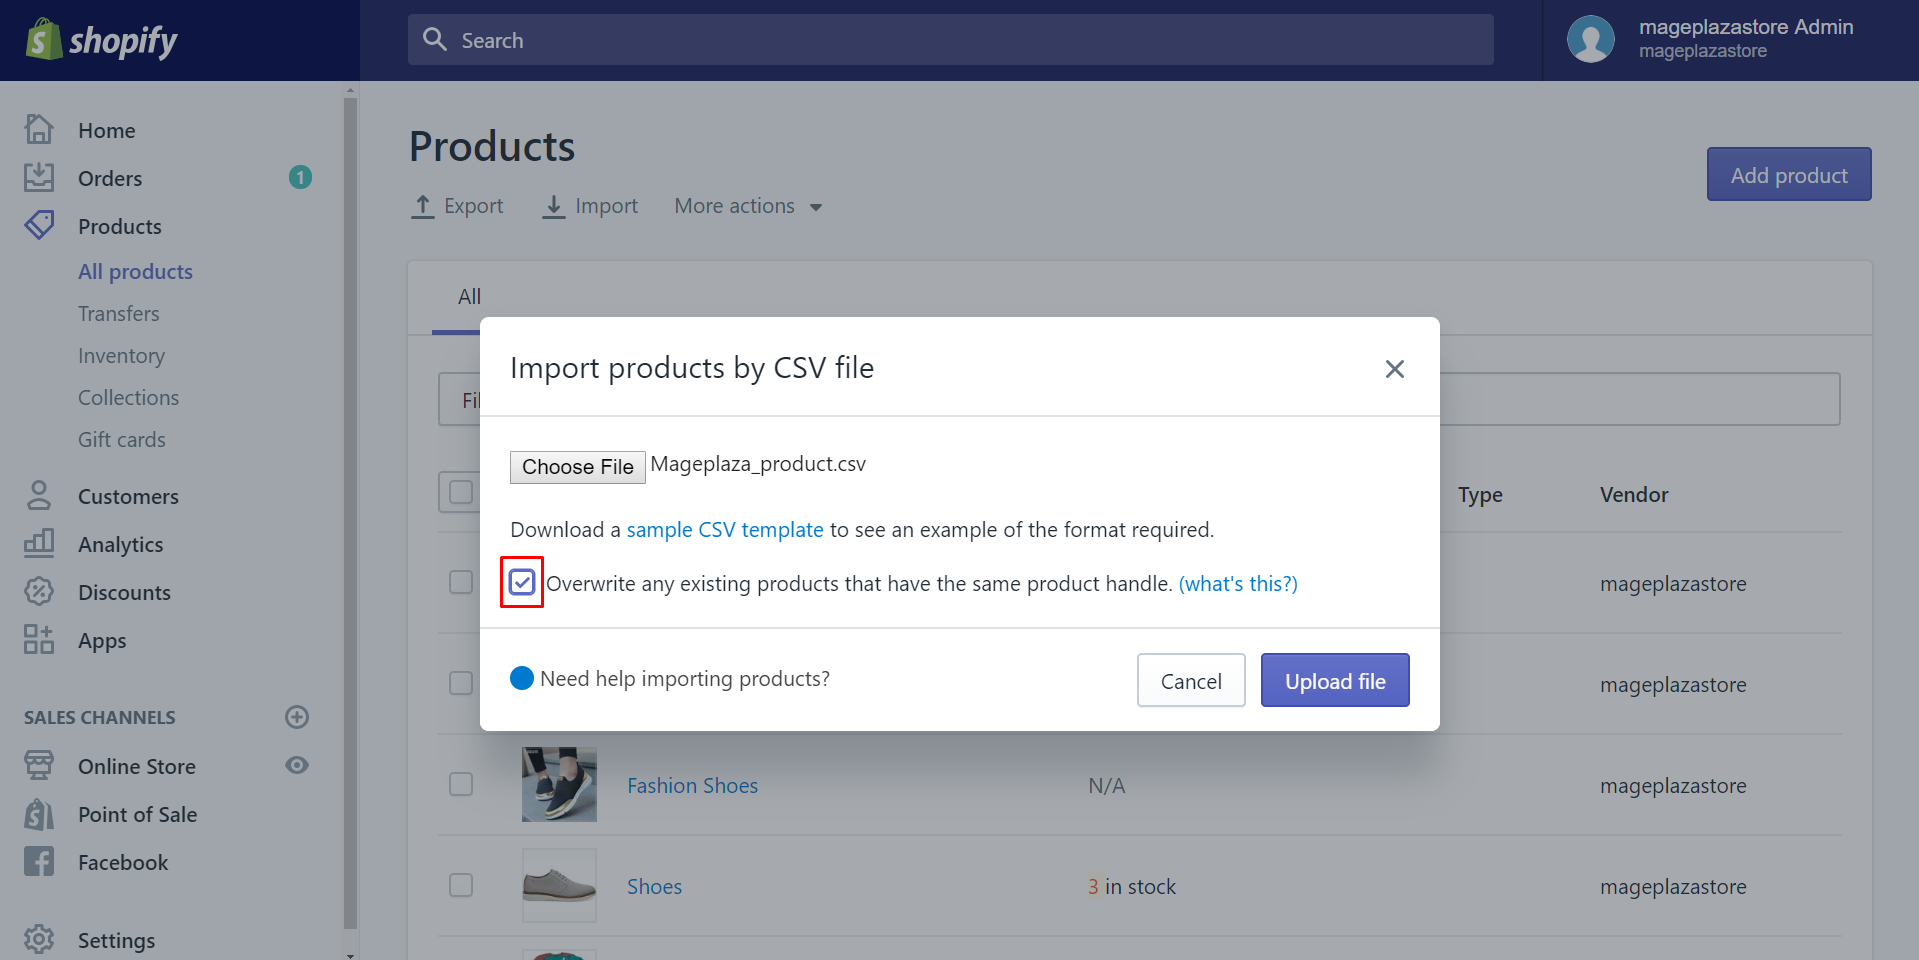
Step 5: Check the checkbox
View the dialog again to make sure that you’ve uploaded the right file. After that, check the small box beside Overwrite any existing products that have the same product handle to override any data on Shopify.
Step 6: Upload file
Choose Upload file to continue uploading. A small box comes out for you to preview your product first. Make sure that there’s nothing go wrong.
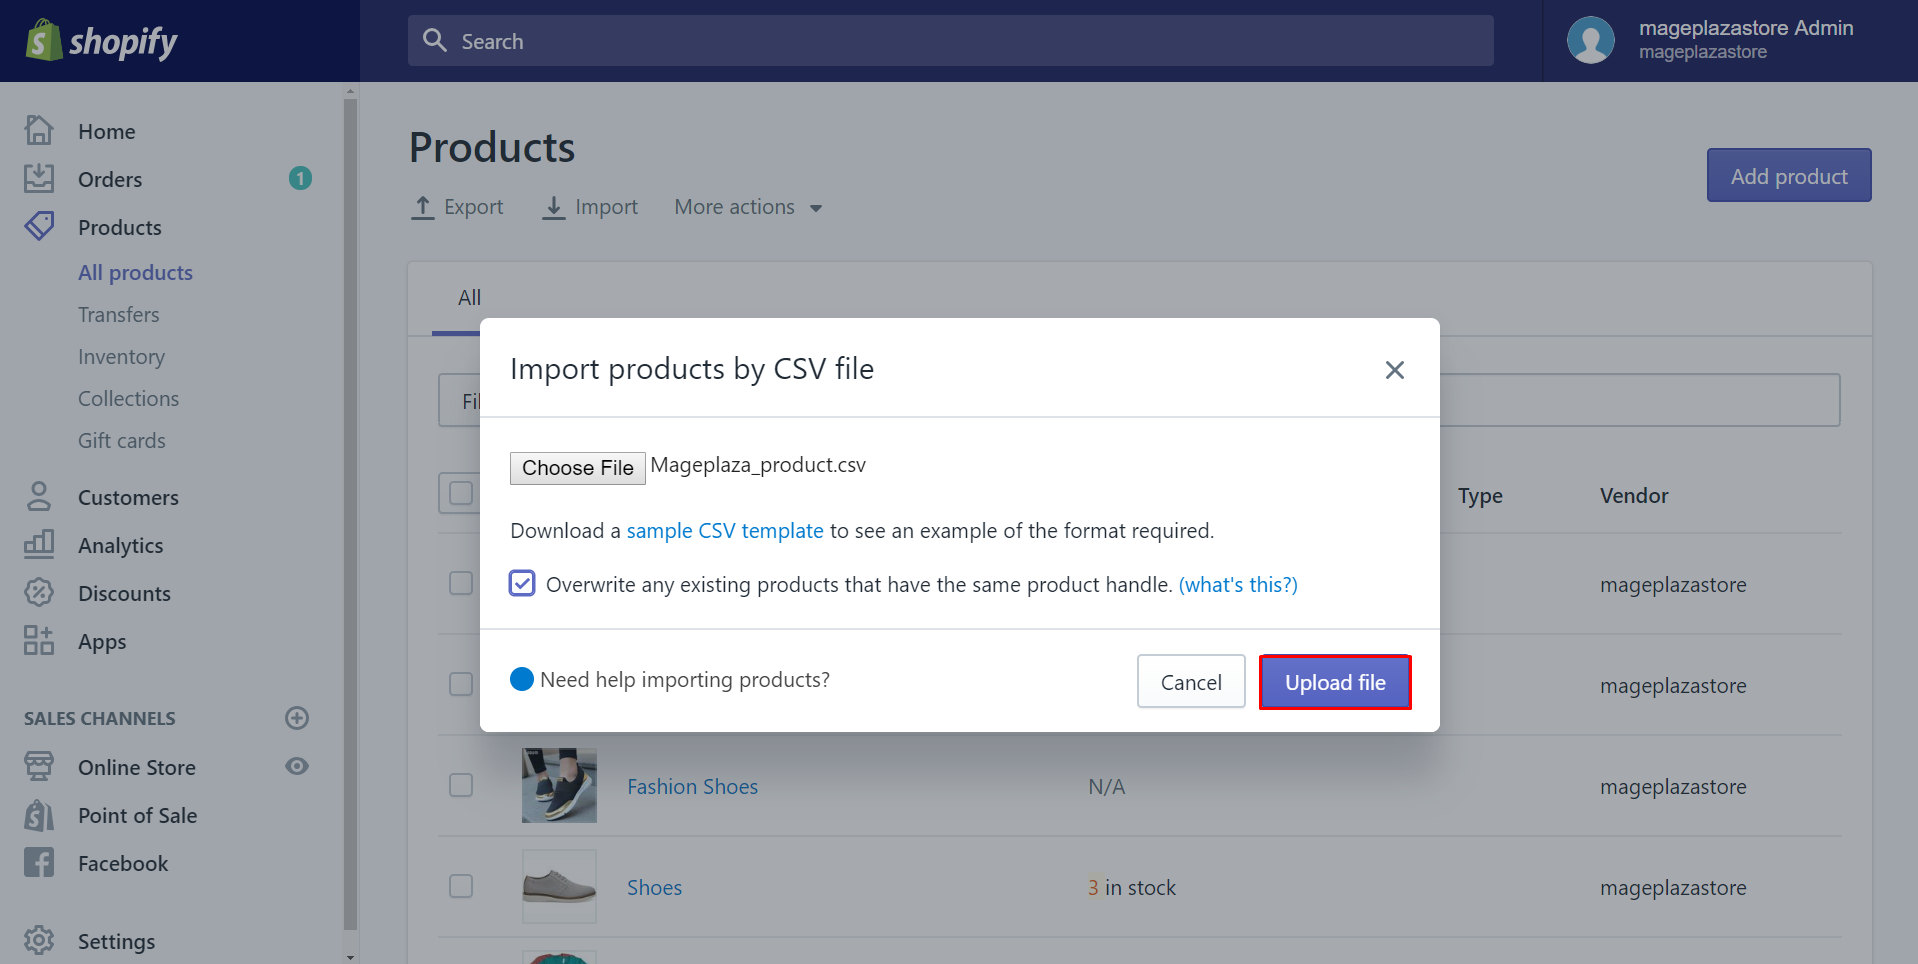
Then, click Start import to complete your work.
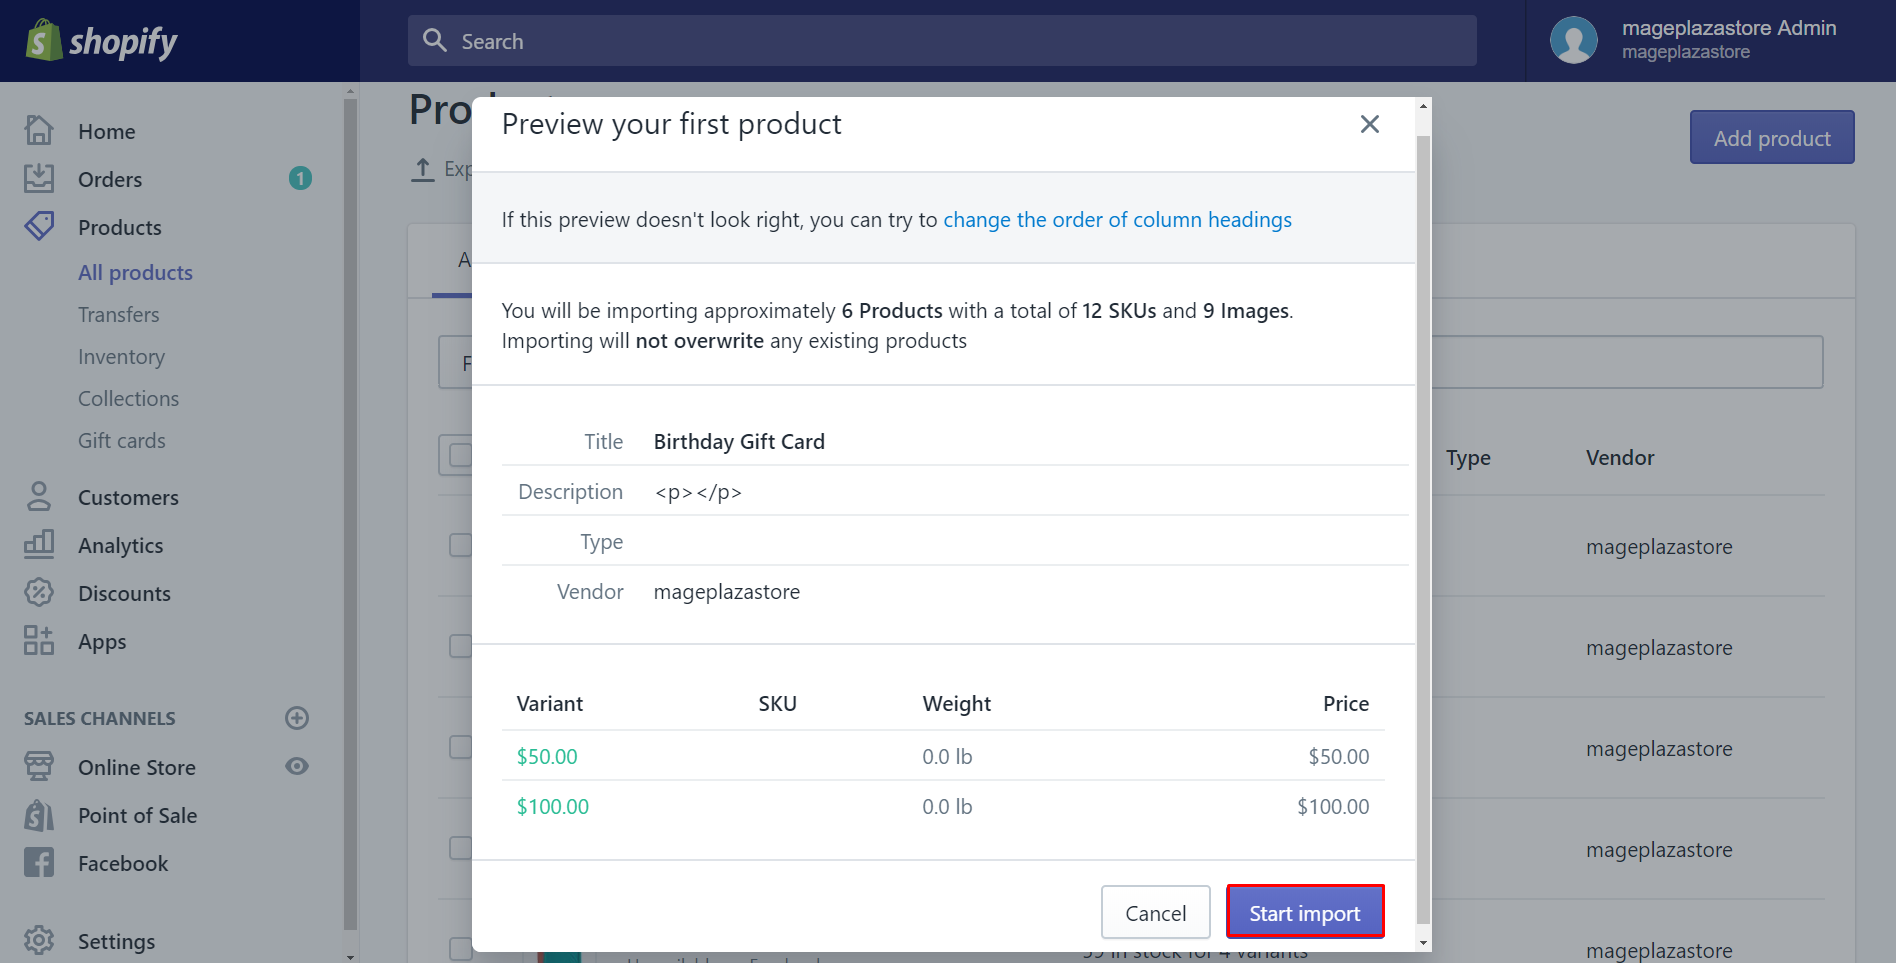
It takes a few minutes to be done. Just wait for a while and you will receive an email that notices you once the import is completed.
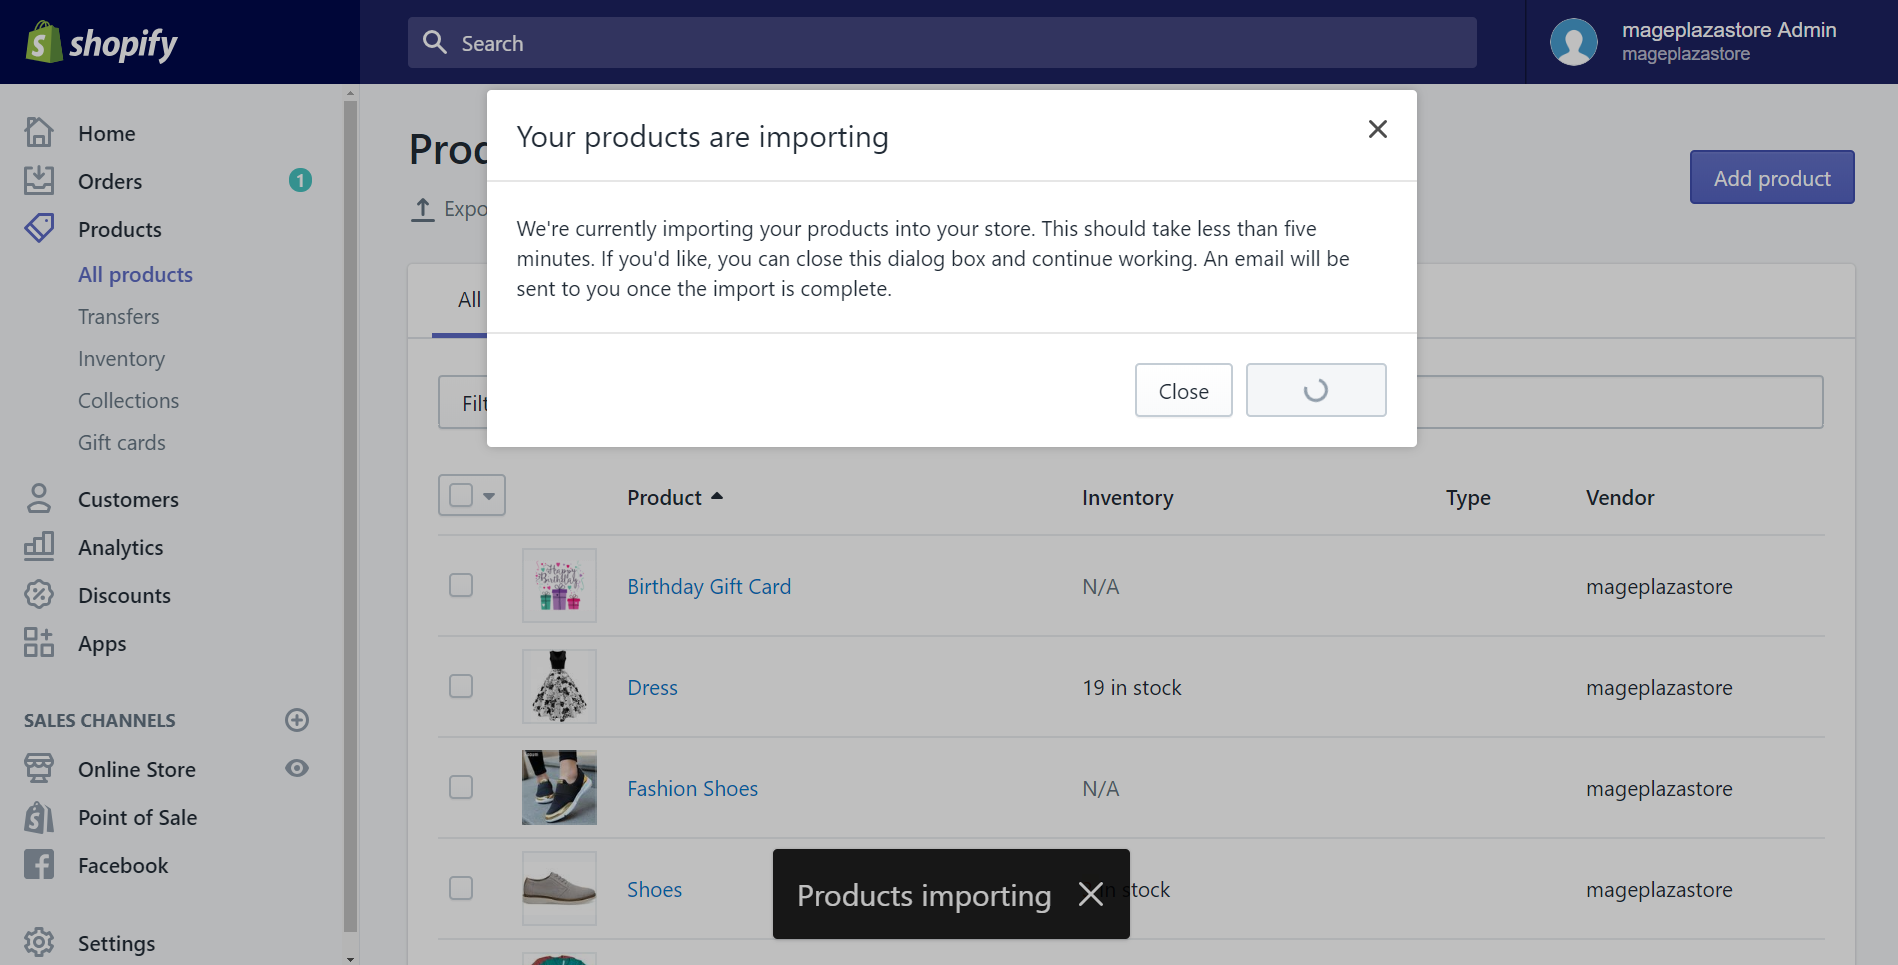
Then you see your updated product in the list and it has been changed as you wanted.
Summary
In conclusion, this is a detailed guide that shows you how to import products after making changes to your CSV file on Shopify. You can do any changes to your products to make it better and better.
Related Posts:


