8 Steps to Receive an Inventory on Shopify
After your suppliers sent the products you’ve asked for, they’d love to get confirmations from you. Also, they need to know whether the quality and quantity of the products meet your requirement. This writing guides you to receive inventory on Shopify so that you can handle it easily as soon as you receive everything you’ve expected.
How to receive an inventory on Shopify
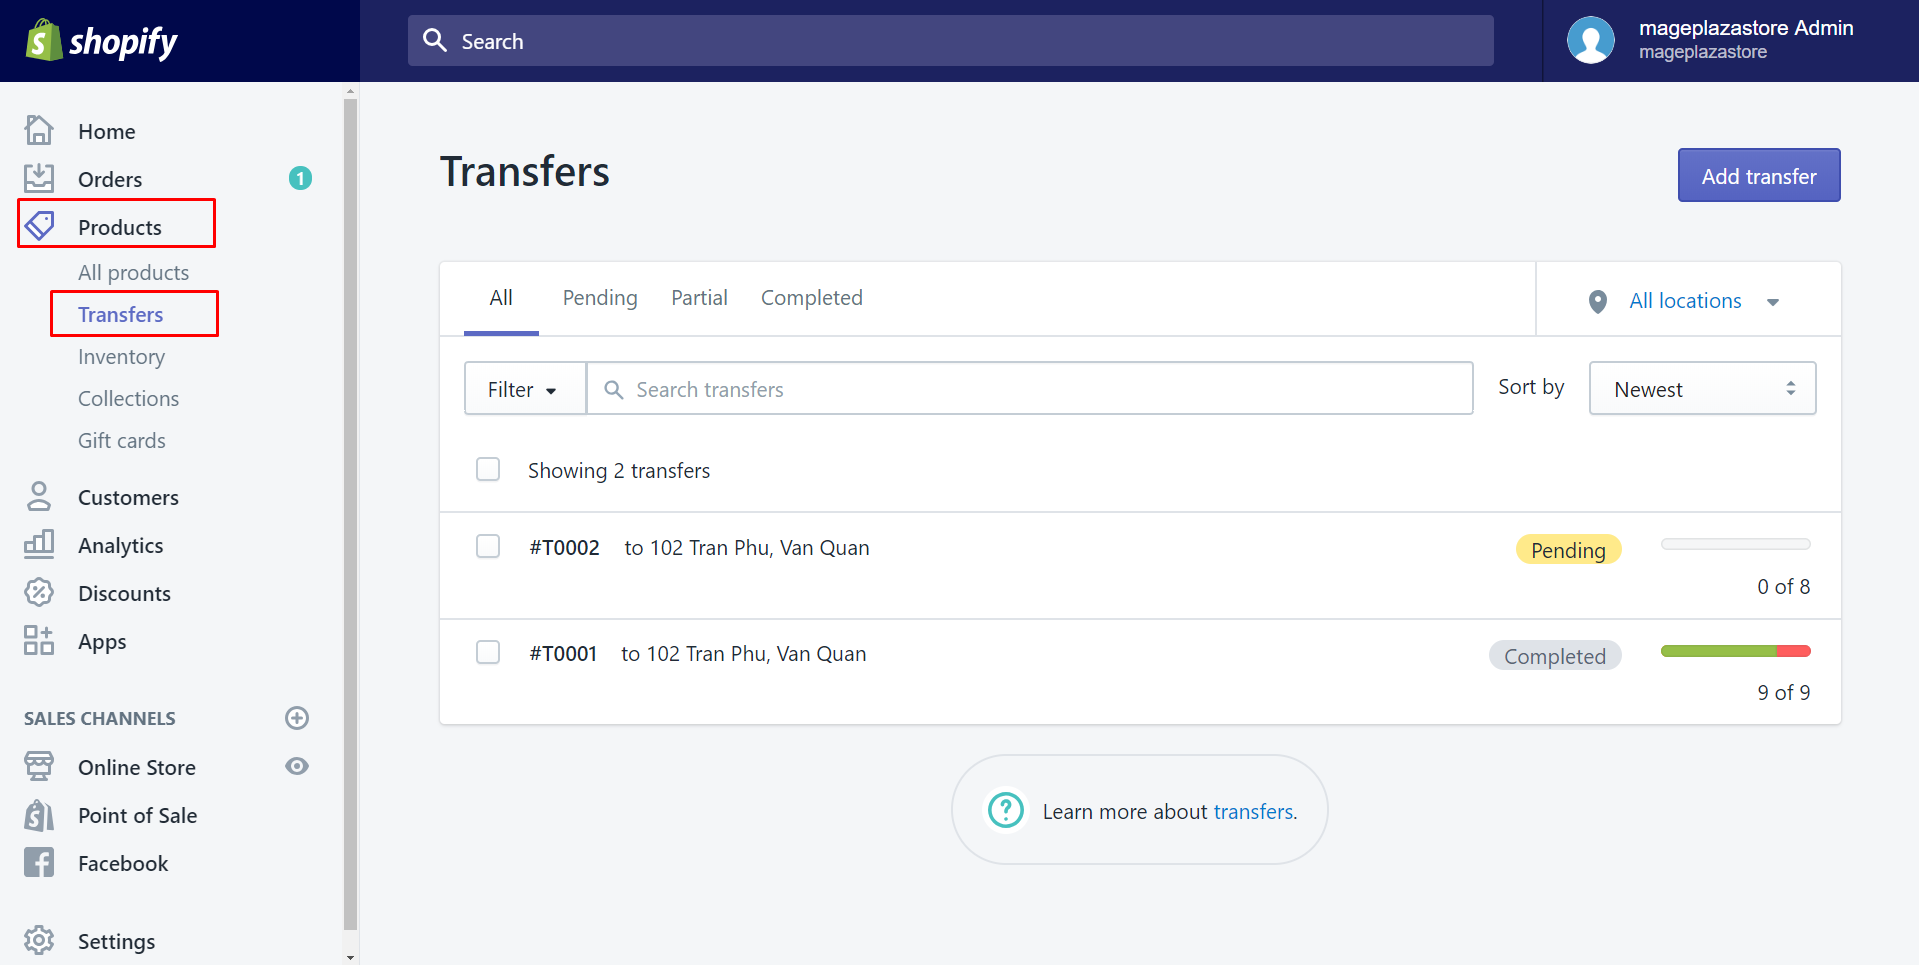
Step 1: Go to Transfer
Make sure that you get access to your Shopify admin page by logging in your Shopify account. Choose Products in the third sections. Select Transfer to keep going on.
Step 2: Choose a transfer
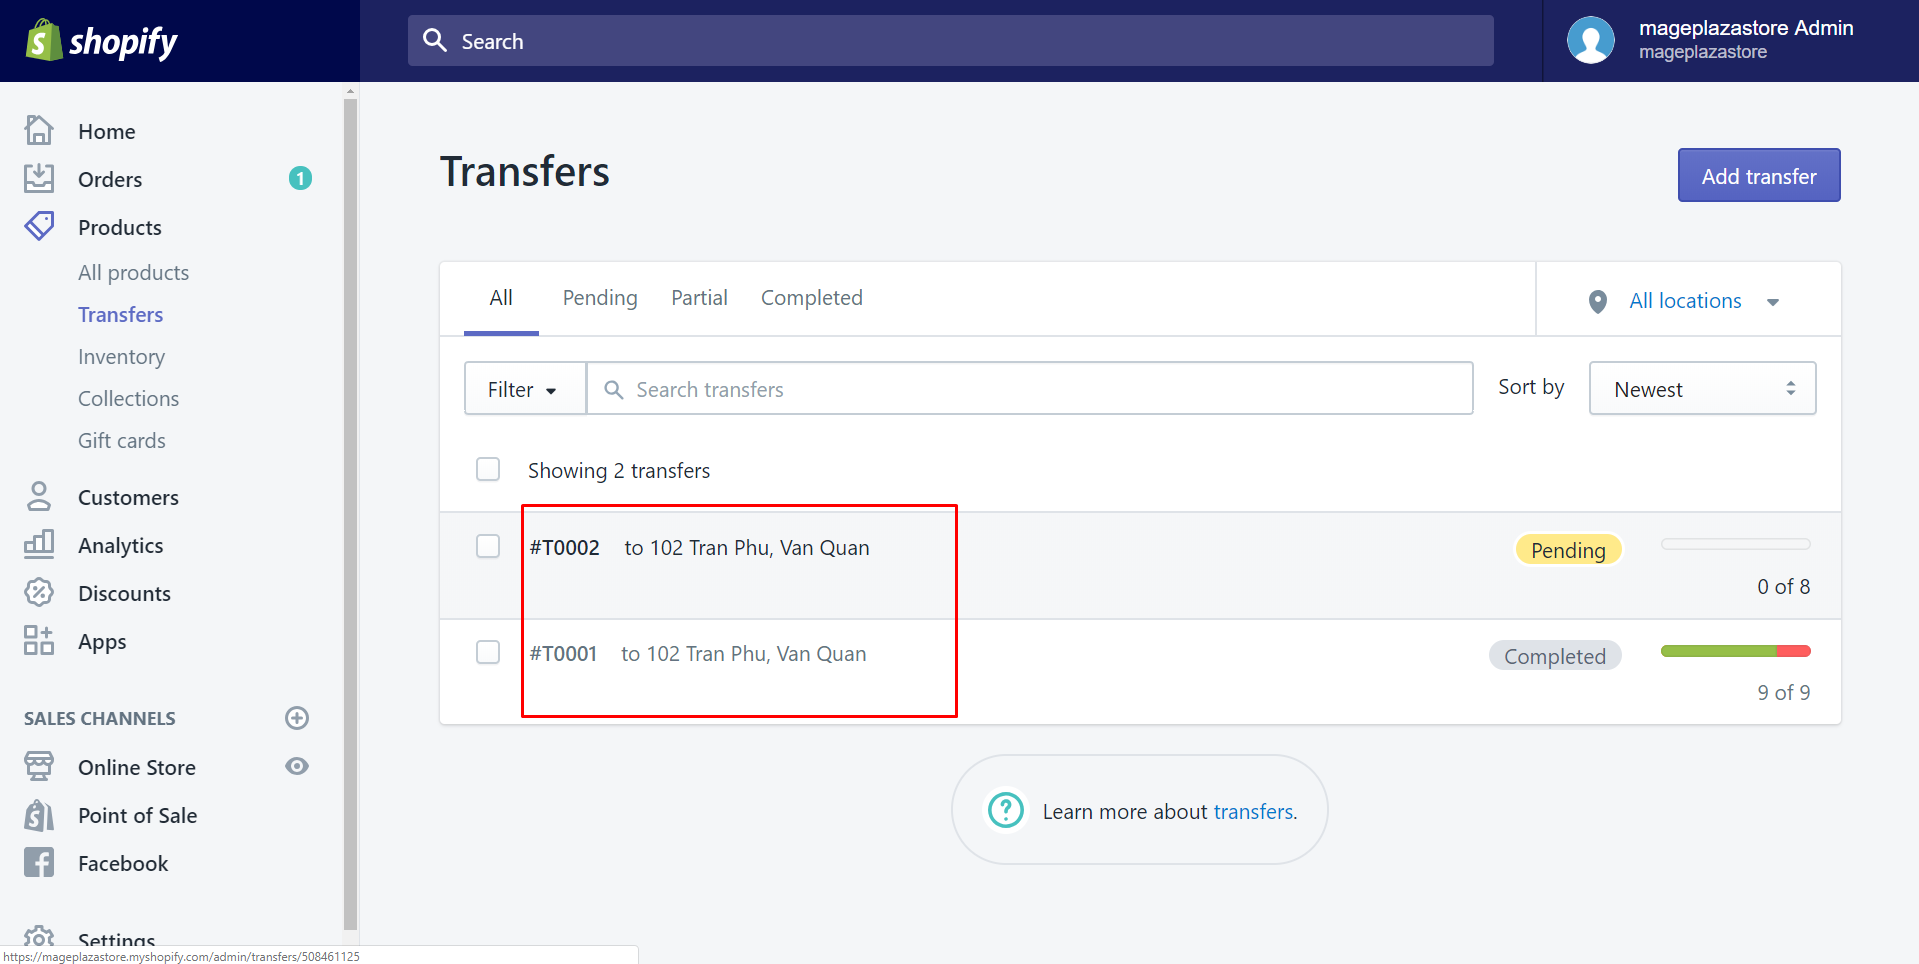
You will see all of your transfers in this Transfer’s page. Each of your transfers is displayed by a name with #T before the number which tells you about their numerical order. Tap at the name you want to confirm. Learn to create a transfer on Shopify
Step 3: Select Receive items
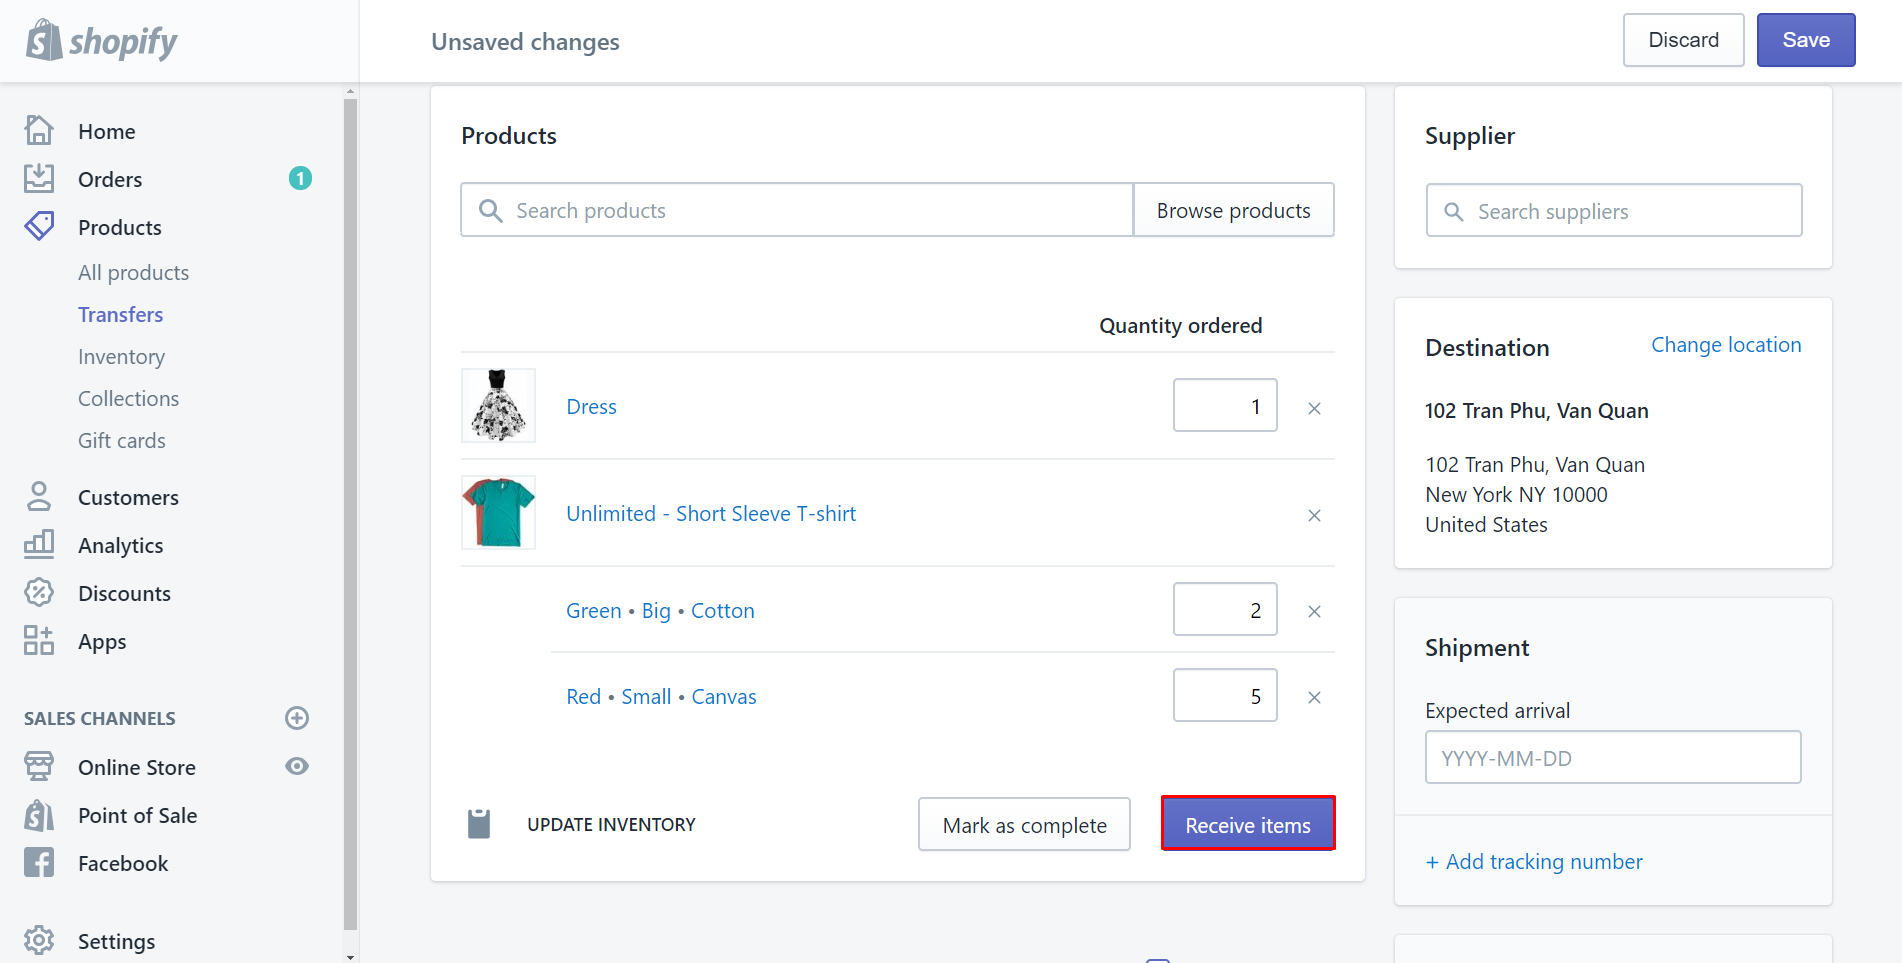
Select Receive items to mark which you’ve received.
Step 4: Enter the product and the quantity
Enter the number and the product that you’ve got from your supplier. Click All to accept all the items that have arrived or type the number of them. Take notice of the number to type it correctly.
In the number field, you can do in two way to enter. One is just to type the number. The other is to adjust the up and down button in the right of the box beside the number.

Step 5: Enter the number of the damaged product
Beside the Accept column, there is a column with buttons next to each item. It allows you to reject or cancel the product. You are able to enter the number of damaged products to not get them from the supplier.

Step 6: Enter the number of the extra product
In case, you’ve got extra products from your supplier, you can enter a bigger number of items than you expected. For example, I adjust the number of the dress as 2 because the supplier has sent me two while I just expected for one.

Step 7: Tap Save
Then, tap Save to have your inventory updated. You can click any Save button which I’ve marked.

Step 8: Click Archive
After selecting Save, it takes you back to the Transfer’s page. Below are all of the items, there is an option called Archive. Choose it to complete all your work and have it saved.
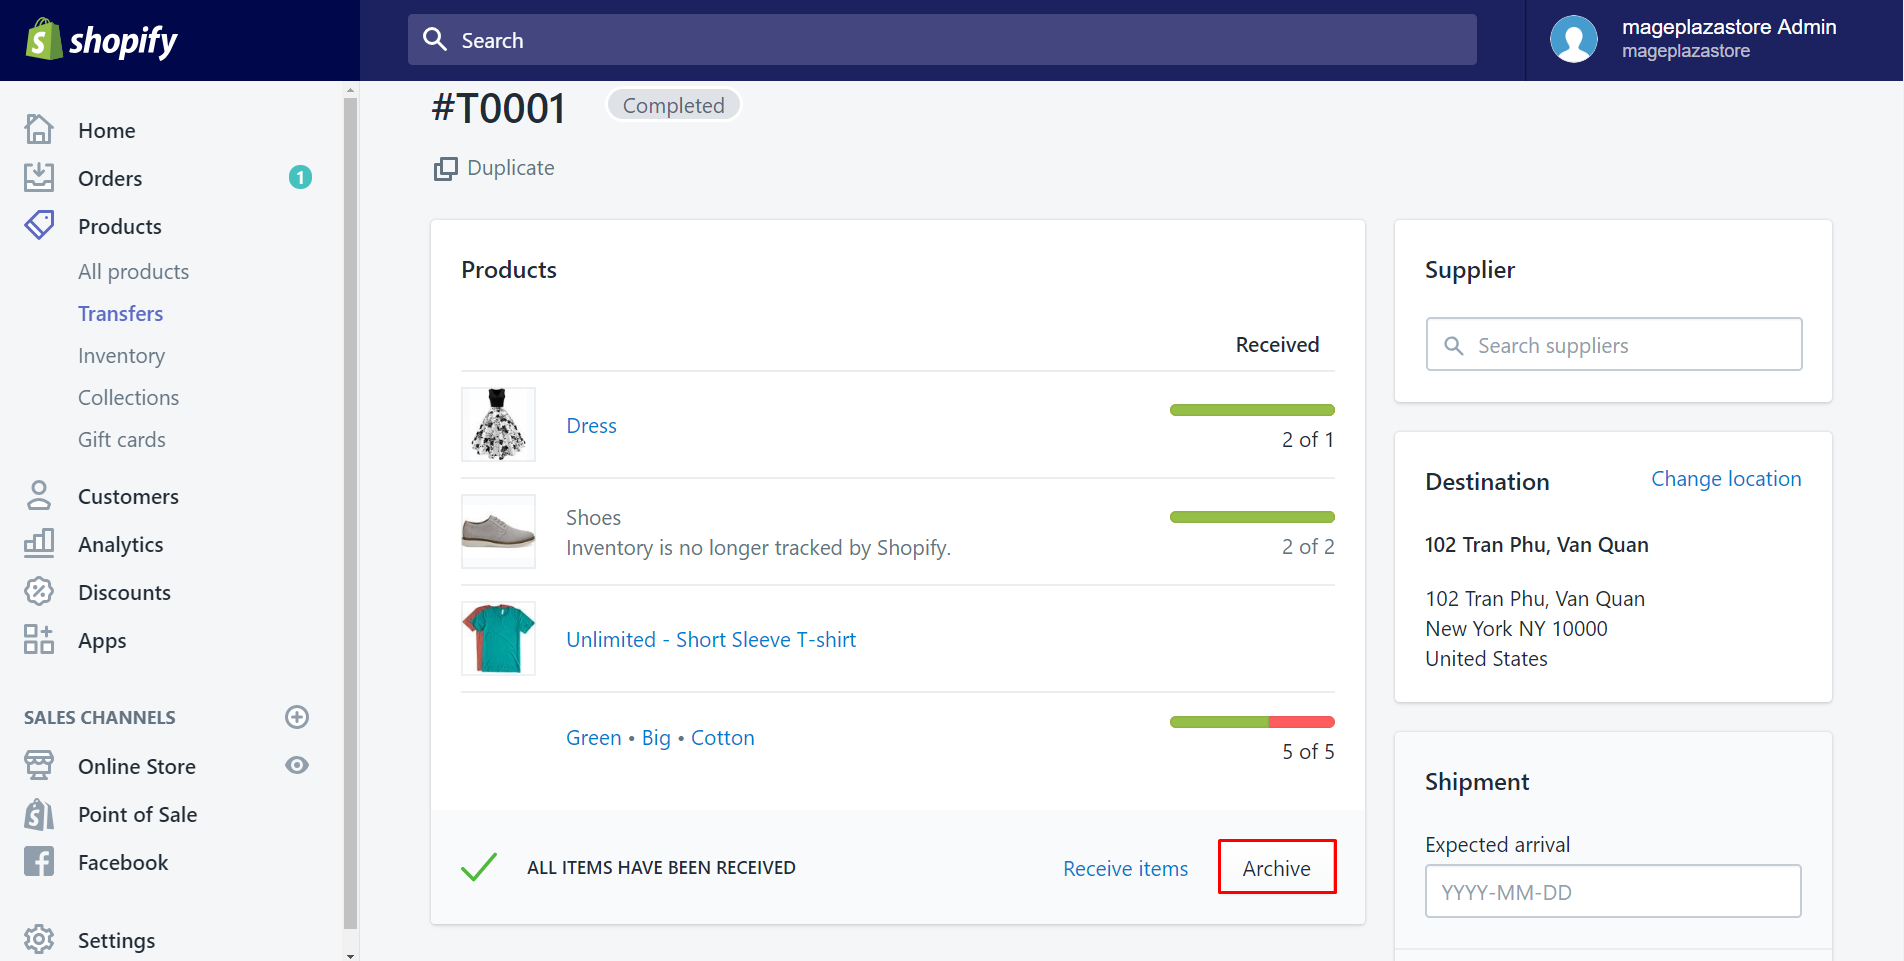
Afterward, you will get a notification that you’ve done successfully.
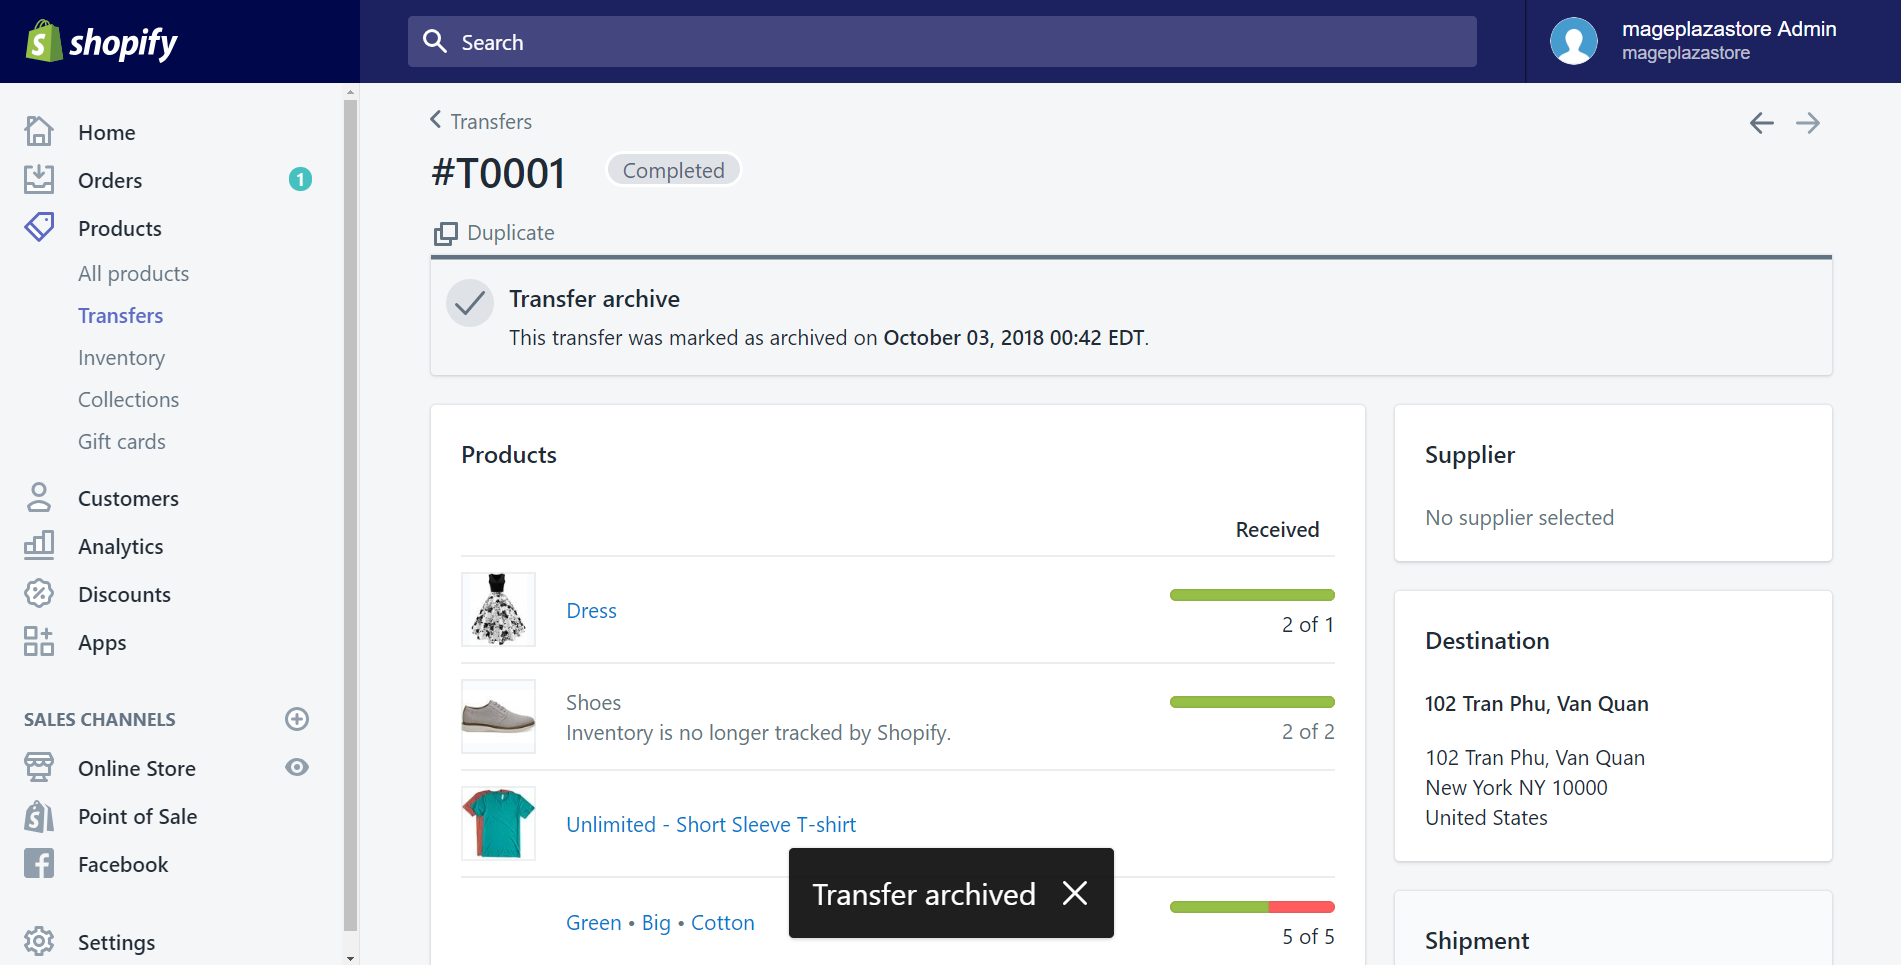
If you’d like to update other transfer, you are able to select its transfer name in the Transfer’s page and do the same above thing.
Summary
In short, here are some simple steps take you through how to receive inventory on Shopify. Hope it will be convenient and time-saving for you. Follow the next writing to get knowledge about how to disable shipping for a digital product on Shopify if you have a digital product in your product list.
Related Posts:


