How to Remove a Tag on Shopify
As you know, tag is very helpful when it comes to managing your store. However, sometimes you may accidentally add a tag in the wrong place or the tag is no longer suitable. In those cases, you need to remove that tag or it will cause troubles when you search by tag or filter by tag. If you are in this situation, this writing is just right for you.
The writing below is my detailed instruction on the topic How to Remove a tag on Shopify. I think this writing would be helpful and hope that you will spend time reading my writing.
Related Posts:
Step 1: Open a product page
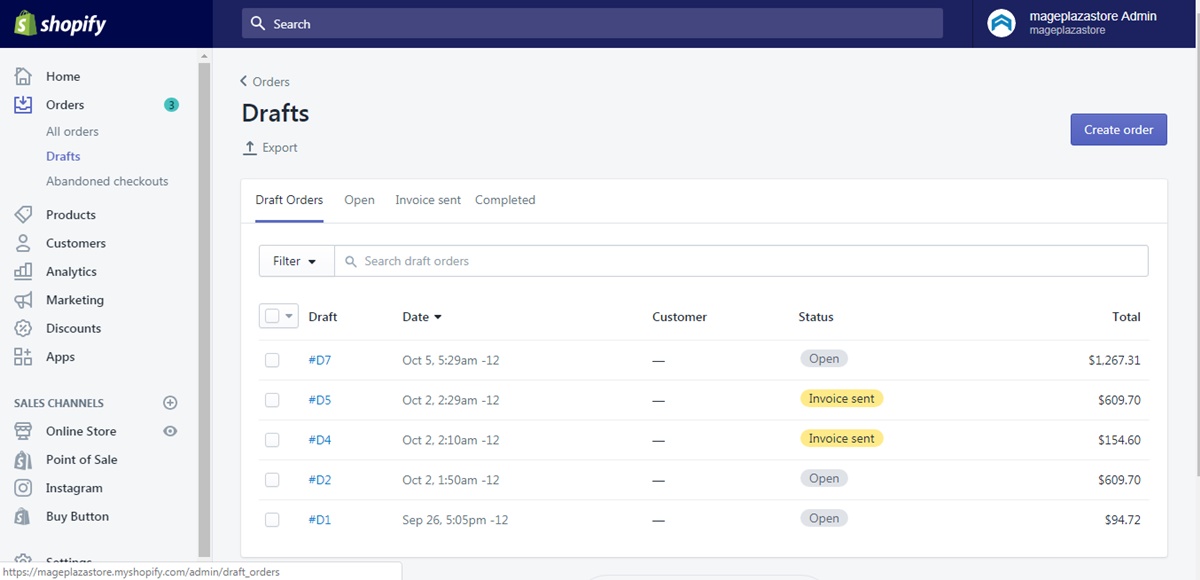
The first thing you have to do is to open a specific product page. For instance, the orders and draft orders page.

Step 2: Remove the tag
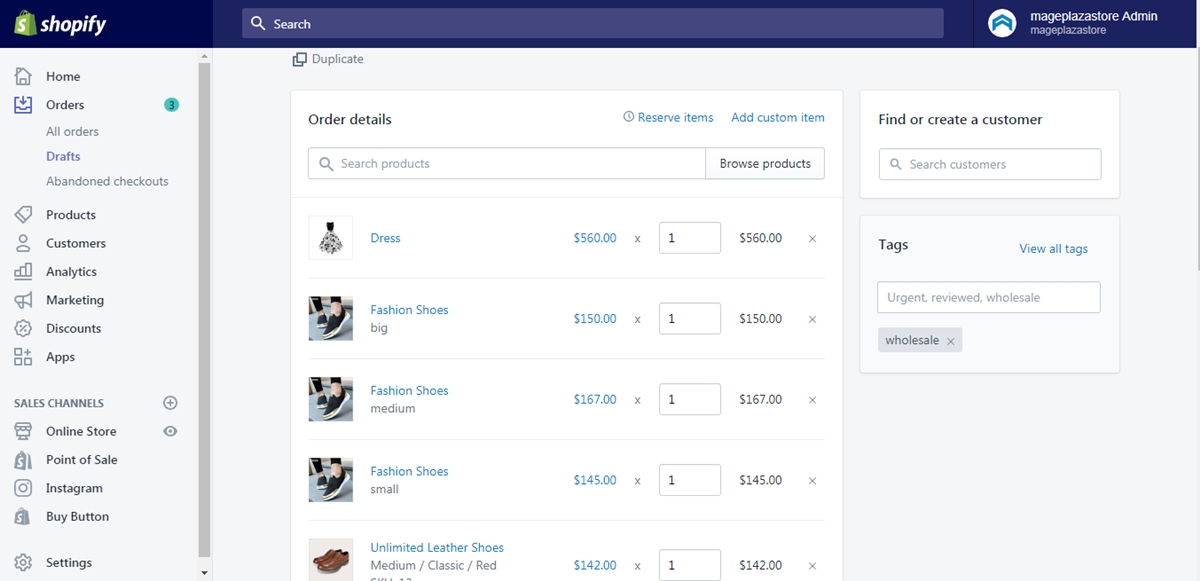
Beside the name tag, there is an x button. Click on the button to remove that tag. This action will only delete the tag from the product page you open an not affect the others.

Another way to delete the tag is deleting it from the tag list in View all tags.
Step 3: Saving
After you finished removing the unwanted tags, click Save to save all the changes.
Conclusion
In conclusion, the writing above is my guide on the topic how to remove a tag on Shopify. I hope my writing would be helpful for you and your store. To find others writing like this one, check out our posts on productivity tools.


