How to Do a Test Order on Shopify store
Before launching your store or after changing your checkout settings, you are strongly recommended to place a test order from the storefront. This action enables you to make sure every function as you intend as well as offer insight into your own customers’ shopping experience.
In this article, you will be shown on how to do a test Order on Shopify store.
What & Why you need test Order on Shopify?
What is a test order?
If you have created your online store successfully on Shopify and everything is perfect to go, you might still need to prepare one more thing before clicking the button which can make your store go live. What we are talking about is a test order.
Test orders enable you to check how your customers’ purchasing procedure works well effectively on your storefront without charging them a credit card. Take note that test orders will be attached in reports about placing orders.
Why do you need a test order on the Shopify store?
A question might arise about why you need a test order on your Shopify store. First, it is badly important to guarantee that the checkout process on your Shopify store is running smoothly and your customers have no problems when trying to access to the checkout.
Additionally, Shopify allows you to verify that you have been making the correct order process, shipping, tax selections or inventory and all of them are syncretically working.
Shopify store owners will not be charged for a test order. That means any orders which are refunded or canceled are not paid or can come to a transaction fee. You had better place at least a test order during the store installation or whenever you want to make change your payment settings.
How to do a test Order on Shopify store
Do remember that there are two main ways to do a test order.
- Use Shopify’s Bogus Gateway to encourage a transaction.
- Use a real payment provider, then cancel and refund the order immediately.
Do a test order by simulating a transaction with Bogus Gateway
In order to stimulate a transaction on the online checkout, it is necessary for you to build up Shopify’s Bogus Gateway. Bogus Gateway can be new to many people, but it is known as a payment provider that every store can choose to generate test orders. When Bogus Gateway is already set up, then any order that is created is considered a test order.
Before an order test is produced, store owners have to enter the test payment information at the checkout. You are able to simulate various types of transactions, which depends on what information you are adding.
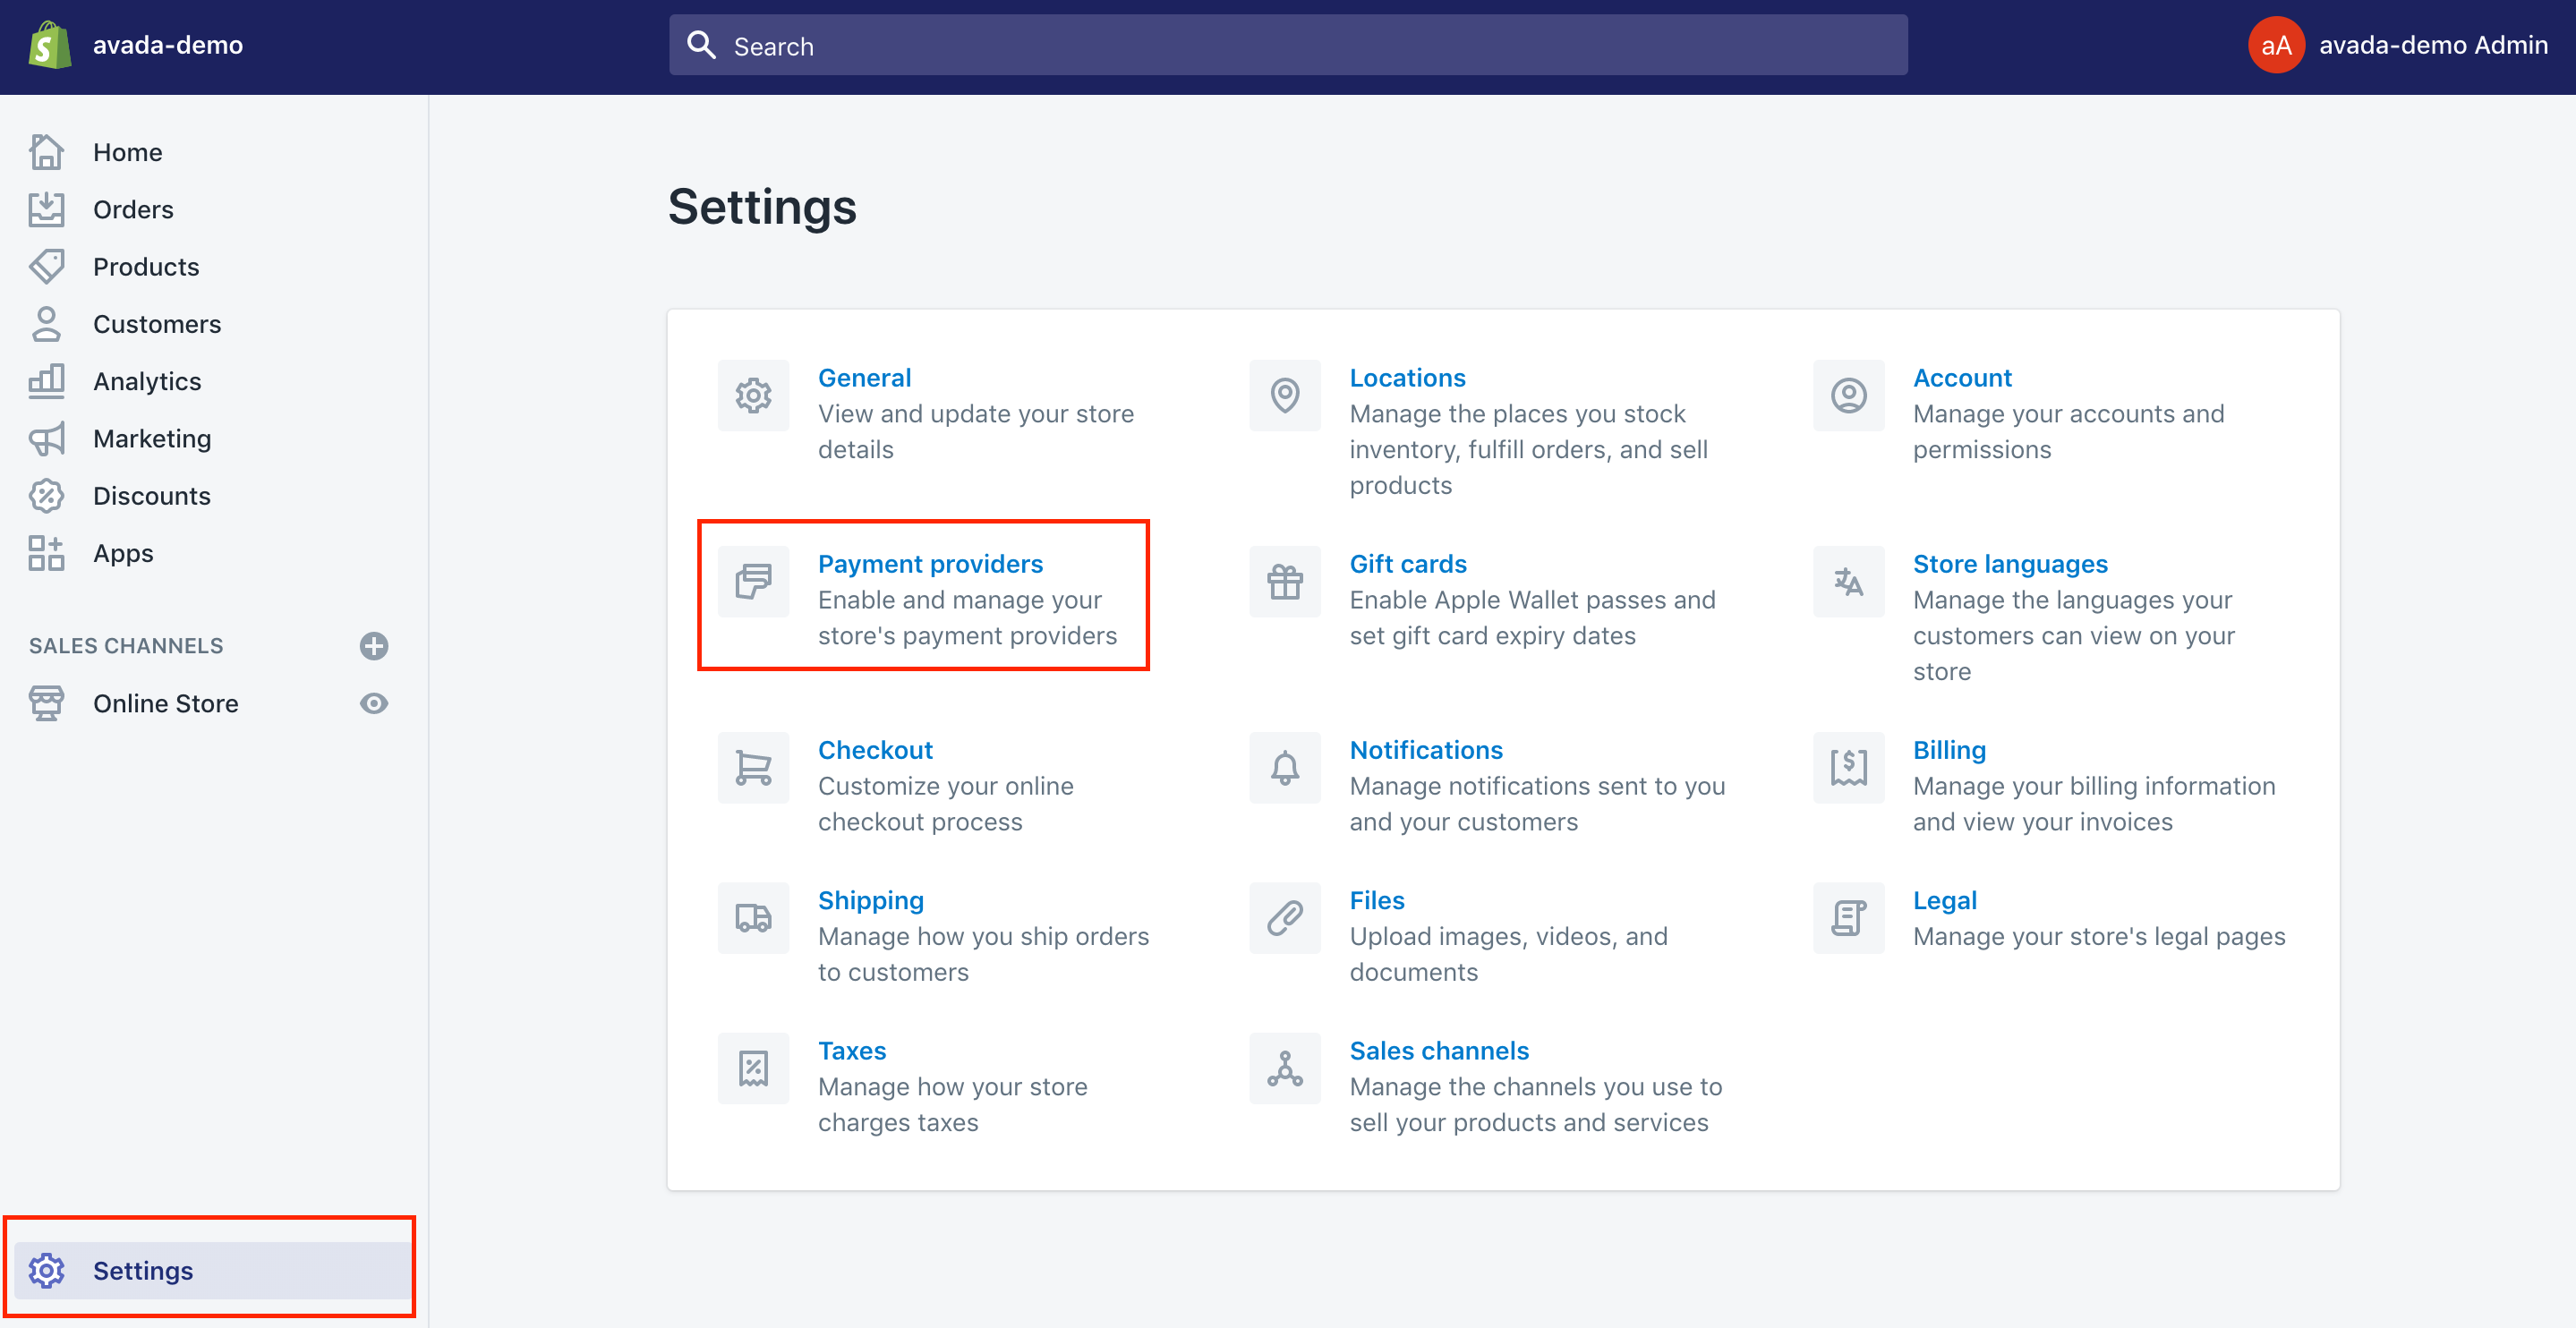
Step 1: Go to Settings and Payment providers
The first step is to go Settings > Payment providers from your own Shopify admin.

Step 2: Choose Manage and Deactivate
Then, in case you are having a credit card payment provider activated, then make sure that you deactivate it before going ahead. Choose Manage > Deactivate and confirm your deactivation.
Step 3: Select Add a provider
In this step, you can now see the Accept credit cards area. From this section, select Add a provider.
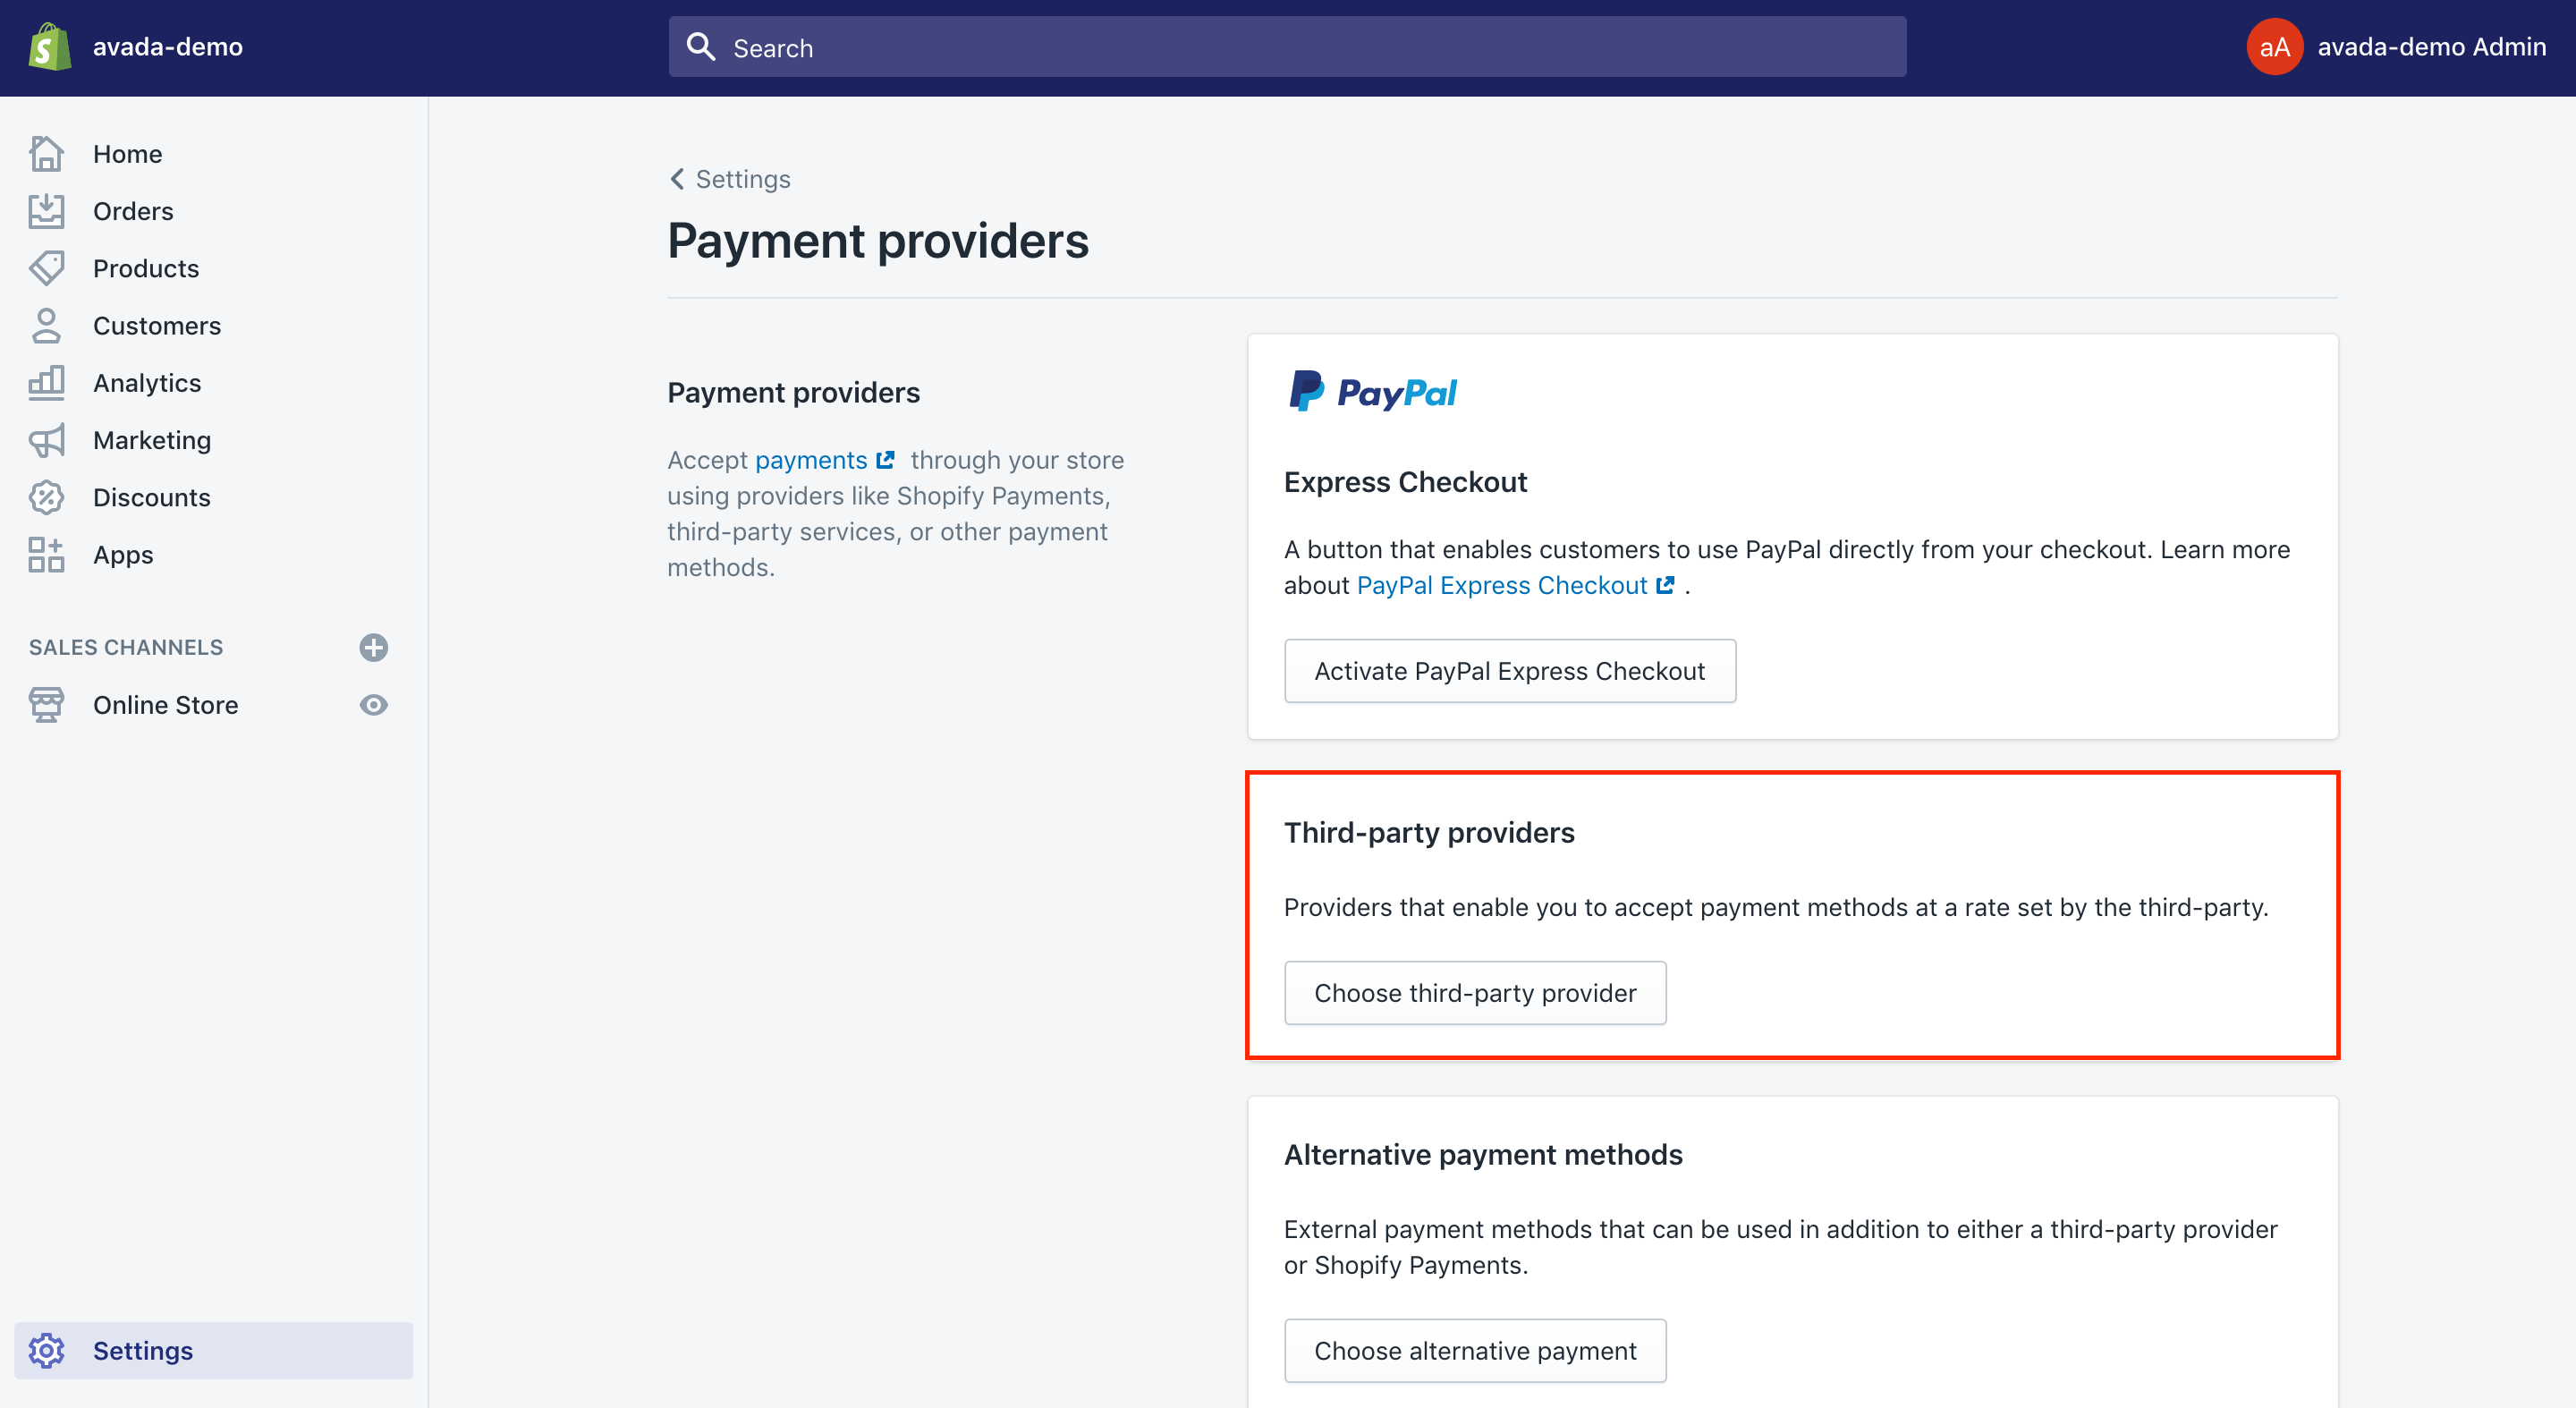
Step 4: Head to Third-party credit card provider
Next, you can head to Third-party credit card provider before opening the Provider drop-down list.


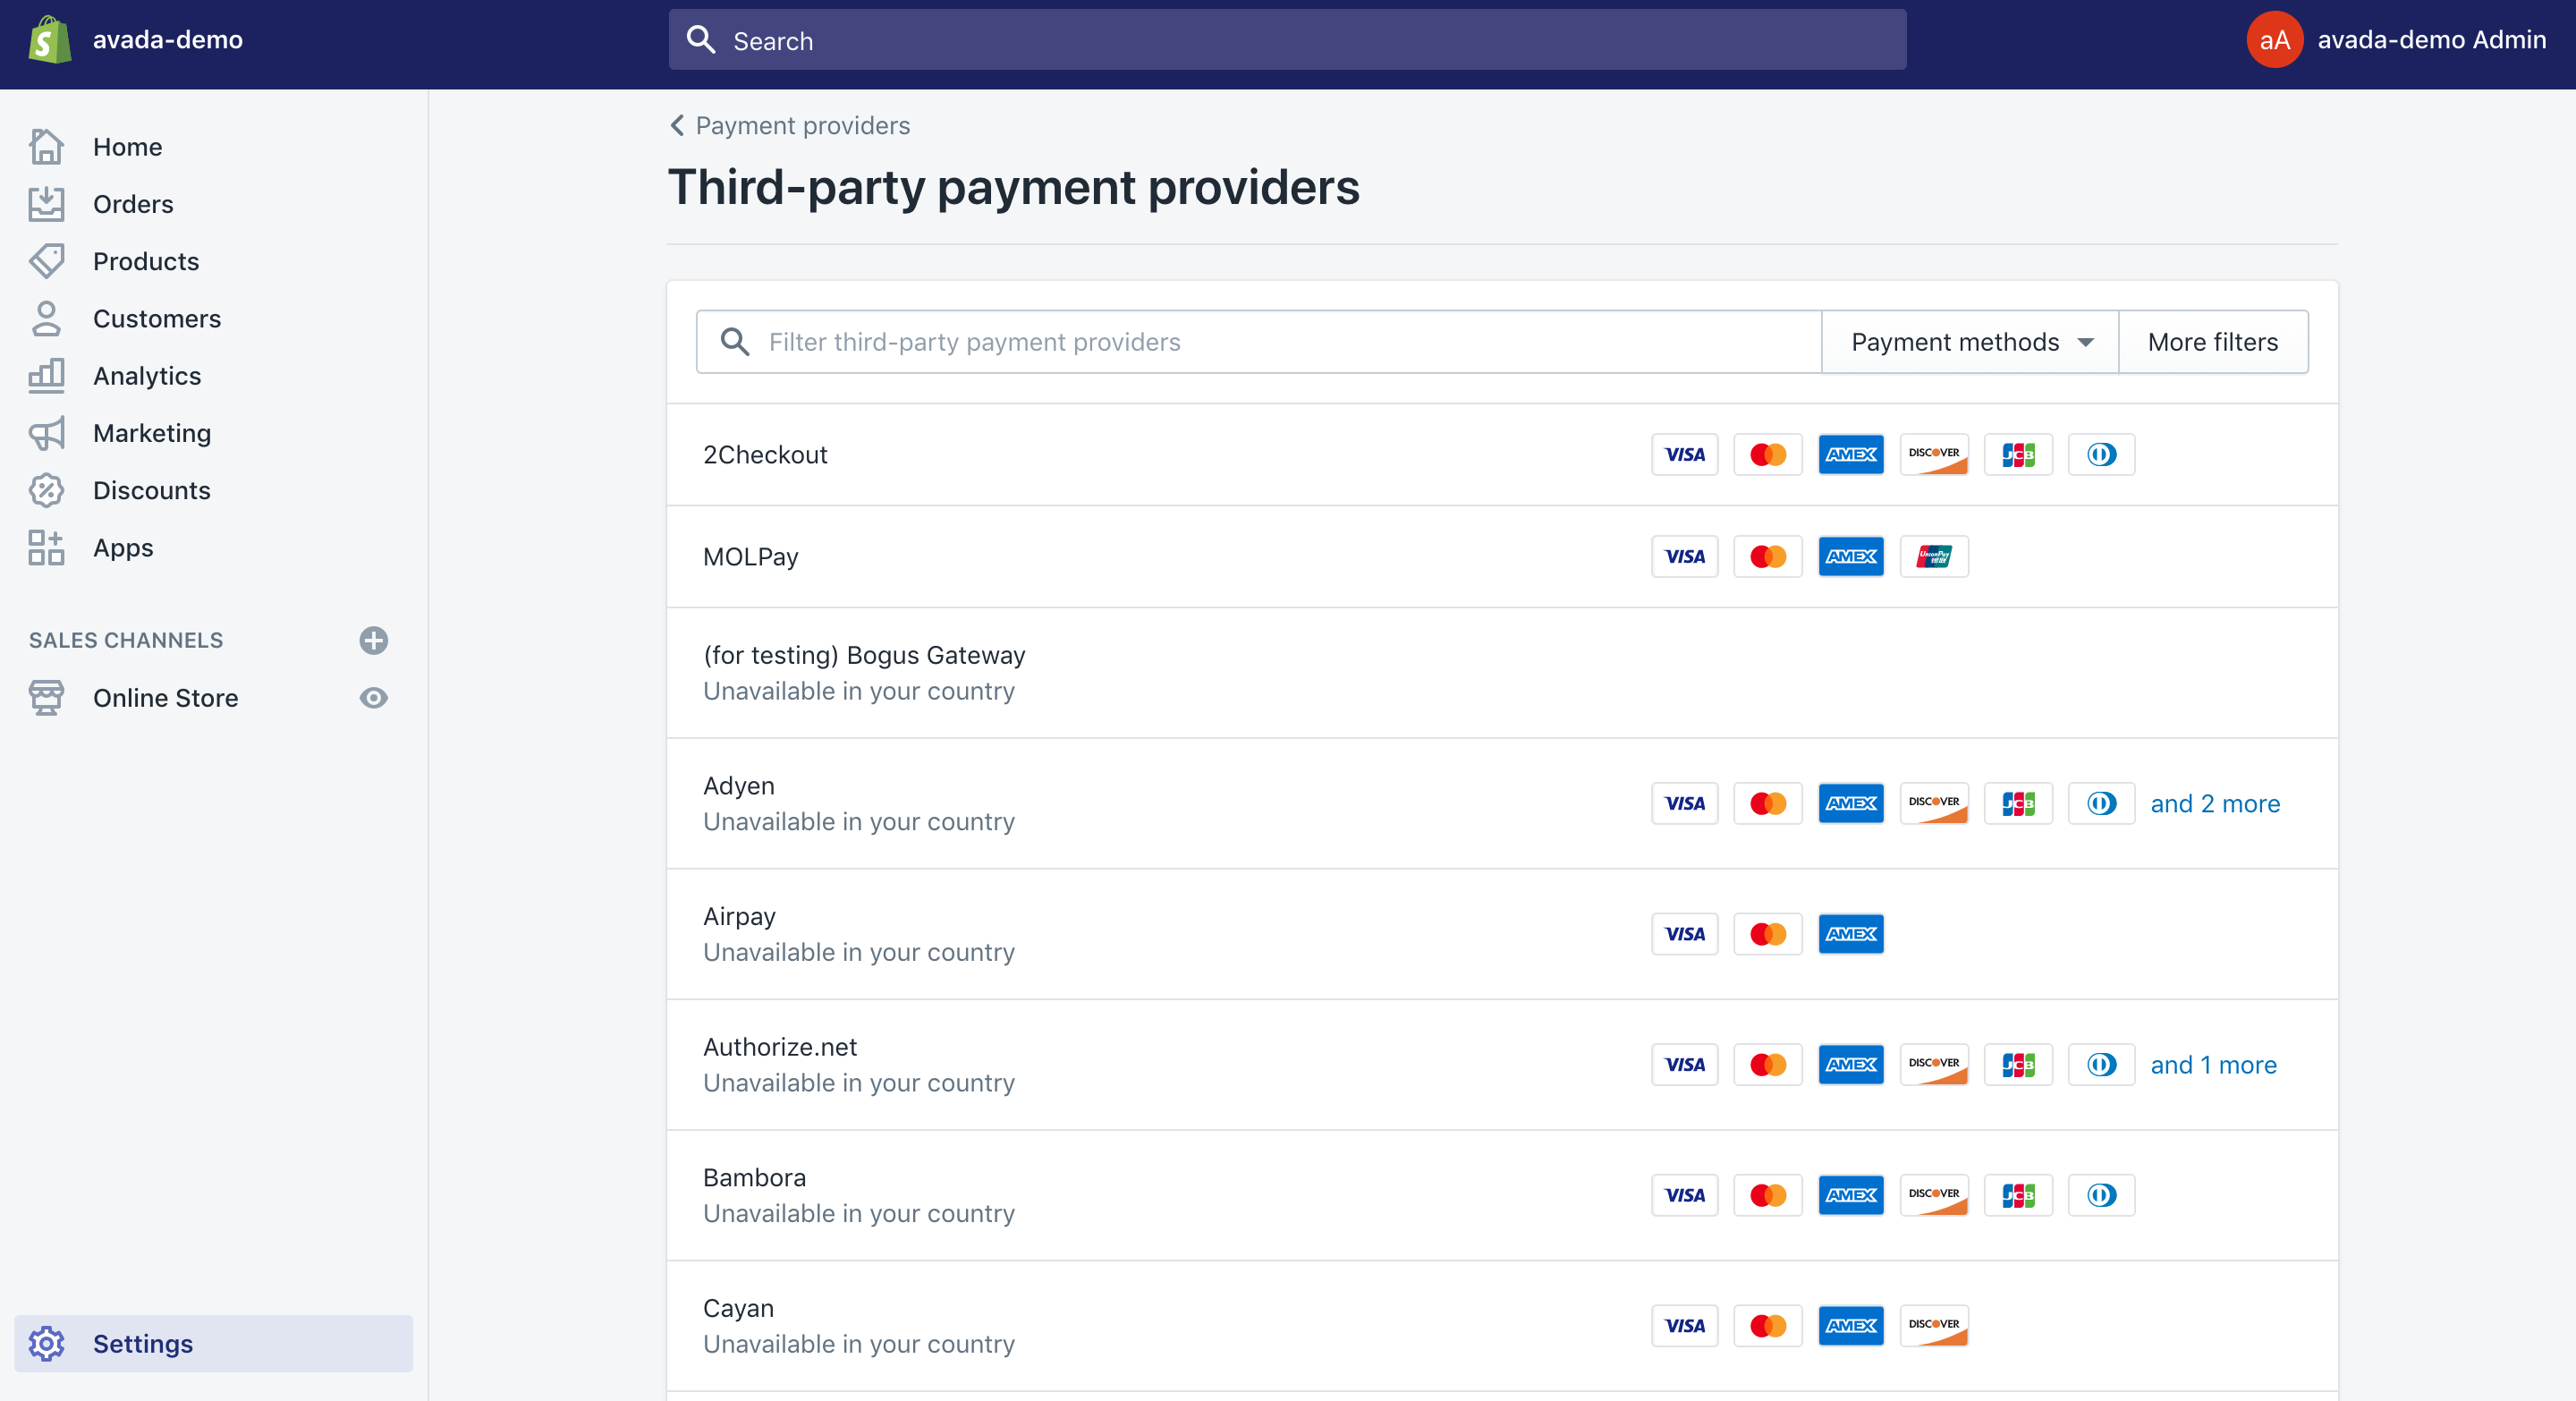
Step 5: Go to (for testing) Bogus Gateway
After that, you can go to (for testing) Bogus Gateway located under Other.
Step 6: Press on Continue
Press on Continue and Activate.
Step 7: Come to the online store and do a test order
Finally, you can come to your online store and place a test order when customers do. At the checkout, you had better add the credit card details as shown below instead of genuine numbers.
Do a test order with a real transaction
Step 1: Choose Settings and Payment providers
First, choose Settings and go to Payment providers.

Step 2: Head to Accept Payments Section and Accept Credit Cards
Then, you can click on Accept Credit Cards located under Accept Payments.
Step 3: Choose to Select a Credit Card Gateway drop-down menu
Next, you can choose Select a Credit Card Gateway drop-down menu from the Accept Credit Cards screen.
Step 4: Check the box Use test mode and Activate
In this step, you can select any payment gateways that you want to set up. After that, let’s check the box Use test mode before choosing the Activate button in order to get your payment gateway activated.
Step 5: Make a purchasing from the store
It is time you could make a purchasing from your own store as a customer, then finish the checkout process by using a genuine credit card (use your own).
Step 6: Log into the Payment Gateway
If you are using another third-party gateway, you had better log into your Payment Gateway during the process of checkout to make sure that the fund will be well processed and that the transaction is complete.
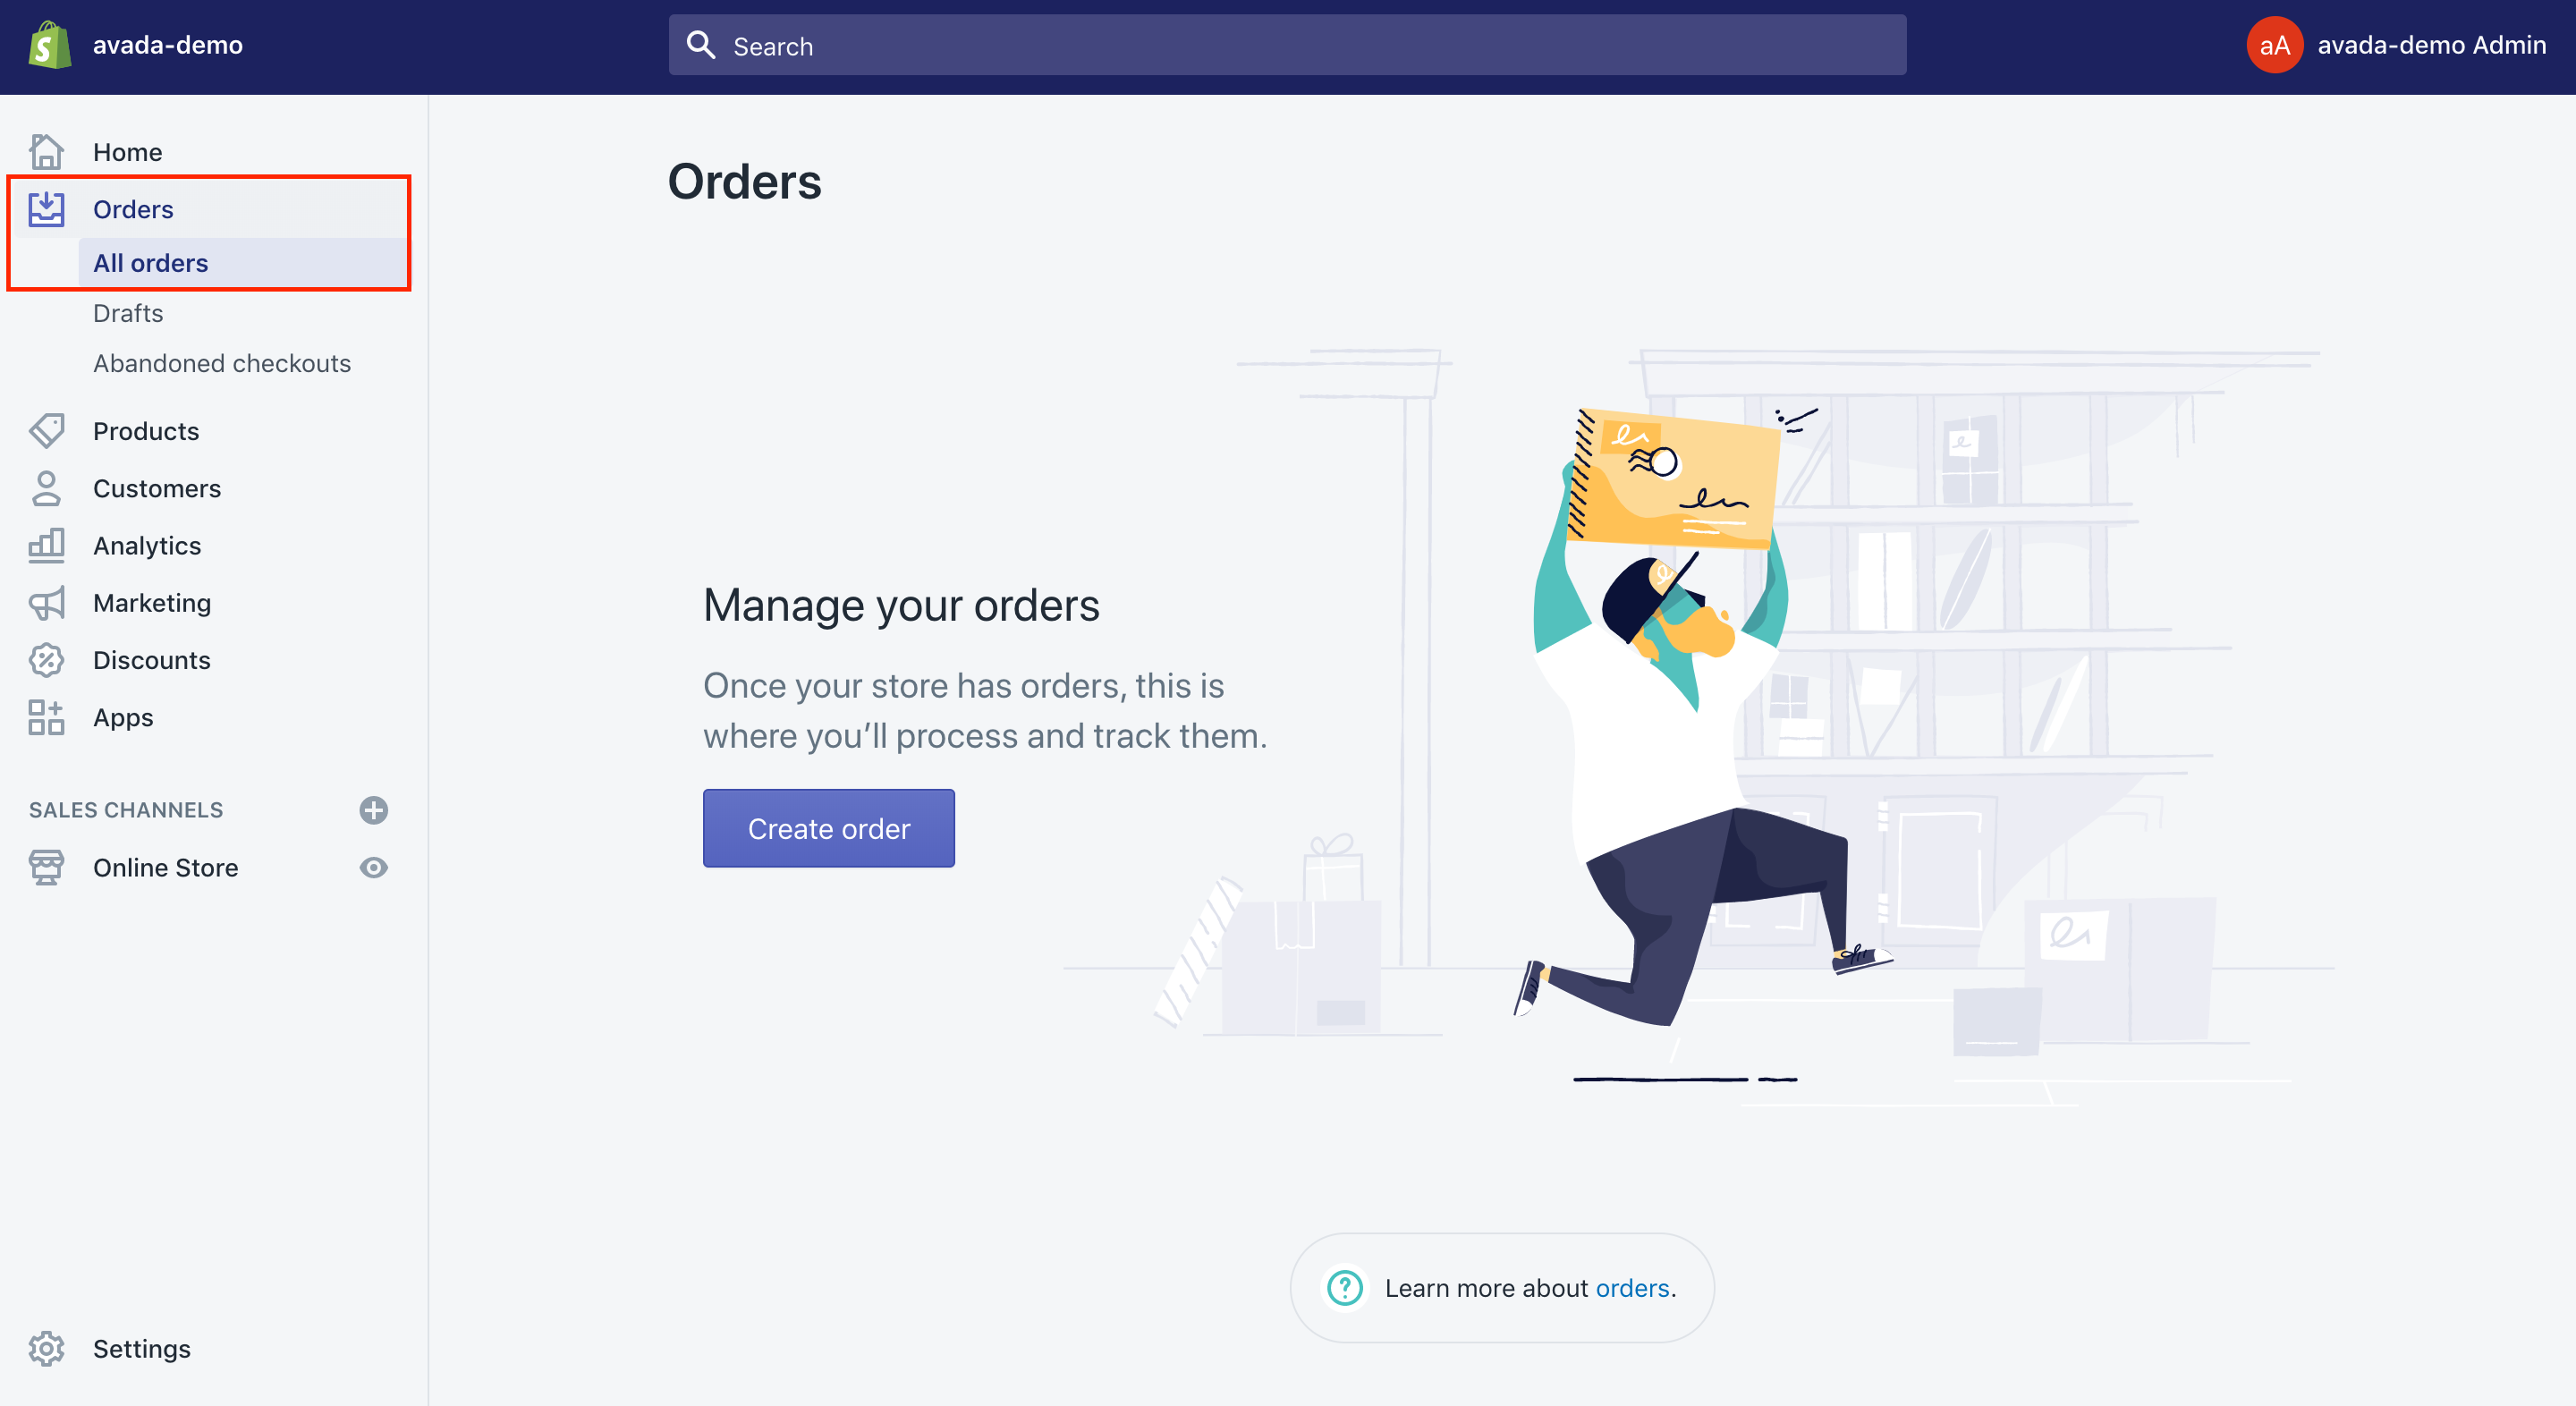
Step 7: Find Orders section
In this step, you can find the Orders section from your Shopify store admin panel.
Step 8: Cancel and refund your made order
Now, you can delete and refund the order you have created. Make sure that you refund the transaction as soon as possible and avoid any payment of transaction fees.
- Open the order by choosing the order number.
- Click the
Refundlink.
Testing your shipping and confirm the email
You can guarantee your shipping settings are well-prepared and correct by doing a test order. For instance, in case you are offering free shipping for some order value, you can test that order that will qualify for the free shipment to ensure that this shipping discount can be used.
Regarding test email notifications, you can re-check the email notifications by doing a test order. To get the email notifications, let’s enter the email address at the checkout. Don’t worry since your email templates can be customized from your own Shopify admin.
Are you charged for a test order?
The answer is no. As long as your order can be canceled and refunded. But, all you need to do is to make sure that you can do it as fast as you can. It should not be born any transaction fees because if you perform it in a timely manner, your transaction will not hit your account.
Sometimes, for reasons, your billing options close after you place your test order; however, before you cancel it, the transaction fees will be present on your bill also. If any case happens, you will receive a refund as your transaction credit on your account. You are able to apply the transaction credit towards your future transaction fees.
See more: All Shopify Payment Fees
How to delete test orders on Shopify
Take note that you are able to delete an order test that has been canceled. As deleting an order, any records from your store admin or order history will be removed too.
Step 1: Head to the Orders section
The first step is heading to the Orders section from your Shopify store admin panel.

Step 2: Choose the order number you wish to refund
Next, you can choose the order number you want to refund. By doing so, the order’s page will be opened.
Step 3: Select Actions and Cancel Order
Next, let’s select Actions and then Cancel Order. Once the order is canceled, you can place this on the archive by choosing Actions and Archive.
Step 4: Go to Delete Order
Now, you are able to delete an order by choosing the Delete Order button located at the bottom of any order.
Conclusion
As you can see, a test order is needed when you set up your store. We hope that with this complete guide on how to do a test order on Shopify, you can check all of the possible issues and make sure that everything is working well for the benefits of your customers. Orders as well as check, as well as checkout process, are always a big deal since your customers place trust in you as you can acquire them the real benefits and money.
As usual, don’t hesitate to contact us if you have any questions or problems while performing those above steps. In case you find this post useful, let’s help us spread it on your social channels. We would love to hear more feedback from you.
Related Posts:


