How to use Shopify Image Editor
As photos are a must-have element for your products to help your customers visualize what they are going to purchase the best. When you are selling products online on Shopify, and you have probably already discovered the Image Editor tool while uploading images to your Product pages.
This Image Editor is going to help you edit and resize the images that you want to put in your Shopify admin. However, have you explored all the options available for editing your images? Also, do you understand how the aspect ratio of your images affects the way they look on websites?
This article is here for you to instruct you on the method to utilize these free tools in the most effective way, and gives you some cool tips while using Image Editor, as well.
Related Post
- How to Move and Resize an Image in the Rich Text Editor on Shopify
- How to Add a Product Image on Shopify
Firstly, to Open the Image Editor, you need to upload your photo in the Product Listing Page. Once the image has been uploaded, click on the Edit icon, which is similar to the pencil, on the photo you want to edit.
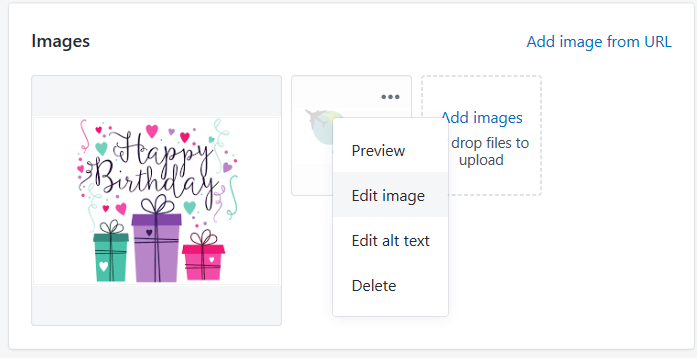
Crop an image
The very first feature of Image Editor that I would like to show you is the Image Cropping section to remove part of the image. This is extremely helpful when you don’t want to display some parts of your image to the public, or you want to change your image’s aspect ratio as well.
So now, follow these steps to get your goals:
Step 1: Click on Crop
After hitting a click on Crop, there will be three different options spreading out, which are Freefrom, Original, Square
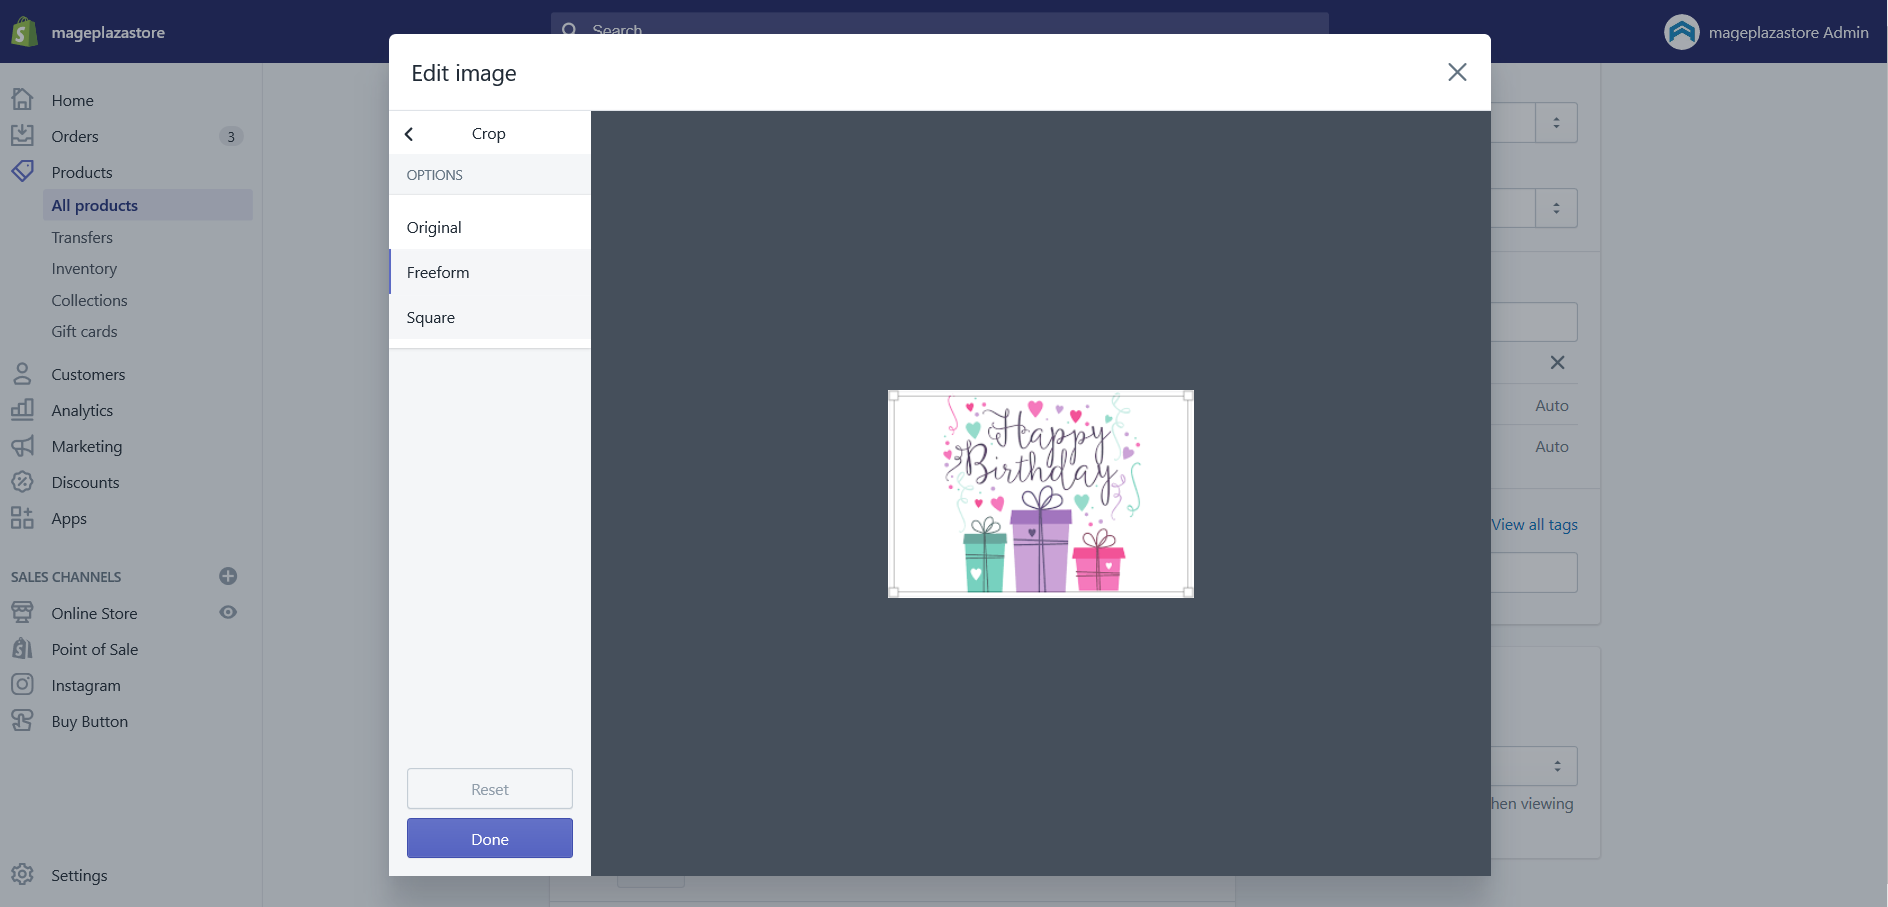
Step 2: Start cropping an image
After that, just frame the area of the image that you want to embed on your Shopify. In this section, pay attention to some of the circumstances below:
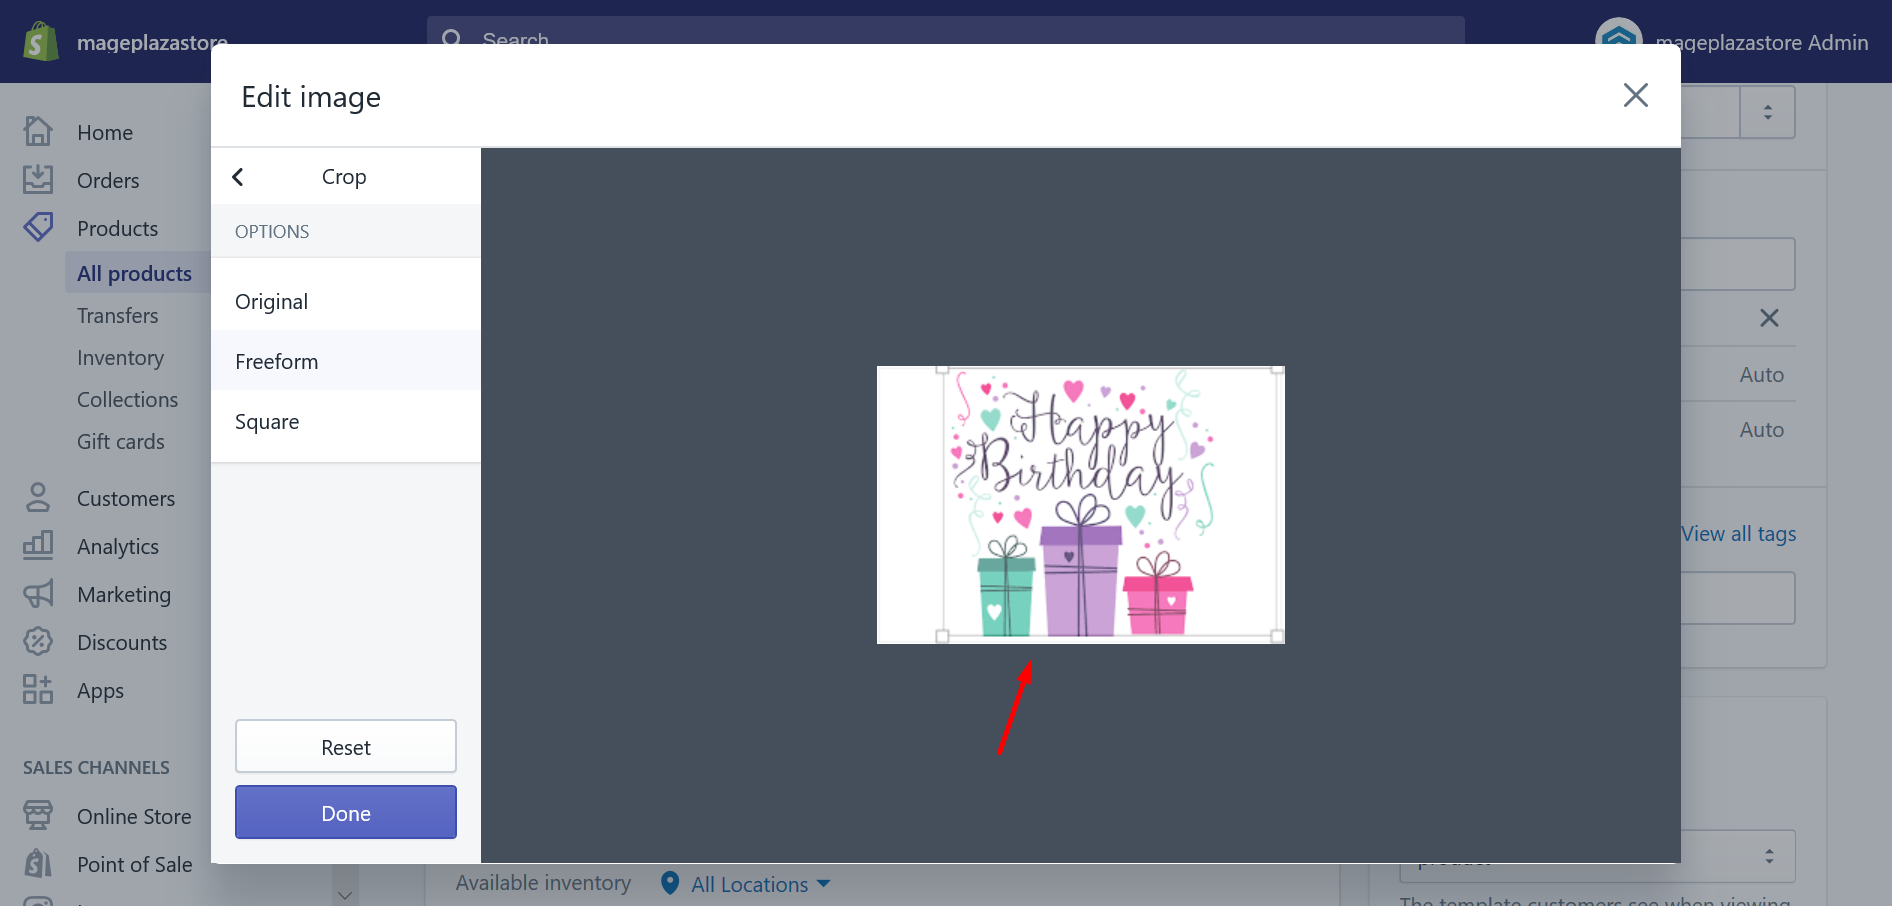
- In case you want to crop the image into your own custom size, just click in the
Freeformbutton. After that, click and drag one of four corners in the highlighted area, or you can click inside the highlighted area and drag it to a different position.
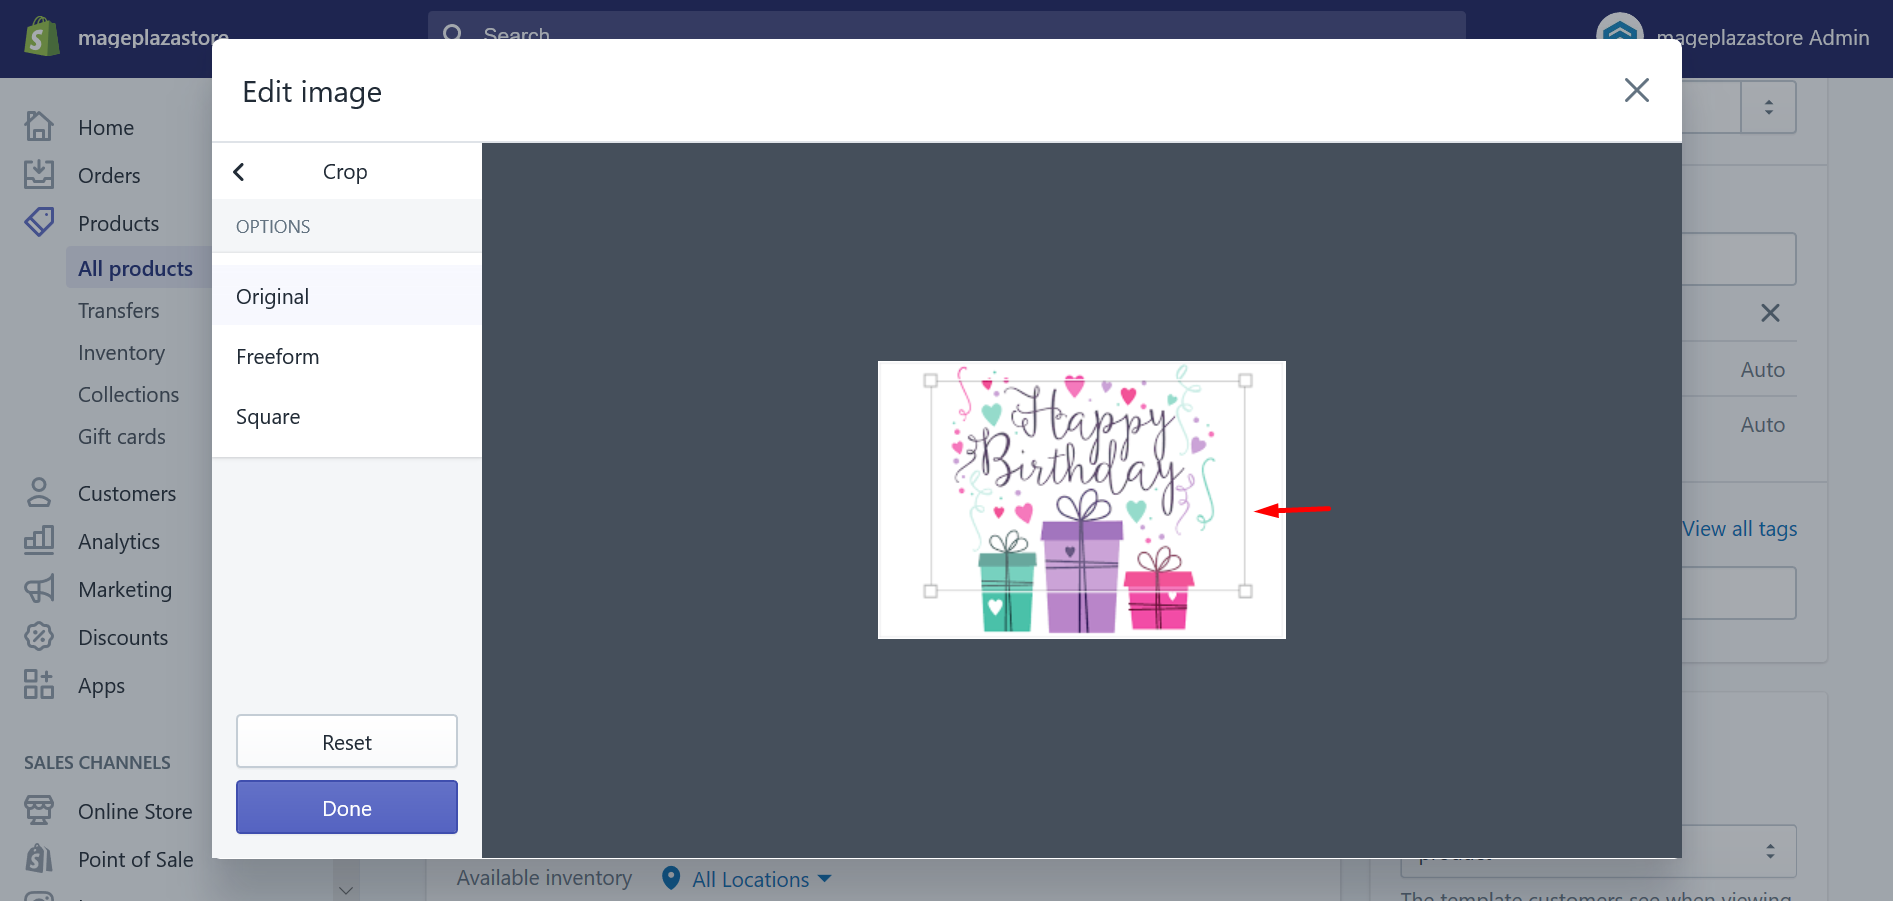
- In case you want to crop the image, which has the same aspect ratio as the image, just click on the
Originalsection. Because this will enable you to click and drag the corners of the highlighted area to resize it, or click inside the highlighted area and drag it to a different position. Consequently, your aspect ratio will stay in the same way as the original one when you resize it at any porpotion that you want.
- In case you want to set the image into a square, just hit a click on the
Squarepart. When you want to resize it, you will need to click and drag the corners of the square, or click inside the square and drag it to a different position instead. In this situation, the aspect ratio of the square will be kept in the same way as you resize it.
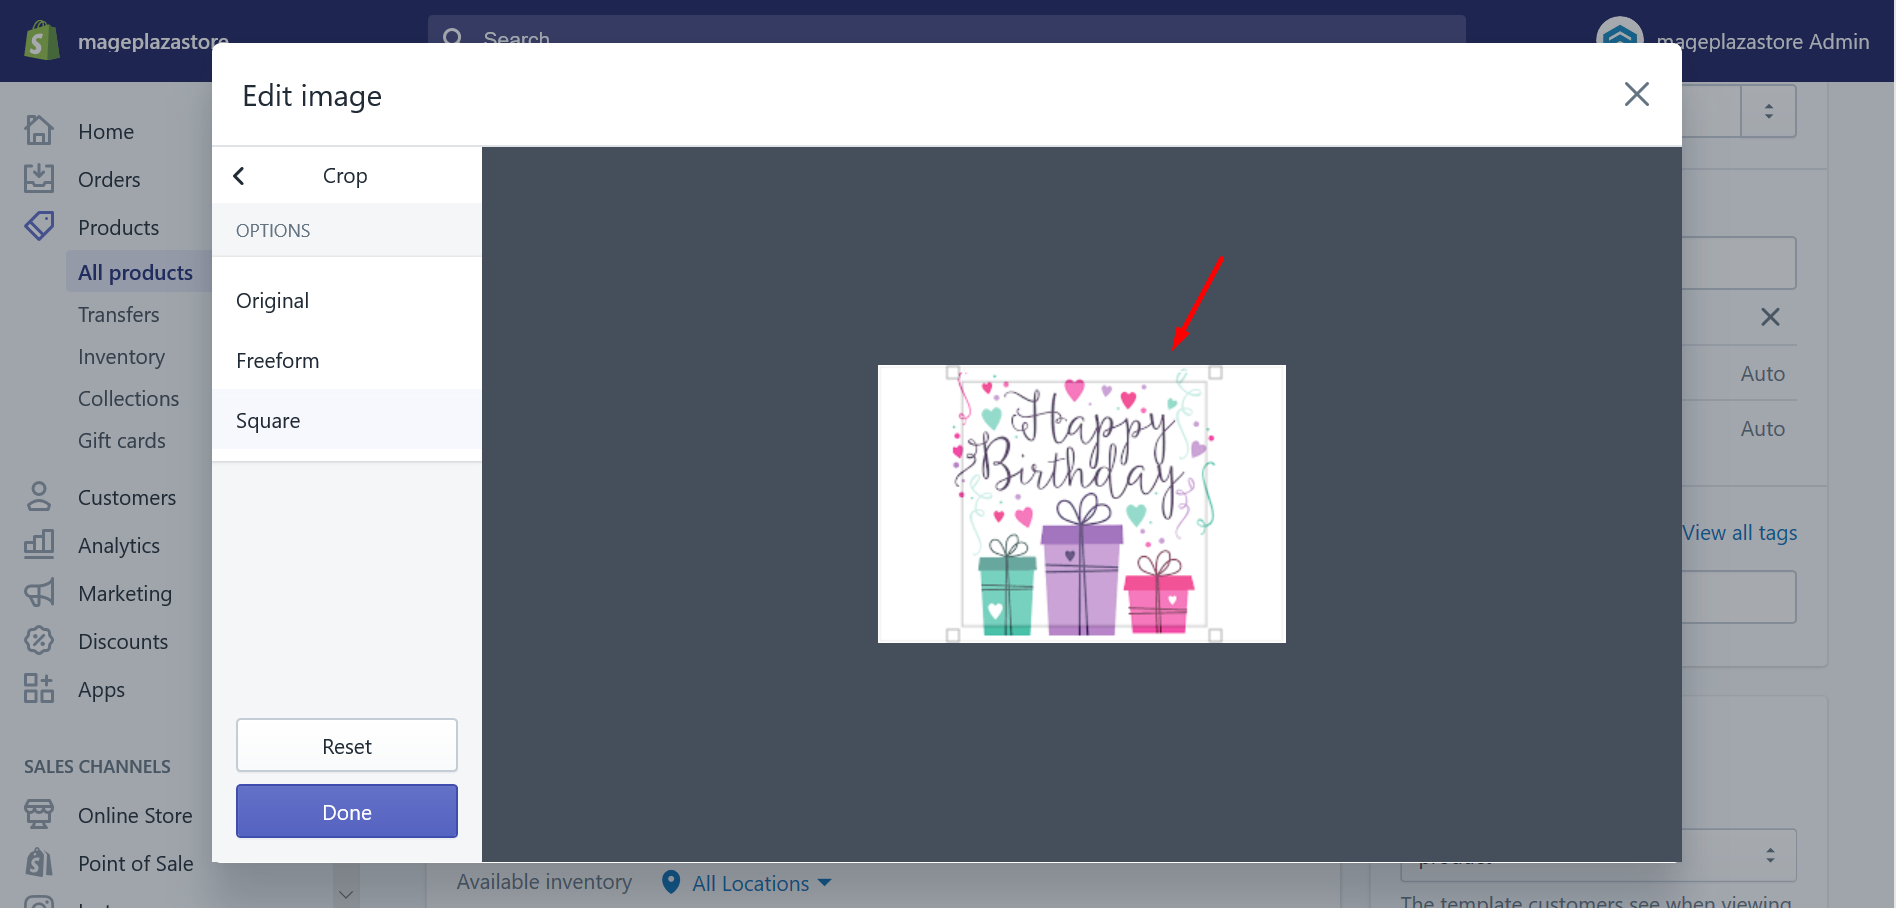
Step 3: Save the cropped image
Finally, all you have to do is to click Apply to crop the image. And then, when you’re done cropping image, click Save.
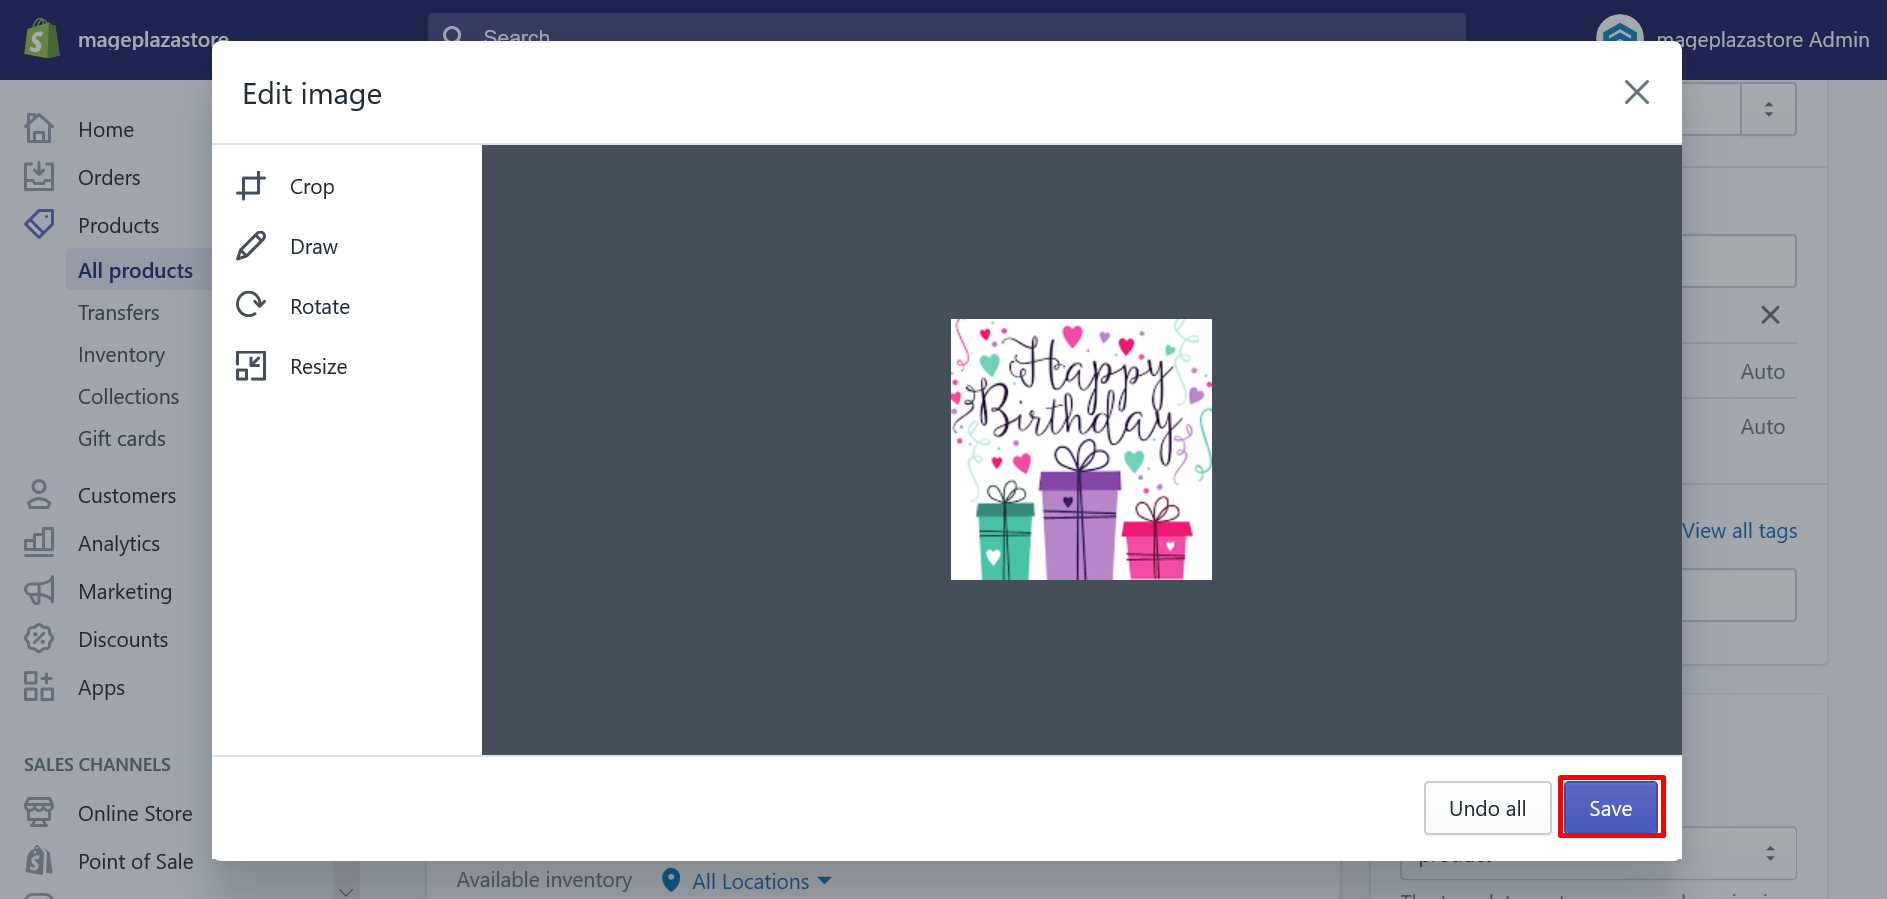
Draw on an image
When you want to make a change in your image by drawing on your image in the quickest way, like adding a line, highlighting part of the image, or adding a design, follow these steps to get your drawing in just moments:
Step 1: Open Draw section
In order to open the Draw section, move your mouse and click on Draw.
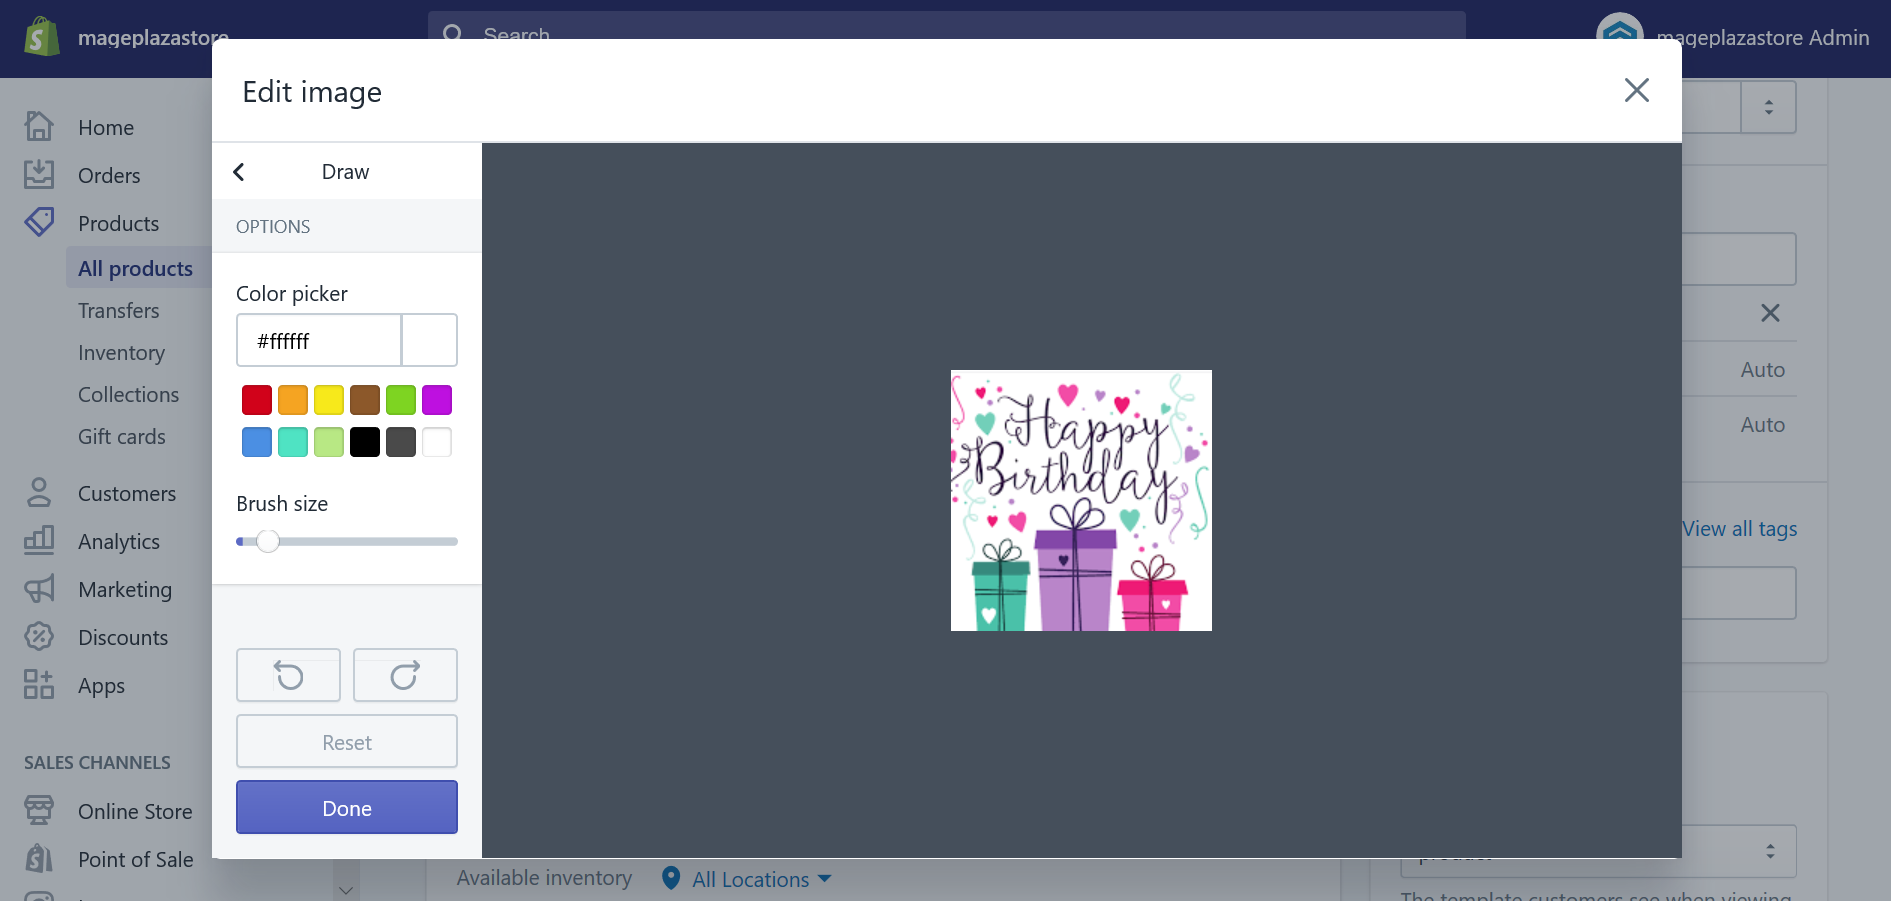
Step 2: Choose color and brush size
Next, select one specific color that you prefer and choose the size for the brush.
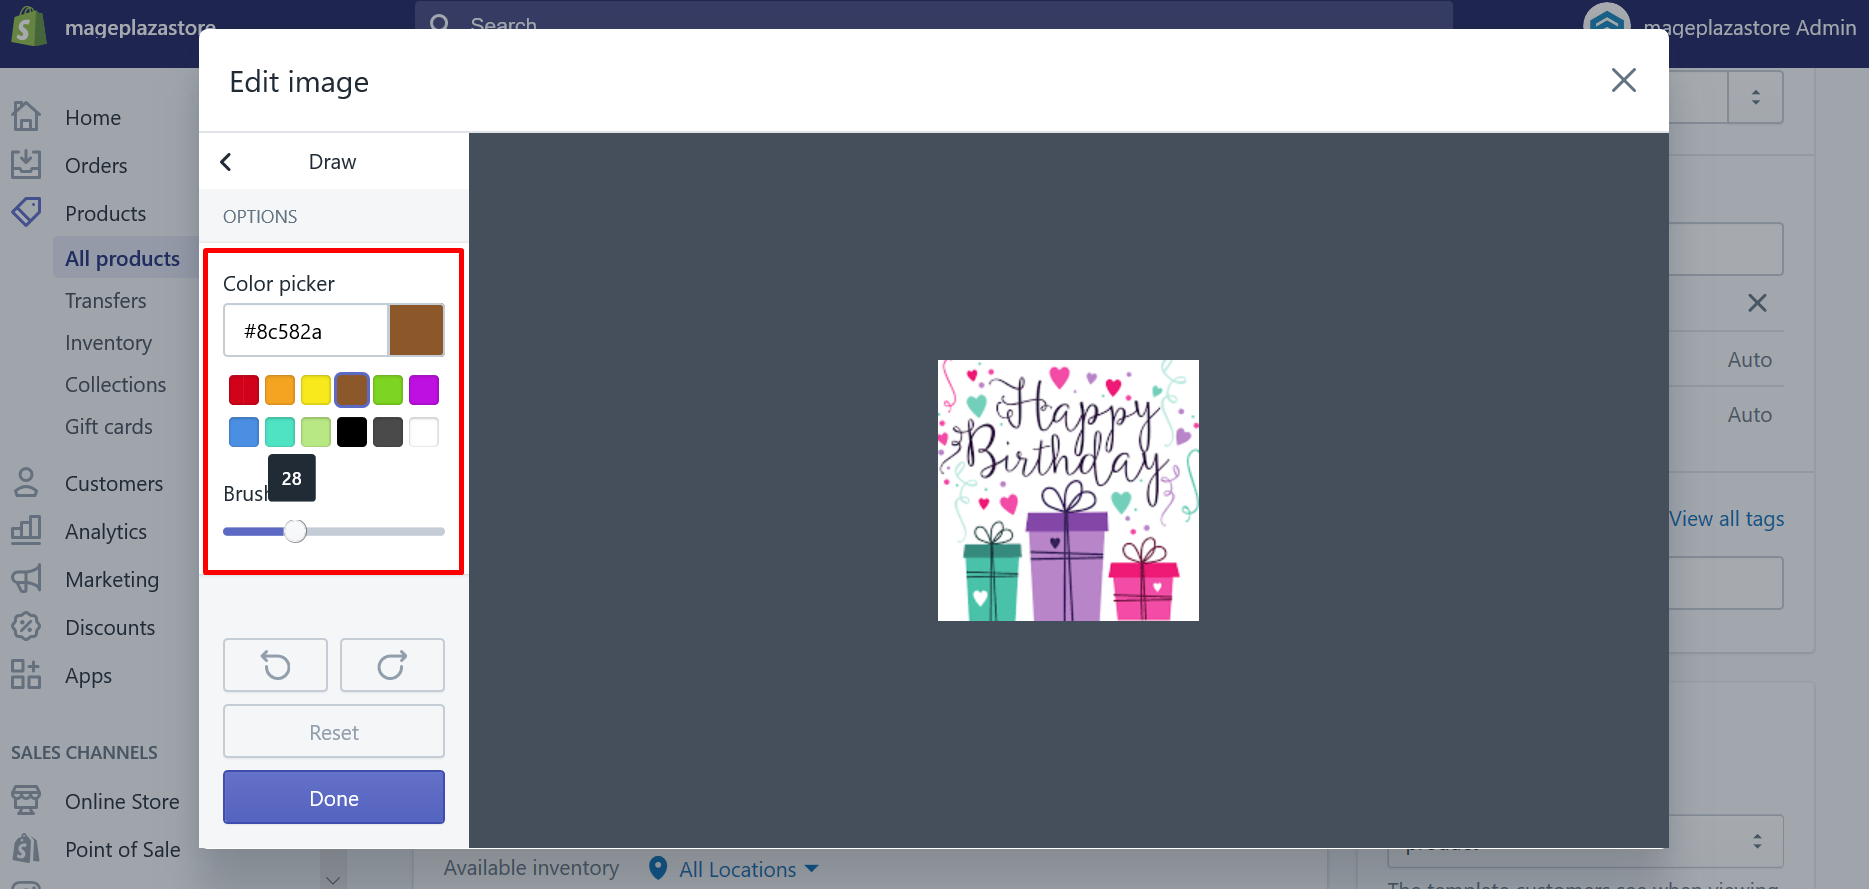
Step 3: Draw on the image
You can draw anything you want on the image by clicking and dragging your pen on the image.
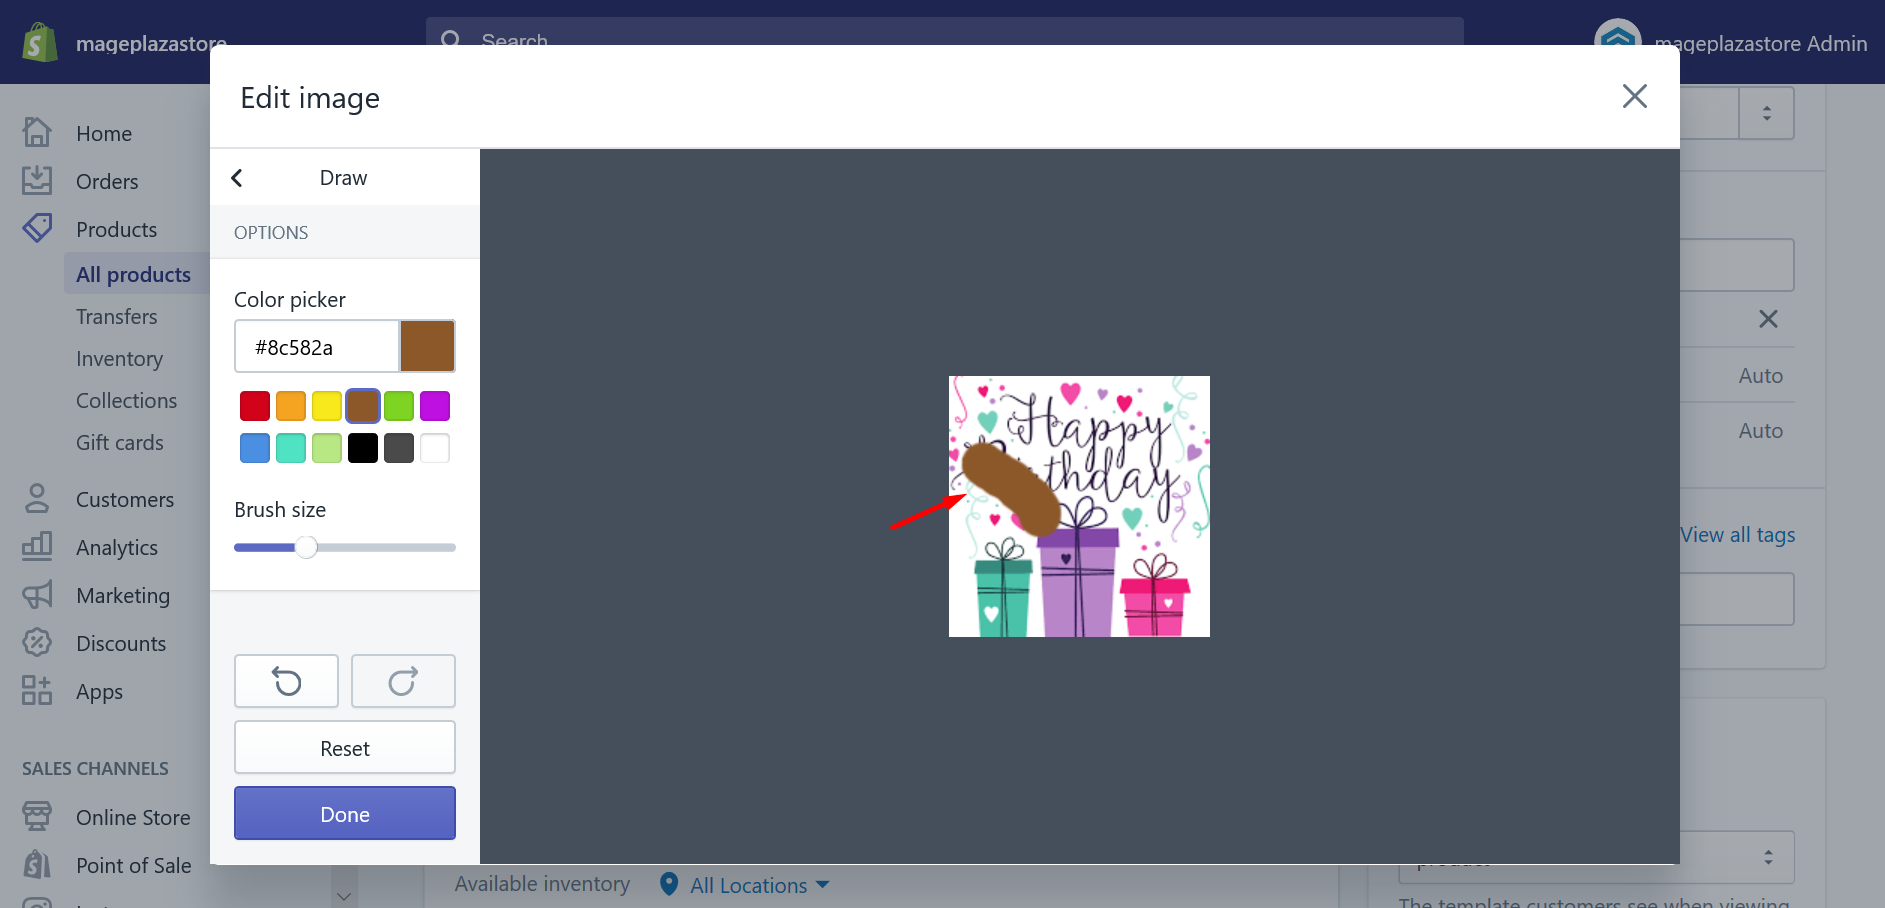
Step 4: Save image
Finally, click Done to insert the drawing to your image. As usual, you have to click the Save button to get all things done.
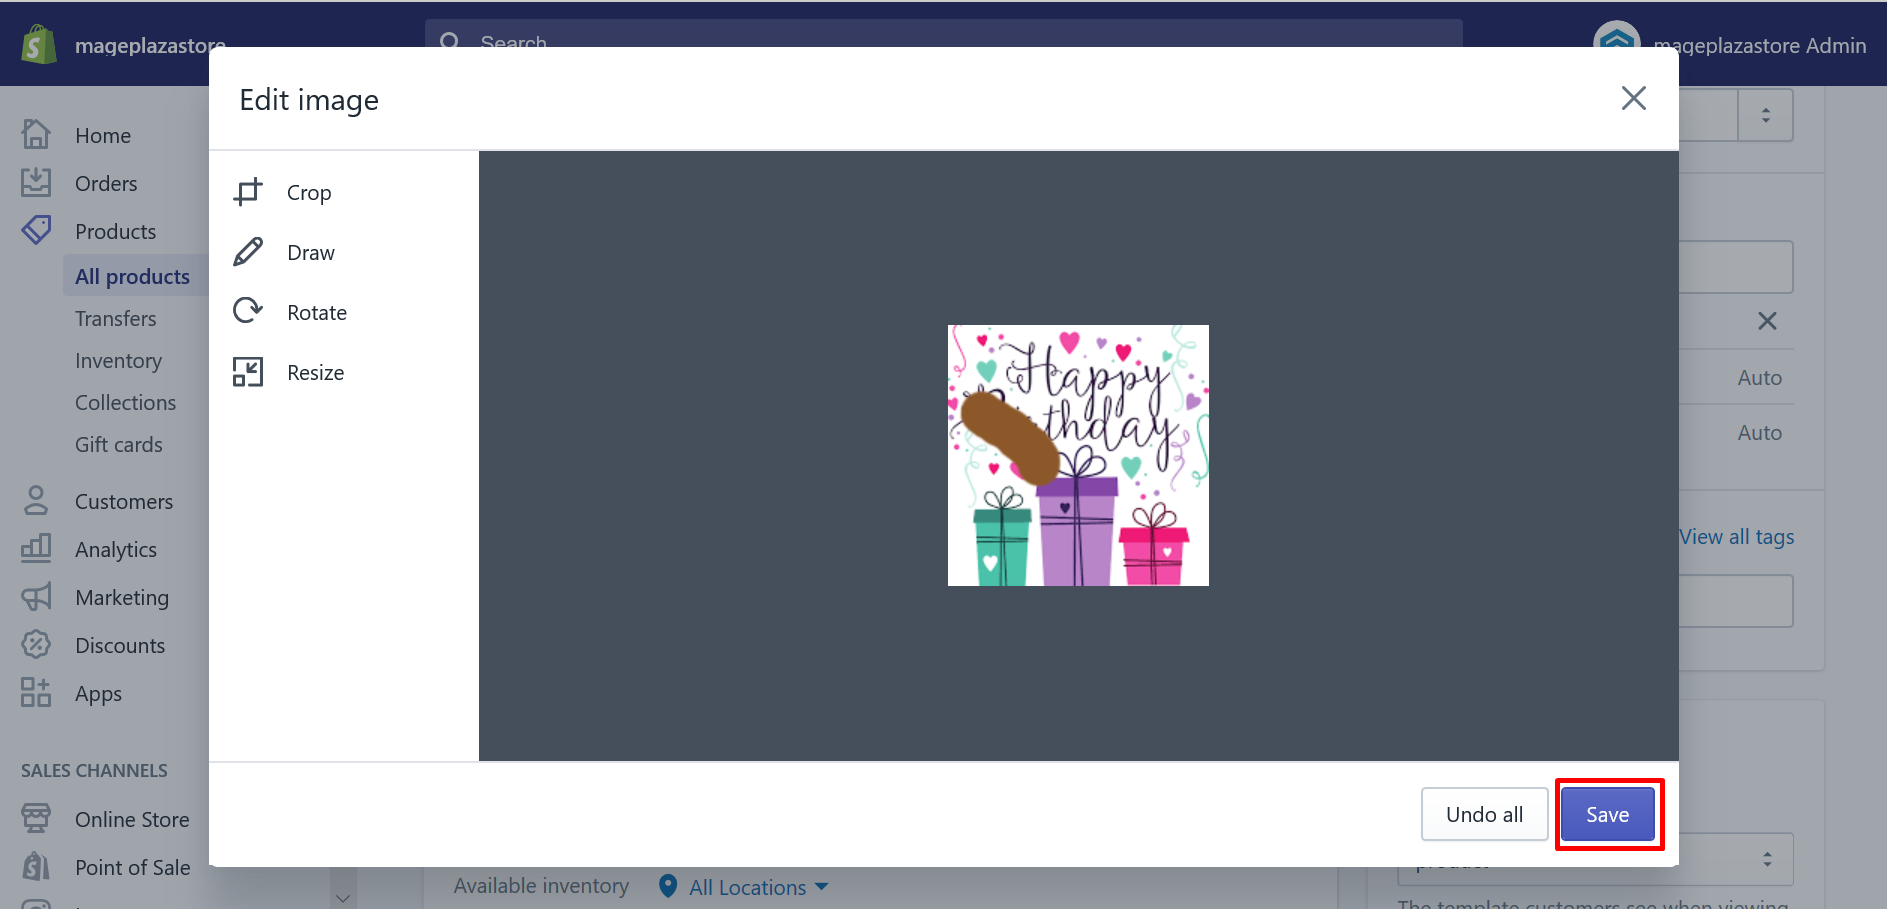
Note: If you make mistakes while drawing unintentionally, there is the eraser available to remove all or part of a drawing, not the original image.
Resize an image
The image is totally able to be changed its actual size when you follow these steps:
Step 1: Open Resize section
Firstly, click on the Resize button.
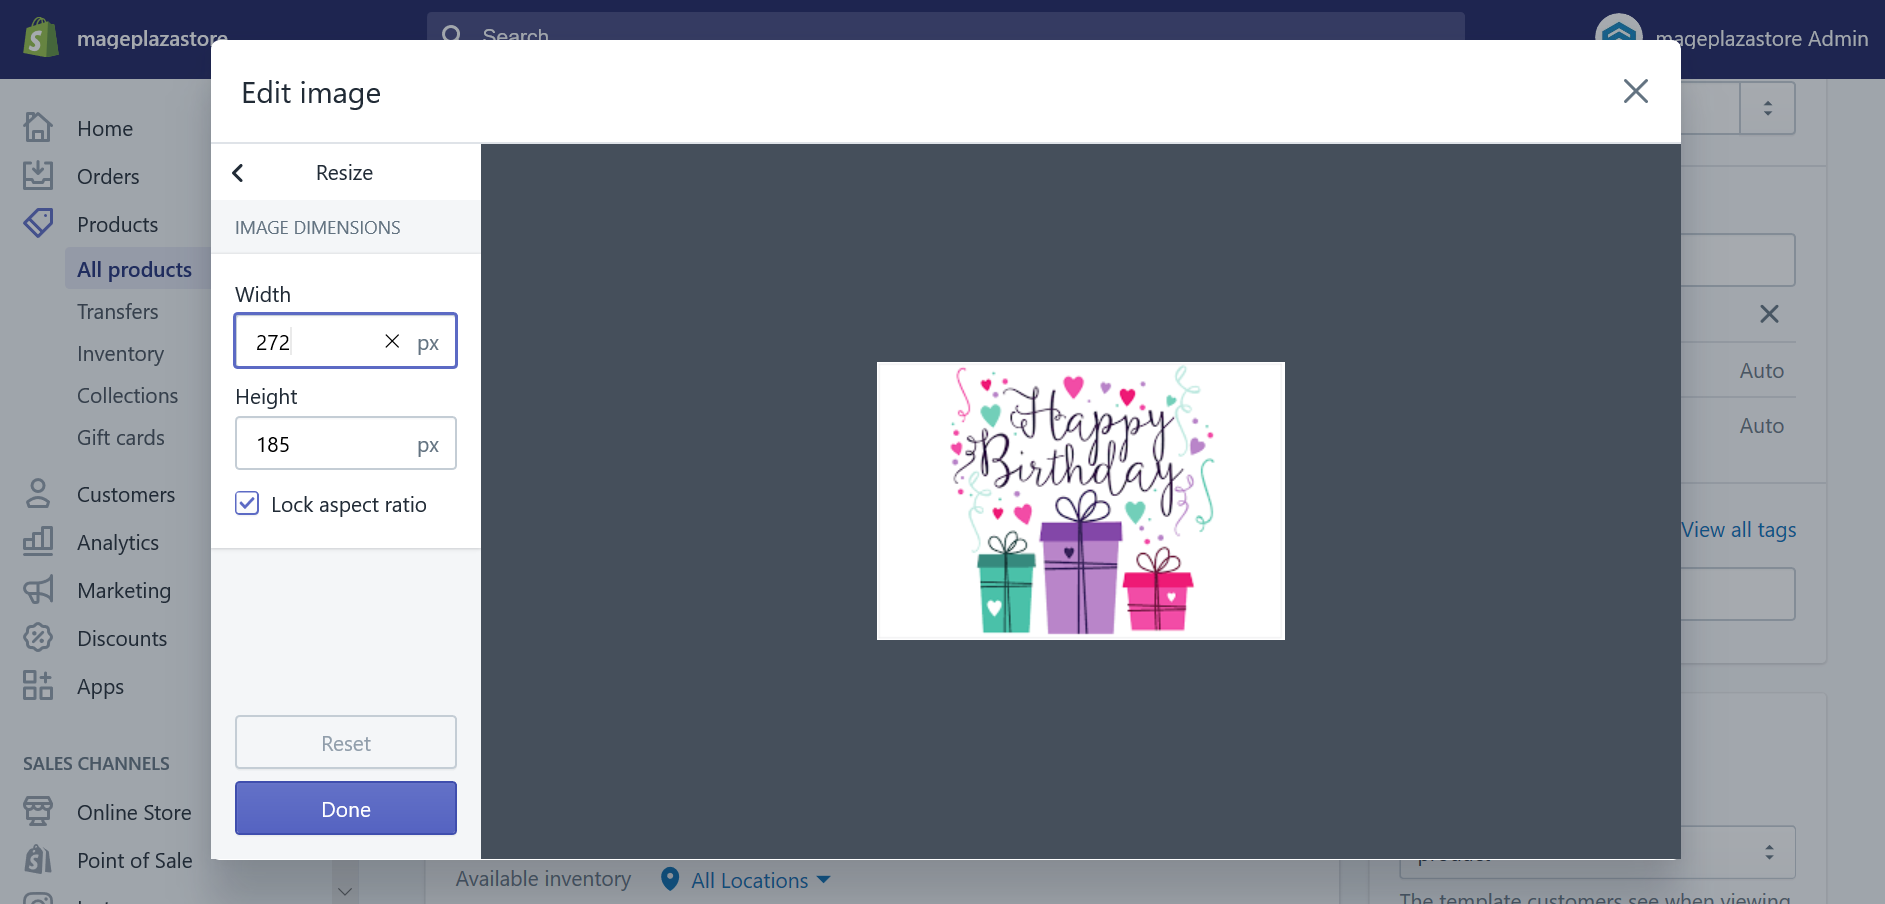
Step 2: Enter the new Width for the image
From there, the height will be automatically updated to ensure the same aspect ratio. The aspect ration will be kept the same whenever you resize your image if you click on the Lock aspect ratio section. Otherwise, your aspect ratio makes your image disable and distorted.
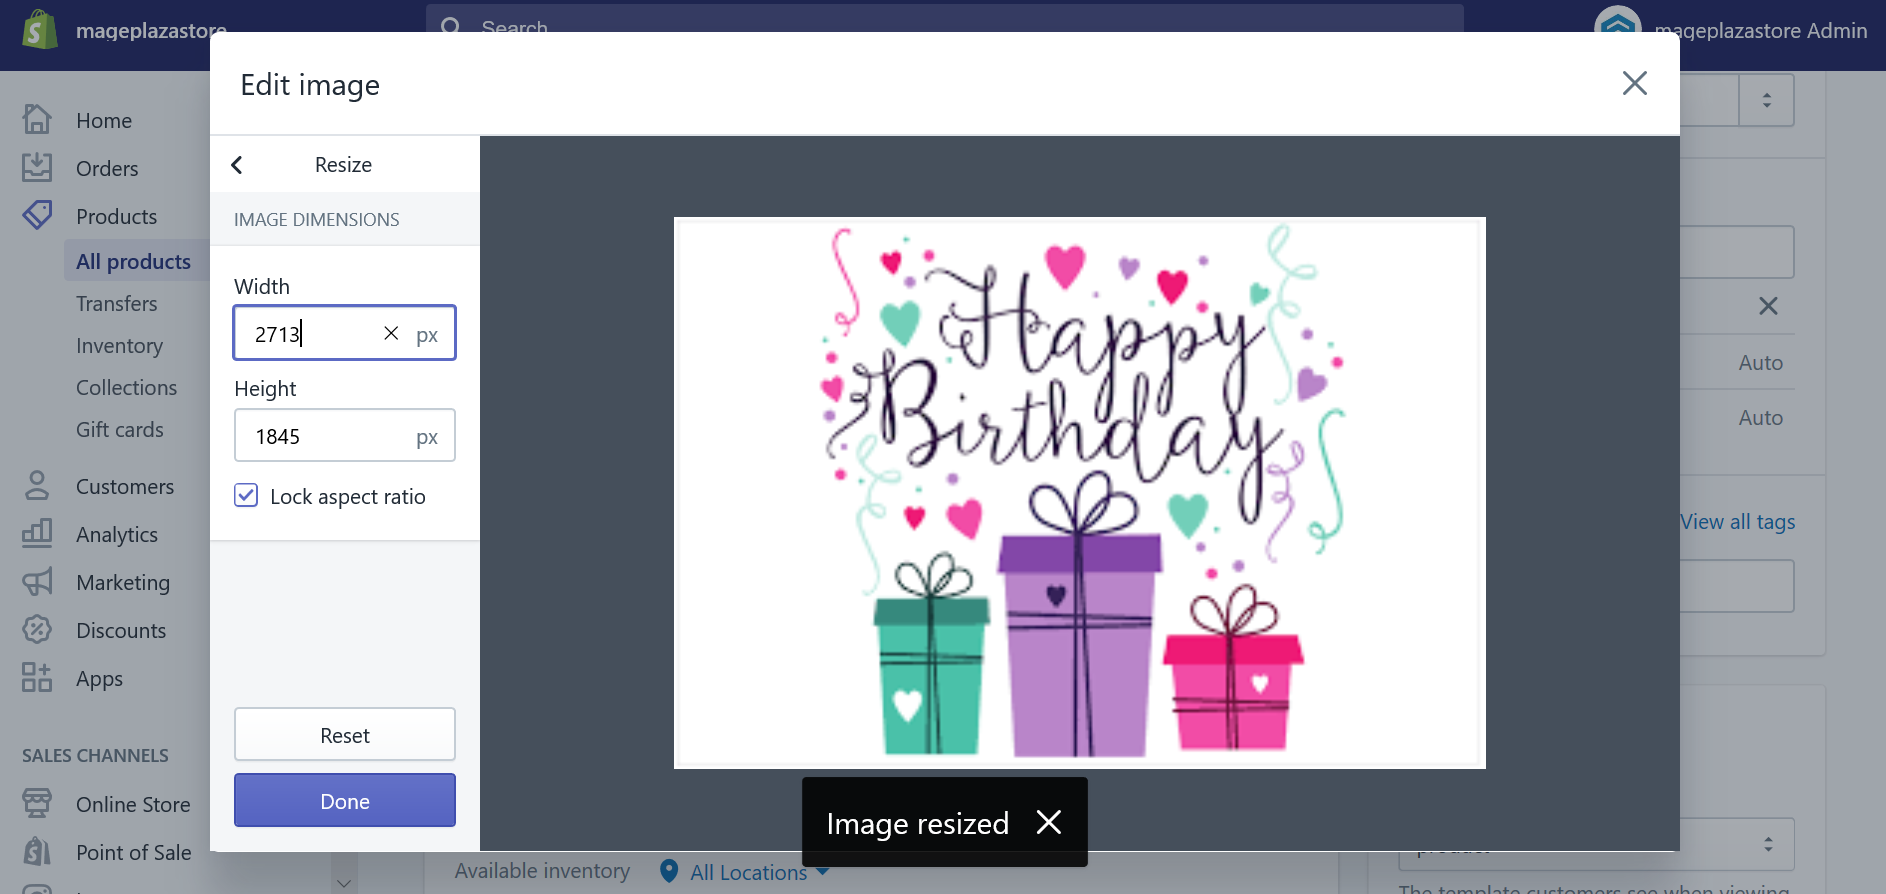
Step 3: Save the stage
After all, click on the Done button to resize the image and then go to the Save stage.
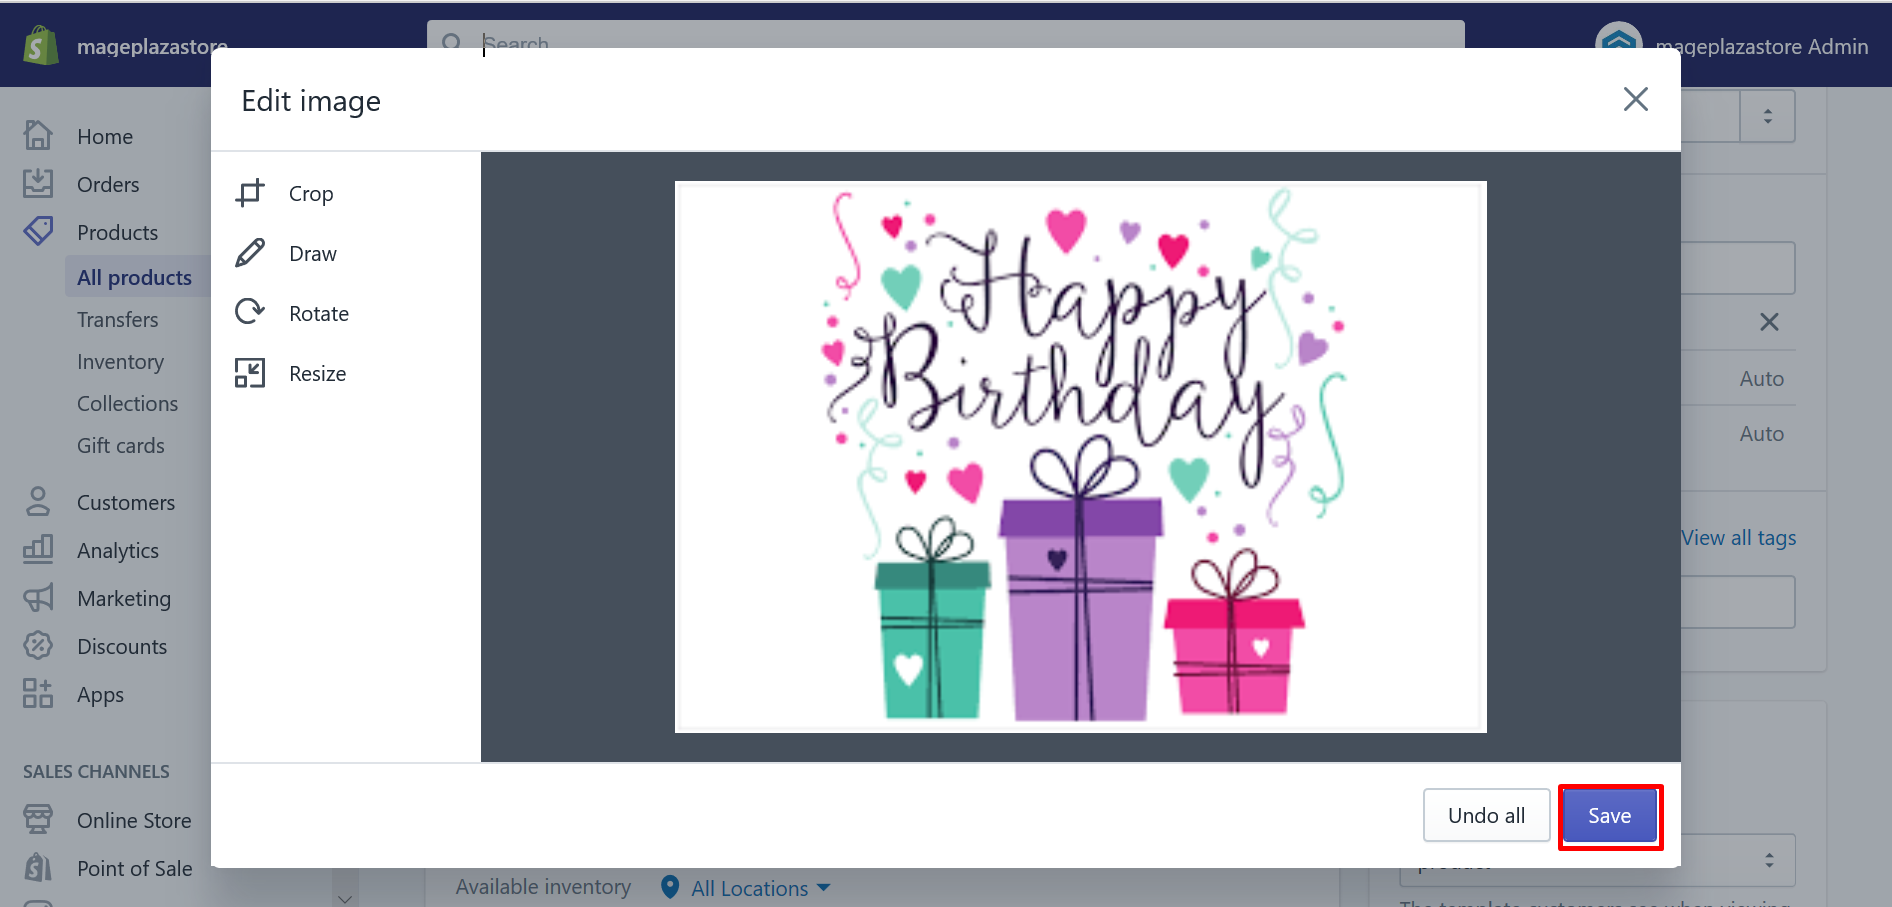
One thing that you should pay attention to when resizing an image is its total size. Because when you try to adjust the aspect ratio by resizing the image, it can be distorted. To avoid this, crop the image to the aspect ratio that you want to use.
Change an image’s orientation
You can flip or rotate an image to change its display orientation. You can also tilt the image within its frame.
Step 1: Open Rotate section
Tap on Rotate to open the section.
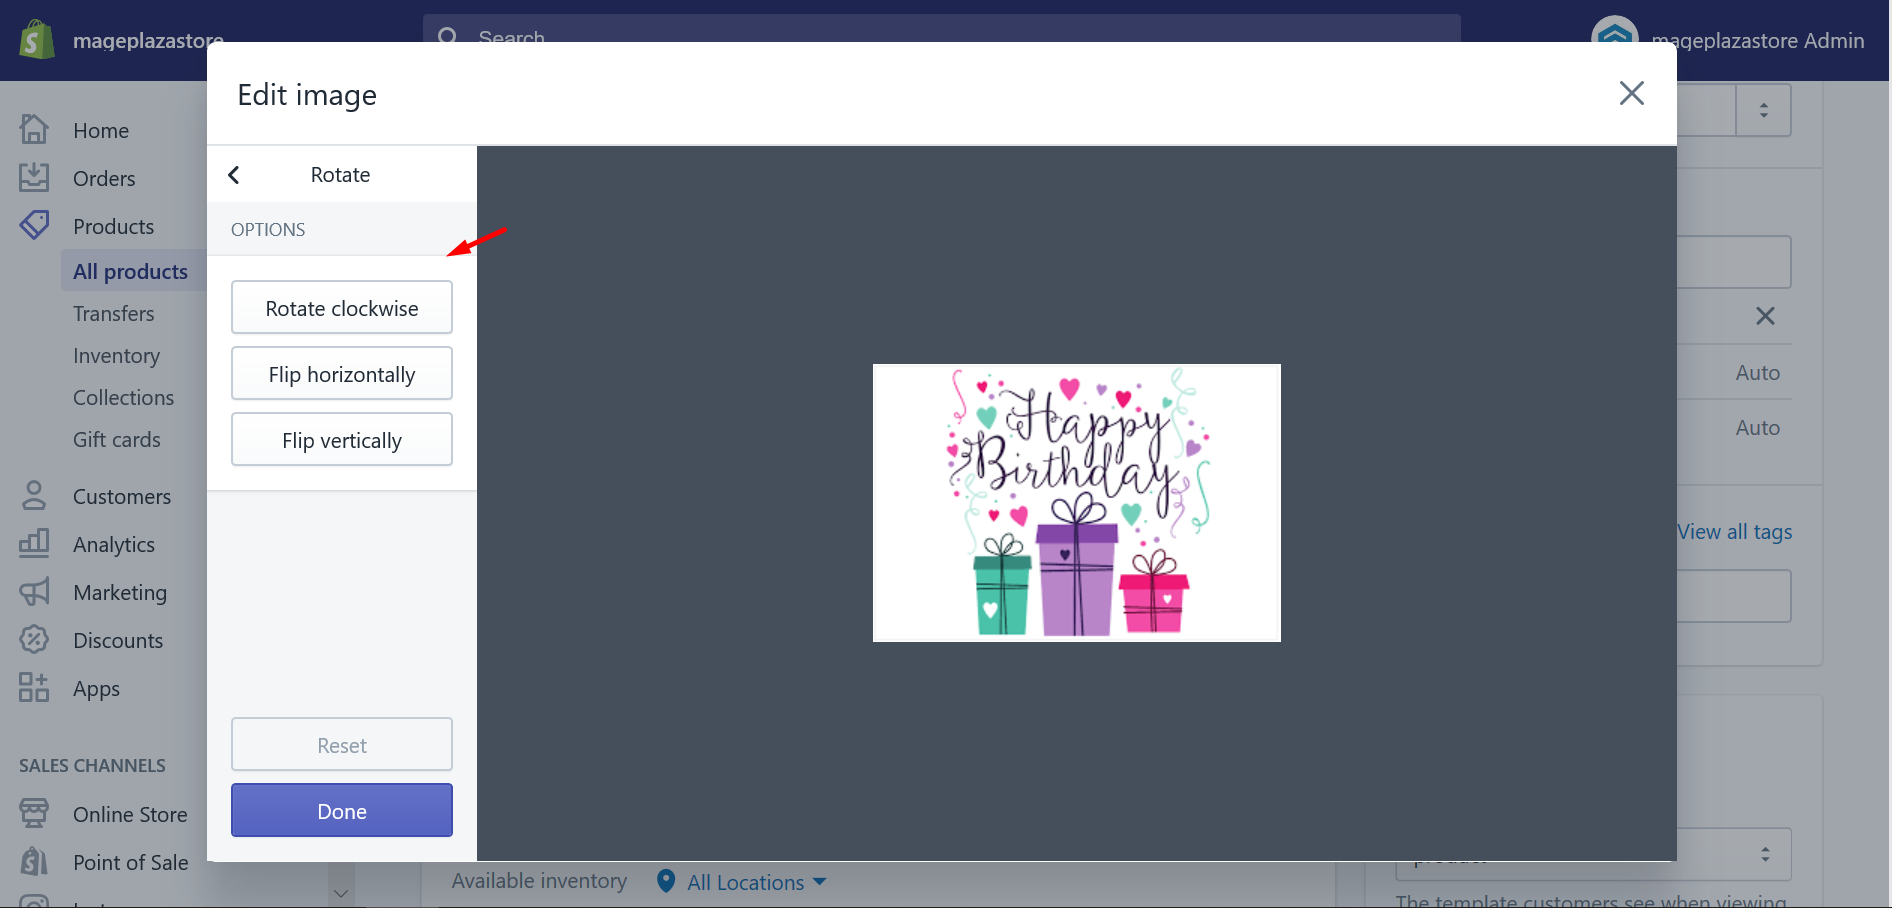
Step 2: Change the image’s orientation
There are three options on the whole in the image’s orientation.
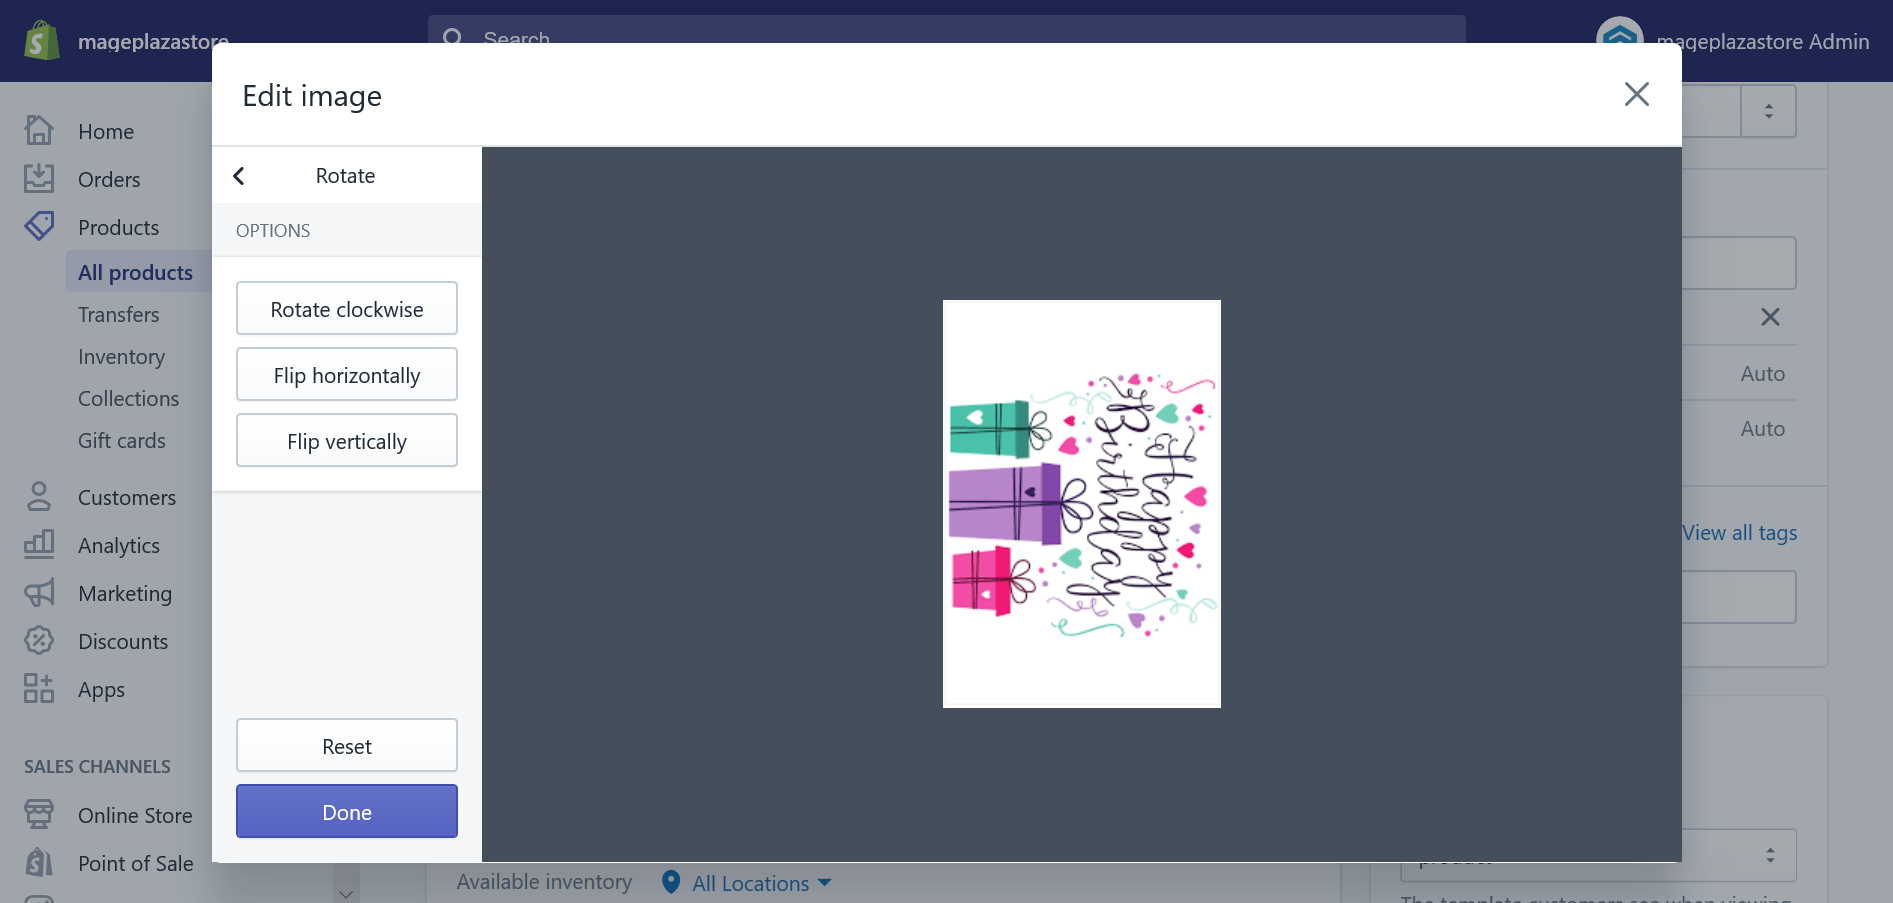
- Click
Rotate clockwiseto turn the image clockwise
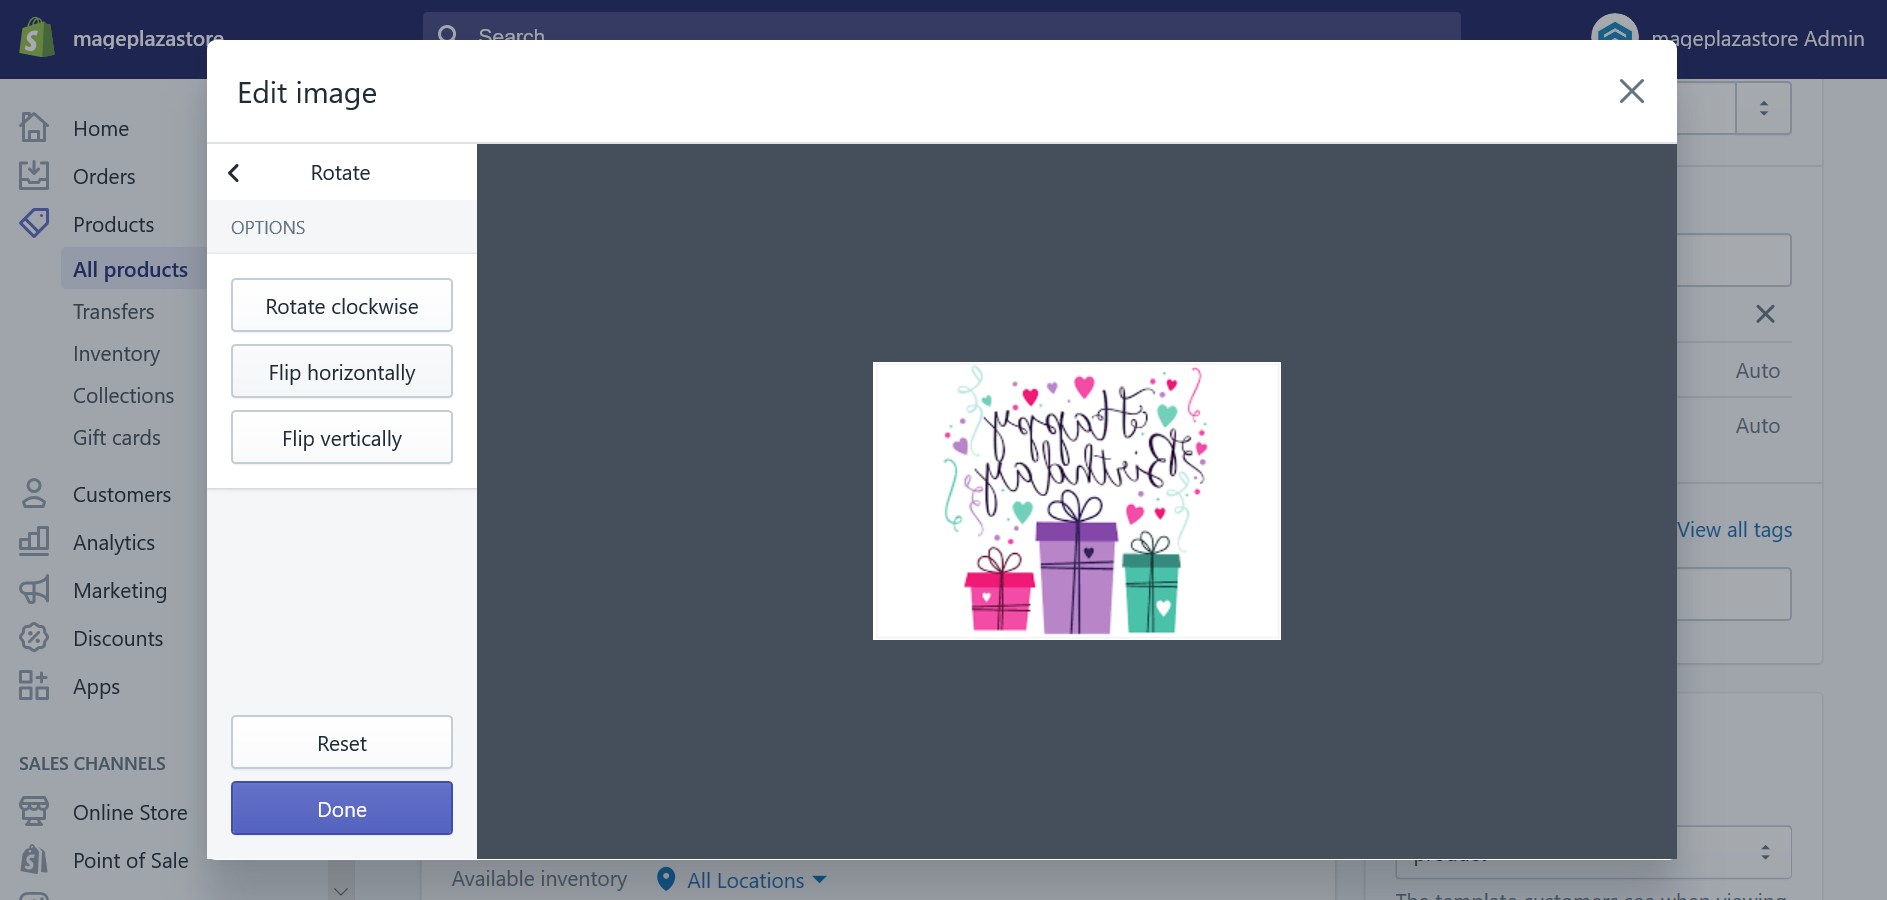
- Click the
Flip horizontallybutton to flip the image horizontally
- Click the
Flip verticallybutton to flip the image vertically
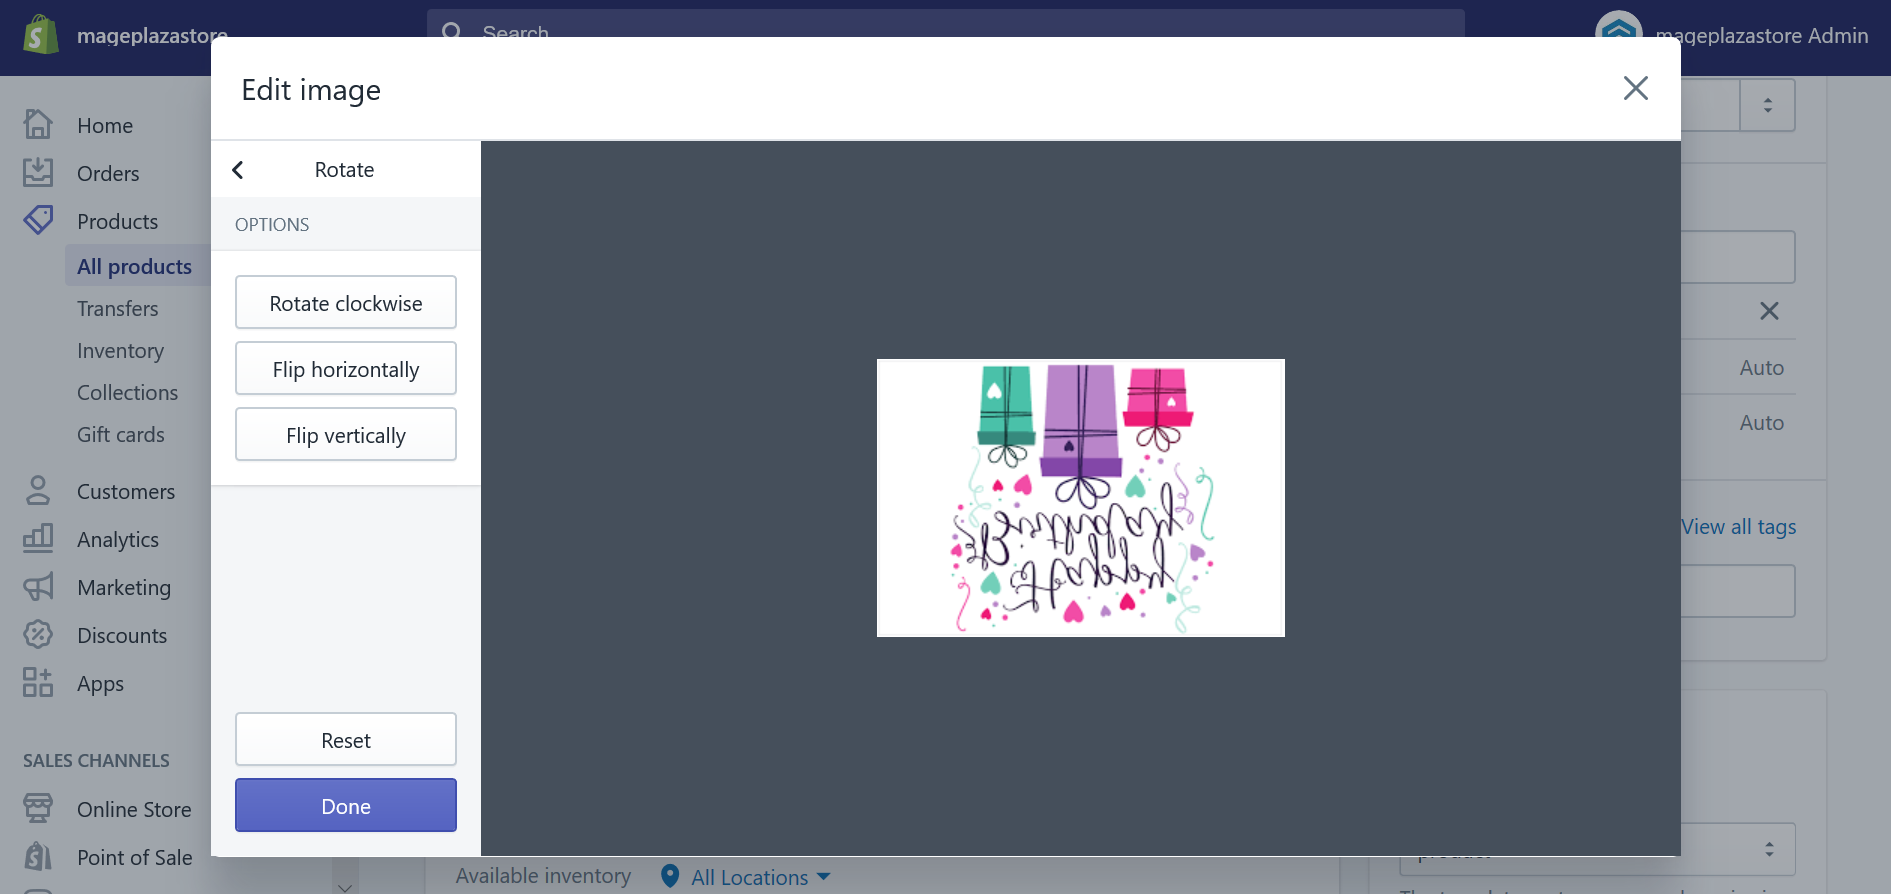
Step 3: Click Save
After clicking on Done button to apply the change the image’s orientation, click Save.
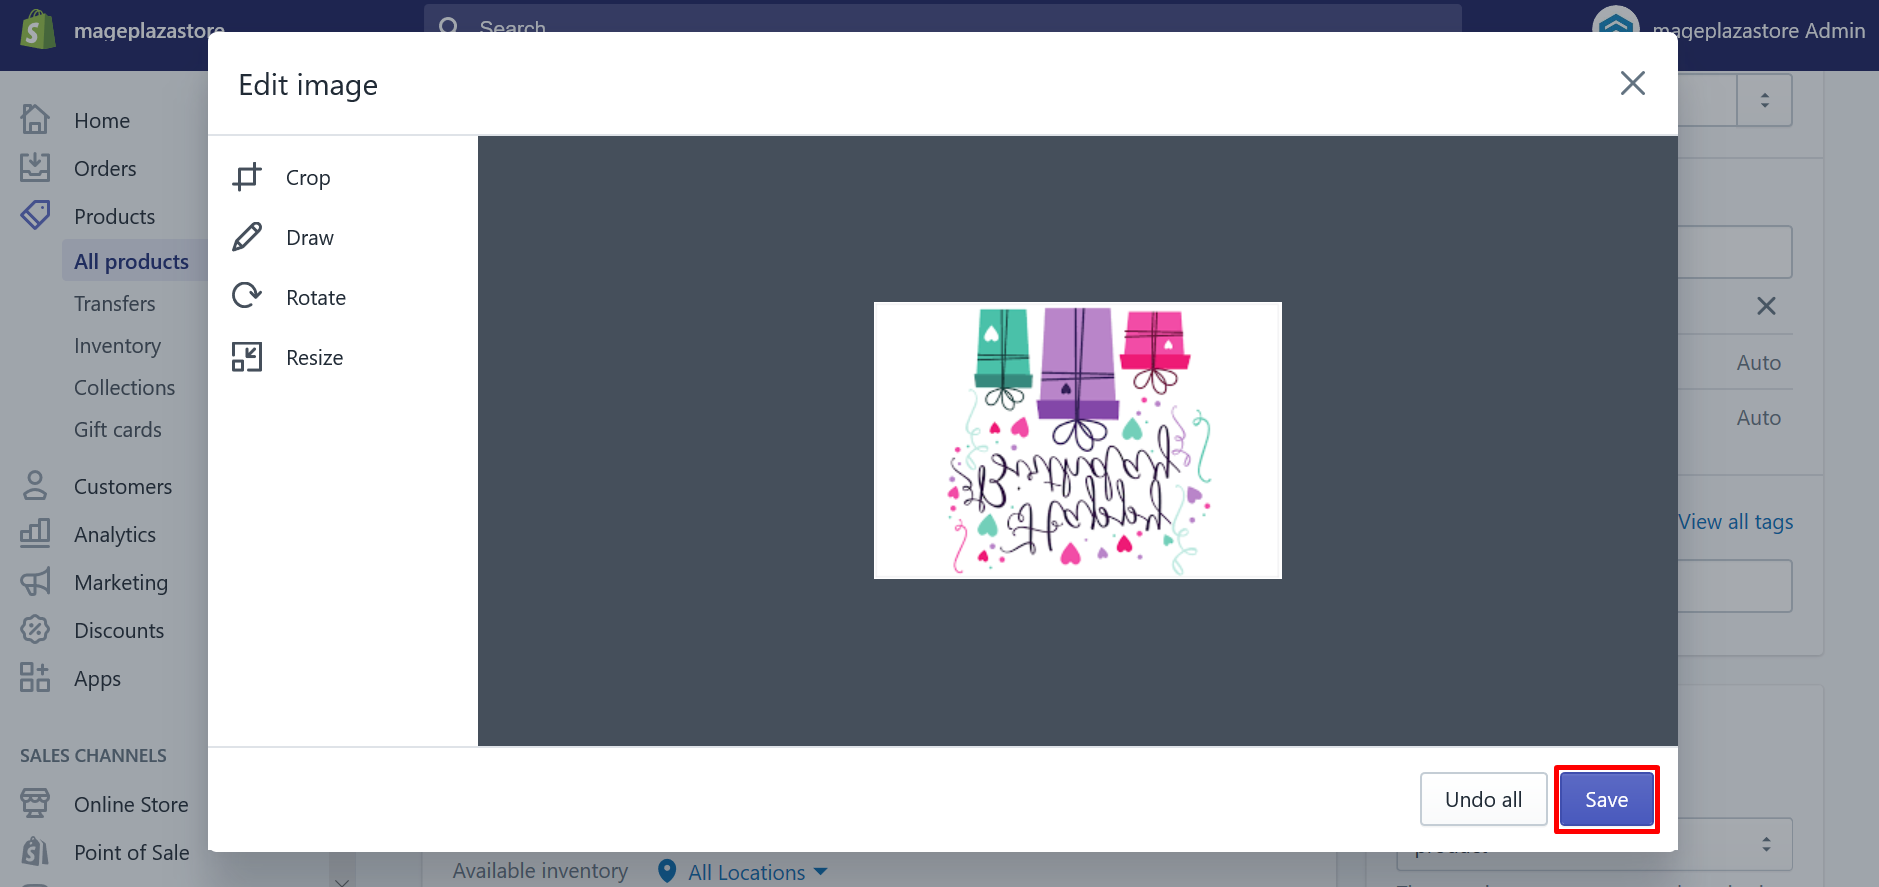
Some Tips when using Image Editor
Here comes my most favorite section: Tips for using Image Editor:
-
Make All Images the Same Size. This tip is highly recommended when you are using the Crop tool to crop the first image of every product in your store into the square one. After that, your images will stay in the same size from the Collection pages. As a result, your website will look much more professional and makes it easier for your visitors to browse.
-
Adjust the Color: When you want to make the tone of your photos clearer, go to the Color tool to fine-tune your tone. In this section, you are able to change the intensity of colors - Saturation, the color temperature of the image - Warmth, the colors of the image with a filter - Tint, and the tonal balance - Fade of the colors. Only with these adjustments, can your photo have a big difference.
-
Call Attention to Details. You can call attention to the details of an item by using the Draw tool. Let me take an example for you. If you are a vintage seller, you are probably able to use the Draw tool to draw a circle or an arrow to any imperfections of the item.
-
Brighten Your Backgrounds. As your product needs to be the most outstanding elements of the image, and in some cases, a bright background can nail that. You can utilize the Lighting tool to brighten your white backgrounds by adjusting the brightness, the contrast, the highlights, and the shadows.
-
Enhance with Text. Your image is going to look more professional if you enhance yours with the Text tool by inputting text to your image.
-
Remove Background. Until now, Shopify Image Editor is unable to allow you to remove backgrounds for images. However, you should not miss out on this wonderful action because of that. There is another free tool that you can use: Background Burner.
Conclusion
On the whole, I have put all my experience in using Shopify Image Editor - the thing that every Shopify users should try out. If you have any questions about using the Image Editor, just a comment under this post and we will help you figure them all out.
Read more: Top Shopify Image Editor Apps


