How to Add Sample Data in WooCommerce with Product Images
There are plenty of online instructions on how to accomplish great things with WooCommerce, but when you are just getting started, something as simple as not having products in your database might make these lessons intimidating. Not many people are aware that WooCommerce comes pre-loaded with a variety of products ranging from simple to variable; all you have to do is import them.
This article will show you How to Add Sample Data in WooCommerce with Product Images to upgrade your online store!
Reasons to Add Sample Data in WooCommerce
Only consider importing the Sample Products if you’re working on a site that doesn’t have enough products in the database right now. The main reason we want some things in there is to see how the various WooCommerce sites refresh as we make our way through some fantastic lessons. Baby, it is all about instant fulfillment! Depending on the tutorial, having some products loaded in the database may be useful so you can add them to the cart and see the changes you have made.
How to Add Sample Data in WooCommerce with Product Images
Step 1: Download the WooCommerce Sample Data
When you install the WooCommerce plugin, it adds a few Sample Data files to your WordPress installation that you can import. There are two ways to access these example files:
- Manually download the WooCommerce plugin, extract the Zip file, and then navigate to the Sample-Data folder to view the files.
- FTP into your WordPress installation and use that method to extract the files.
We will manually download and unzip the plugin files for this tutorial, then import them. Let’s get started by going to https://wordpress.org/plugins/woocommerce/ and clicking the download button.
Make a note of where you saved the compressed document to quickly locate it and extract it. When the file has been downloaded, open it in your favorite unarchiving tool and concentrate on it. If you go to [download location]/WooCommerce/Sample-Data, you’ll find sample products.csv and sample products.xml, which we’ll use to import Sample Products with only a few clicks.
Step 2: Adding Sample Product Data
Let’s add some sample product data to your store now that you’ve installed WooCommerce.
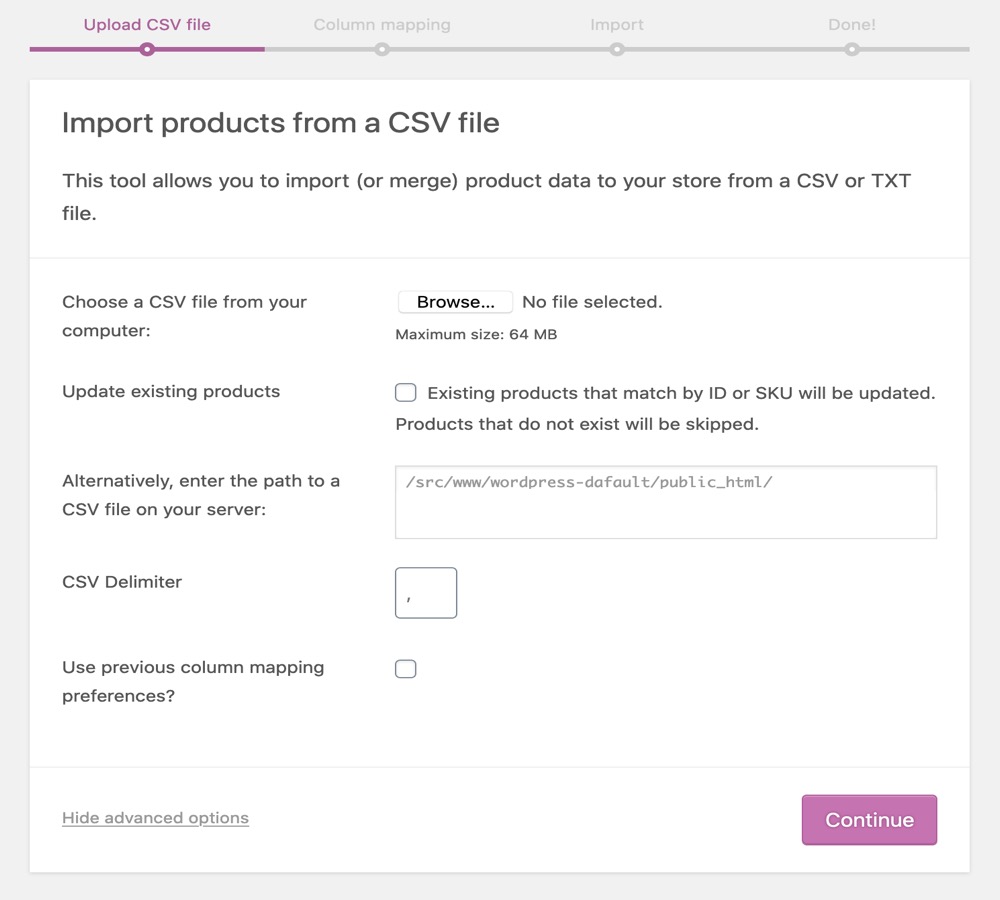
To begin, go to your WordPress admin area’s Products » All Products page and click the Start Import button.
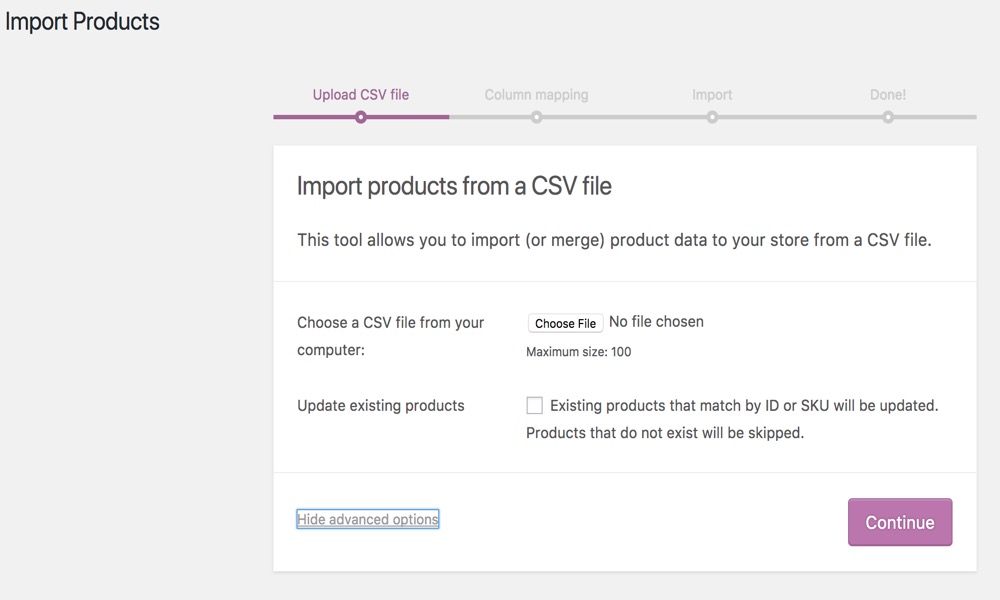
The product importer page will appear after that. To broaden the settings, click on the Advanced Options link from here.
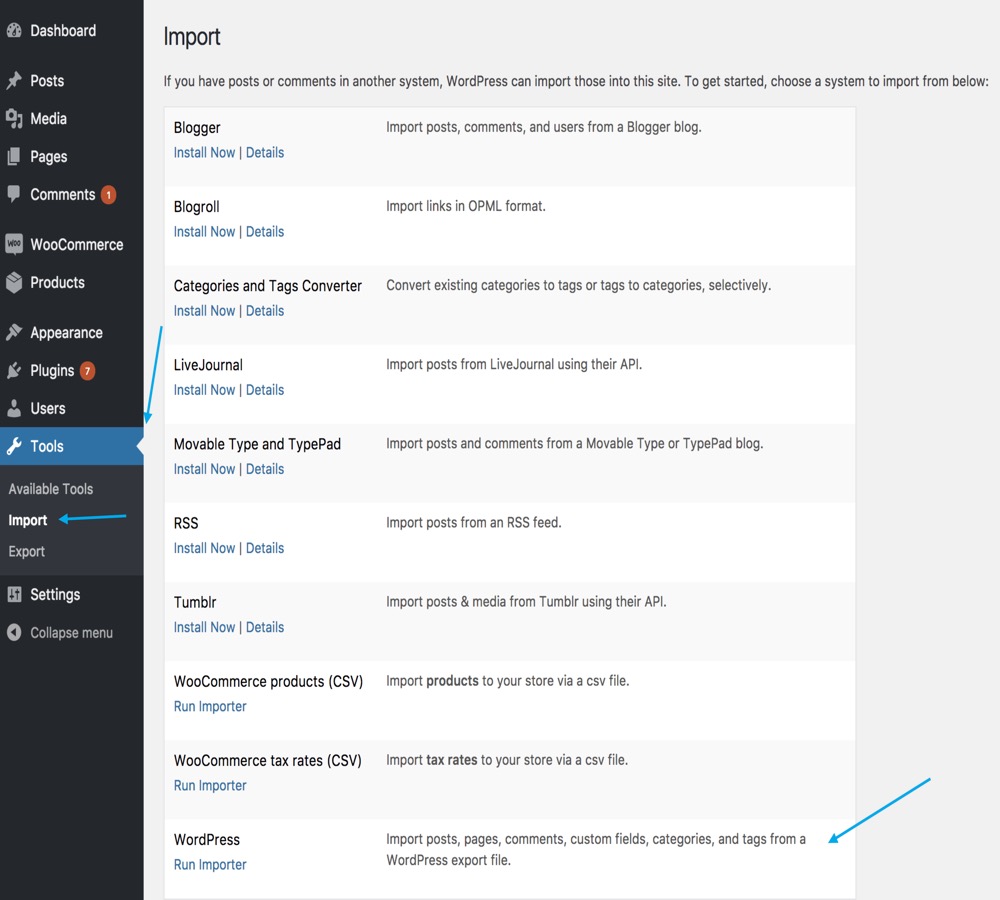
After that, simply copy and paste the following URL path into the field for your server’s CSV file: wp-content/plugins/woocommerce/sample-data/sample_products.csv
That connection will take you directly to the WooCommerce module’s example item information. The fastest method to add the example information is to do as such along these lines.
Another method is to download and re-upload the sample products.csv file from your website. To get started, go to the following URL: https://example.com/wp-content/plugins/woocommerce/sample-data/sample_products.csv
Make sure to substitute your own area name, for example.com. The CSV record will be downloaded to your PC by your program, which you would then be able to submit to the item merchant page.
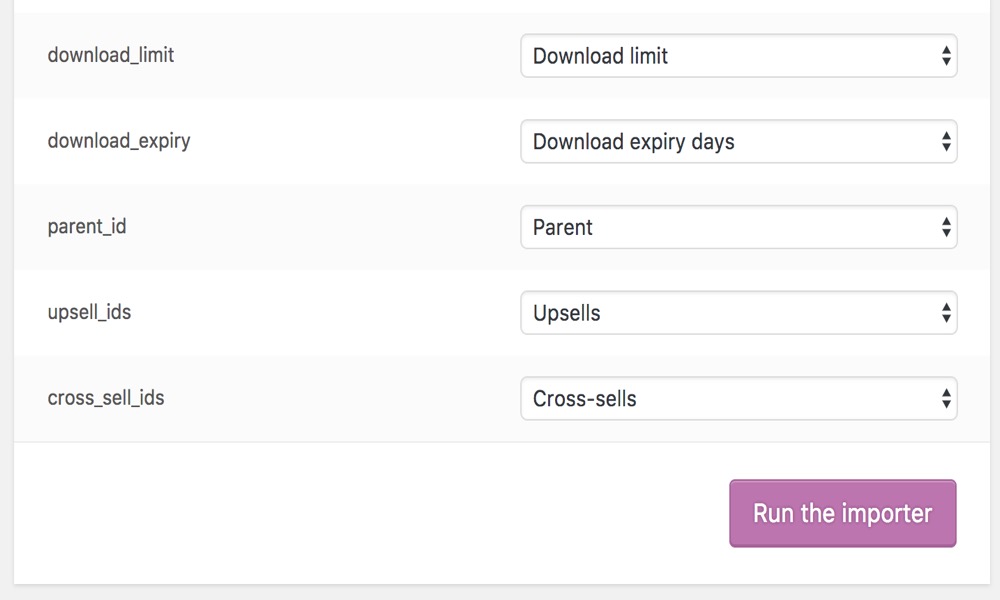
After you have submitted the CSV file, you will be asked how you want to translate the data to WooCommerce’s product fields.
We suggest you let these choices be and click the Run the Importer button at the base.
It may take a minute or two for the WooCommerce importer to import dummy material. You will notice a Import Complete notification once it is finished. Then, on the View products button, you can see all of the imported content.
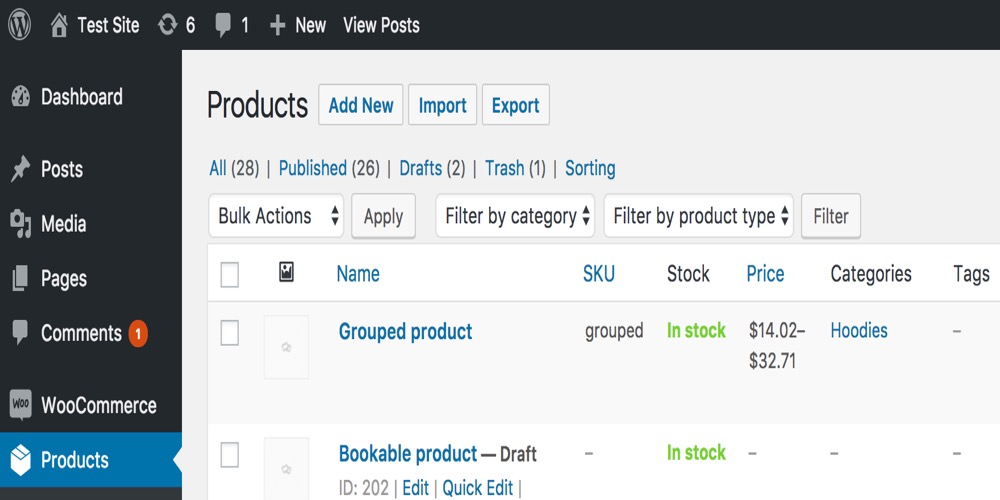
The example WooCommerce products will appear in the same way as regular WooCommerce products. Then you may update them like any other WooCommerce product, preview them with your WooCommerce theme, and experiment with different WordPress plugins.
Step 3: Creating Sample Orders
A sample order generator is not included with WooCommerce. Creating mock orders in WooCommerce is as easy as going through the checkout process yourself.
It is simple to accomplish this without investing any money or changing your product prices.
Simply enable the Cash on delivery payment option on the WooCommerce » Settings » Payments page in your WordPress admin. We suggest you let these choices be and click the Run the Importer button at the base.
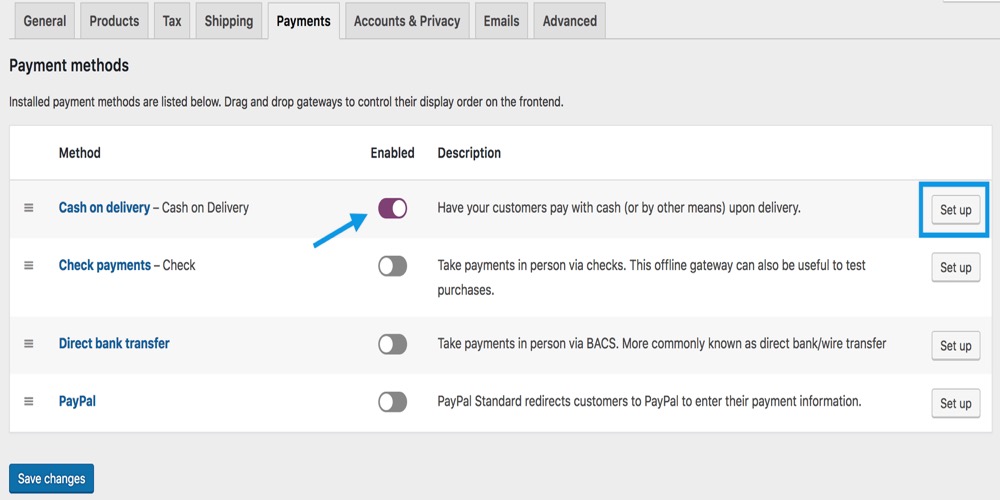
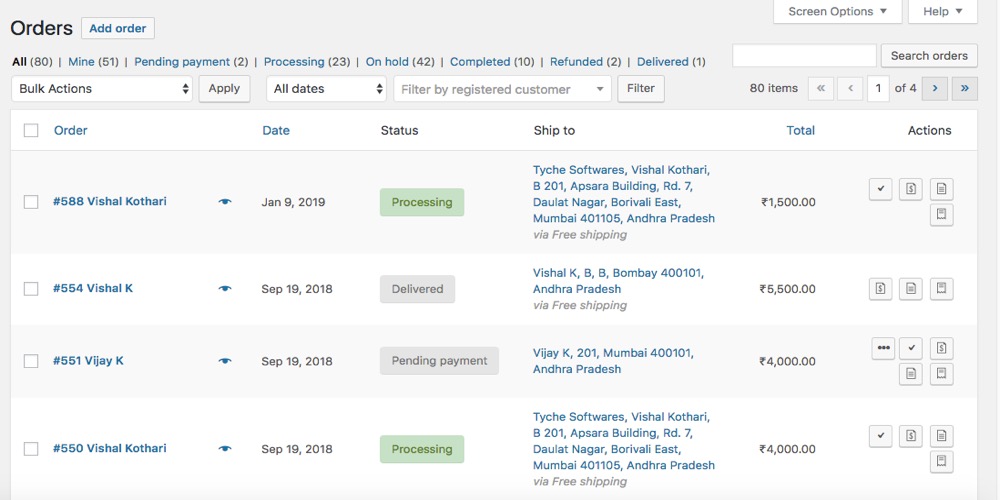
The subsequent stage is to go to your nearby retailer and submit a request for a portion of the spurious things. Your orders will subsequently appear on the WooCommerce > Orders page. You are free to place as many sample orders as you would like.
Conclusion
In case you are beginning another web-based business, you should explore different avenues regarding some example item information to perceive what it looks like. This can also aid in testing prior to a live launch. We hope you will find this article about How to Add Sample Data in WooCommerce with Product Images fundamental!


