
How to Add a Wishlist to WooCommerce Stores
By Sam Nguyen

Wishlist is a way for your visitors to add products to their carts without actually purchasing them. As a result, rather than guessing what you want, they know precisely what you want. This scenario is applicable to a wide variety of gift-giving situations.
Additionally, if you notice a particular product is trending, you’ll know that it needs to be restocked. Even better, you’ll know that if you create a product line of similar products, you have a good chance of them selling well. eCommerce success requires you to sell products that your customers want to buy.
A wishlist plugin will assist you in accumulating useful data to accomplish this. This creates complications when calculating the cart abandonment rate, as the customer did not add the product to the cart with the intention of purchasing it, but rather found it interesting and added it to their cart for later.
Unfortunately, despite its popularity as an eCommerce platform, WooCommerce does not include this feature by default. This blog post will demonstrate How to Add a Wishlist to WooCommerce Stores
Benefits of adding a Wishlist
For customers, a wishlist enables them to save items “for later” if they are unable to make a purchase at the time and quickly locate them when they return to your store. Additionally, it serves as a convenient way to remind oneself of the products included on the list.
Apart from the obvious benefit of enhancing the customer shopping experience, wishlists have the potential to provide online retailers with a much deeper, strategic value. Those willing to look beyond the fundamental goal of providing a seamless shopping experience can leverage wishlists in several ways:
- Provide an understanding of your customers’ thinking
- Give you insight into your customer’s world
- Generate a great deal of traffic
- Assist you in managing out-of-stock items
- Notify customers about upcoming sales
How to Add a Wishlist to WooCommerce Stores?
The best way of adding the Wishlist feature to a WooCommerce website is through a plugin, as creating a custom Wishlist feature is time-consuming. There are numerous free and paid plugins available to add the Wishlist to WooCommerce, but in this post, we will use the YITH WooCommerce Wishlist plugin.
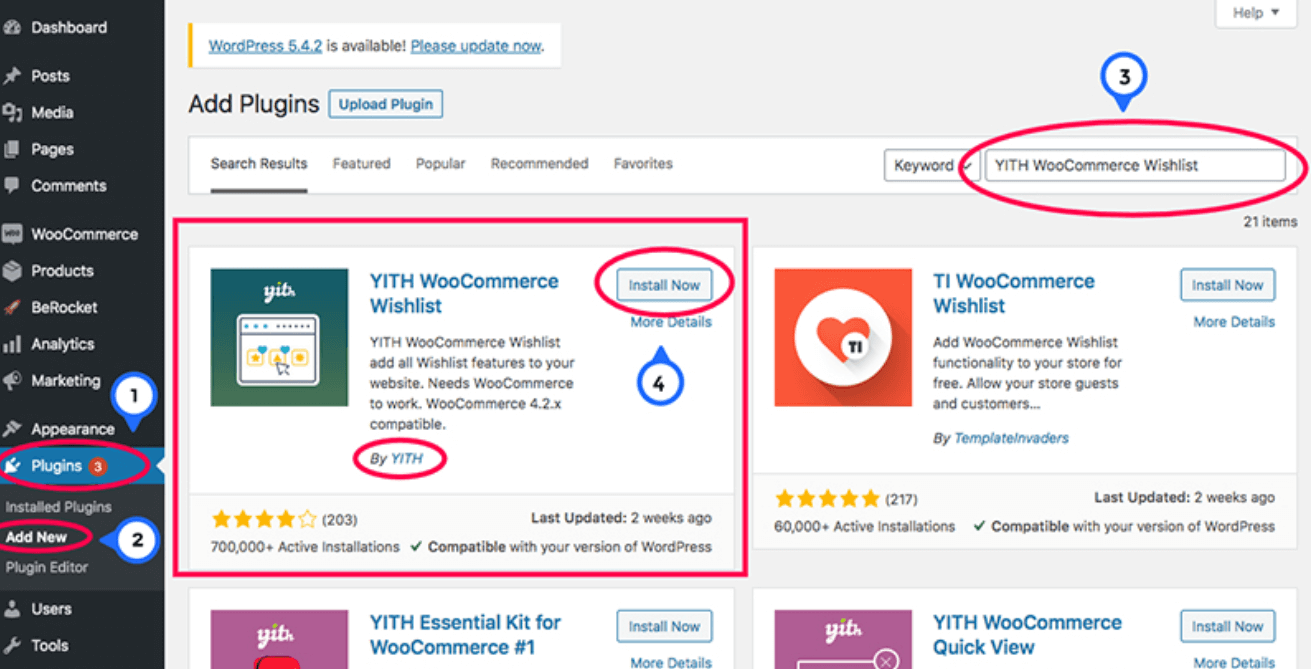
Step 1: Install the YITH WooCommerce Wishlist plugin
To access the WordPress plugin repository, log in to the WordPress admin dashboard and navigate to Plugins > Add New. Type YITH WooCommerce Wishlist in the search field and press the enter key on your keyboard.
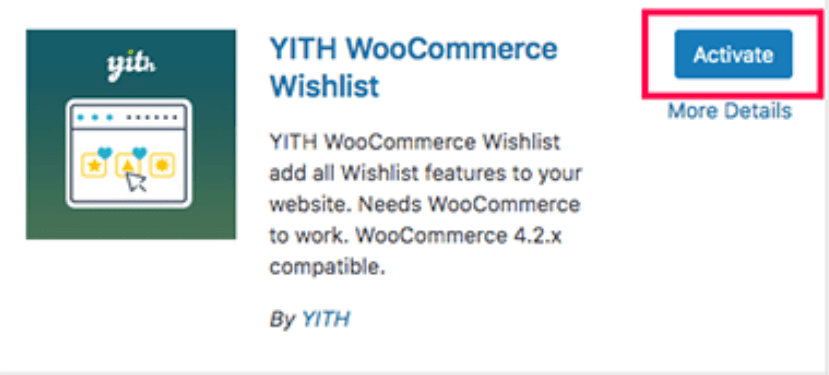
Activate the plugin after completing the installation.
Step 2: Check the Wishlist feature
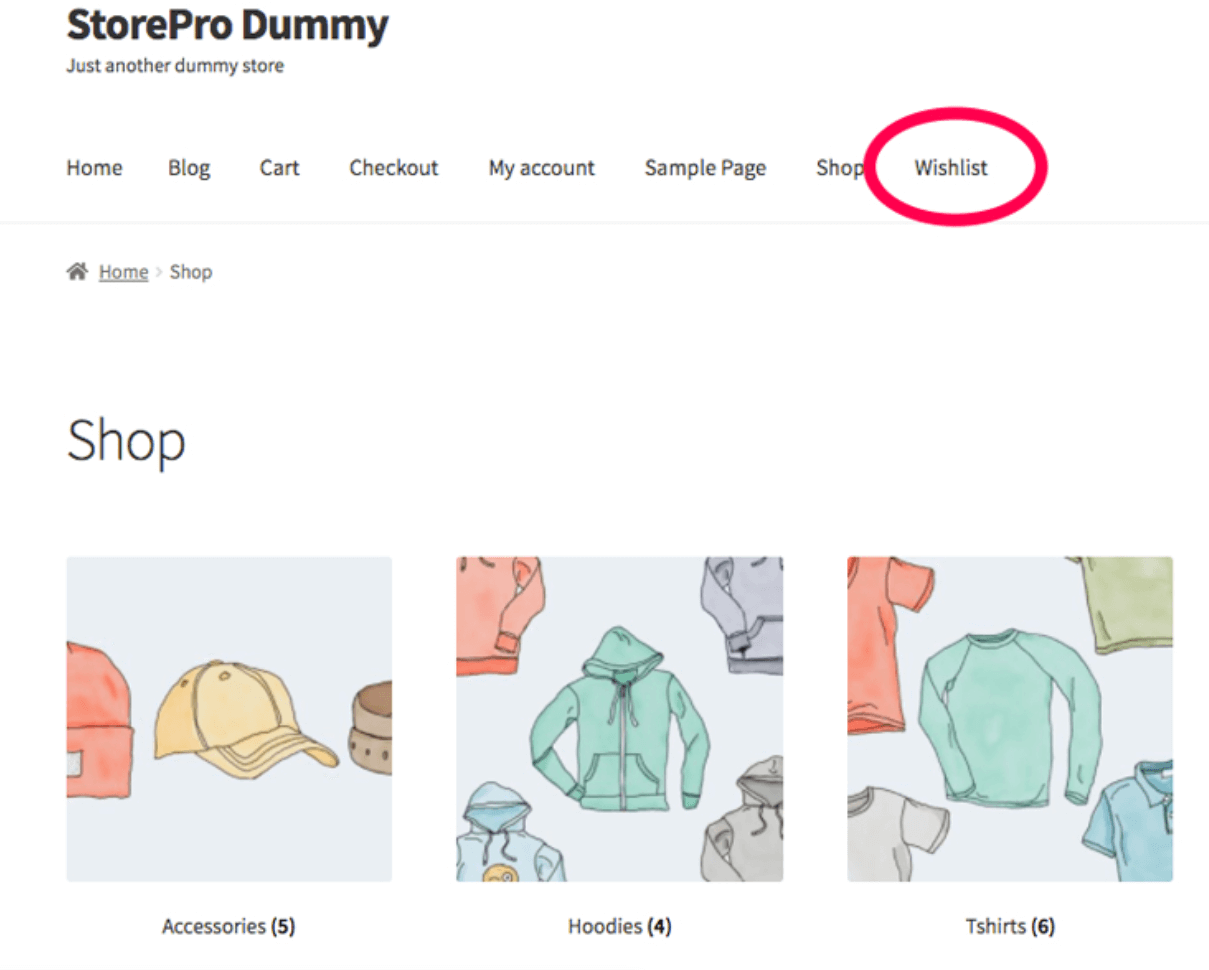
You have now successfully integrated the Wishlist functionality into your WooCommerce store. The newly added Wishlist is visible in the top navigation section.
WooCommerce has created a Wishlist page for us automatically. If this page is not created automatically, you can create it manually by creating a new Page and adding the YITH WooCommerce Wishlist plugin’s WordPress shortcode. Visit any single product page to see the Add to wishlist feature in action.
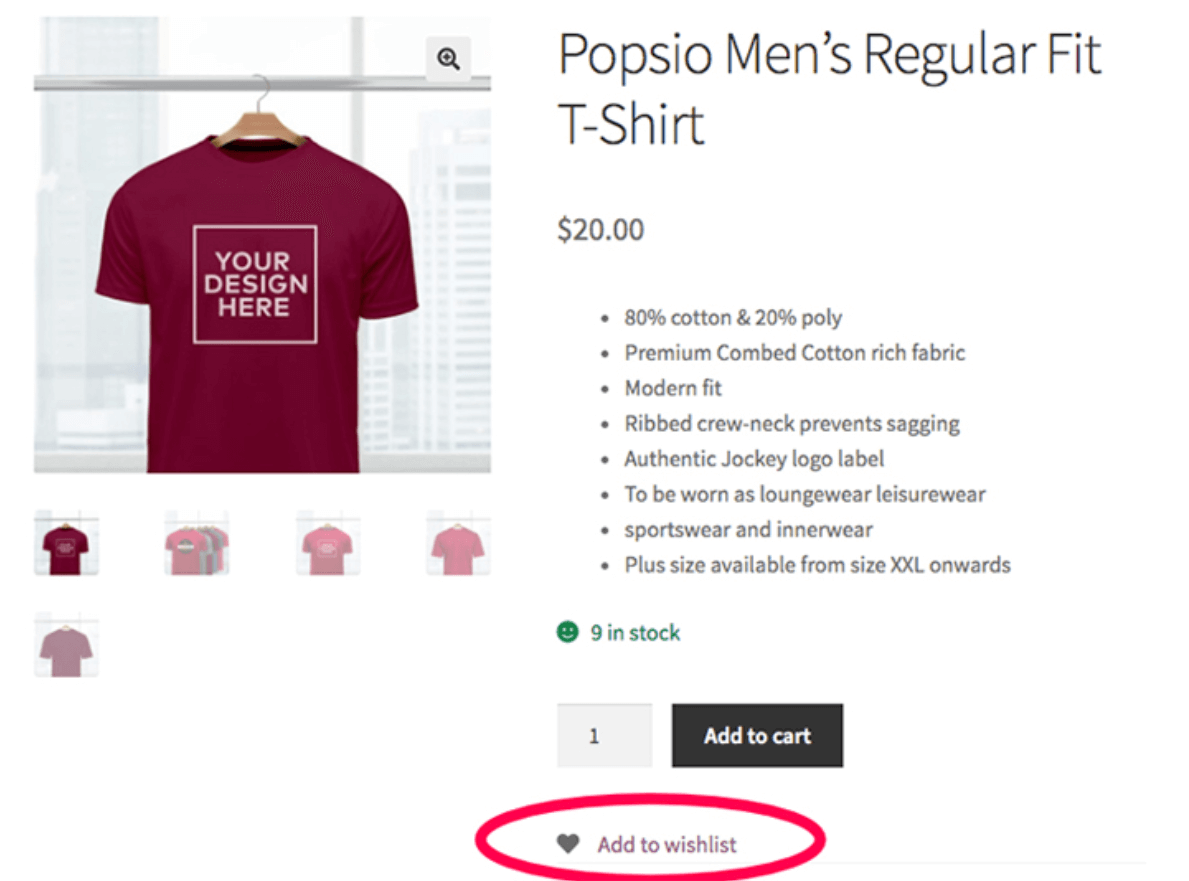
The Add to wishlist button is located below the Add to cart button. This button’s location can be modified via the plugin’s settings page.
However, if you navigate to the Shop or Catalogue pages, the Add to Wishlist button is not visible beneath the product. Let’s take a look at how to incorporate the Add to wishlist button into catalogue pages.
Step 3: Choose the Add to wishlist button
Navigate to YITH > Wishlist from the WordPress dashboard.

If the default General Settings are good, you don’t need to make any changes on this page. Select ADD TO WISHLIST OPTIONS tab to open the next Settings page. In the Loop Settings section, enable the Show “Add to wishlist” in loop option.
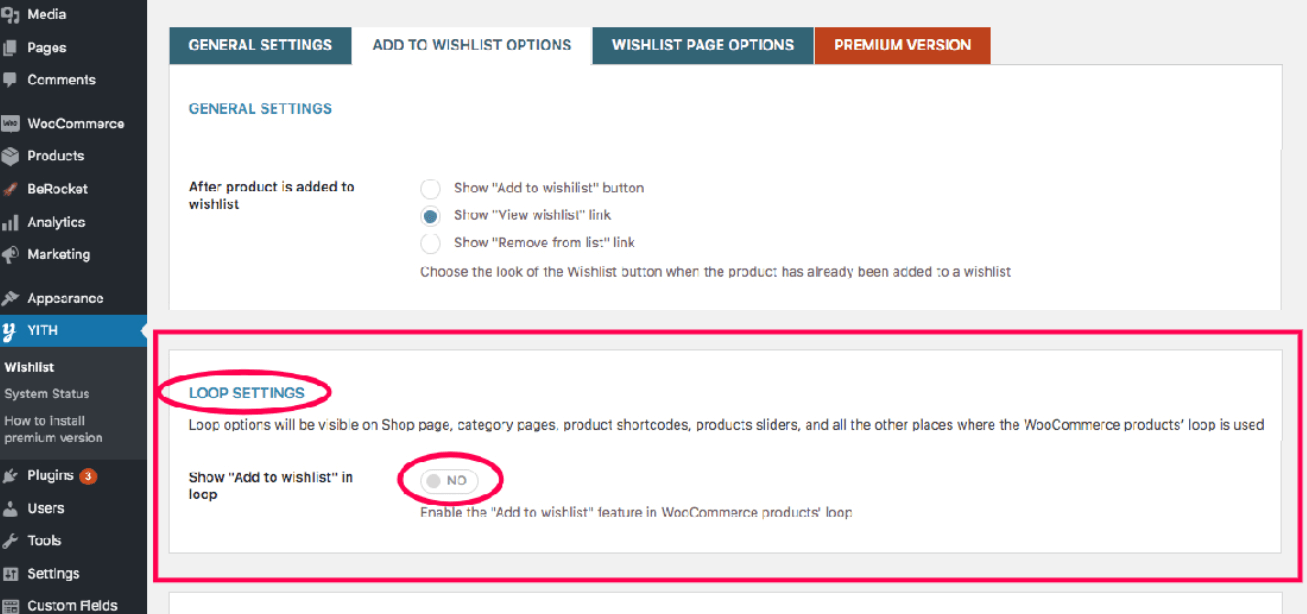
Once you have enabled this option, the plugin will provide an additional position for the Add to wishlist button on catalog pages.
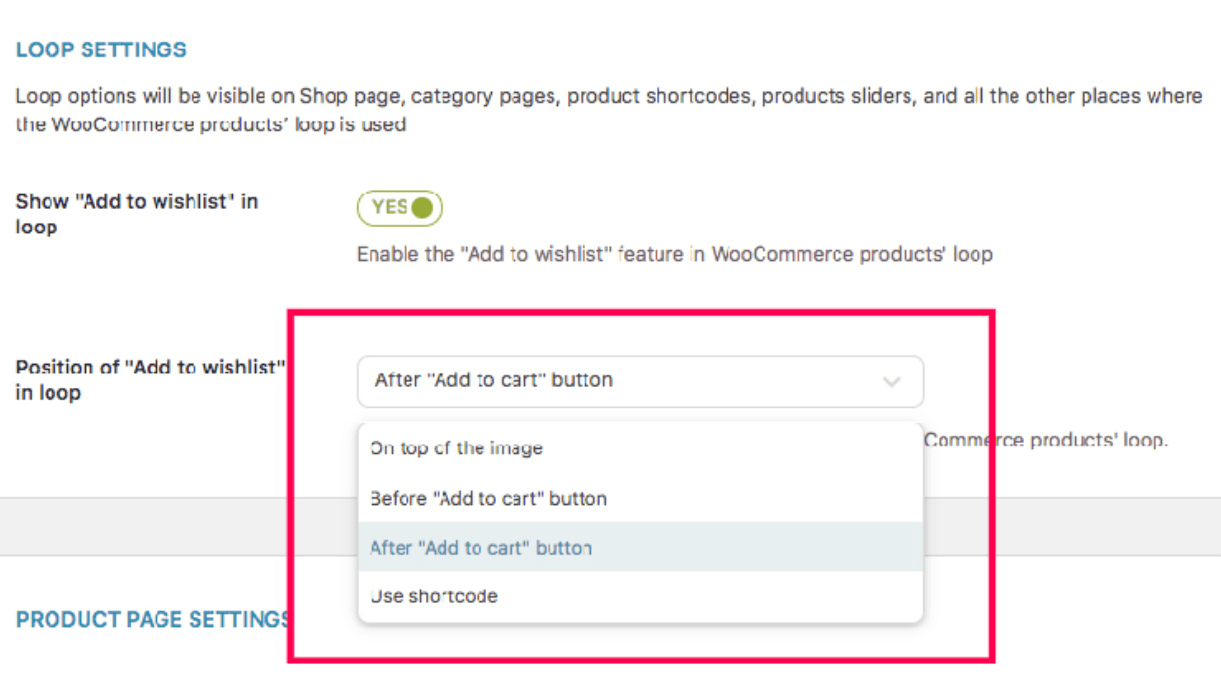
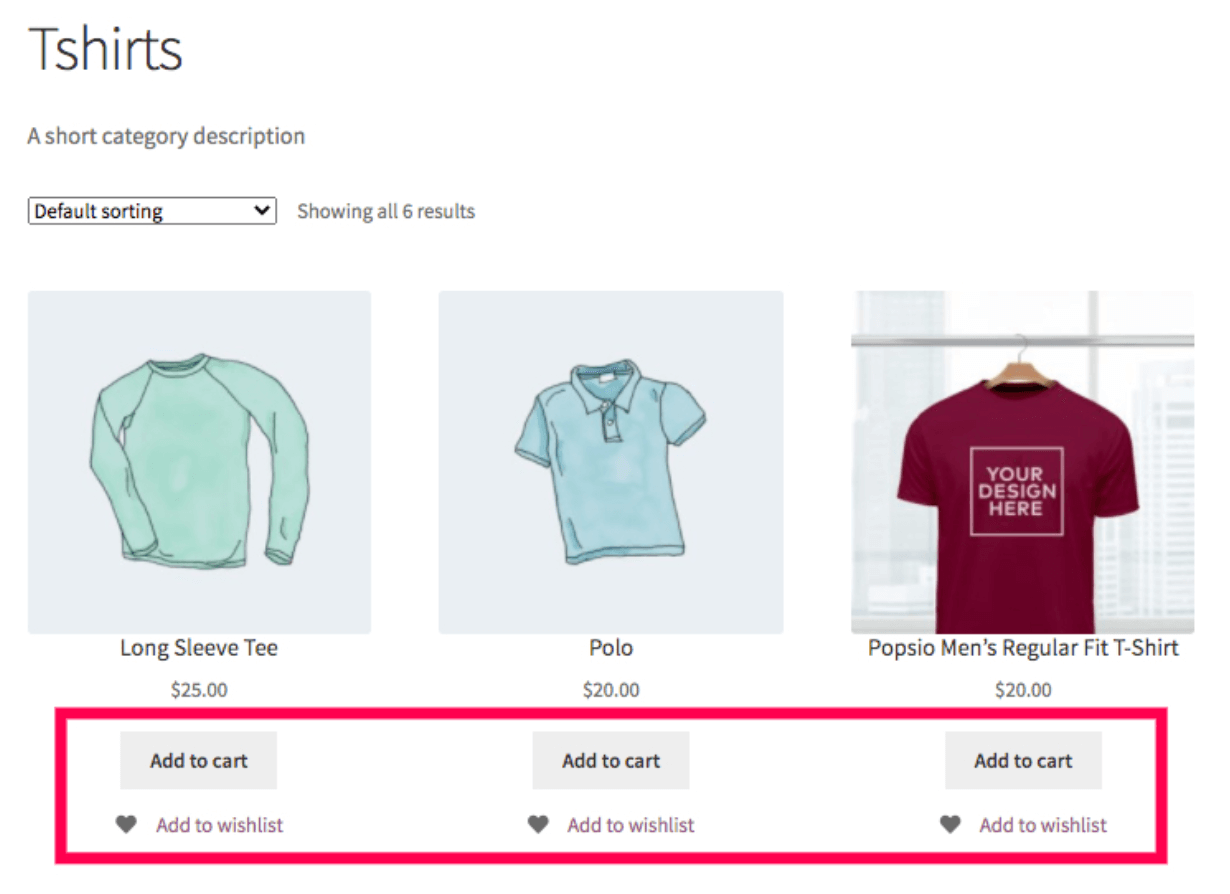
As the name implies, the default option is After “Add to cart” button, which adds the button below the Add to cart button.
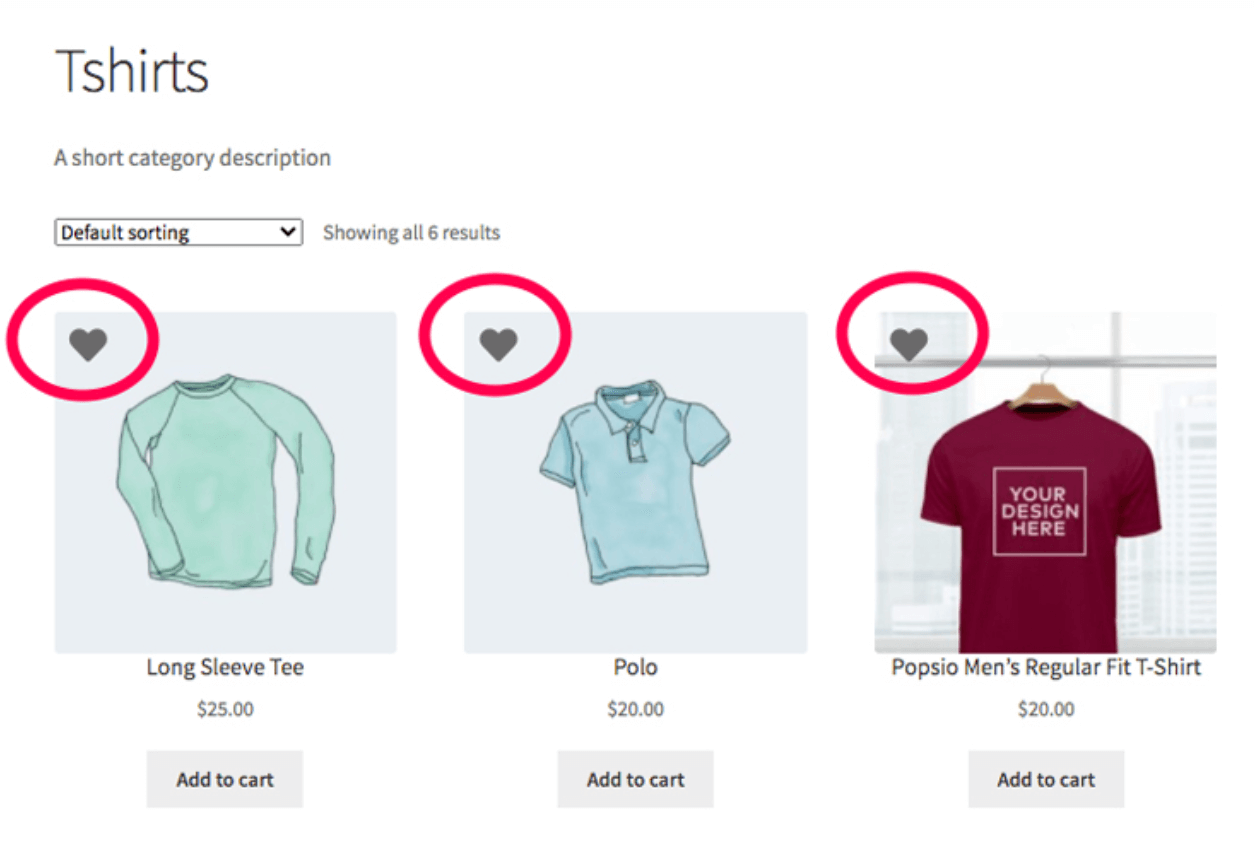
You can choose to position it above the Add to cart button by selecting the Before “Add to cart” button. If you select the On top of the image option, the Add to wishlist button will be added above the product image on the catalogue page.
Once you’ve selected the position and enabled the Show “Add to wishlist” in loop option, click on Save changes.
Step 4: Configure the Wishlist settings
You have now successfully integrated the wishlist functionality into your WooCommerce store. The YITH WooCommerce Wishlist plugin provides some customization options for the wishlist feature.
1. Reposition the Add to wishlist button on the product page
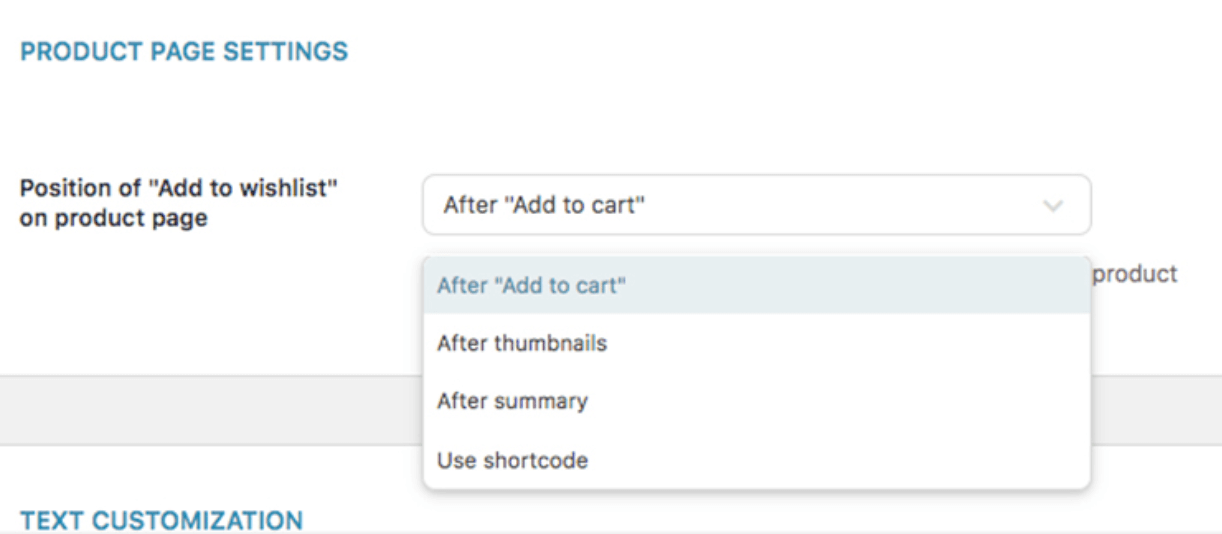 Scroll down to the Product Page Settings section on the ADD TO WISHLIST OPTIONS settings page. Select an option from the dropdown to determine the location of the Add to wishlist button on the single product page. The options’ names are fairly self-explanatory.
2. Modify a variety of text strings associated with the wishlist.
 Scroll down to the Text Customization section on the ADD TO WISHLIST OPTIONS settings page to edit the various text strings associated with the wishlist feature.
3. Adjust the style of the Add to wishlist button
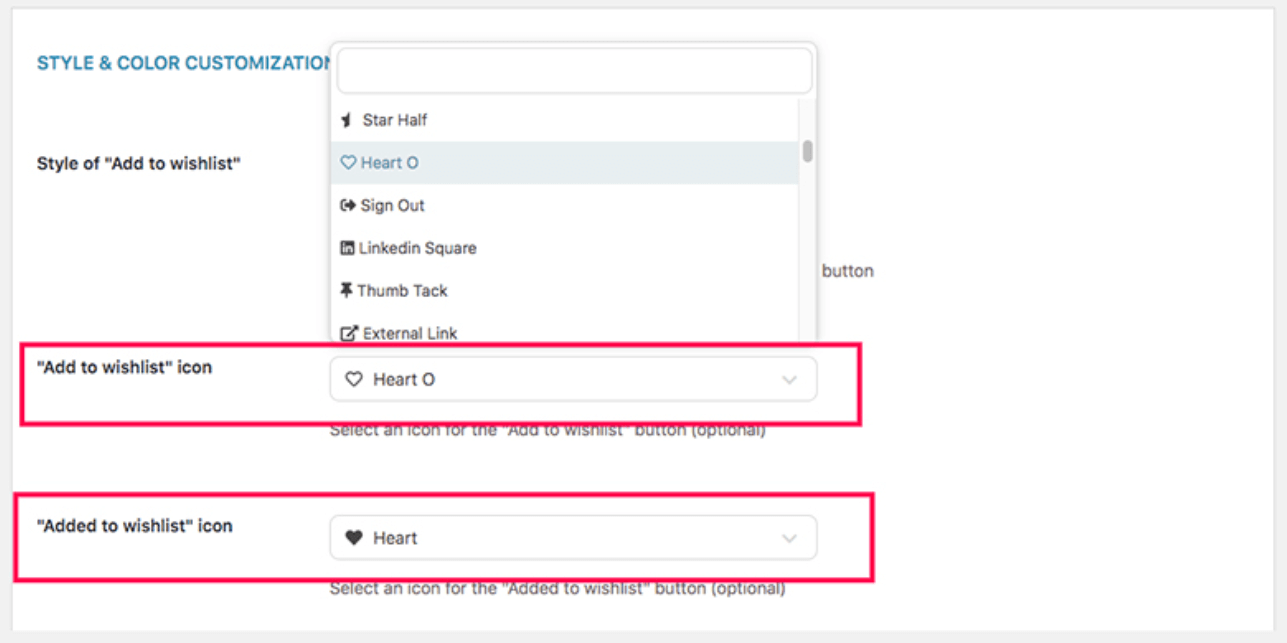
You can change the style of Add to wishlist button from the Style and Color Customization section on the ADD TO WISHLIST OPTIONS settings page.
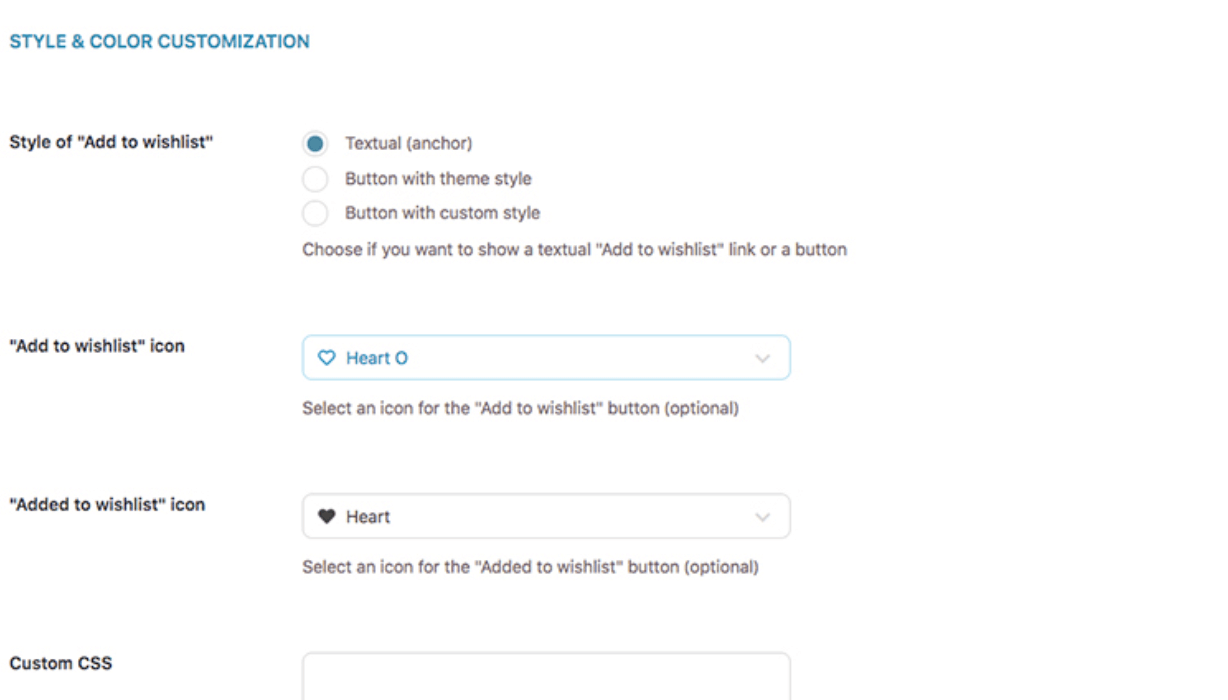
The Add to wishlist button’s default style is Textual.
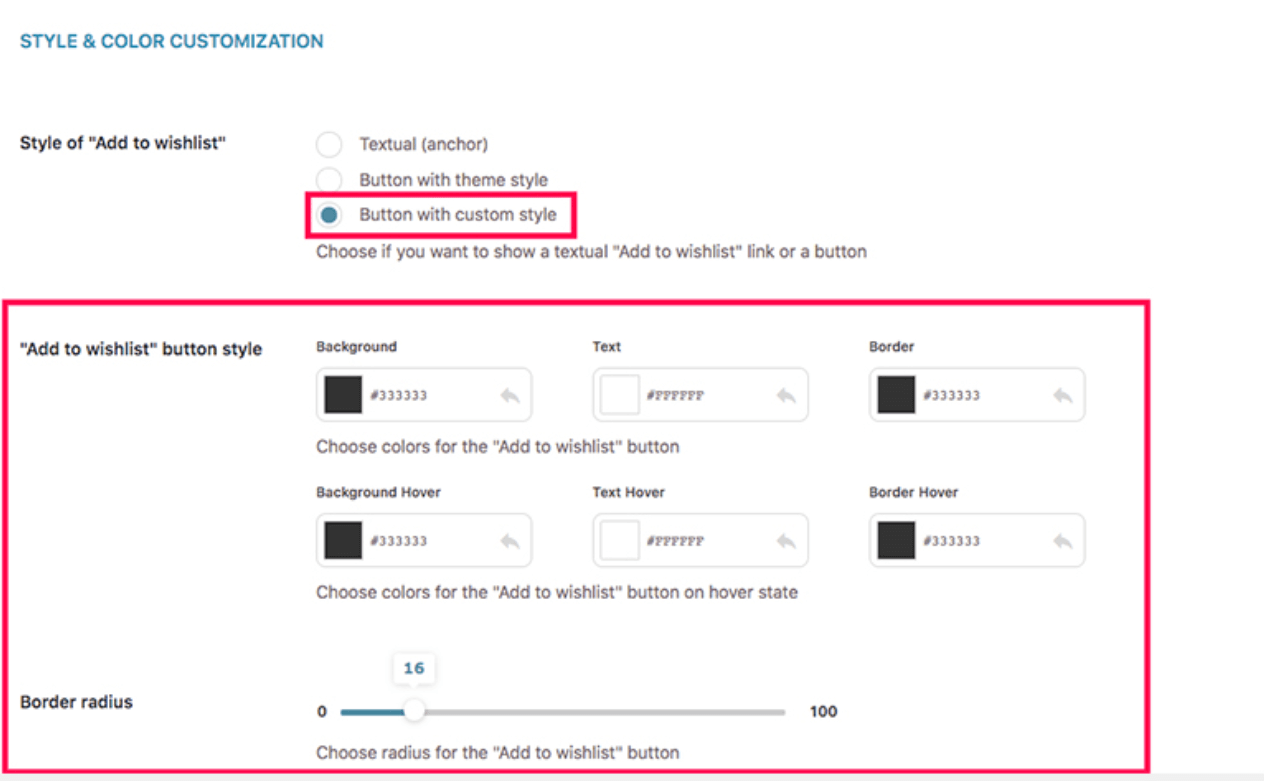
Choose one of the two other options if you want the Add to wishlist button to look like an actual button.

If you select the Button with a custom style option, you will be presented with additional options for customizing the button’s appearance.
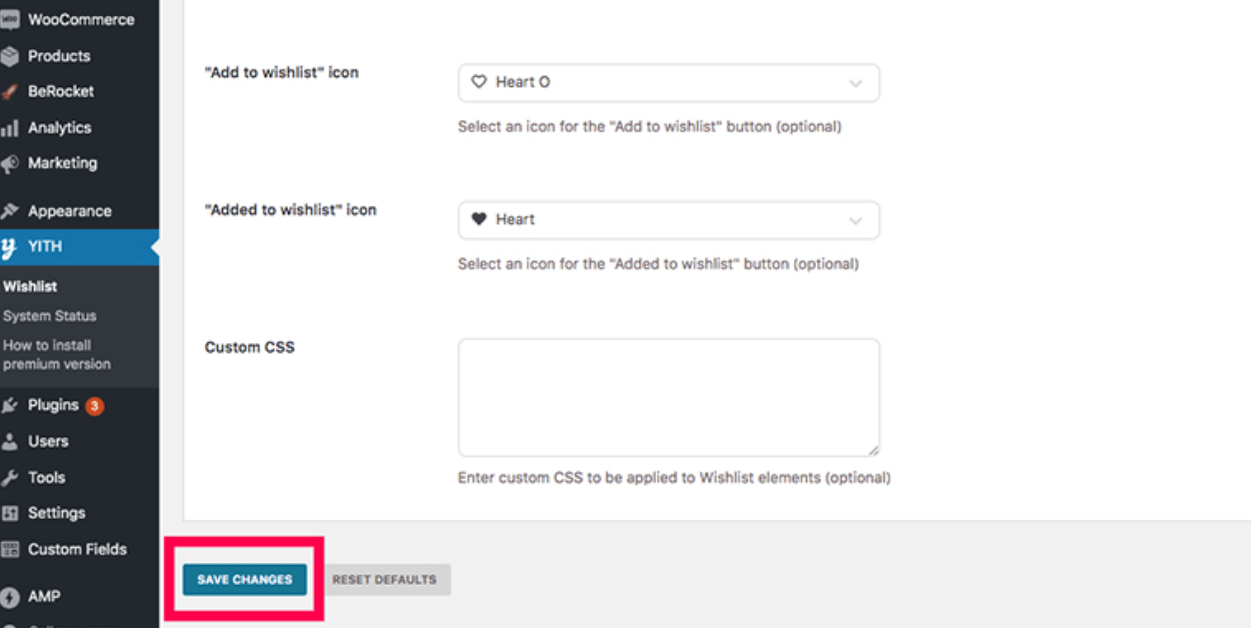
You can change the icon for the wishlist button by selecting it from the drop-down menu.
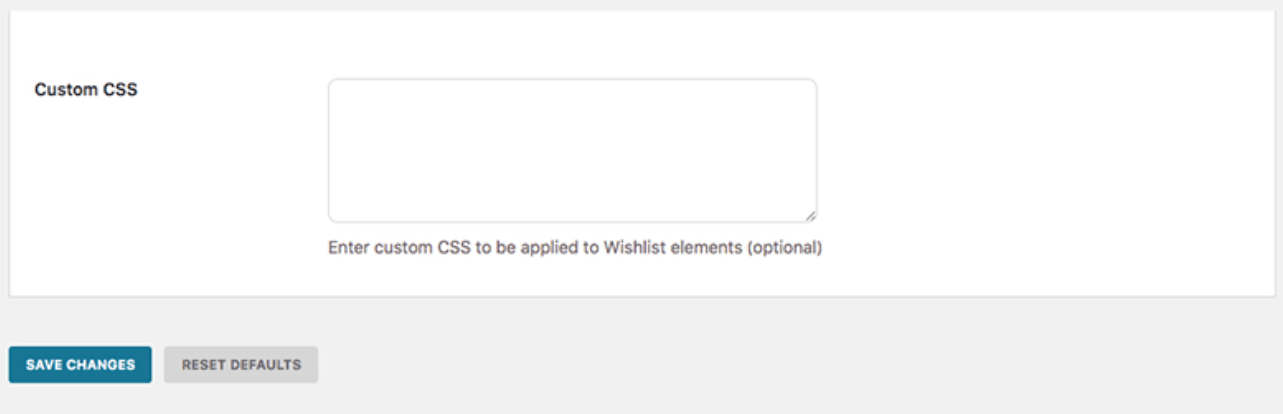
Additionally, you can customize the Add to wishlist button’s appearance by adding custom CSS.
2 best plugin to Add a Wishlist to your WooCommerce
1. TI WooCommerce Wishlist

TI WooCommerce Wishlist is a plugin that includes a number of premium features. Additionally, it is one of the most popular wishlist plugins available for WordPress in the WordPress marketplace.
This plugin integrates seamlessly with your WooCommerce store and allows users to create wishlists. Once activated, the plugin will add a ‘Add to Wishlist’ button next to the ‘Add to Cart’ button throughout your site. While the plugin includes logos, you can also upload your own to ensure consistency across your store.
Key Features:
- Users have the ability to create multiple wishlists.
- In-depth product analytics for admin users Display quantity of in-stock products Promotional emails to users based on wishlist selection
- Additional styles and skins are available via a library.
- Additional advanced settings
Price: Free
2. WooCommerce Wishlists
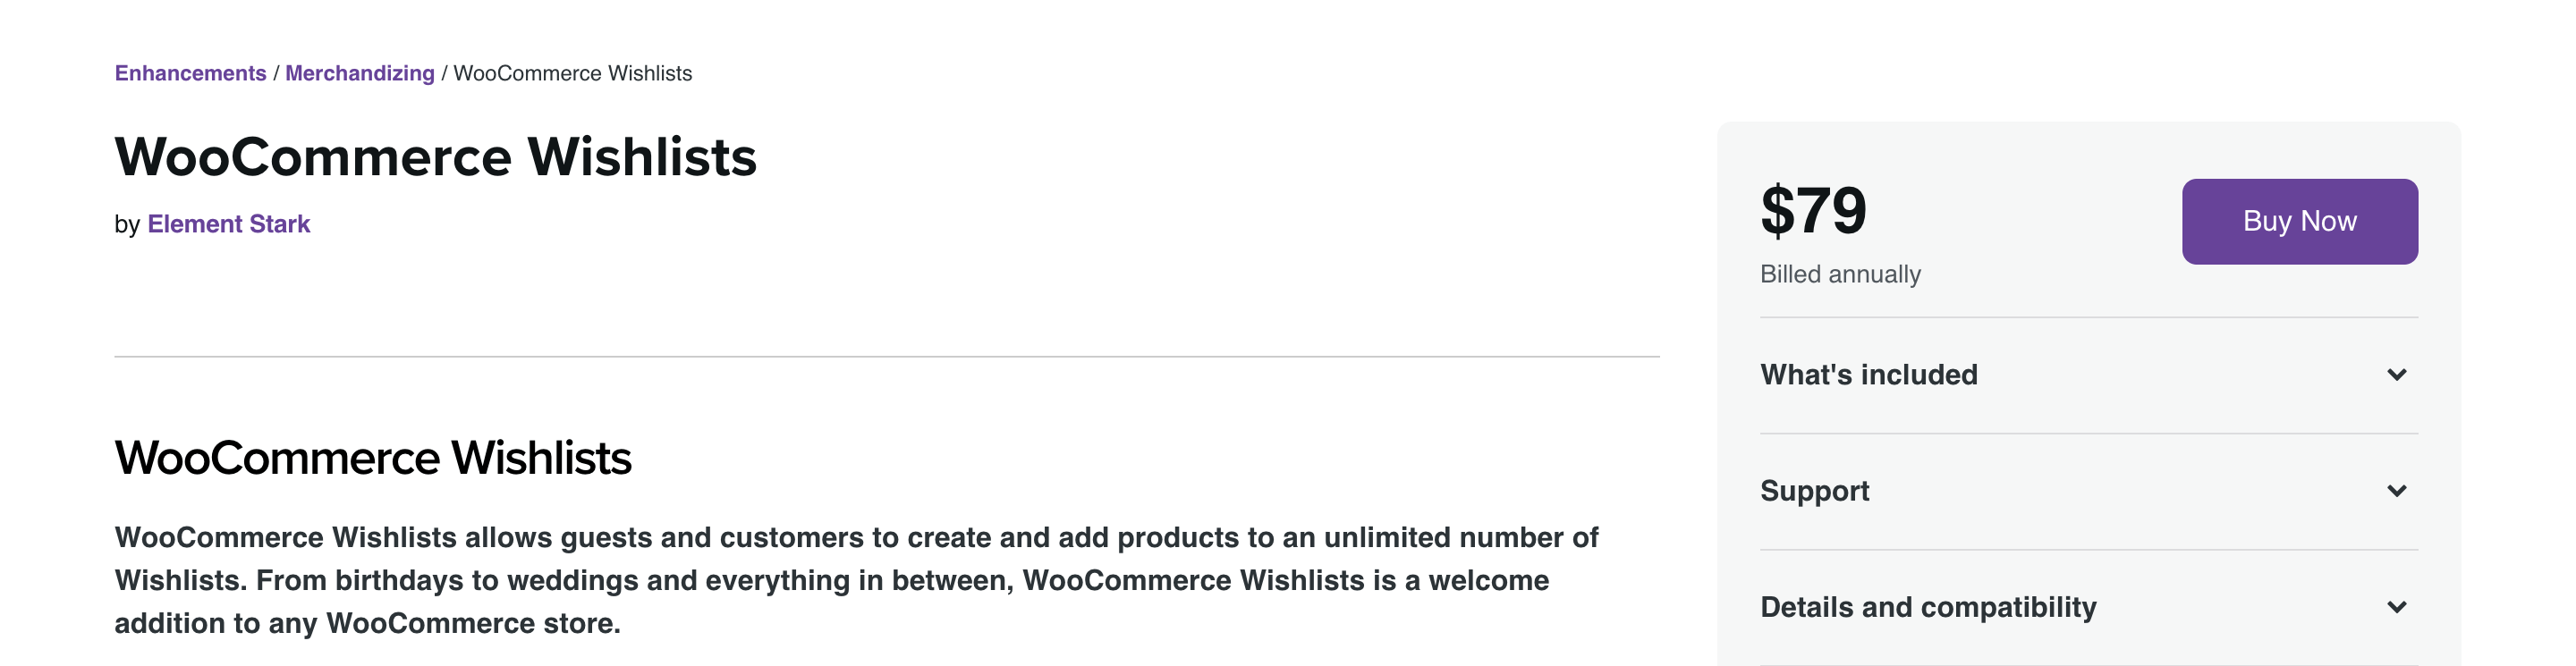
WooCommerce Wishlists is the WooCommerce team’s official wishlist plugin. It is now a paid plugin. However, because it was developed by the WooCommerce team, you can rest assured that it will integrate seamlessly with your existing store. Once installed, this plugin will automatically inherit all of your existing WooCommerce theme’s design customizations. As a result, you’re unlikely to need to adjust the appearance at all. Store owners looking for a wishlist plugin that integrates seamlessly with WooCommerce will appreciate what this plugin offers.
Key Features:
- Customers with an account can save wishlists indefinitely.
- Users are permitted to create an infinite number of wishlists.
- Users maintain complete control over their lists, their privacy settings, and the recipients of their lists.
- Social media sharing, as well as customized email messages, are integrated.
Price: $79
Final thoughts
While wishlists are an extremely useful feature for eCommerce websites, WooCommerce does not include them by default. Hopefully, by now, you have understand How to Add a Wishlist to your WooCommerce store with the help of YITH WooCommerce Wishlist plugin, as well as developed an interest in one or two of the wishlist plugins on the list above. Almost all of the plugins on this list (with the exception of one) are either completely free or have a freemium version.
Do you find this post helpful? If your answer is yes, please do not hesitate to share it with your friends and colleagues in order to share the knowledge, and stay tuned for more useful tips and instructions from AVADA.


