
How to Create a Woocommerce Login Popup Form?
By Sam Nguyen

Customers will be more satisfied if they have a streamlined purchasing experience, which will enhance conversion and sales for your WooCommerce site. As a result, you must simplify the process of purchasing things from your business. And here, the login/registration experience is crucial, so that you should add a WooCommerce login popup to it.
Why should you consider WooCommerce login popup for your store?
In case you run an online store or a membership website, it’s self-evident that consumers will need to register and login to access your items or content. When users click on a login link, they are taken to either the usual login page or a custom page you have designed. A user is sent to another page on your website immediately after entering their login credentials.
When compared to the custom login screen, the WordPress login popup modal is a little different. The usage of a WordPress login popup modal eliminates the need for a real WordPress page. A popup login modal, on the other hand, may be placed anywhere on your website without causing any problems.
Users can log in to your website without having to visit any more pages when you design a custom WordPress login popup modal. A WordPress login popup modal allows you to place a login/register link anywhere on your website, including the sidebar, footer, and other areas. Users will be able to check in to your website without having to leave the page they’re on.
A WordPress popup modal is obviously faster and more convenient, enhancing your WordPress website’s user experience. And if you provide your users with a better experience, you’ll have a higher chance of obtaining more sales and conversions.
How to create WooCommerce Login Popup Form?
Method 1: Using Elementor Pro
Your store must have a login/registration button made using Elementor before you begin installing WooCommerce Login Popup. The installation will then begin with Elementor Pro.
Create a Login and Registration Form Popup
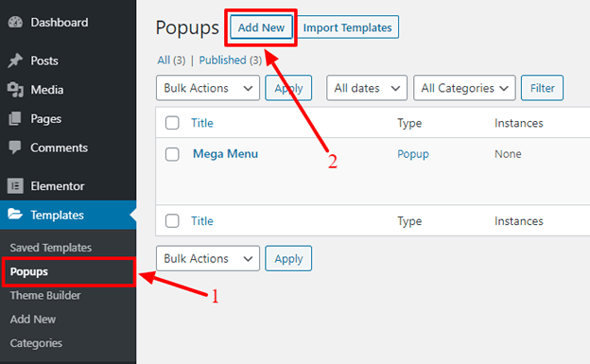
To begin, go to the WordPress dashboard and log in. Then select Templates -> Popups from the drop-down menu. Now, select “Add New” from the drop-down menu.
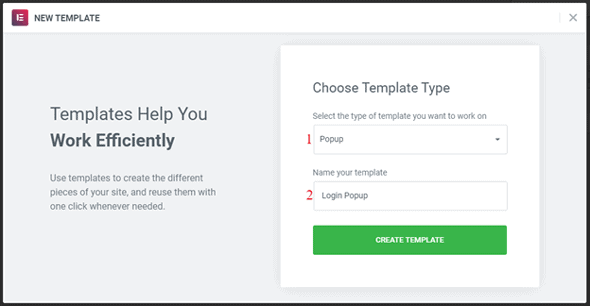
A window will open, asking you to set certain parameters.
- Select the Popup template from the drop-down menu.
- Make a name for your new popup.
- Select “Create Template” from the drop-down menu.
The Elementor Library is now displayed in front of you. Choose a ready-made popup template that you like.
If you want a more intricate and unique template, you may use this method to make your own WooCommerce login popup and registration using Elementor Pro.
Step 1: Close the library first, and then you’ll see a blank popup template similar to this.
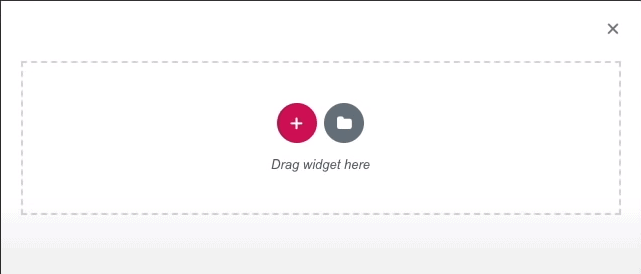
Step 2: Drag and drop the “login” widget from the left side of the Elementor editor into the blank popup above.
<img src="https://cdn4.avada.io/media/shopify/DuCPDod.png" alt="Drag and drop the "login" widget from the left side of the Elementor editor into the blank popup above.">
Step 3: The form below will appear. Then, by choosing the editing icon, you can begin modifying the login form to your liking.
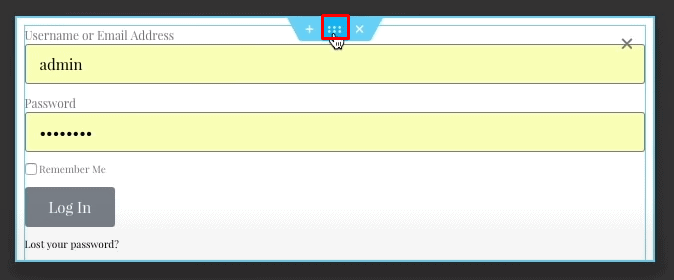
Step 4: You may change the margin and padding of your login form.
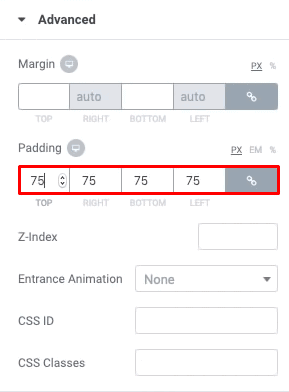
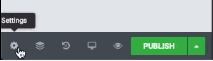
Step 5: Scroll down to the bottom left and hover your cursor over the wheel icon to get to the options area.
Step 6: Make the following adjustments to the WooCommerce login popup’s layout, location, animation, and style.
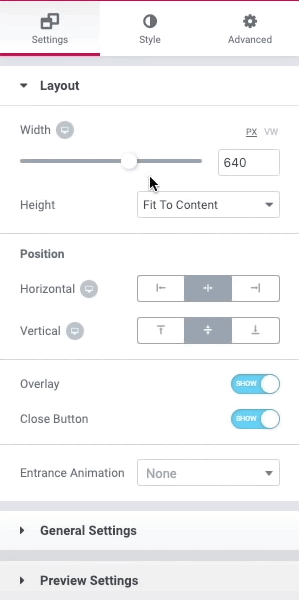
Aside from the essential components of a login popup, you can also include a logo and social media links. Now, just click the “Publish” button, and you have done it.
Integrate the Popup with a Login Button
Whether you choose a pre-built Elementor login popup template or construct your own login form, you must include a login button in the popup. The steps to integrate the login button with each type of WooCommerce login popup are outlined below.
1. Pre Built Elemantor login popup
This approach is simple if you utilize an Elementor preset login window, which includes three steps:
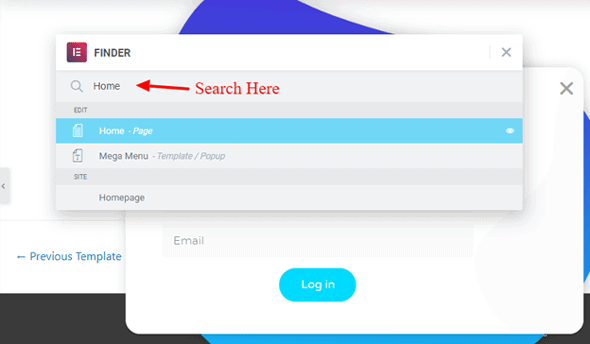
Step 1: To access the Elementor finder, press Ctrl + E (or Cmd + E on a Mac). From here, look for your store’s homepage.
Step 2: From the homepage, go to the widgets section and choose the button widget. Then proceed to Link. Select the name of the plugin you just made in the Action field.

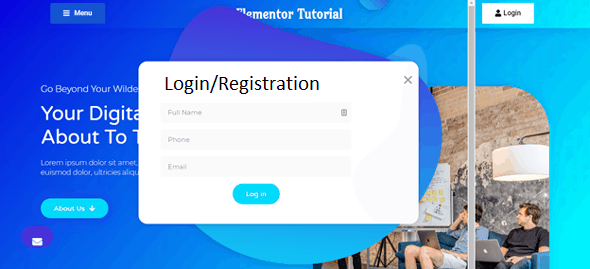
Step 3: Make it public. Review the popup on a live webpage after that. The popup should appear when you click the login button.
2.The WooCommerce login popup you created by yourself
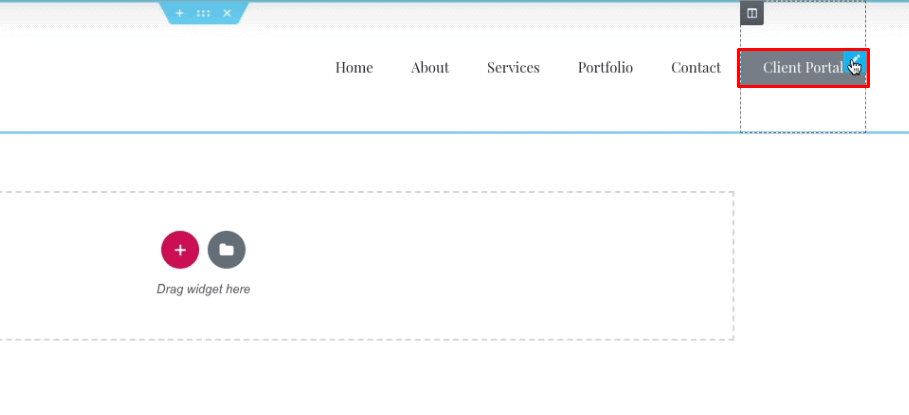
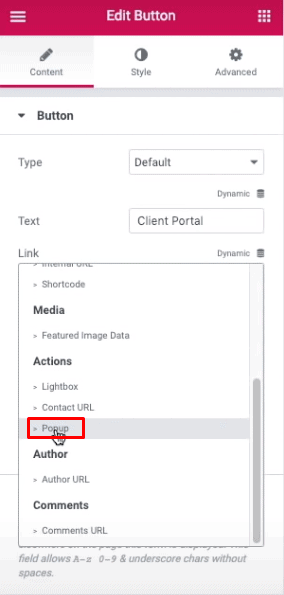
If you’re making your own WooCommerce login popup, go to the Client Portal in the top right corner of the screen to begin modifying it.
Step 1: Go to Button > Link, then click on the Dynamic icon, then pick Popup from the Actions dropdown menu.
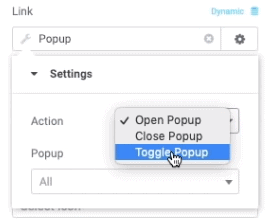
Step 2: Select Toggle Popup from the Popup menu. As a result, when a consumer hits the button, it opens. It will be close if there is no popup.
Step 3: Start entering in the Popup area to find the Login widget you just generated. This is how you link the login popup to the button.
Step 4: To finish the procedure, click the Update button.
For your WordPress eCommerce website, you’ve successfully constructed a login and registration popup.
Method 2: Using a plugin
Create a WooCommerce Login Popup
Step 1
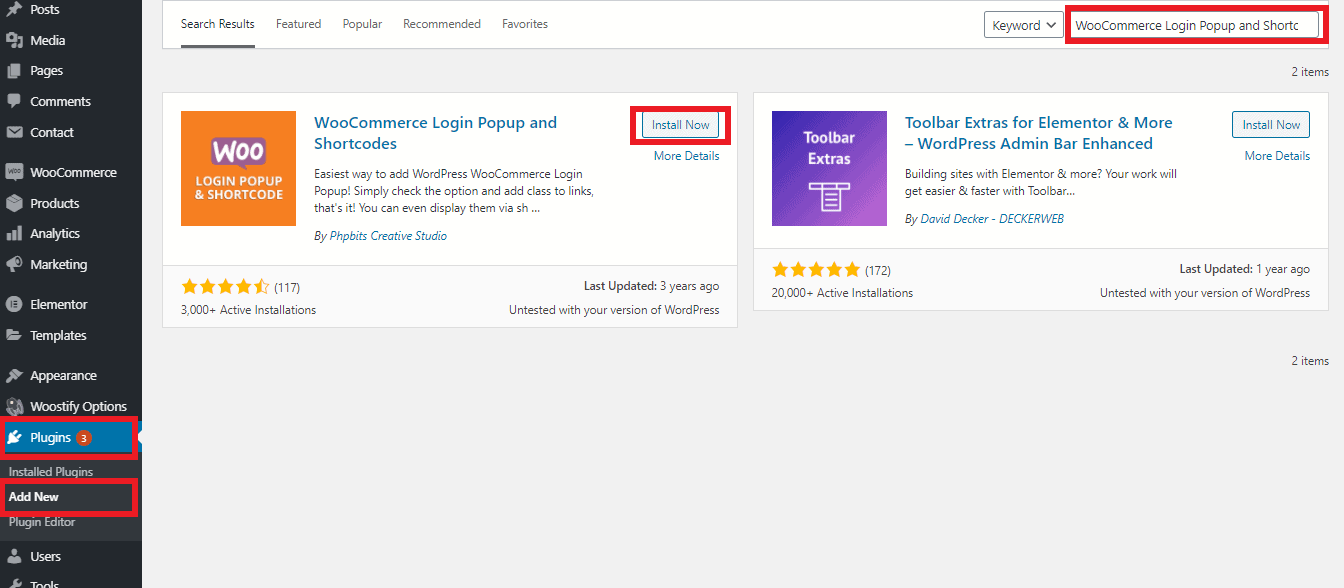
You must first install and activate a WooCommerce login plugin called WooCommerce Login Popup and Shortcodeson your online store. This is the same procedure as when you install other plugins.
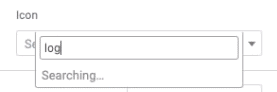
Hover your cursor over “Plugins” in the WordPress dashboard, then click “Add New.” In the Keyword Search area, type the name of the plugin. After that, you must install and activate it.
Step 2
In the WooCommerce menu on the Dashboard, you’ll see a new link called “Login Popup” once step one is completed. Now, go to the Login Popup’s Settings page by clicking on it.
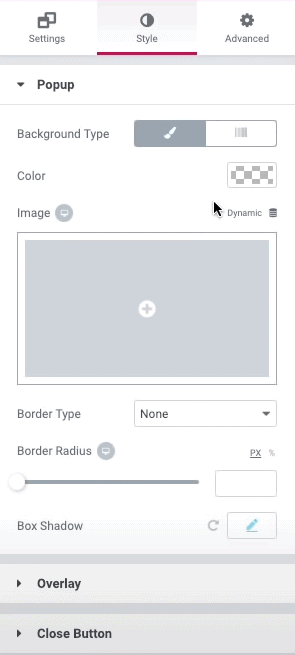
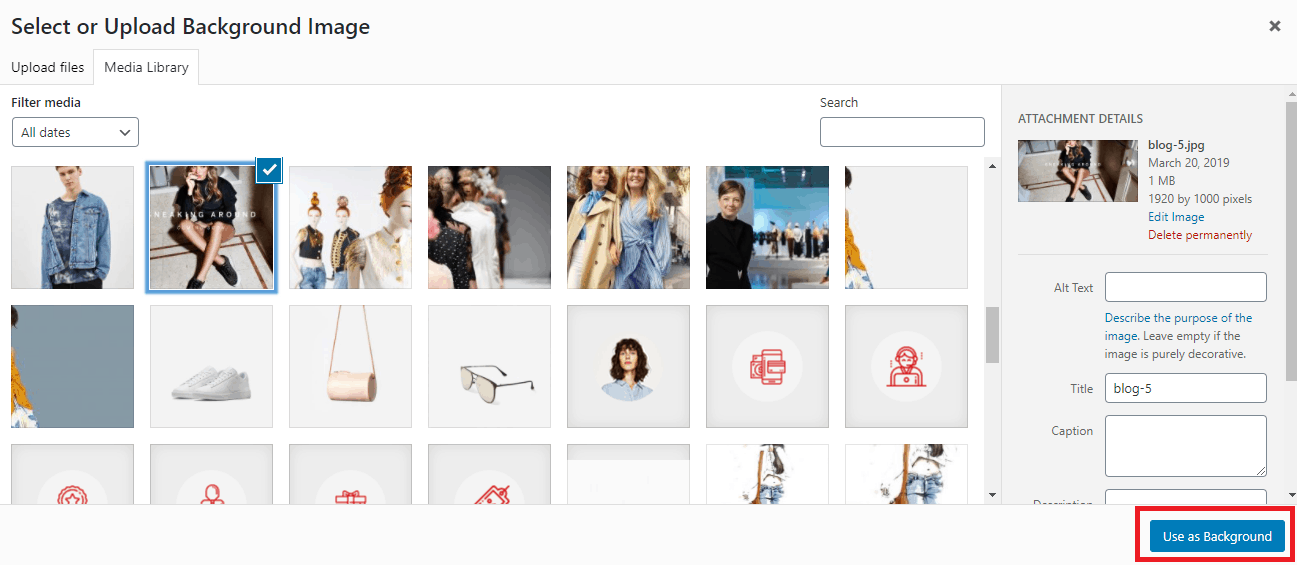
Check the box next to the wording “Enable Popup” here. Then, to alter the backdrop of the WooCommerce login form, click the “Select or Upload Image option.”
<img src="https://cdn4.avada.io/media/shopify/ELuvVMU.jpg" alt="click the "Select or Upload Image option."">
Choose a picture or create a new one. When you’re finished, click “Use as Background” to confirm your decision and return to the settings page.
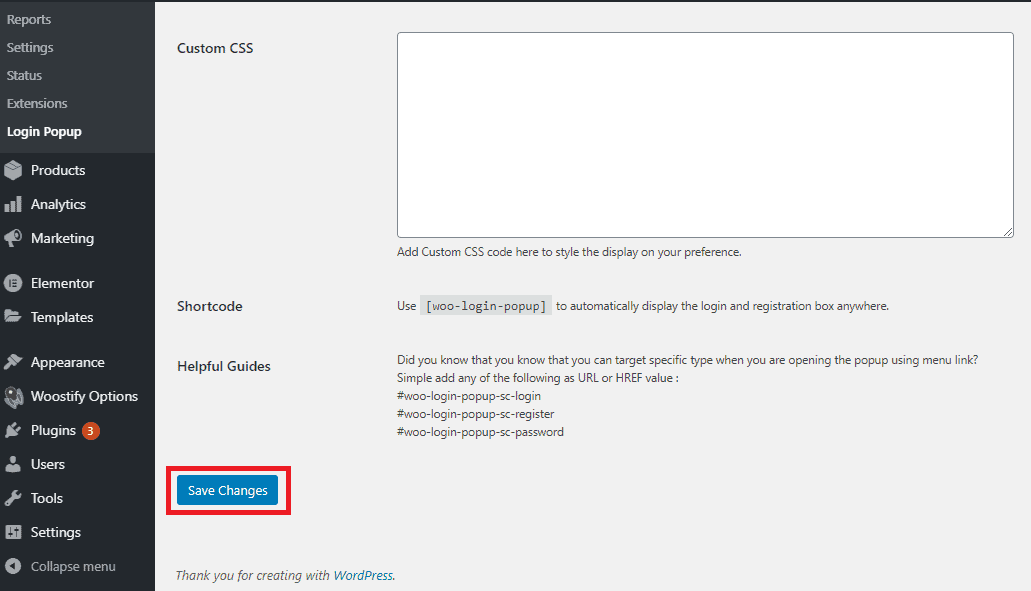
The chosen image will be seen if everything is in order. Remember to save your changes by clicking the “Save changes” button.
<img src="https://cdn4.avada.io/media/shopify/fiGV09b.png" alt="Remember to save your changes by clicking the "Save changes" button.">
Step 3
Take the CSS code from the plugin section and paste it here.
Then select “Appearance” -> “Menu” from the drop-down menu. Select the “Custom Links” tab from the list on the left side of the window. In the URL box and the Link Text field, type ”#” and “Login” in that order.

Finally, select “Add to Menu” from the drop-down menu. You’ll see that “Login” is now listed among the Menu Structure’s items.
Step 4
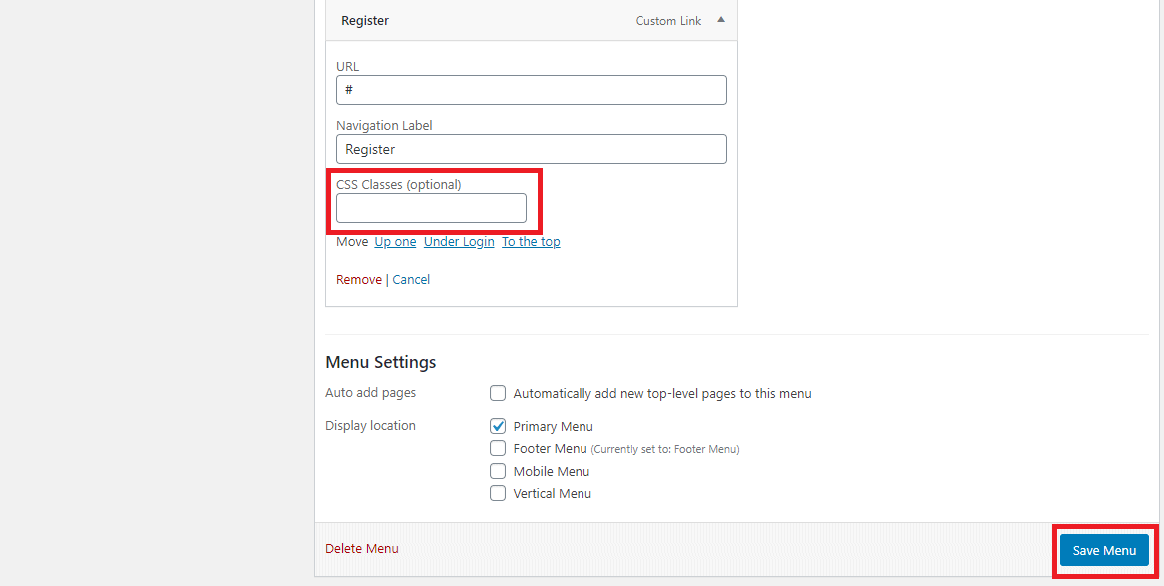
You’ll see a button labeled “Screen Options” in the upper right corner of the window. When you click it, the advanced menu properties will appear as a drop-down menu. Tick the box next to “CSS Classes” in the menu.
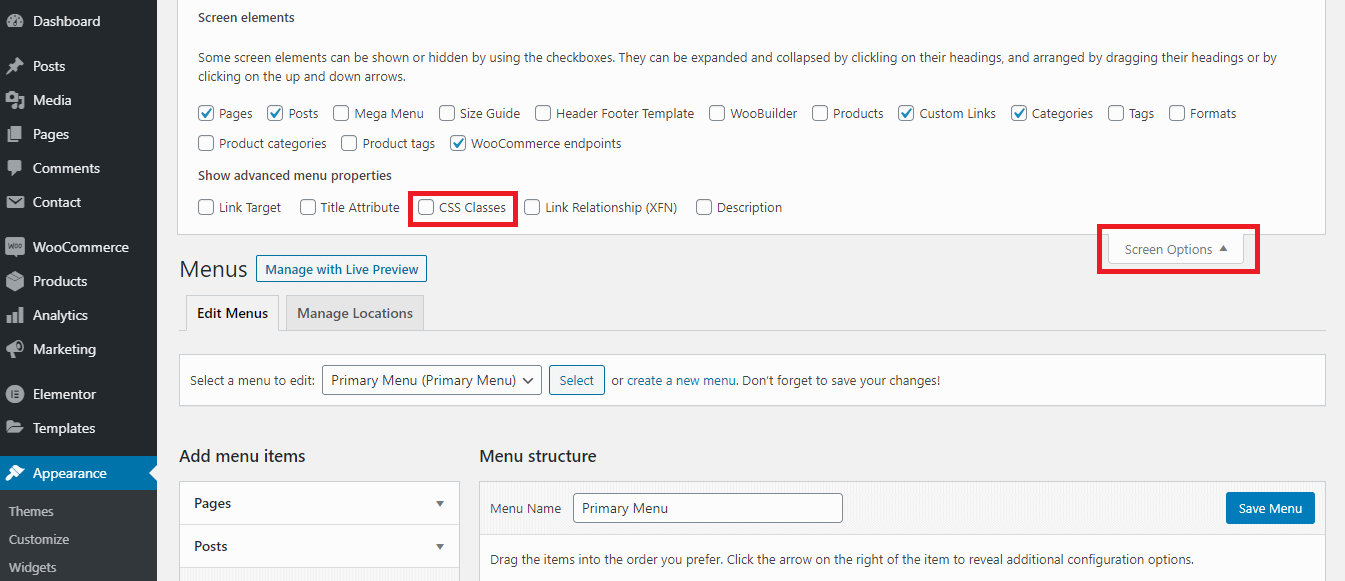
Then, under the Menu Structure section, click the “Login” tab. In the “CSS Classes” section, paste the CSS code you copied before. Before you go, click the “Save Menu” button after you’re finished.
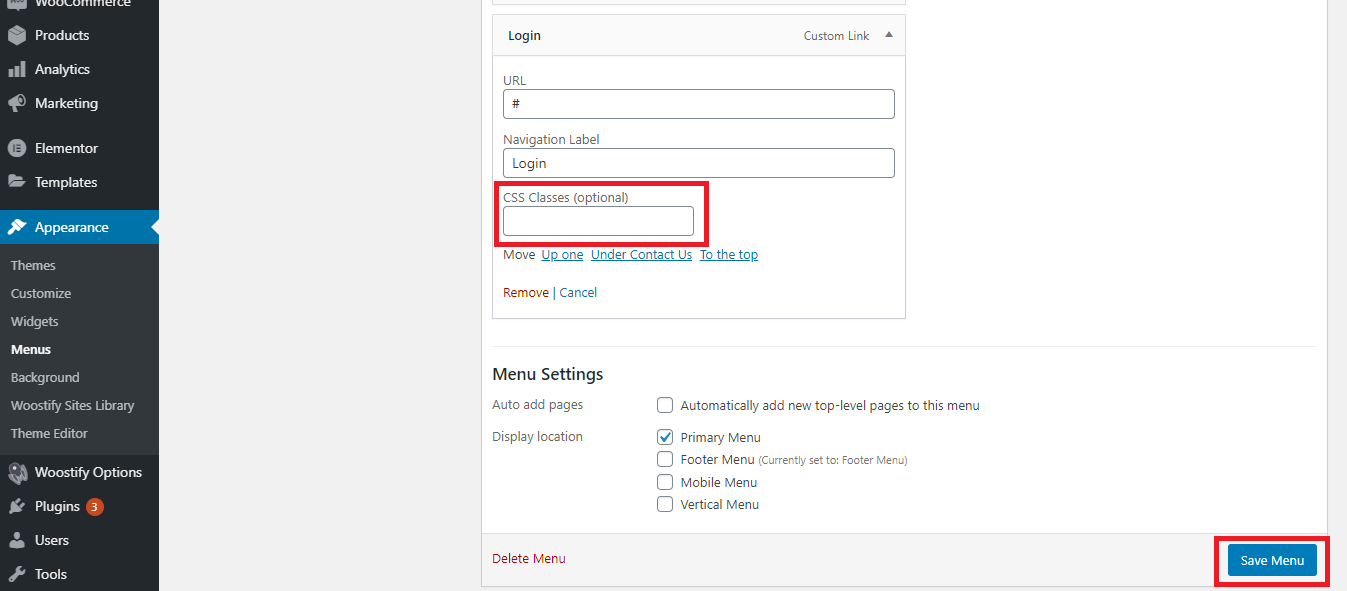
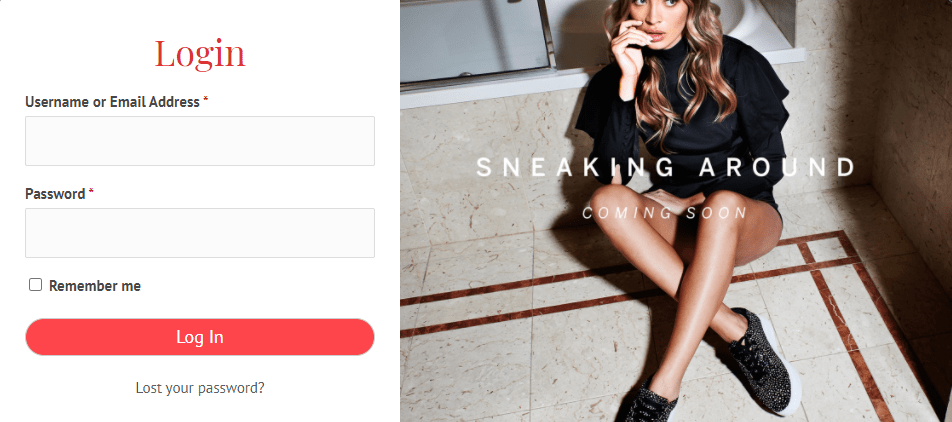
The “Login” link should currently be visible on the front end of your online business.
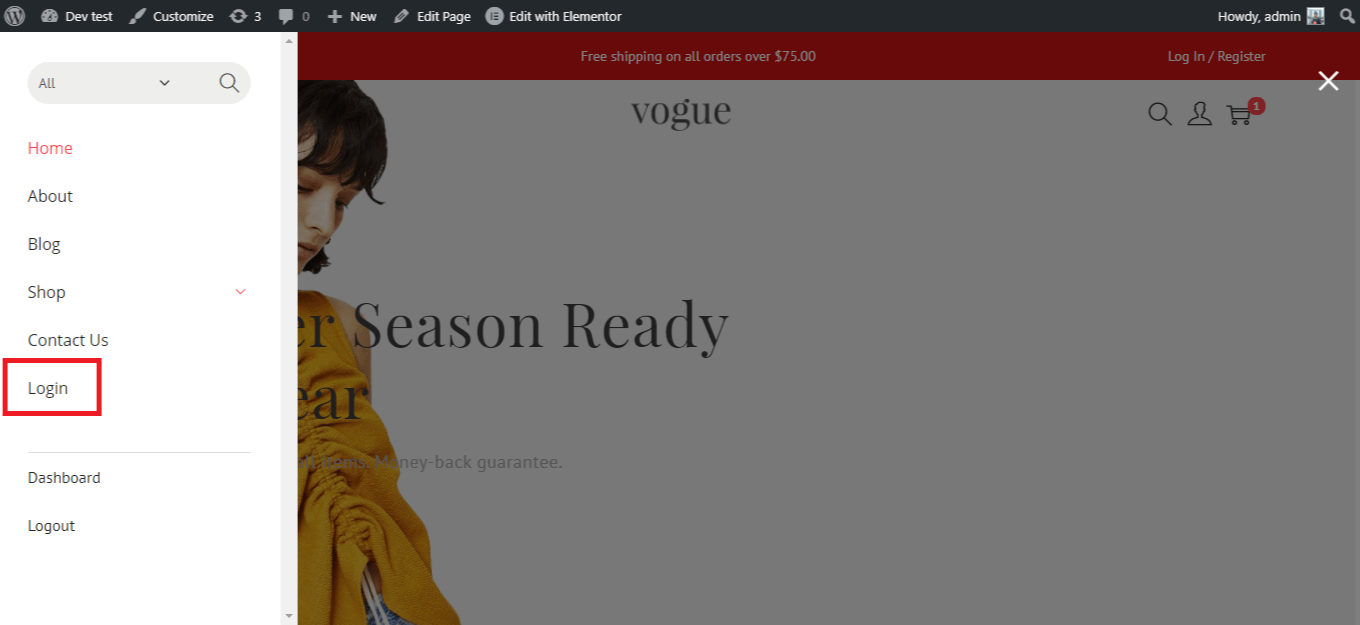
By clicking on it, you may see if it appears or not. The end product should like the image below.
Add Link to WooCommerce Sign up Page
Step 1
Return to the “Appearance” -> “Menu” screen. On the left side of the window, choose the “Custom Link” tab from the list. In the URL area, type ”#” and in the Link Test field, type “Register”. Then select “Add to Menu” from the drop-down menu.

Step 2
You should now see the “Register” tab under “Menu Structure”. Click it, and then paste the code you copied earlier into the CSS area. After that, select “Save Menu” from the drop-down menu.
Step 3
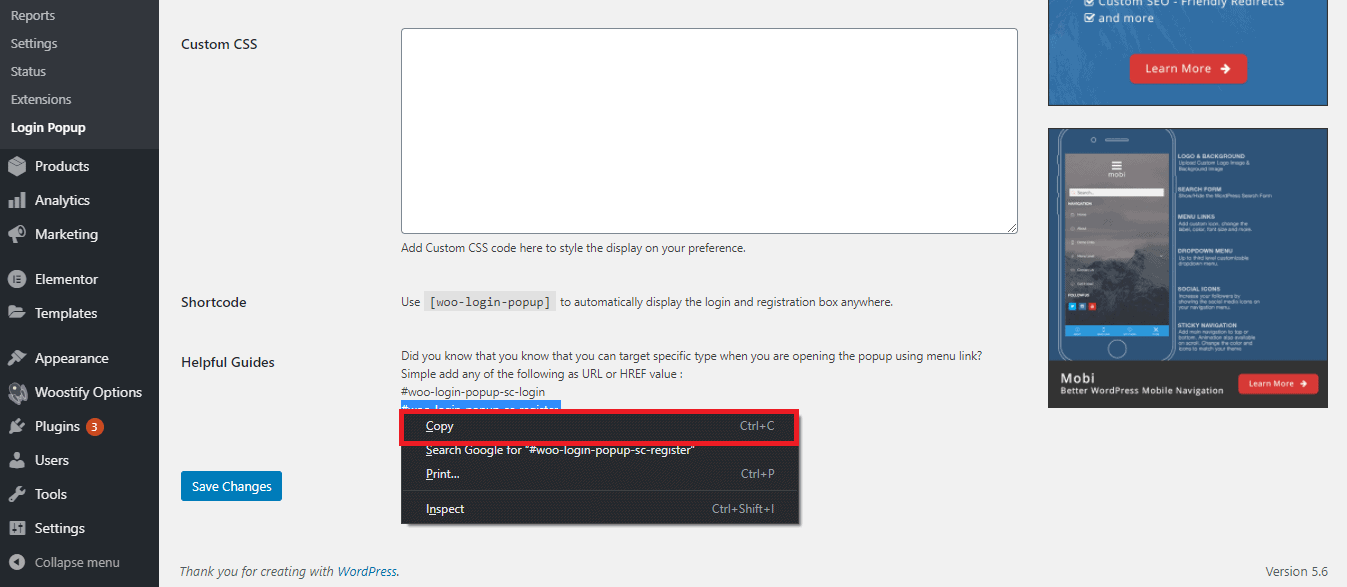
To access the login popup, go to WooCommerce -> Login Popup. Copy the “register” URL from the “Helpful Guides” section.
Step 4
Return to the “Appearance” -> “Menu” menu. Paste the “register” URL into the URL box in the Menu Structure section’s Register tab. Finally, select “Save Menu” from the drop-down menu.
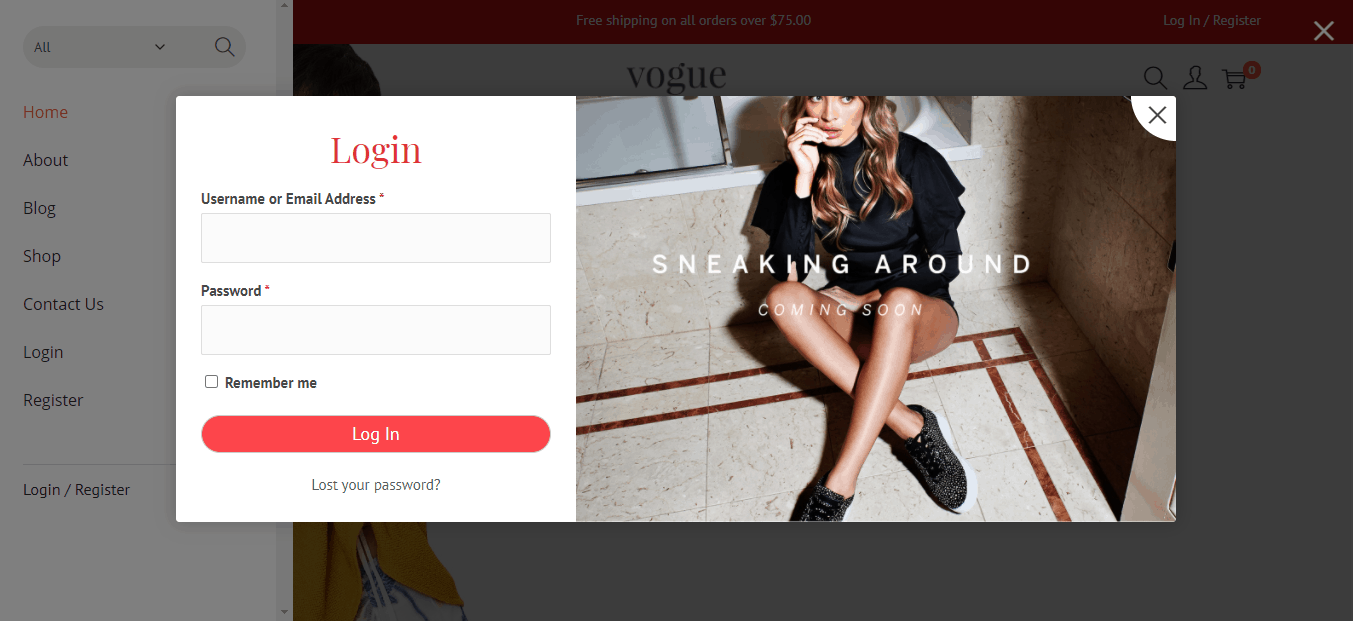
You should verify the website’s front end to see if it functions correctly. When a consumer registers at your store, this is the result. Now is the time to create shared and accessible WooCommerce Login and Registration Pages.
Create WooCommerce Login and Registration pages
Step 1 From WooCommerce > Login Popup, copy the shortcode.
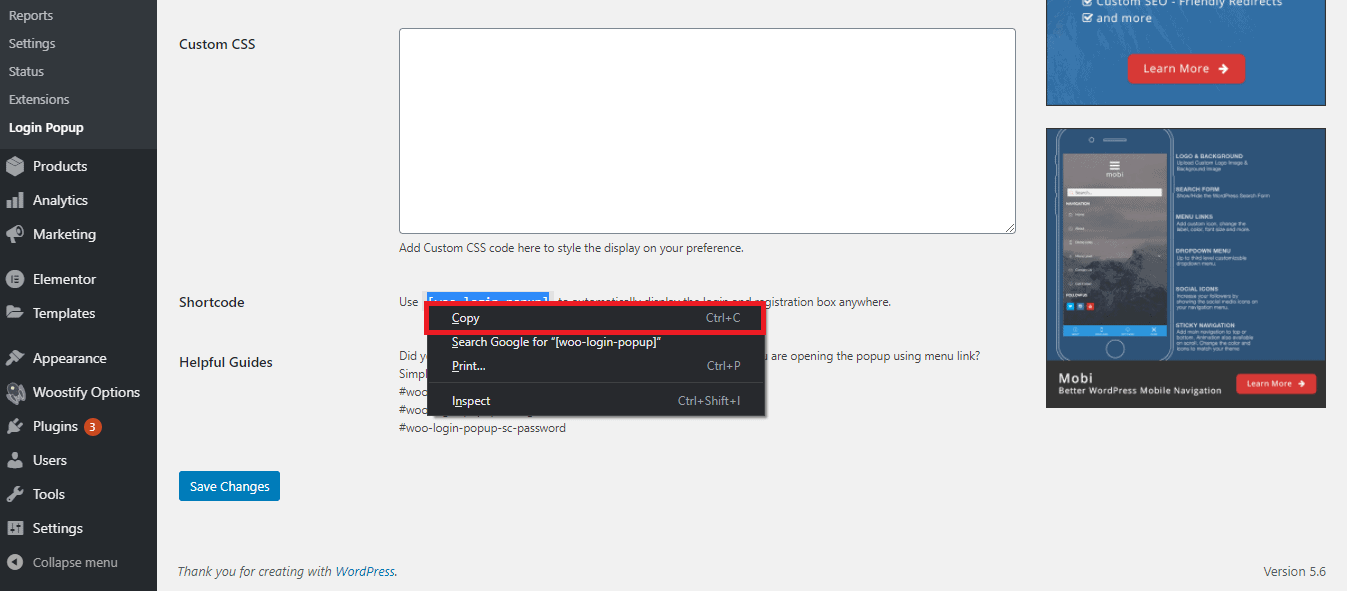
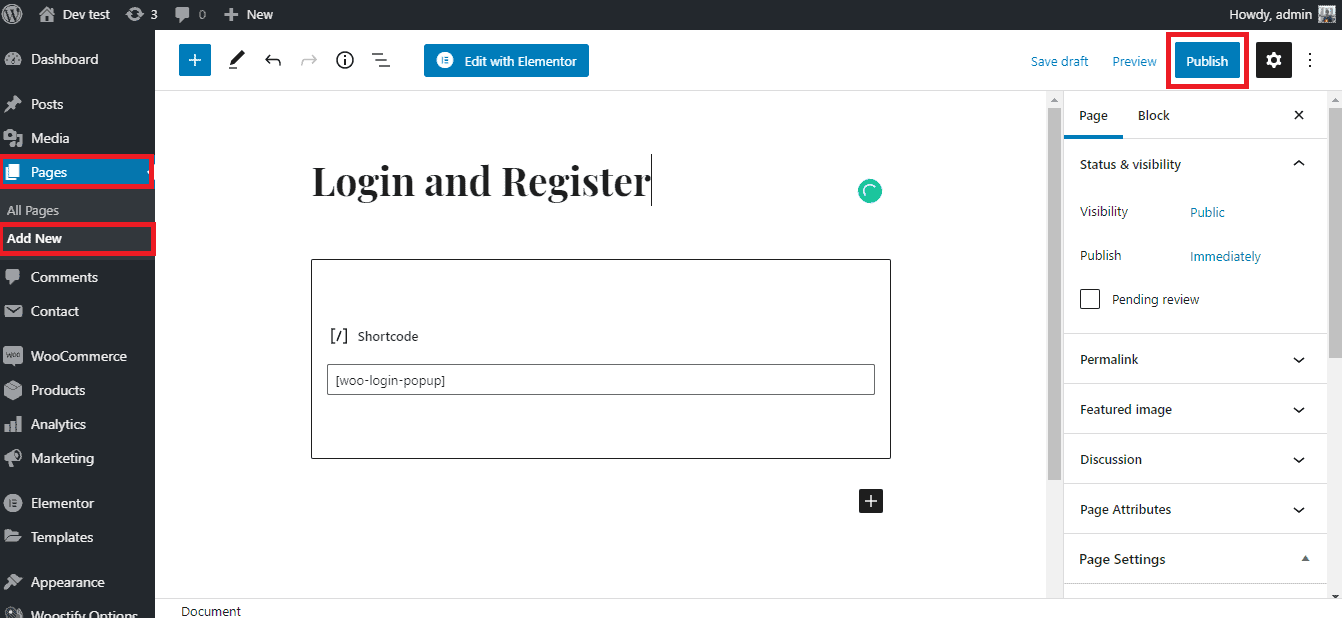
Step 2 (Pages > Add New) Create a new page. Type “Login or Register” for the title, then put the shortcode into the text field and hit the Publish button.
Step 3 Copy the URL address by right-clicking on the permalink. Open a new browser window and try to open the page with this link address.
Method 3: Using WPForm
We will use two tools today:
- WPForm: The greatest WordPress form builder for creating custom forms with only a few clicks.
- OptinMonster: the greatest software for driving traffic, increasing conversions, and increasing revenues.
Create a User Login form with WPForms
The WPForms plugin must first be installed and activated.
Then, in your WordPress dashboard menu, hover over WPForms and pick Addons from the submenu:
To find and activate the User Registration Addon, use the search box on your Addons page:
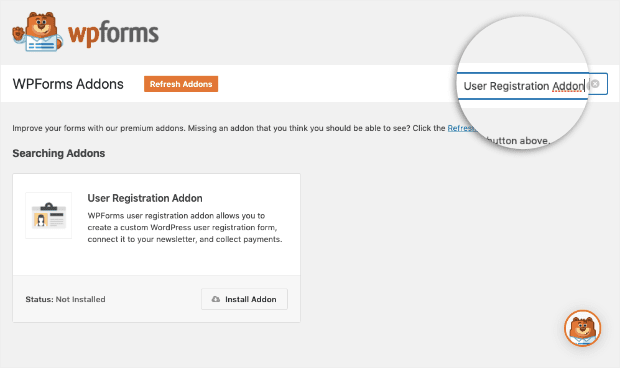
You may also look for it by scrolling down through your addon options:
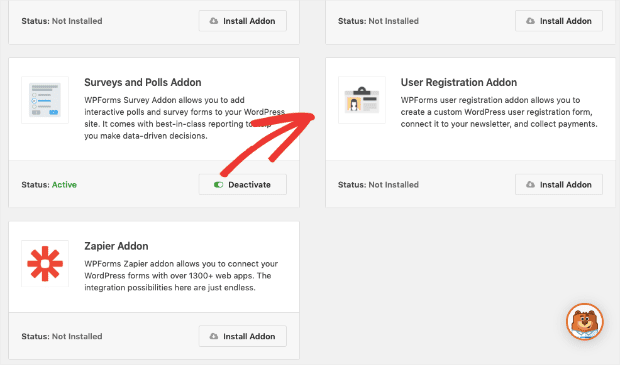
Install an add-on by clicking this link:
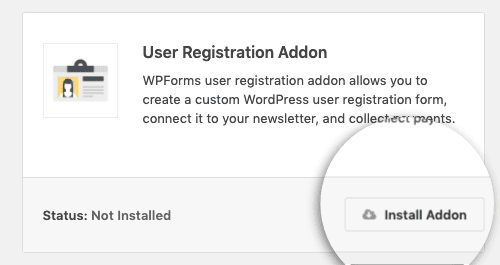
Your User Registration Addon will be enabled immediately after it has been installed. In the lower-left corner of the addon box, you’ll notice the status set to Active:
Return to your WordPress dashboard’s left-hand side menu and select WPForms:
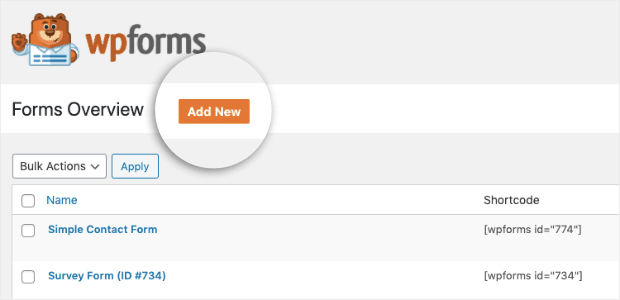
By choosing Add New, you may make a new form.
Then, to get started, pick one of the pre-built User Login Form templates:
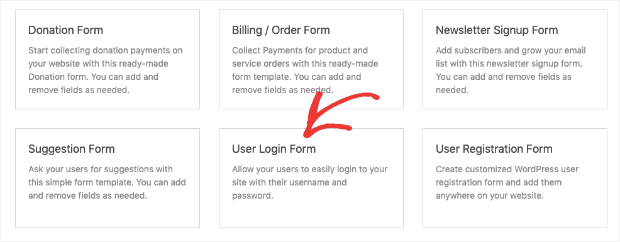
Click Create a User Registration Form:
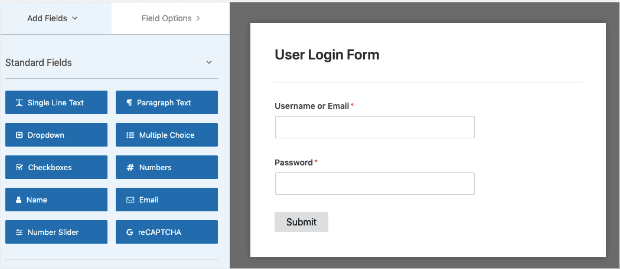
The default template will prompt for the user’s name or email address, as well as their password. In the vast majority of circumstances, the default template will suffice:
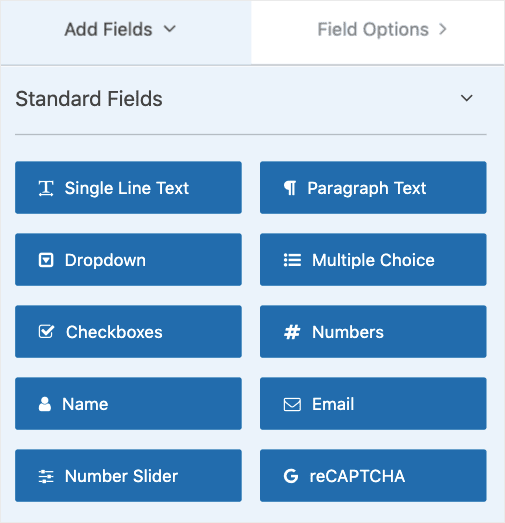
However, if you want more fields, you may do so using the choices on the left-hand side:
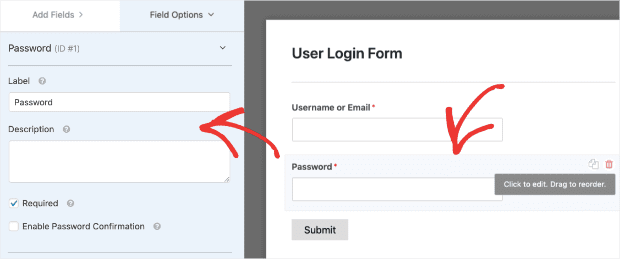
Adding a button that assists customers who have forgotten their login password or allows new users to register for an account is one approach to improve user experience.
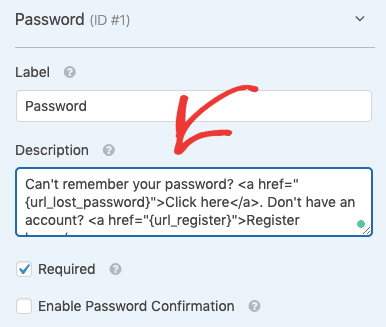
To do so, go to the left-hand side menu and click on the Password box in your template to bring up the editing options:
Enter the following code in the Description field:

This is what your Description field should now look like:
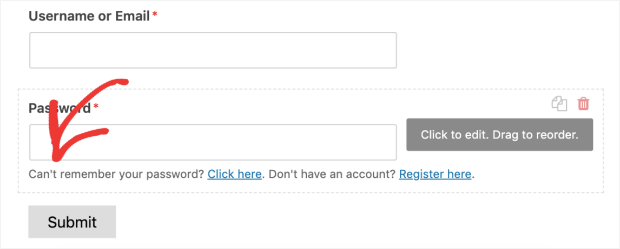
You’ll see right away that your template allows users to retrieve their lost password or create an account:
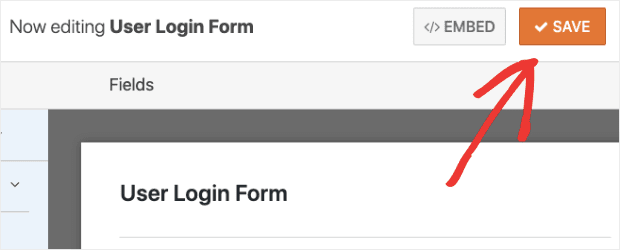
With WPForms, we’re almost done. Simply press the SAVE button in the top right corner of your WPForms editor:
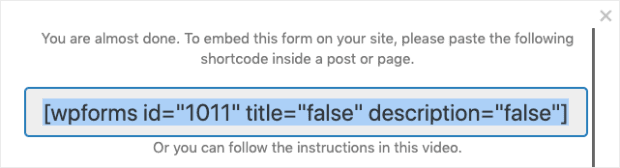
Then, to acquire the shortcode for our OptinMonster popup, click EMBED:
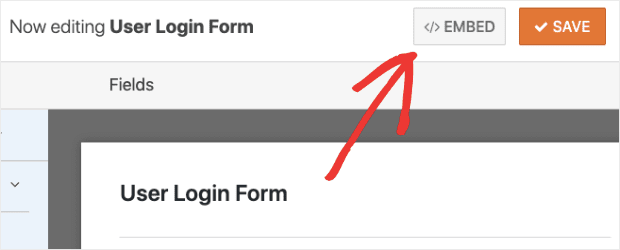
Then copy the following shortcode from the popup window:
Create your WooCommerce Login Popup
Log into your OptinMonster account to build your WooCommerce login popup:

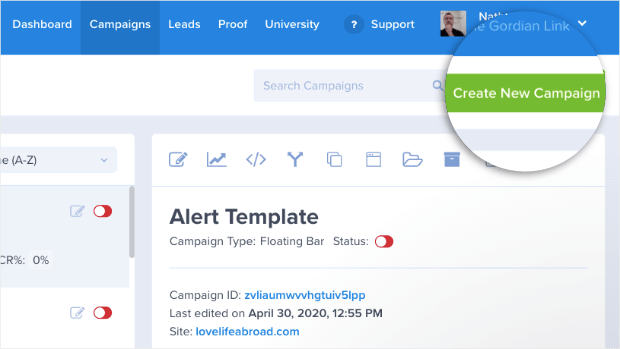
Click Create New Campaign in the upper right-hand corner of your dashboard.
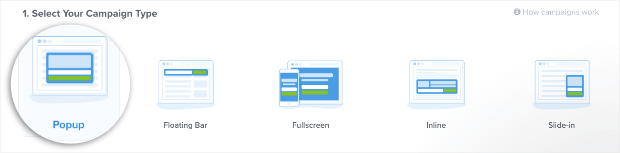
Then select a campaign type. We’ll use Popupfor our WooCommcer login.
It’s now time to pick a template. Because you’ll be inserting a WPForms custom shortcode, select Canvas:
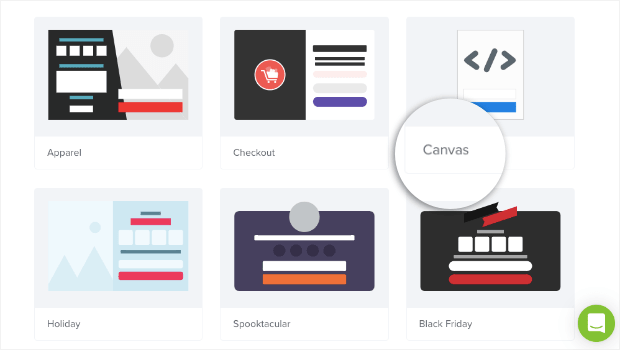
This is a blank template that you may use to start from the beginning. Give your campaign a name and connect it to your WooCommerce store:
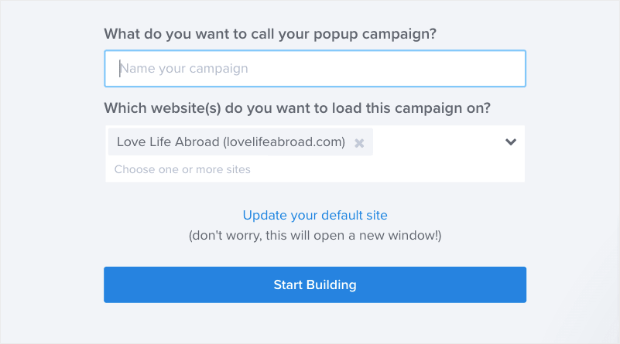
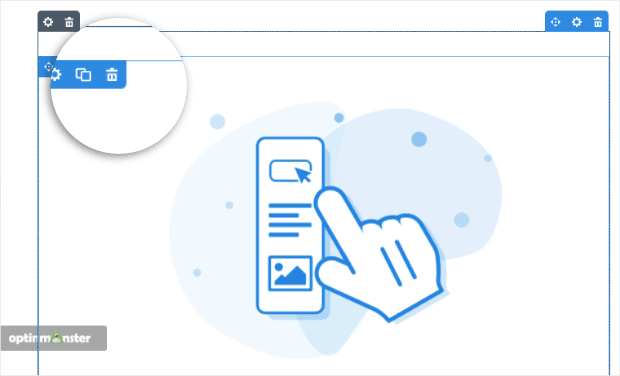
Now you may personalize your blank template in the OptinMonster editor. Remove the picture that comes with the Canvas template from this popup.
You may accomplish this by looking for the trashcan symbol next to the picture block:
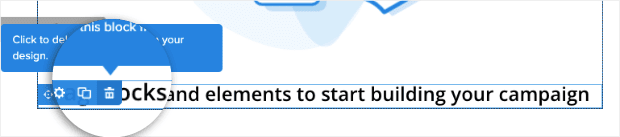
And do the same to remove the text Drag block and elements to start building your campaign:
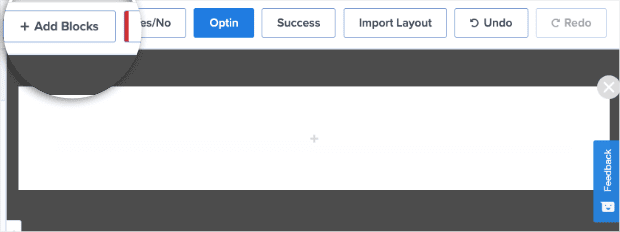
You have a completely blank canvas on which to work. Click + Add Blocks at the top of your editor:
Scroll to the bottom of the page until you can see the HTML block:
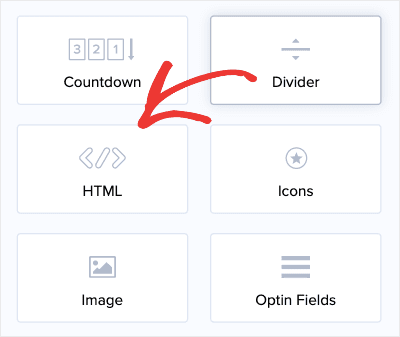
This element block can be dragged and dropped into your editor. In the HTML field block on the left-hand side menu, you can now put your shortcode for your WPForms User Login Form:
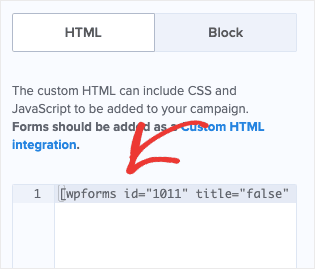
Keep in mind that this shortcode will now appear in your editor. When you launch the campaign, it will not display the form that will appear in your WooCommerce login window.
The form will display as it did in WPForms once your campaign is online and running on your WooCommerce store.
You must go to the OptinMonster plugin through your WordPress admin every time you add or edit custom HTML after your campaign has gone live:
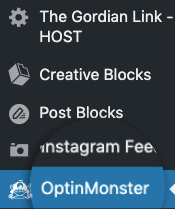
And then select Refresh Campaigns from the drop-down menu.
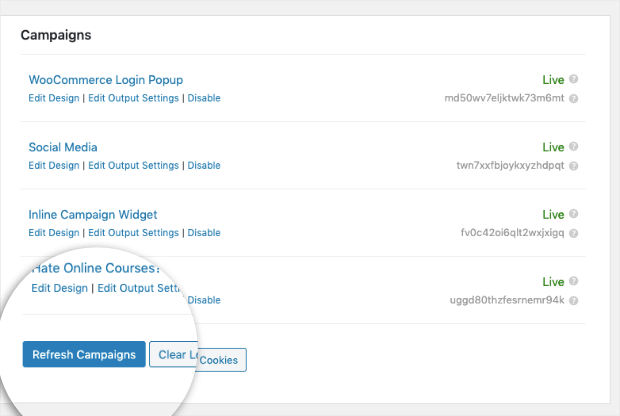
Any time you add, amend, or remove a shortcode from an active campaign, you must do so.
However, you should keep in mind that you may further personalize your login popup by adding a logo, photos, custom text, and more before going live.
In this article, we won’t go into how to personalize your campaign in depth, but if you need more information, check out this resource on how to develop unique designs with OptinMonster campaigns.
Adding CSS to tour Login Form
We’ll apply some custom CSS to your OptinMonster campaign to ensure that your WooCommerce login form looks just as you want it to.
Don’t worry if you’ve never dealt with CSS before. What we’re doing now is quite simple.
In the OptinMonster campaign editor, go to the home menu and select Display Settings:
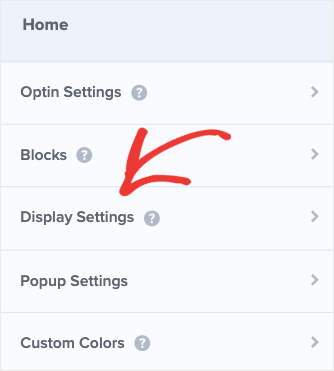
Then scroll down to the field box where you may put your own CSS:
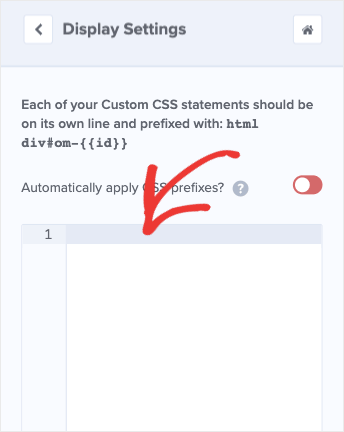
In the field box, type the following code:

You can simply select Save at the top of your OptinMonster editor once you’ve adjusted your WooCommerce login popup to appear the way you want it to:

If you’re using the OptinMonster plugin, remember to reload your campaign in your WordPress dashboard, just like you did before:

Setting your Login popup display rules
We’ll use our WooCommerce login popup in three different ways today:
- Making a login link clickable in your navigation menu
- Allowing the general public to enter your shop but only allowing members to proceed to the checkout
- Providing users with the option of logging onto your site as soon as they arrive
Method 1: Generate a Clickable Login Link for Your Navigation Menu
WooCommerce login popups are most commonly used for this purpose. This is where you allow people to login with a single click in navigation menus or anyplace else on your website. Instead of being sent to a new webpage, a second popup displays, allowing users to log in. It’s a great way to improve your users’ experience and it’s easy to set up. Go to the top of your editor and select Display Rules:

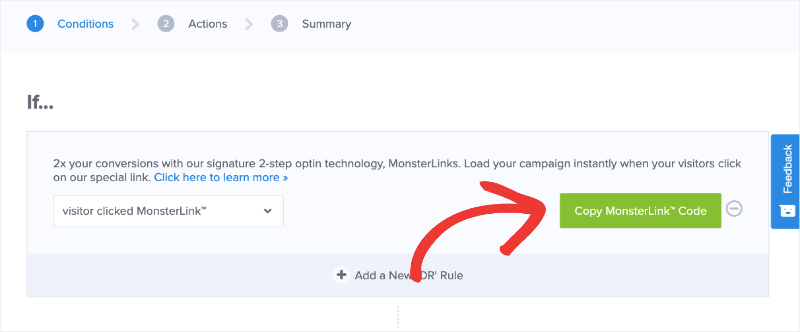
Change time on page to visitor clicked a MonsterLink™:
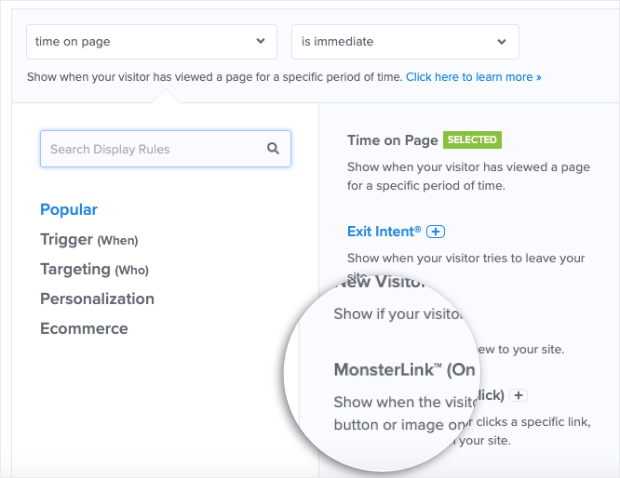
Now you are able to copy the shareable MonsterLink™ to your clipboard with the click of a button:
Method 2: Allow Public Access but Members-Only Checkout
First, navigate to your login popup campaign’s Display Rules. This is at the very top of your OptinMonster editor:
The first condition should be changed from time on page to current URL path:
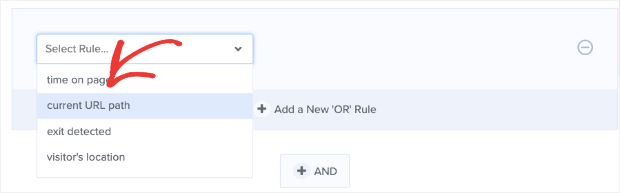
Change any page to contain in the next field:
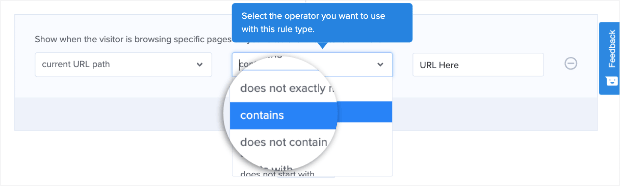
Finally, type the word “checkout” in the field box next to it:
<img src="https://cdn4.avada.io/media/shopify/xPJLSkk.png" alt="Finally, type the word "checkout" in the field box next to it:">
Then apply the following condition to “instant time on page”:
<img src="https://cdn4.avada.io/media/shopify/xmvpyM9.png" alt="Then apply the following condition to "instant time on page":">
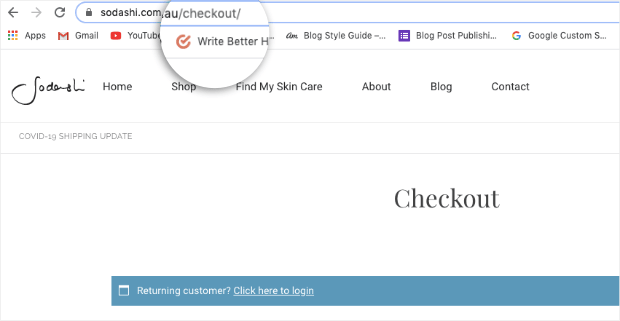
Because WooCommerce URLs follow the same pattern, you’re doing this. The following URL will be used whenever a customer wishes to check out on a WooCommerce site: www.myonlinestore.com/checkout
Unless otherwise specified, the domain name will change based on the WooCommerce shop, but the end of the URL slug will be “checkout.” Consider the following scenario:
Customers may promptly log into their accounts when they reach a checkout page, thanks to the display rule you just defined for your WooCommerce login popup.
The advantage is that if they’ve purchased with you before, you’ll have most of their payment and shipping information on hand. The checkout process can then be streamlined to prevent shopping cart abandonment.
Method 3: Letting Members Log into Your Store Immediately
You could also want to allow members to log into your WooCommerce store anytime they visit your website. It’s simple to do so. Simply replace your first condition to any page’s current URL path:
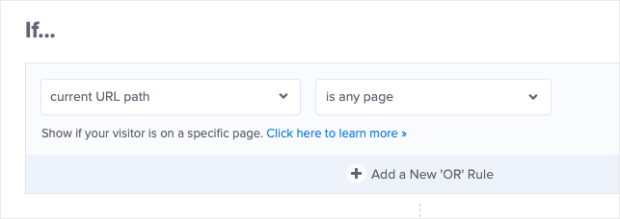
This will display your login popup to all visitors to your site, allowing current members to log in and new members to join up.
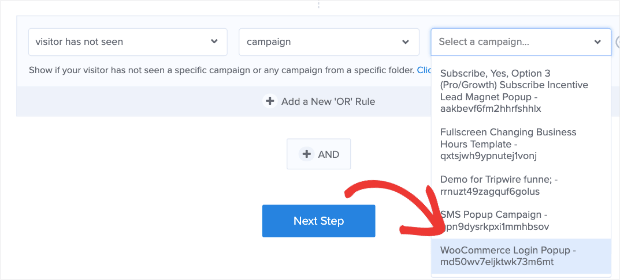
However, you don’t want to irritate your clients by presenting them the same campaign over and over. To avoid this, change the next condition to “visitor has not seen” and run the following campaign:
<img src="https://cdn4.avada.io/media/shopify/toGFzne.png" alt="To avoid this, change the next condition to "visitor has not seen" and run the following campaign:">
Choose your WooCommerce login popup campaign (the one you’re currently working on) in the next field box:
This campaign will now only be seen once by your users.
Then, by clicking + AND, construct a final rule:

Set your final rule to “instant time on page”:
<img src="https://cdn4.avada.io/media/shopify/gJcc2yx.png" alt="Set your final rule to "instant time on page":">
Allowing visitors to log in immediately after visiting your site has the advantage of allowing them to add products to their shopping basket and proceed to checkout without interruption.
Furthermore, because their payment and shipping information will already be on file, the entire process from basket to checkout will be streamlined.
There’s only one more thing to do now. Return to the homepage of your campaign editor and select Display Settings:

Then adjust your display settings for both converted and unconverted users on their next visit to the site to:
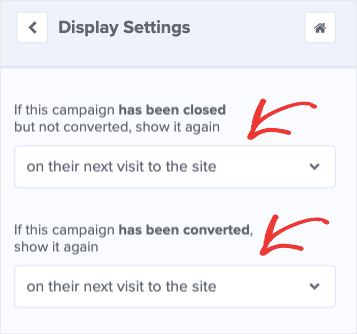
This must be done in order for your login popup to show every time the same person visits your website. Due to the display rules we defined before, they won’t see the same login prompt twice during the same session.
Conclusion
Although login and registration are not the most critical aspects of an online business, they do have an impact on customers’ purchasing experiences. As a result, you must design a flawless login and registration procedure in your shop. You may have a stunning WooCommerce login popup and register for your online store with simply a WooCommerce user registration plugin.


