How to Create a Waitlist on WooCommerce Stores
Customers can sign up for WooCommerce Waitlist to be notified through email when an out-of-stock product becomes available. You may also check who is on the waiting list for certain products as a store owner, and sort products by the number of persons on the waiting list.
In this article, I will show you How to Create a Waitlist on WooCommerce Stores to upgrade your online store ultimately!
Benefits of a waitlist on WooCommerce stores
- Save time and earn more money
This plugin makes it easy for you to notify customers of available products instead of addressing each one individually. A flexible subscription function notifies a customer when a product is back in stock, saving them time as well as yours. As the business owner, you can add or remove users from the email list at any moment.
- Make your company more efficient
The majority of WooCommerce Waitlist plugins instill a sense of devotion in clients. It goes a long way to let them know you’re thinking about them when operating the company. Your company also maintains note of all of the things they frequently order, as well as the average amount they are willing to spend at various times throughout the year. These insights are critical in the decision-making process of any firm.
- Create a brand for your company
You can show your consumers an aspect of your business they aren’t aware of by using easily customizable email and notification texts. This includes anything from your logos to any additional services you’re willing to provide, which are usually in the form of links.
How to create a waitlist on WooCommerce stores
Step 1: Plugins installation
- Download the.zip file from your WooCommerce Personal Account
- To upload the file you downloaded with Choose File, go to WordPress Admin > Plugins > Add New.
- Activate the add-on.
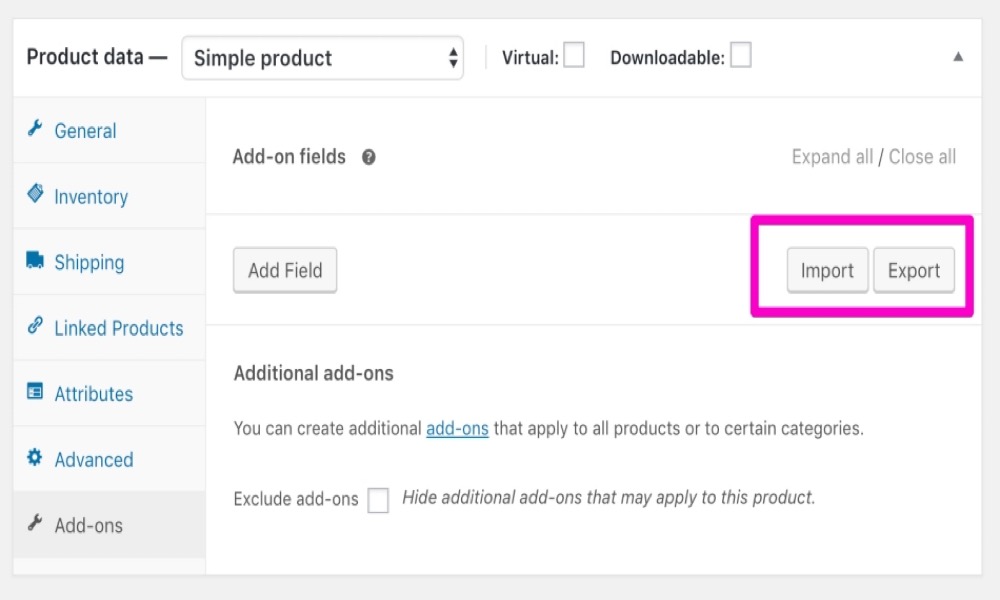
Step 2: Waitlist configuration
Settings screen: On the settings tab, you can adjust the plugin to meet your needs. Select the Waitlist link from WooCommerce > Settings > Products.
- You may manage what your customers see in your store by using display options:
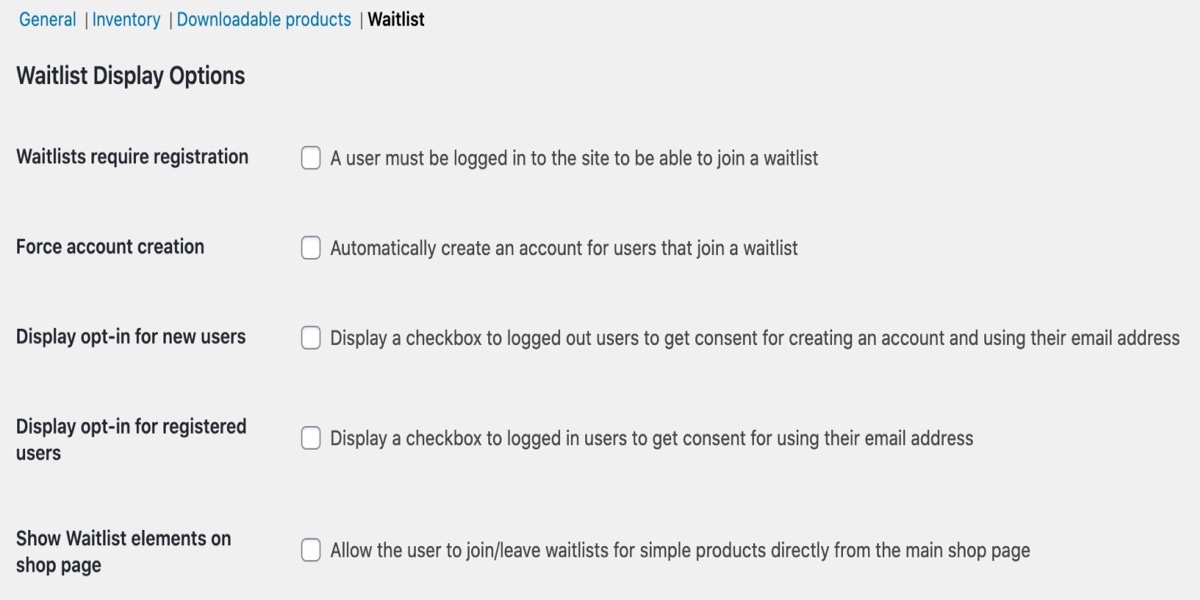
Waitlists require registration – customers who have logged out will see a notification alerting them that they must register where the queue is normally displayed.
Force account creation – when a consumer joins the waitlist, an account is established in the background, and a new account email is issued to the customer.
Opt-in options – present a consent notice with a checkbox that the consumer must accept and click before submitting the waitlist form
Show waitlist elements on the shop page – whether or not you want to show the waitlist components on the shop archive page. Only simple products will work with this method.
- The shop manager can provide options to make the plugin operate for them using administration options:
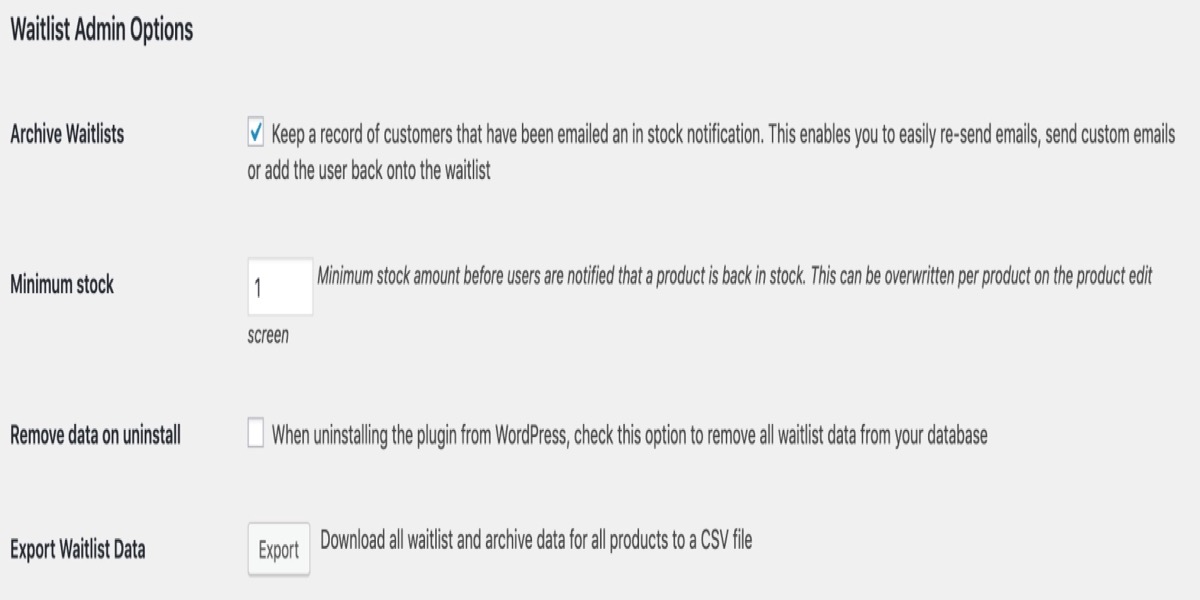
Archive waitlist- Keep a list of email addresses that have been removed from the queue once they have been archived (along with a date of when they were removed).
Minimum Stock - The amount of stock needed to activate waitlists and send in stock alerts. On the product edit screen, you may also set this per product.
Remove data on uninstall — When removing the plugin, the waitlist data is not erased by default. This option can be checked if you want to erase all waitlist data (including all waitlists and archives).
Export waitlist data — This button will compile all of your waitlist information into a CSV file that you can download.
- The following update options are for the sole purpose of updating the plugin’s stored metadata (this may be required when upgrading from an older version):

Update waitlist counts — If your waitlist counts are incorrect for whatever reason, you can recalculate them here. When the metadata structure of older versions of the plugin was modified, this was implemented.
Update waitlist metadata — Older versions of the plugin had a different metadata structure, and this manually upgrades your current data to it. Unless you’re updating from a really ancient version of the plugin, this shouldn’t be necessary.
Product listing screen: The WooCommerce Waitlist plugin adds a new column to the Products listing in the WordPress admin area that displays the number of users on a product’s waiting list. This column can be sorted to help Shop Managers easily locate the most popular products in the catalog.
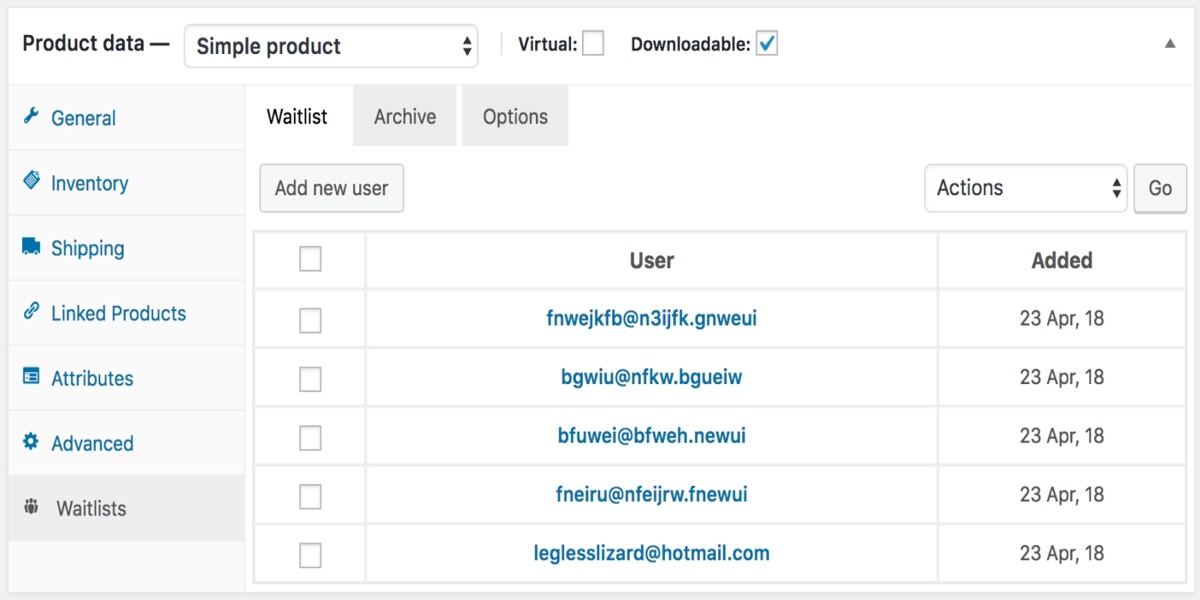
Edit product screen: The store manager can add single or multiple email addresses (separated by a comma) to the waiting list, delete customers from the list, manually send out in-stock notification emails, or send custom emails on the waitlist tab:
The shop manager can add customers back to the waiting list (who will remain in the archive until they are deleted), permanently delete customers from the archive, or send them a personalized email from the archive tab (if, for example, it is suspected a notification email has not reached them). This tab will also reflect a customer’s removal from the archive (through the “My Waitlists” tab on the “My Account” page):
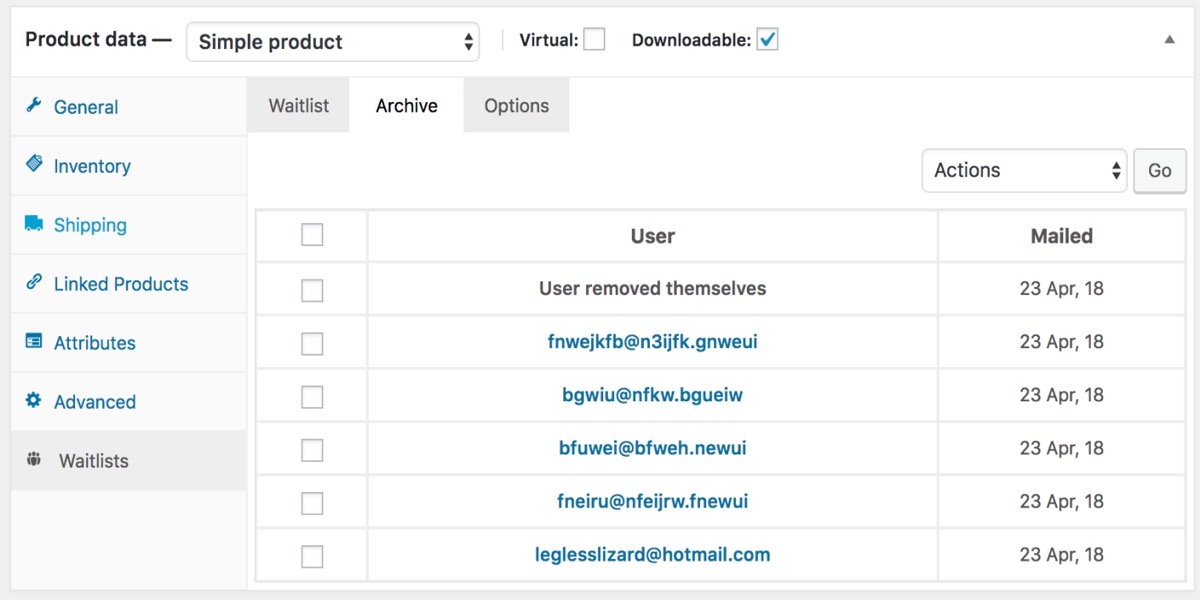
The choices tab gives the shop manager the power to impose specified options for individual products. These settings will override the global options (for this product only) if they are set here:
When working on the product edit screen, waiting lists are updated in real-time. This avoids having to update/save the product post each time an edit is required.
When making changes to variations (for example, changing the stock level/status), it is recommended that the product be updated, as changes will not be immediately reflected on the Waitlist tab.
The default mail client on your machine will be active when sending bespoke emails from these tabs.
3 Best WooCommerce Waitlist Plugins
1. WooCommerce Waitlist
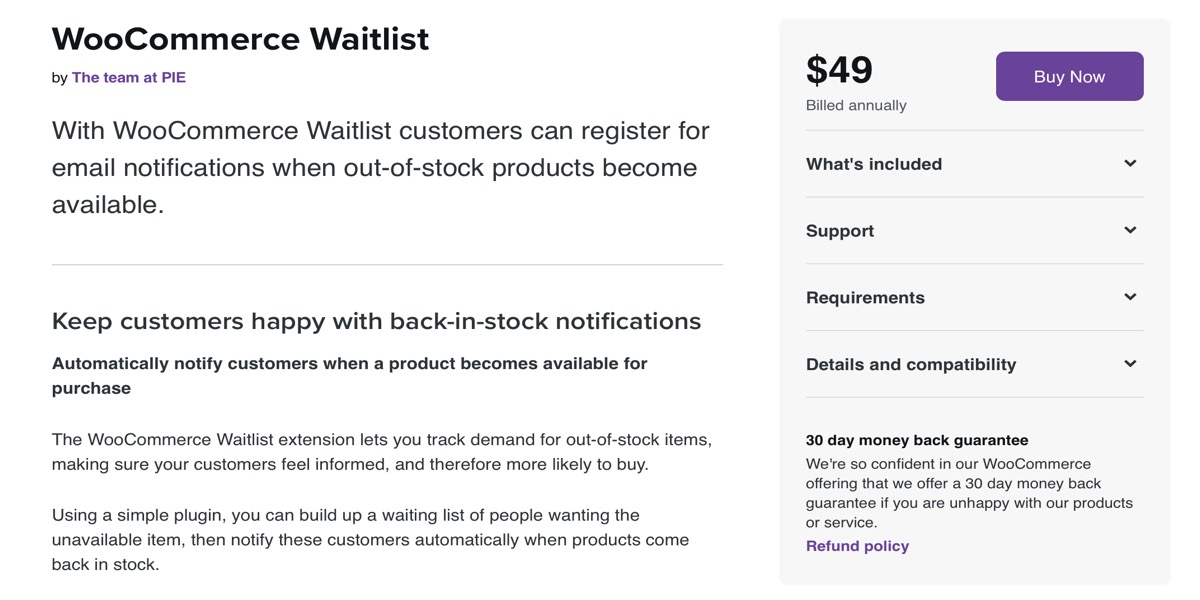
WooCommerce Waitlist is available for $49 per year with a 30-day money-back guarantee. It’s one of the plugins that send you an email when a product you’re interested in becomes available in stock. It allows you to keep track of out-of-stock items and notify your customers.
Features:
- Send out emails to customers to let them know when it is a good time to buy out-of-stock items
- From the WordPress admin panel, you can easily manage your customer waitlists.
- Easily refill items in the order of consumer demand and importance.
- Keep track of all users who have received an in-stock notice or notification effectively
- Simple to set up, activate, and use
Price: $49
2. Back In Stock Notifier
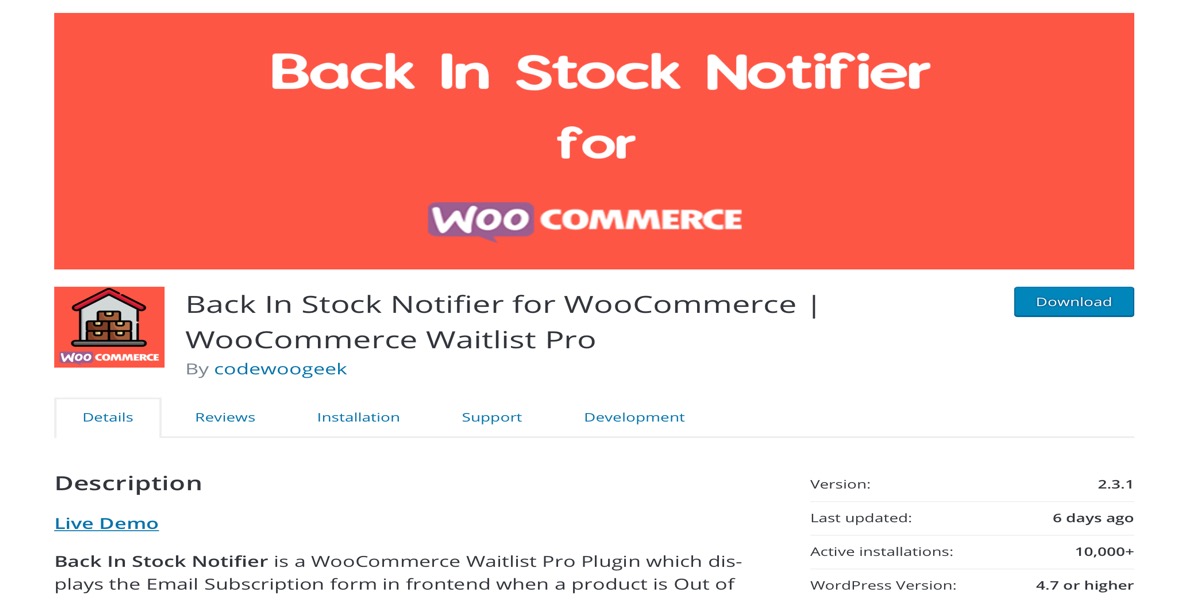
When a product is out of stock, the Back In Stock Notifier WooCommerce waitlist pro plugin displays the email subscribers form. When the product is restocked, the subscribers will receive an email notification. It works well with both static and dynamic products. The email – id for your site members is already filled in, and it also offers the option to clear the back-in-stock notification list following a successful notice. It’s also WPML compliant and comes with a subscription email with an unsubscribe button. The following are some of the other features of this WordPress plugin.
Features:
- Send notification emails to selected customers
- Work for both guests and members
- Error message customization options
- Export waitlist as CSV file
- Subscription email with unsubscribe option
- Error message customization options
Price: $100
3. Sumo WooCommerce Waitlist
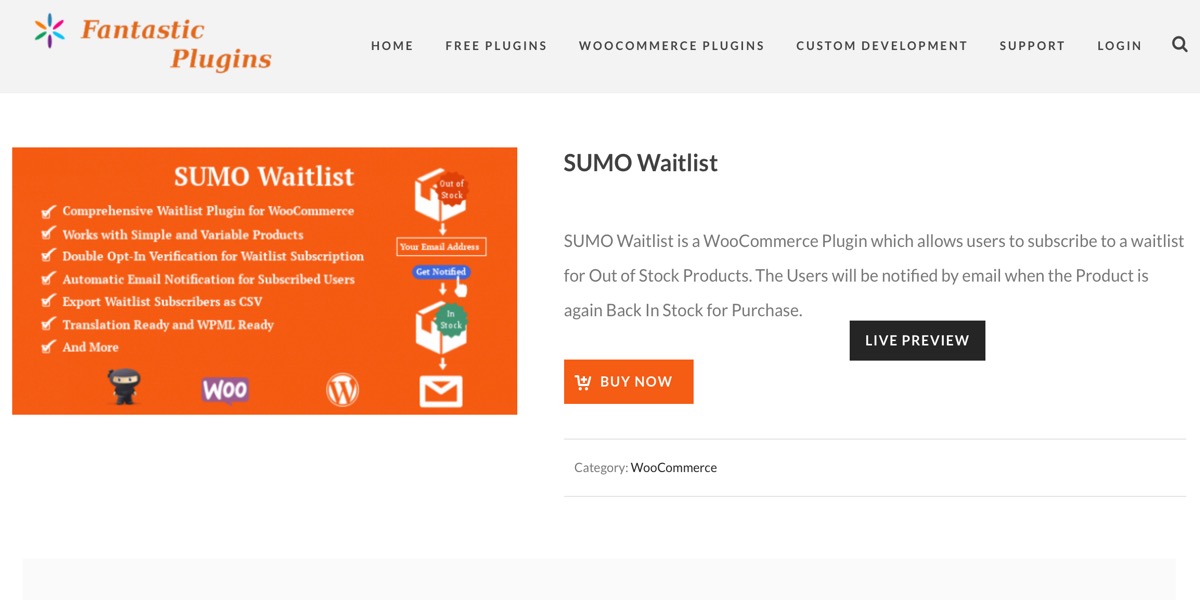
The Sumo WooCommerce Waitlist plugin allows users to sign up for a waitlist for out-of-stock products and be notified through email when the item becomes available for purchase again. It works for both members and visitors, as well as simple and variable items. For all of the individual and variable products, the waitlist may be readily exported as a CSV. It works with any WooCommerce-compatible theme and will automatically display the subscription form on product pages when the product is out of stock. The email and error messages can also be customized.
Features:
- Conversion tracking for the waitlist products
- Restrict waitlist subscription to specific products
- Manually add subscribers to the waitlist
- Logged in user to leave the waitlist
- Work for the members & guests
- Error messages can be customized
- Send manual emails to all subscribed users & selected users
Price: $29
Conclusion
WooCommerce Waitlist allows customers to be notified through email when out-of-stock goods become available. As a business owner, you can also see who is on the waiting list for various products and sort products by the number of people on the waiting list.
I hope you will find the topic about How to Create a Waitlist on WooCommerce Stores fundamental!


