
How to Fix Add to Cart Button Missing in WooCommerce?
By Sam Nguyen

Your WooCommerce store cannot work properly without the Add-to-cart button. It has become an indispensable element to the success of your online business. Therefore, adding this kind of button to your store is a must thing to do. And we rest assured that your store has this button already. However, there are some cases you see this button missing. Hence, it is inconvenient for customers to shop in your store.
Do not worry! We can see that there are plenty of similar cases like yours. This is to say; solutions exist to assist you in dealing with any arising cases. Keep reading and we will walk you through how to fix Add to cart button missing in WooCommerce.
Why is your Add-to-Cart button missing in WooCommerce?
Before getting to know how to fix this problem, it is a need to understand what causes the Add to cart button to miss. And in this article, we will let you reasons that lead your button to work improperly. Now, it is time to see a list of causes as below:
- The incompatibility between plugins and themes
- The old version of themes and plugins
- The incomplete information of WooCommerce products
- WooCommerce status
- Unwanted cache setup issues
- Problems related to permalinks
- Checkout & Cart URL issues
- Checkout endpoint issues
- Code problems
- Theme issues
- ModSecurity Problems
How to fix the Add-to-Cart button missing in WooCommerce?
Due to the above reasons that cause the missing Add-to-Cart button, we will find the solution for each cause. Hence, we will guide you through each of the causes and the details of how to fix each of them.
1. Update version of themes and plugins
First of all, when your themes and plugins are not appropriately updated, your Add-to-cart button will not work. Therefore, in case your button is missing, the initial thing to check is to make sure that both WooCommerce and WordPress are using the latest versions, which helps to reduce possible problems.

By updating to the new versions, you could make use of bug fixes. These are crucial for the installation of WooCommerce as well as solving the problems related to the Add-to-cart button. What is more, this activity is also helpful for extending to your WooCommerce plugins because developers can release updates for fixing compatibility issues or plugin conflicts. New versions will perfectly match your WooCommerce releases. That is why your online store could be able to run and operate smoothly.
2. Fix the incompatibility between plugins and themes
The second issue that might be a cause for your missing Add-to-cart button is the incompatibility between plugins and themes. There is no denying that using more plugins means you are more likely to encounter compatibility issues. To be more specific, this often happens when you update WordPress, change your plugin version, or update WooCommerce.
Step 1: Check if plugins use the latest versions
This is to say, it is necessary to check whether you are coping with conflicts between themes and plugins or not. First of all, you need to make sure that all plugins you are using need to be updated to the latest versions.
Step 2: Clear the site cache
After that, you are supposed to clear the site cache. To do this, you will log into the cPanel of your website and head to the section “PHPMyAdmin”.
In case, the hosting plan you are using is a shared one, you have to navigate under the section “Databases”.
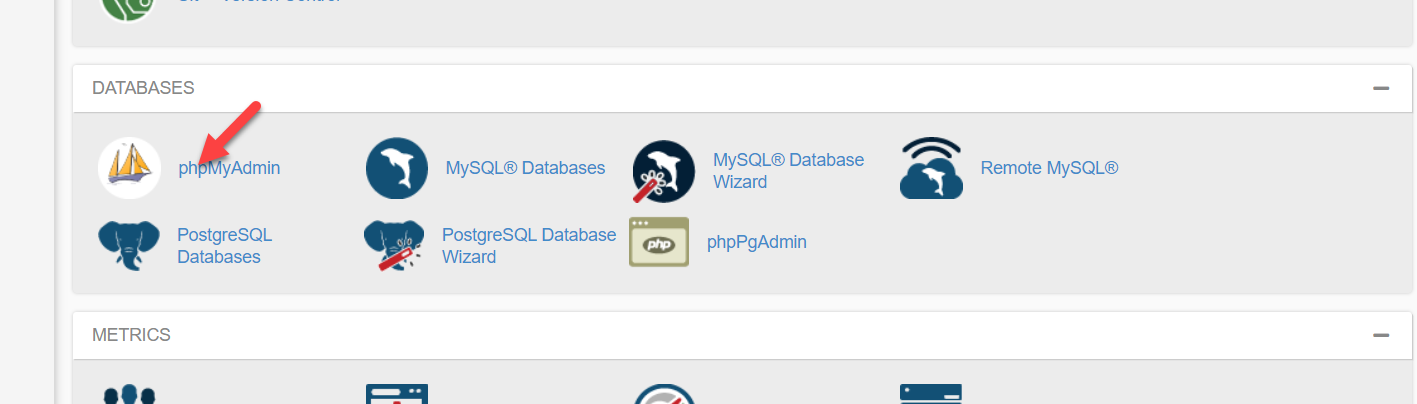
In case, the hosting plan you are using is a premium one such as Kinsta, you can explore PHPMyAdmin by scrolling under the website info section. When you cannot find the tab PHPMyAdmin, you should contact your website hosting provider to ask for support.

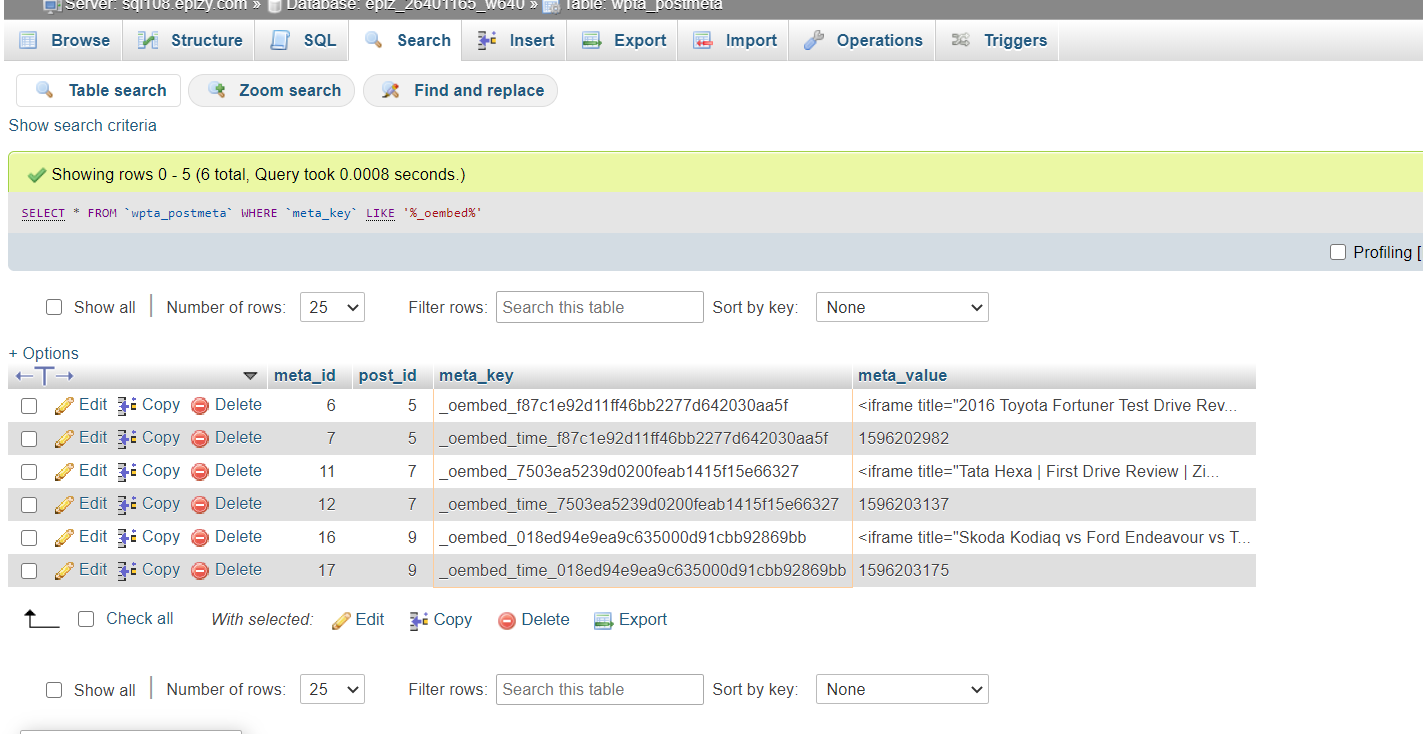
After opening the PHPMyAdmin, you could notice a list of multiple tables. Proceed to choose the table of post meta in WordPress. Wp_postmeta will be the default name of that table. In this situation, you should use the customized table prefix to have better security.
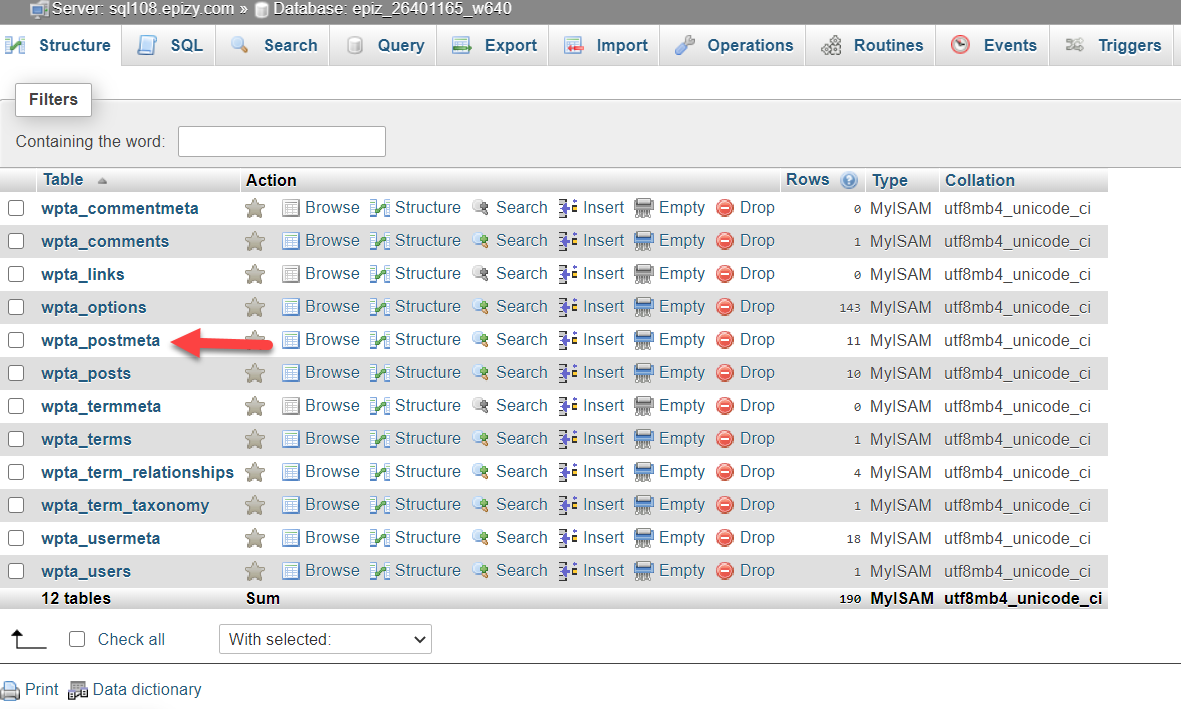
Another thing to do is to open the table wp_postmeta. You then can see such tools as Browse, Structure, SQL, Search, Insert, Export, and so on.
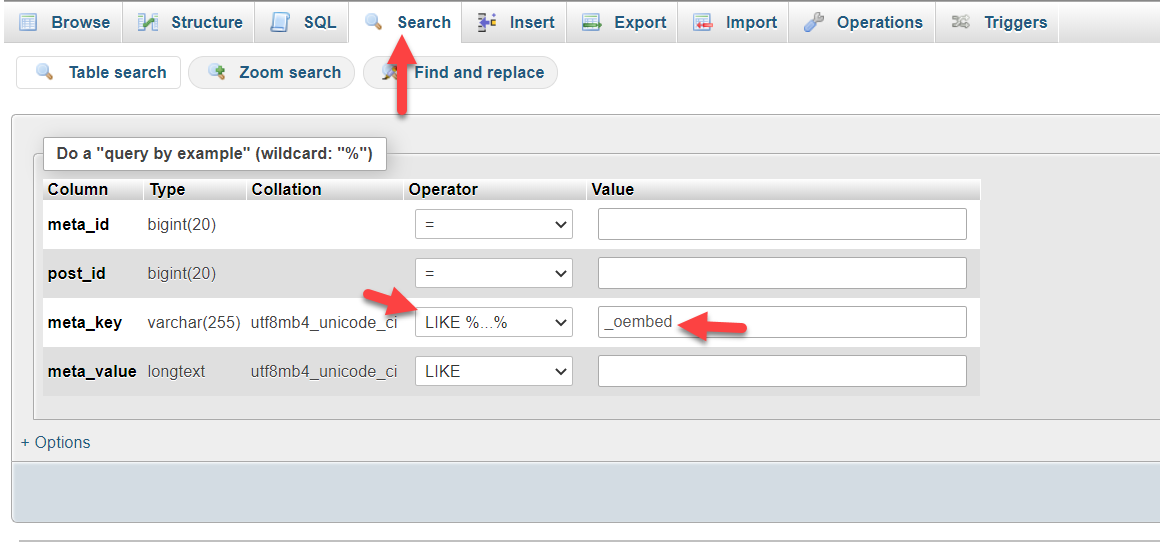
Move on to the tab “Search” to look for “oEmbed tables”. Here, you need to set your meta_key like “LIKE %…..%” from your dropdown. Moreover, set “_oembed” in the value section. When you are done, just hit on the button “Go”.
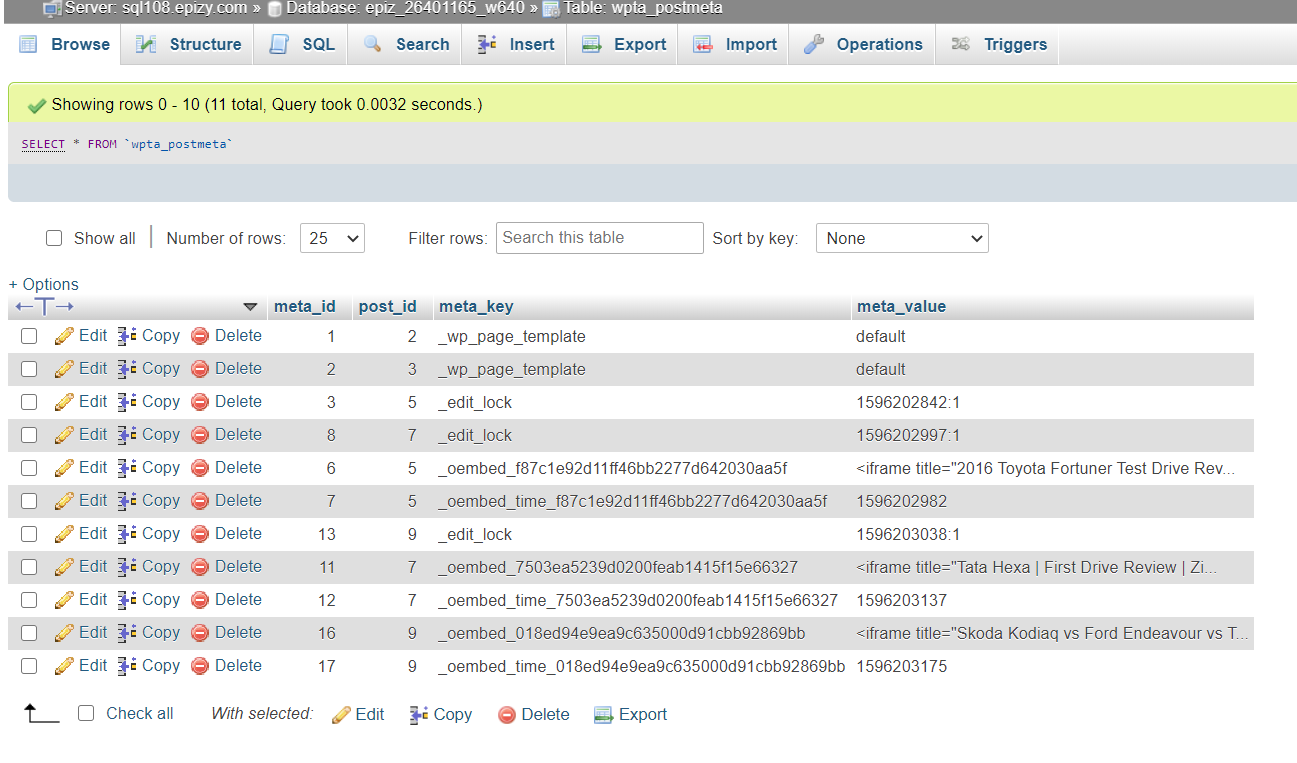
After that, you could see your oEmbed keys, which is indicated as the below screen:
The next step lets you clear your WordPress website’s embed cache. It is super easy to clear the cache. You are required to hit on the button “Check All” before pressing the button “Delete”.
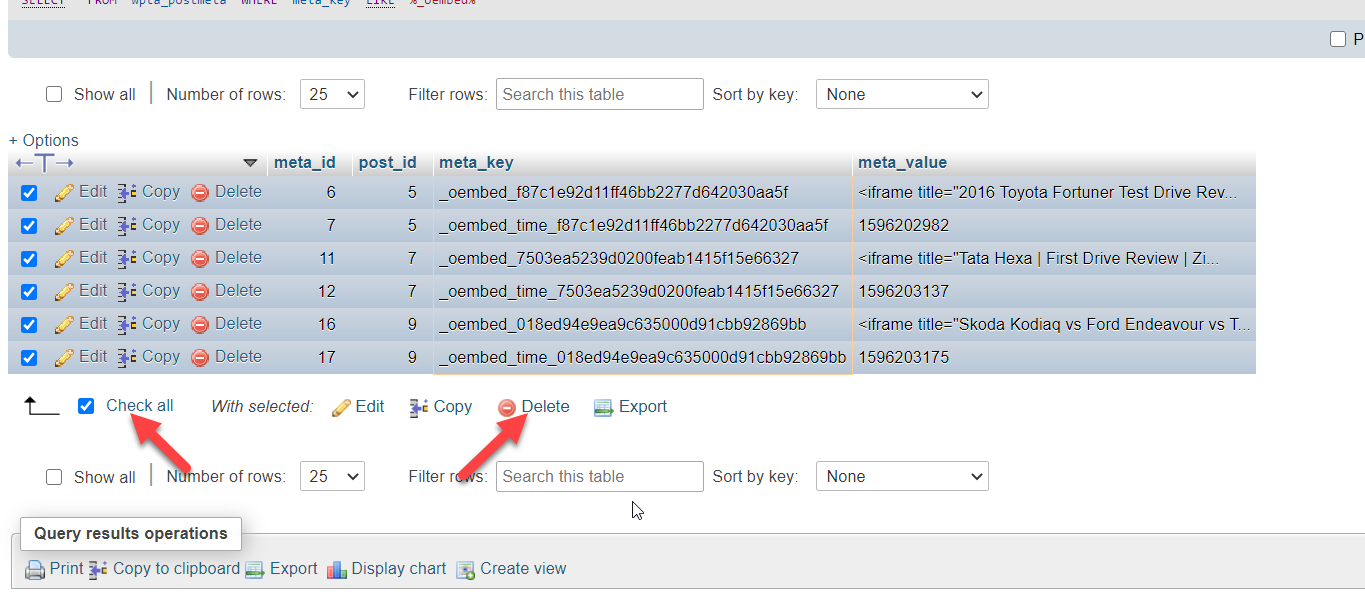
Congratulation! You have cleared your WordPress website’s embed cache successfully.
Step 3: Disable plugins to identify the cause
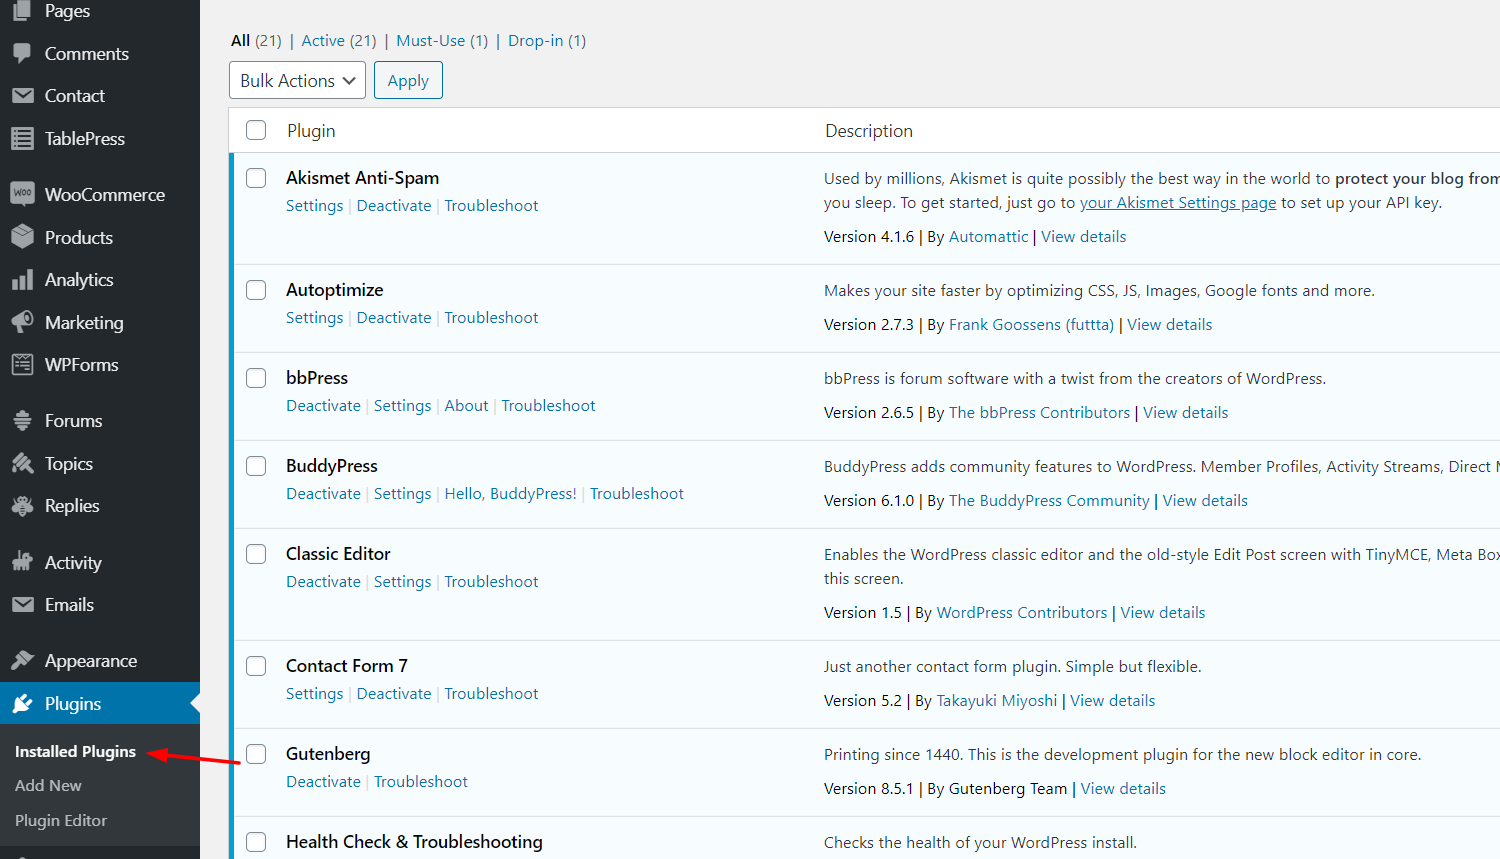
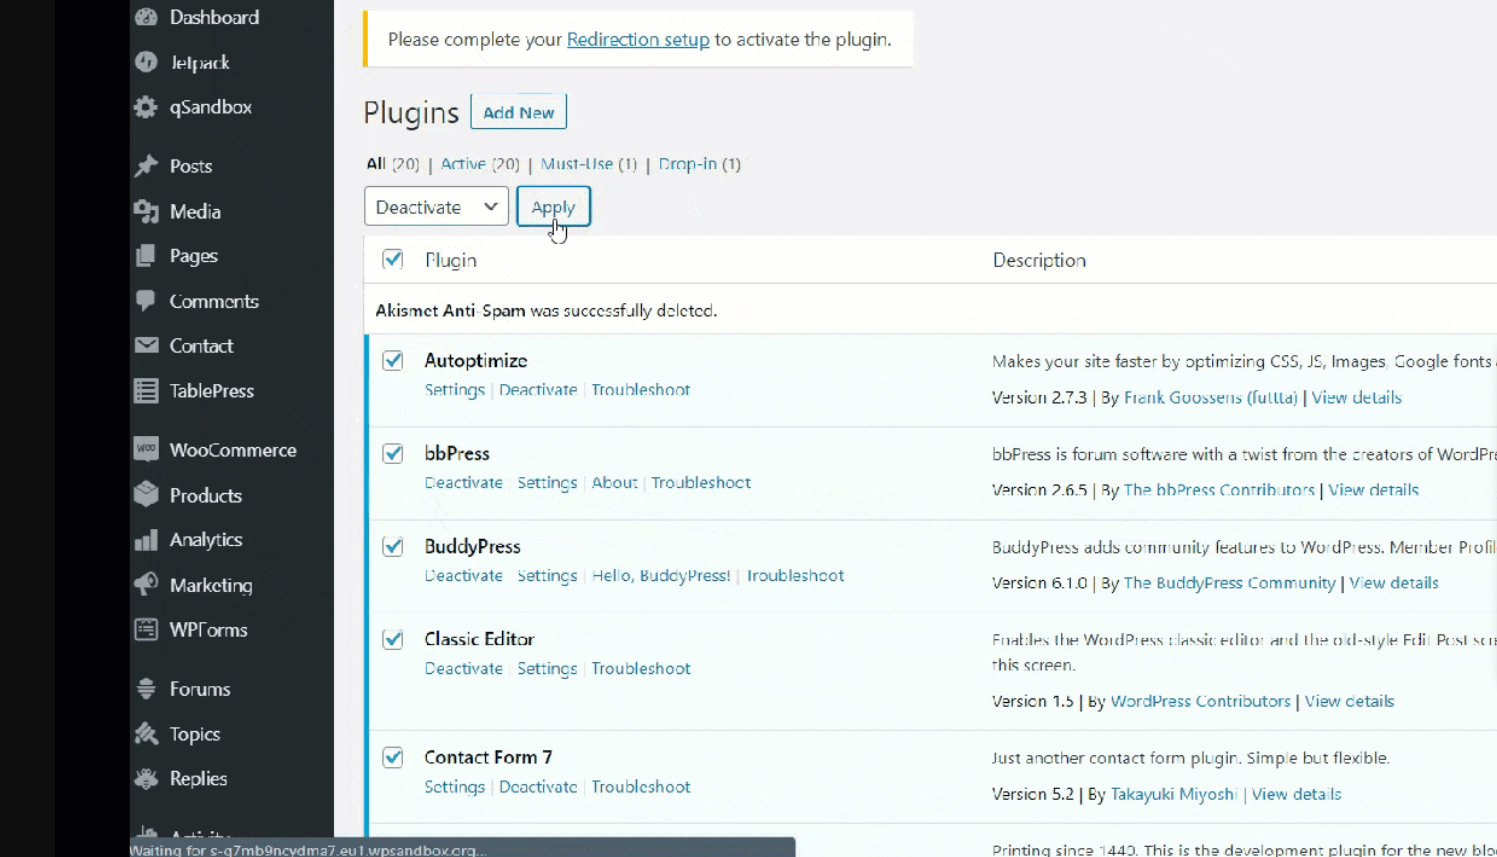
Now it is a need to disable all plugins on your site to identify which plugin leads to this compatibility issue. We think that you should implement it in bulk to save time and effort. Especially, disabling plugins in bulk is also effortless. You just need to go to the backend of your WordPress. Next, head to the “Plugins” and choose “Installed Plugins”. Here, you could notice all plugins that had already been installed as well as activated on your website.
Proceed to another step to navigate under the names of the plugin to find the button “Deactivate”. You could apply this button to disable your plugins one after another.
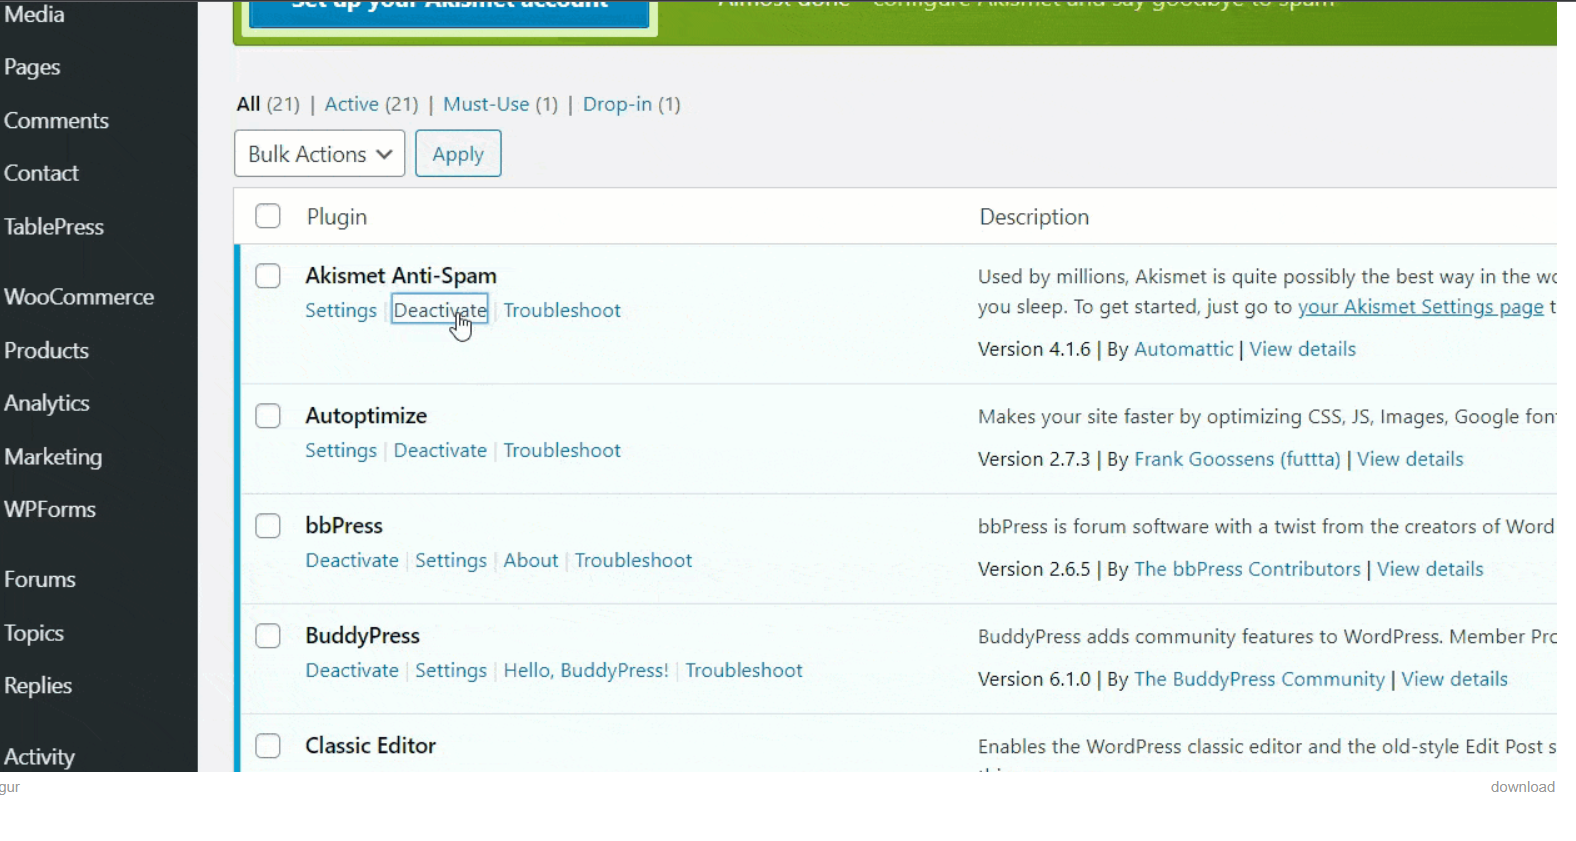
Nevertheless, it takes quite a lot of time to disable plugins one by one in case your site uses plenty of plugins. So, you could be able to make this procedure much quicker by choosing all plugins and selecting the option “Deactivate” from your dropdown, then applying it.
After you have disabled all of your plugins, enabling them one after another is a perfect way to detect the faulty plugin that can cause your Add-to-cart button to miss in WooCommerce. In case, this does not work, you need to switch to your Storefront because it is a default theme that is fully harmonious with WooCommerce, accompanied by its functions.
3. Fix the incomplete information of WooCommerce products
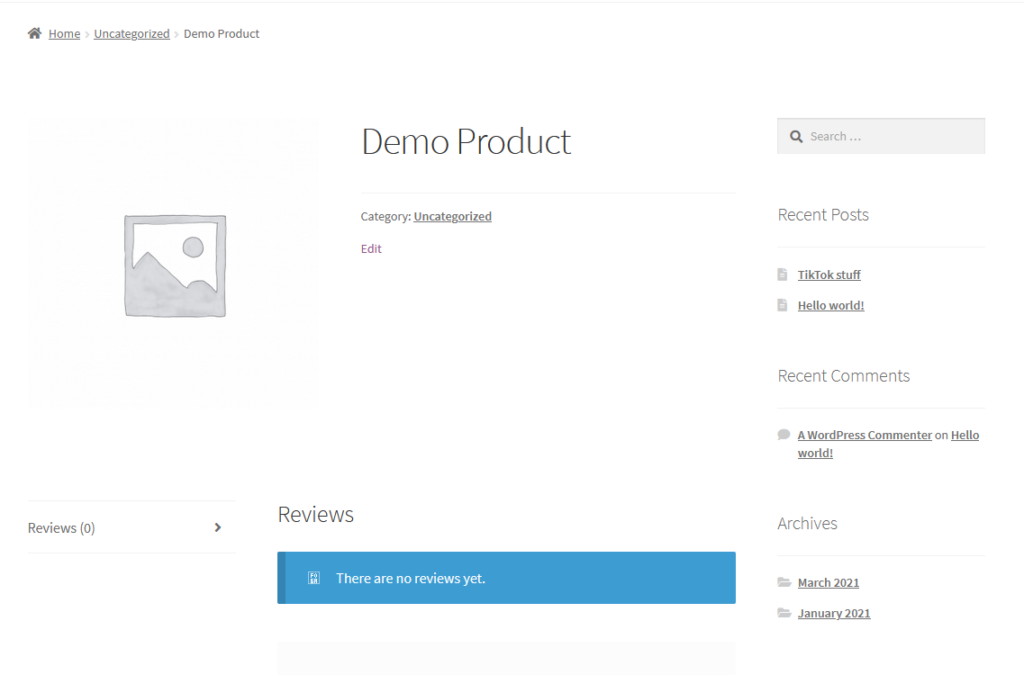
Incomplete information of the product in WooCommerce is also a common cause to result in the Add-to-cart missing. Hence, when you are in doubt of this cause, do not hesitate to fix it as soon as possible. This cause is usually overlooked, so do not miss this one as this button will not work if your products are incomplete information. For example, you have not filled in the product name or price.

In case you do not set the price for your products, it cannot display the Add-to-cart button on its front end. Besides the price and name of products, you should also consider other types of information as well. This includes product description, product ID, coupled with availability.
4. Check carefully WooCommerce status
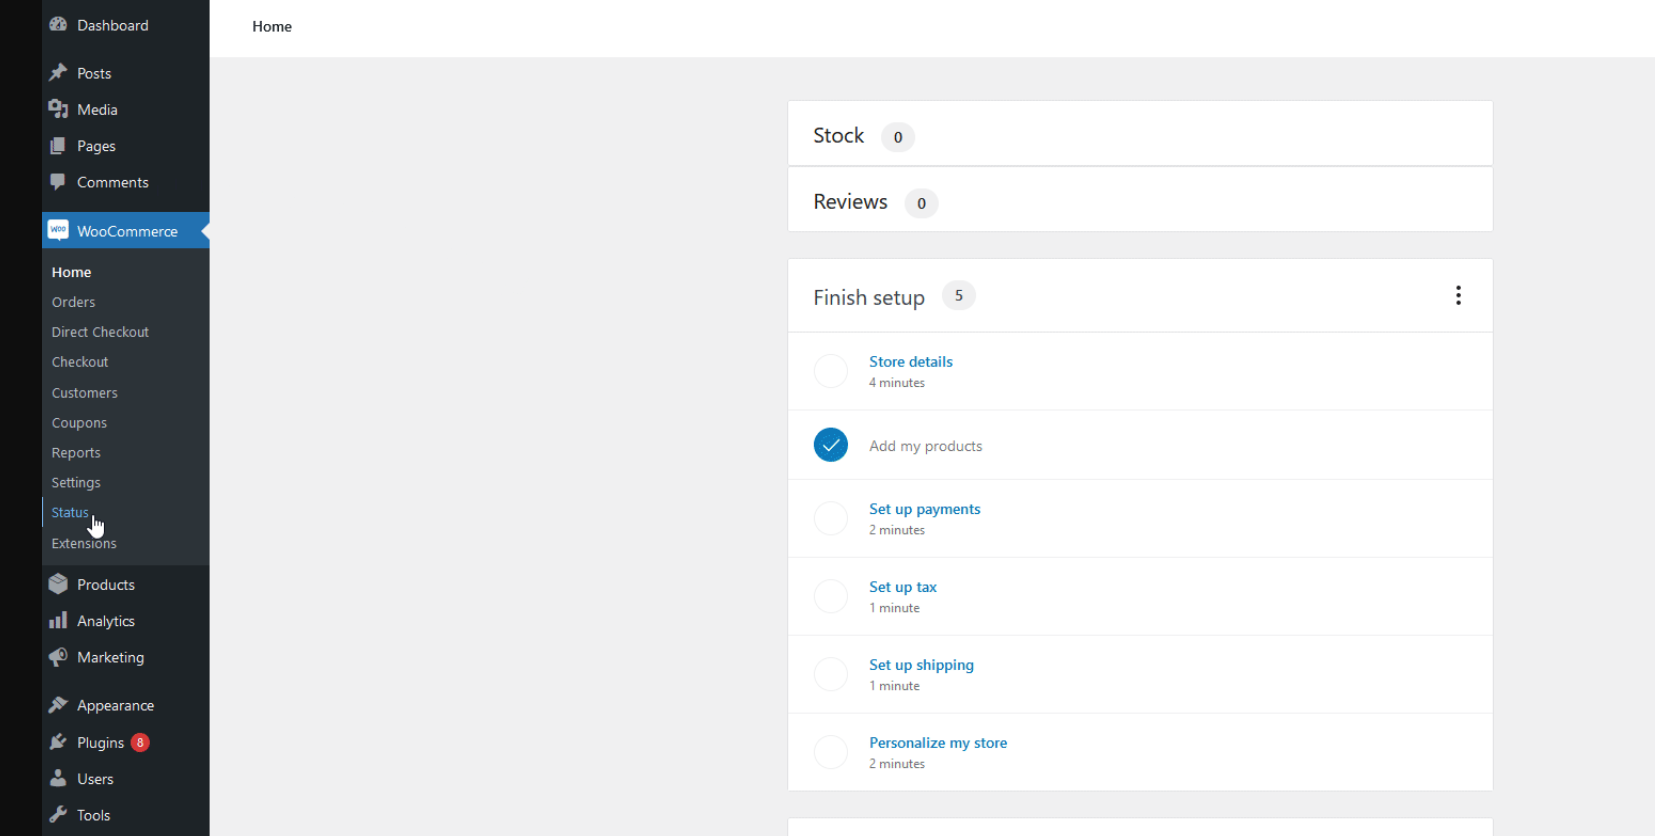
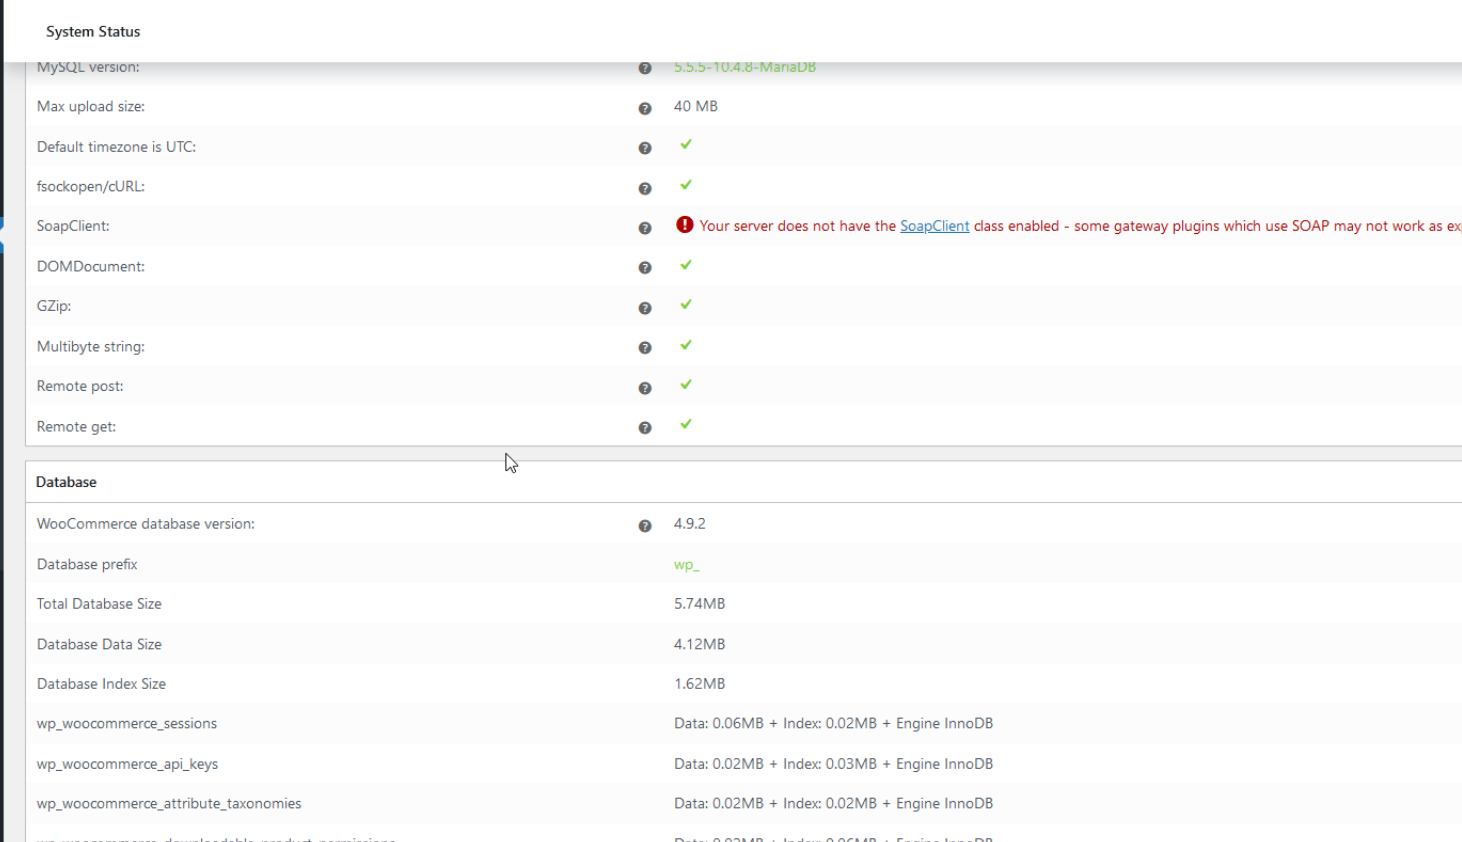
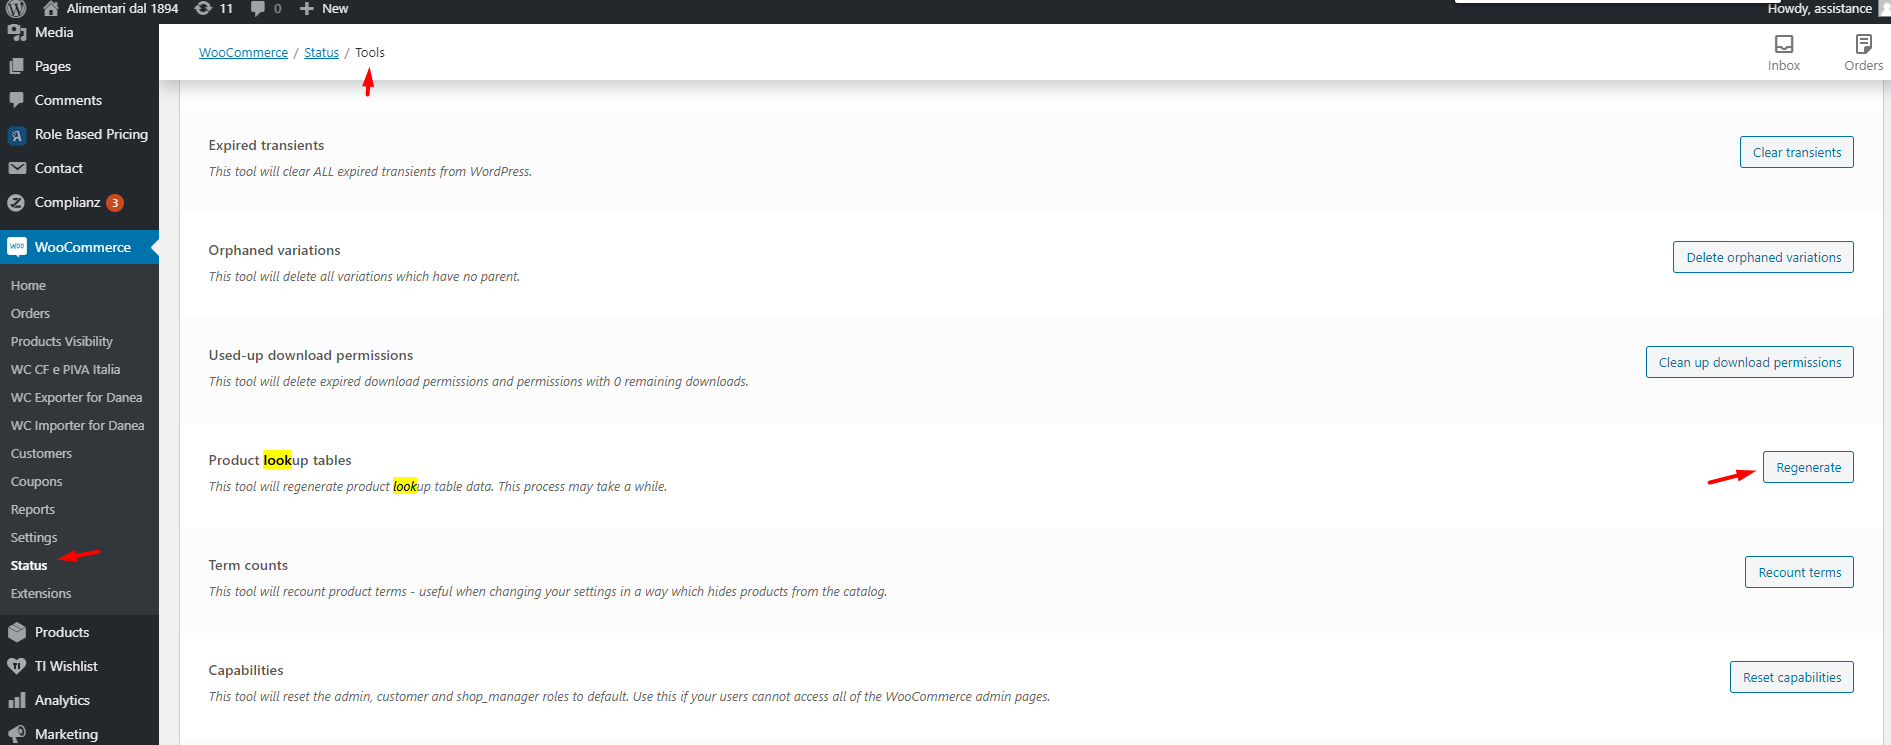
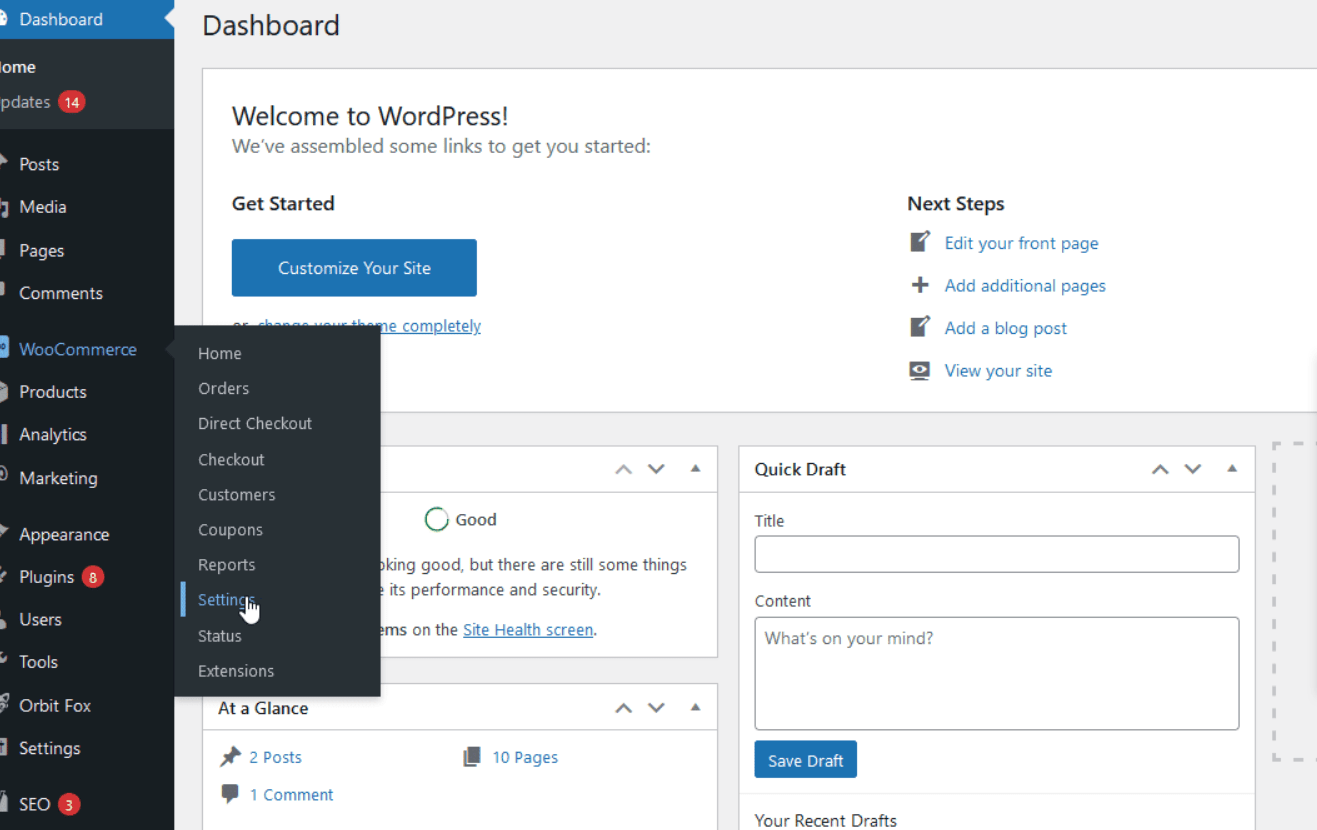
Several unexpected issues with the installation of your WooCommerce also result in your Add-to-cart button’s improper operation. Therefore, you should also carefully check WooCommerce status to rest assured that there is no problem. In doing so, you could check these issues by navigating under “WooCommerce” then select “Status”.
Next, move on to check every section, including Database, Server, or WordPress, to ensure no errors marked in red appear.
What is more, it is also possible for you to take advantage of WooCommerce tools to fix your installation problems. You are highly recommended to approach those options to identify if your problems are fixed. If you want to try this way, it is time to head to your “WooCommerce”, select “Status” and click on “Tools”. Here, you will clear the transients of WooCommerce, expired transients, and customer sessions along with recount terms and create the default pages in WooCommerce.
5. Cope with Unwanted cache setup issues
This section will let you know one more cause for the missing Add-to-cart button: the issues with unwanted cache setup. Elements causing problems to this button can be the ones with your site caching your Checkout, Cart, and My Account pages. As those pages host only dynamic content, you are advised to rest assured that the cache plugin should come with URLs for those pages excluded. This explains why cache plugins should be used to create exclusions for specific URLs.
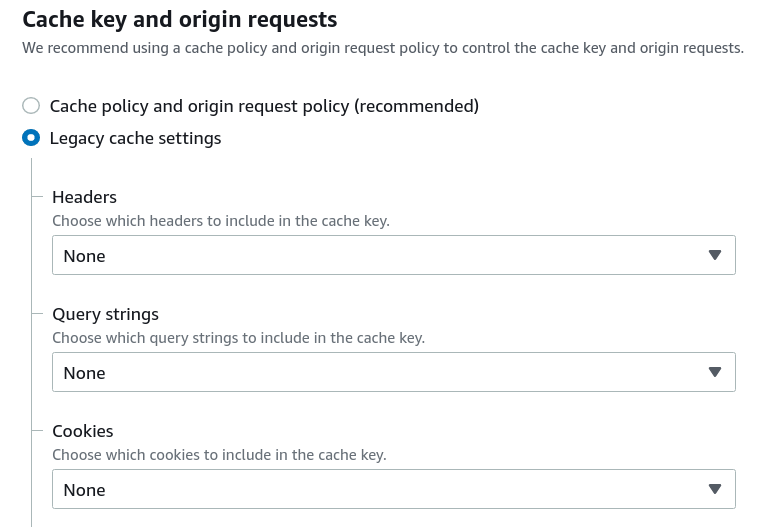
Furthermore, in case you have the setup of one server-side cache, you should be sure of excluding those URLs. If you are not certain about how you could perform it, do not hesitate to contact your hosting provider to seek help and support.
6. Handle problems related to permalinks
One more not-to-be-missed reason that should be prioritized when it comes to the improper working of the WooCommerce Add-to-cart button is problems related to permalinks. As you may know, the permalinks could result in unexpected issues on your Shop Page. Hence, they could enable your Add-to-cart button to break off. This is to say, flushing them is a nice idea.
To do this, you will go to your WordPress dashboard, then navigate to the section “Settings” and choose “Permalinks”. After that, do not forget to save what you have made recent changes.
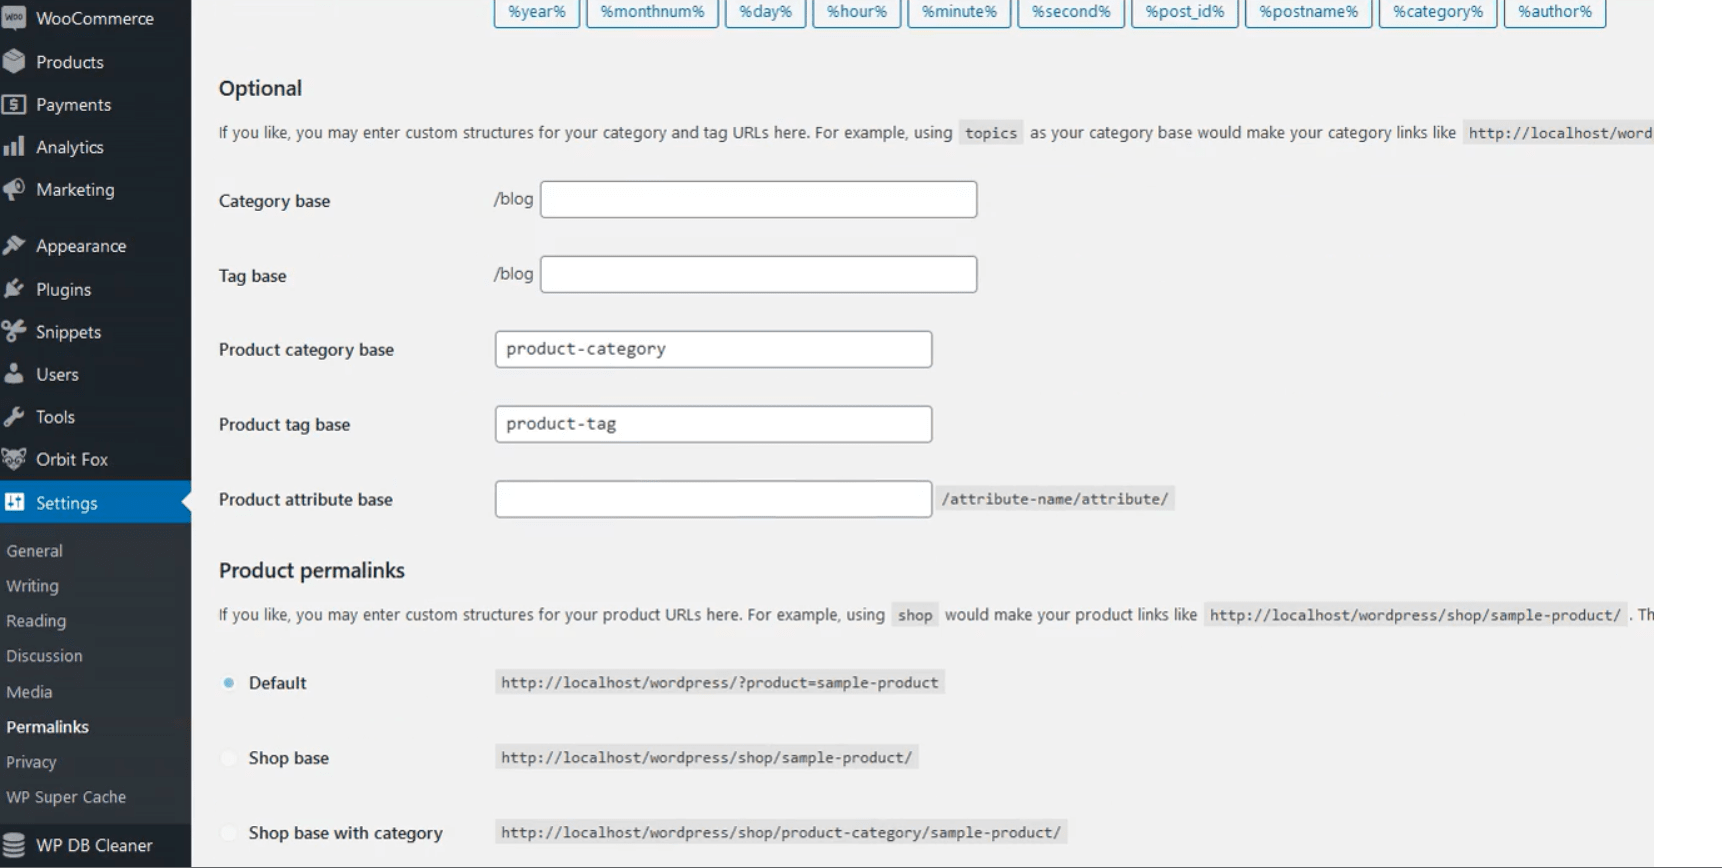
Some users are keen on changing the settings to ensure that permalinks are all kept updated. And in this situation, you need to choose the section “Plain” or the Radio buttons below the option “Common Settings”. Next, proceed to hit on “Save Changes”. When everything is okay, it is time to change them back to the initial setting you used to have. And save these changes one more time.
This activity aims to update all the permalinks and assist you in fixing issues related to your Add-to-cart button.
7. Fix Checkout & Cart URL issues
It is also necessary to check if your WooCommerce site has any problems with the setup of Cart and Checkout pages. Remember to double-check them meticulously. In case the Add-to-cart button works by redirecting your customers to the wrong page, this indicates that it doesn’t work properly.
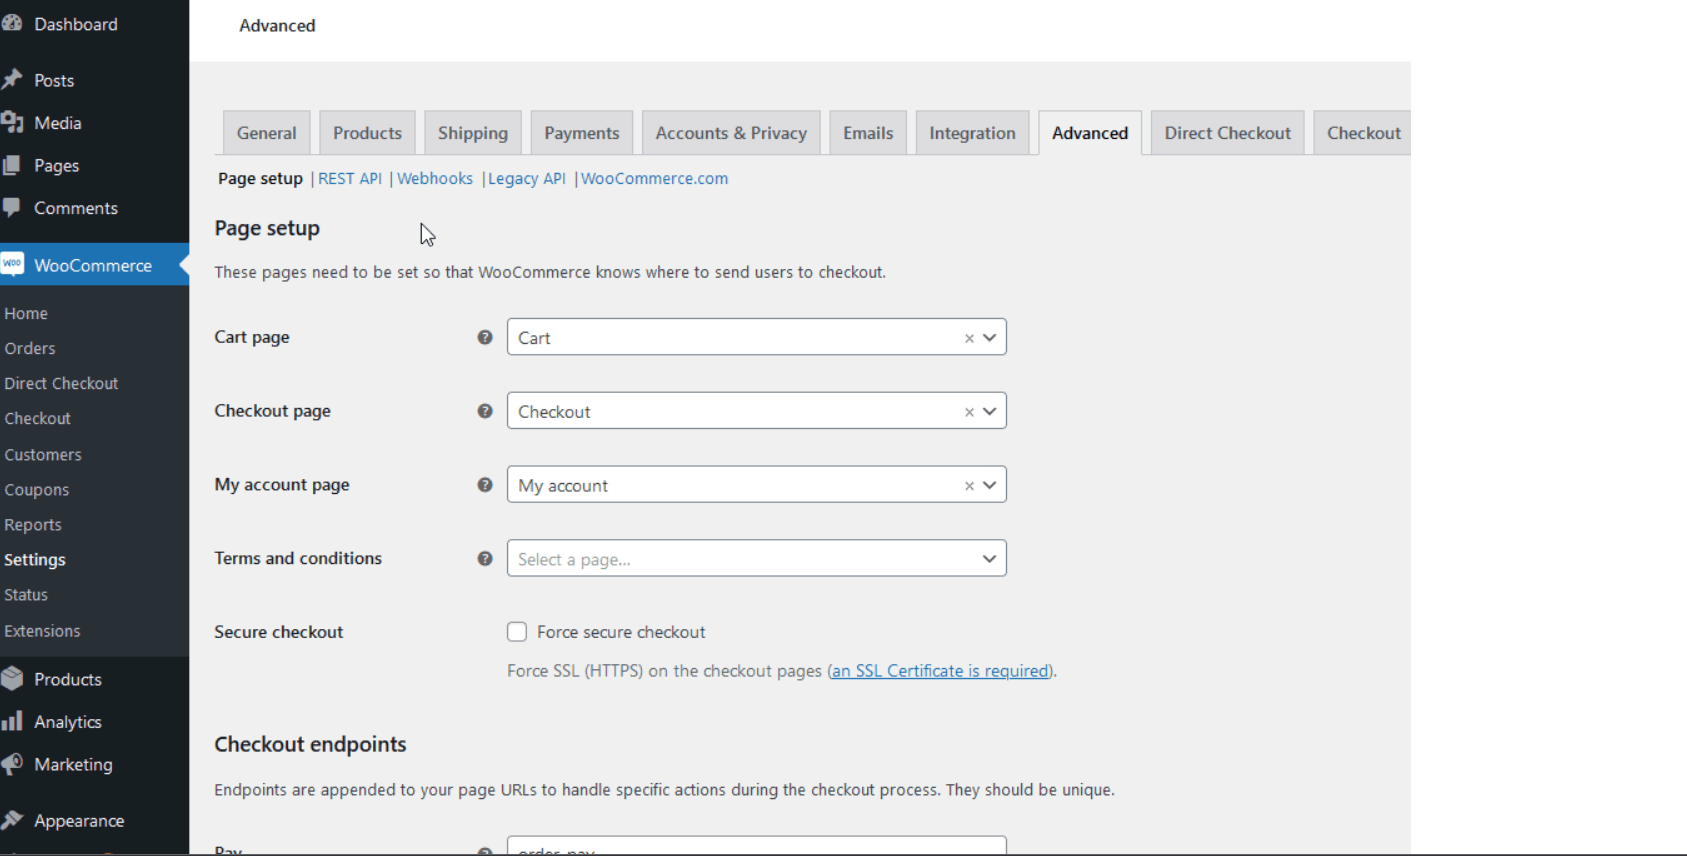
In checking this issue, you need to head to your “WooCommerce” and click on “Settings” before selecting “Advanced”. You then need to check if you have set up the right pages below your Cart, My Account, and Checkout pages or not. If not, make sure you did it.
8. Fix checkout endpoint issues
The next issue that might happen to your site is errors with your checkout endpoints. This means that you should make sure that there is nothing wrong with your checkout endpoints. It is of great significance because if these endpoints are not properly set up, they will result in the wrong operation of your Add-to-cart button.
Now it is time to check these checkout endpoints according to your “WooCommerce” as per requirements then choose “Settings”. Move on to select the option “Advanced” and “Checkout endpoints”. After that, it is a need to check if any spaces exist in your endpoint URLs. If had, remove these spaces to avoid any unexpected endpoint errors.
9. Tackle Code problems
Code problems are also one of the most common issues to make your Add-to-cart button stop working. There are a lot of cases your WordPress is subjected to code issues, primarily when you have implemented to customize it. To be more specific, relevant instances to codes involve pricing problems for the variable products. In such situations, WooCommerce disables this Add-to-cart button on issues with the default variable pricing or variable pricing.
To fix this problem, you are required to add the below code to the file functions.php. In opening that file, you simply head to the section “Appearance” then click on “Theme Editor”.

The next step entails pressing on the file functions.php that lies in your right sidebar. When you are here, your next task is to paste the below code snippet to the file’s end in the section editor, then choose “Update File”. The final thing to do in this section is to check whether you have finished fixing this issue or not.
add_filter('woocommerce_show_variation_price', function() { return TRUE;});
10. Check theme issues
Besides the above issues, theme issues should be also considered because they might be the underlying causes to make your Add-to-cart button work improperly. When you are applying one WooCommerce theme, this may have dedicated features for product pages. As a result, it could hide your Add-to-cart button as well.
So, spend time checking it as soon as possible in case it is one of the options on your WooCommerce theme. To execute this activity, you need to head to the section “Appearance” and click on “Customize” before choosing “WooCommerce”. When you are here, proceed to check the available options that are for your product page.
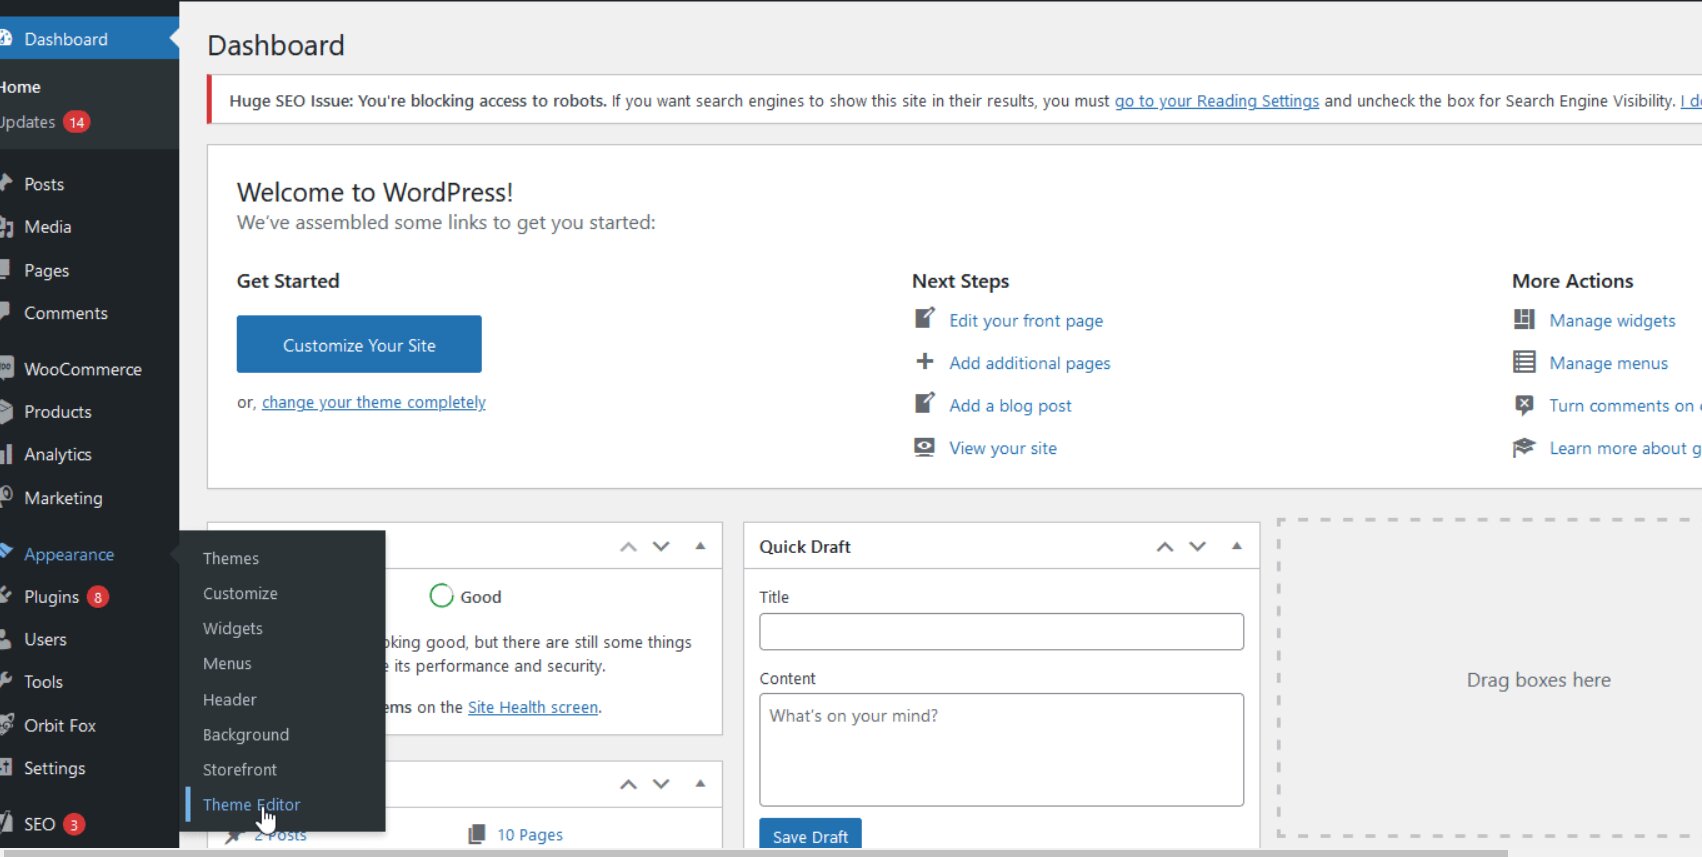
Moreover, when there exists a conflict that happens to the WordPress theme as well as the product pages, or your Add-to-cart button is not properly loading because of template problems, it is possible for you to tackle it with the use of a super simple script. By opening the section “Theme File Editor”, you could press “Appearance” and choose “Theme Editor”. Keep going by selecting “Single Post” under the files “Theme” on the right sidebar. After that, you need to paste the following code to the end of the file single.php. Be noted that if you can’t find the file single.php, you will paste the below code snippet below index.php.
if ( is_singular( 'product' ) ) {
wc_get_template_part( 'content', 'single-product' );
} else {
wc_get_template_part( 'content', 'single-product' );
}
11. Check ModSecurity Problems
Problems with ModSecurity also cause some unwanted issues for your Add-to-cart button. So, you need to check it to identify whether it results in issues or not. It might be due to the expiration of ModSecurity, leading to the improper operation of your WooCommerce Add-to-cart button. By going to your site and opening your browser’s developer tools, you can check if your ModSecurity has issues or expired.
If you detect the error called “.jQuery.cookie.min.js is not found”, that is the issue with the ModSecurity. In fixing it, you should contact your site hosting provider to seek help and support from them.
Conclusion
In short, there exist myriad reasons why your Add-to-cart button does not work properly in your WooStore. Hence, we have come up with some of the most common issues that might cause problems with your Add-to-cart button. You should keep in mind that this kind of button needs to work without any issue to help your site grow. If you have detected any problems, take no hesitation to fix them as soon as possible. Read our guide and the solutions for each cause carefully; you could be capable of managing your online store better. Hope you are interested in this piece of article. Keep following us for more valuable tips in the upcoming time.


