
How to Fix The WooCommerce Product Image Size Too Big
By Sam Nguyen

Optimizing product pictures are a must for any WooCommerce online store. Before making a buying choice, your product images are one of the significant elements that clients evaluate. For specific sectors (like modes), where buying decisions are entirely based on the product’s aesthetic, this is very significant. So, you should know how to maintain and optimize the picture of the product in your store if you have a WooCommerce shop.
This article will show you how to fix the WooCommerce product image size too big - one of the most popular errors in-store management. We will go through some of the methods you may use to manage product pictures better.
Method 1: Update to the latest version of WooCommerce
The first and easiest way to fix the WooCommerce product image size too big is to update your WooCommerce to the latest version. WooCommerce versions 3.3 and higher include support for creating WooCommerce-compatible themes and enhancements to picture size rendering and cropping. As a result of these additional features:
- Blurry pictures should no longer appear as a result of theme incompatibility or overriding code.
- Store owners may customize the width and height of their primary views.
- Thumbnail resizing can be performed either automatically or manually.
- Customers’ images always appear impressive by default, so your items continue to sell themselves!

If you are using a version of WooCommerce before 3.3, we recommend that you update to the most recent version to take advantage of the capabilities outlined above. If you don’t want to use the newest version for any reason, or if updating to 3.3 doesn’t resolve the problem, it might be:
- Your image size settings are insufficient.
- The original pictures must be of greater resolution.
To resolve this, follow these steps:
- Your picture dimensions should be the same as or greater than those of your theme.
- To integrate well with most themes, original pictures should be at least 800 × 800px in size.
Method 2: Using third-party plugins to resize the image
The second method is to take advantage of third-party extensions to resize your images. You may resize photos in your WooCommerce store to ensure that they are managed optimally. When it comes to WooCommerce product images, lower image dimensions imply smaller file sizes. Essentially, this is determined by how much detail you want to provide your consumers through product photos. It is not a good option if you offer something that requires customers to zoom in and check. However, if you are utilizing pictures only for symbolic reasons, it doesn’t have to be overly detailed, and therefore you may opt for lower dimensions.
Most of the time, you do not need to upload high-resolution photos from professional cameras. As a result, you can resize them before uploading or use an image resizing tool afterward. Here are some image scaling tools you can use to resize your product image.
Using WooThumbs
WooThumbs for WooCommerce lets you alter the size of your WooCommerce images on the single product page with a few simple settings. As an added advantage, it enables you to:
- For each product variant, offer numerous pictures.
- Fill your product pictures with an image zoom.
- Change your product gallery for WooCommerce.
- Add video and more to your gallery.
Install WooThumbs
To get started, visit the Iconic shop and sign up for a 14-day free trial of WooThumbs. Then take the following steps:
- Navigate to Plugins > Add New > Plugin Upload.
- Select the zip file you downloaded, upload it, and then click the ‘Activate’ button.
- After activation, you’ll be prompted to input your license key.

We can change the sizes of your images now that WooThumbs has been installed.
Resize product images using WooThumbs
To change or fix the size of your WooCommerce product image, follow these steps below:
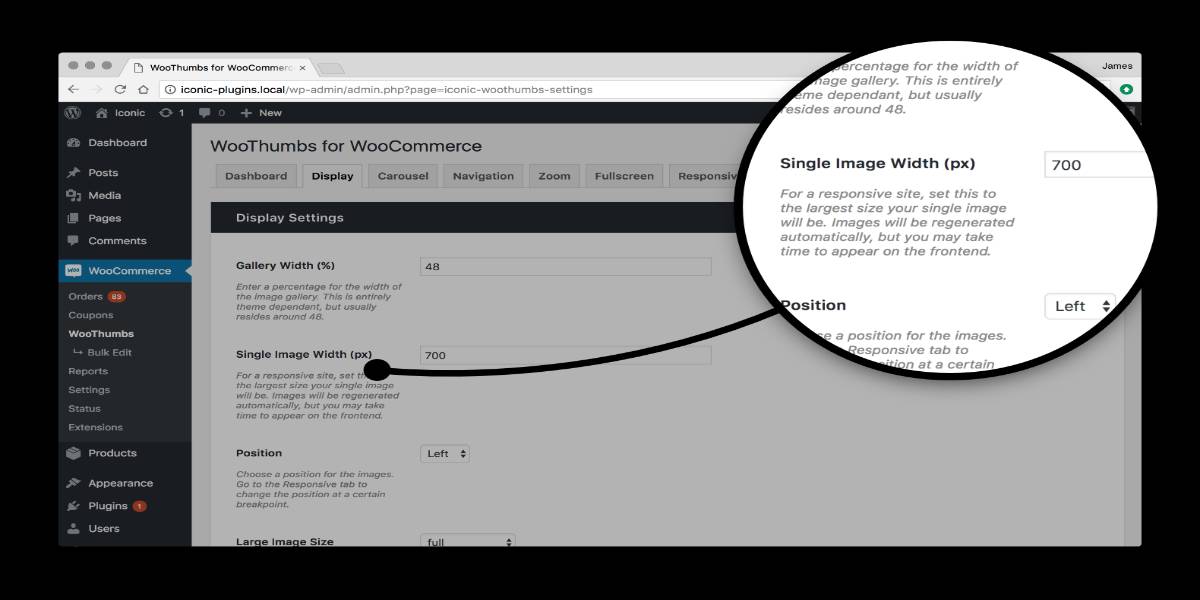
- Go to WooCommerce > WooThumbs > Display to get started.
- Scroll down to the Image Sizes section.
- In the Single Image Width (px) area, enter the size you want.
- When you click Save, the background image regeneration process for your single picture thumbnails will begin, and the WooThumbs image cache will be emptied immediately.
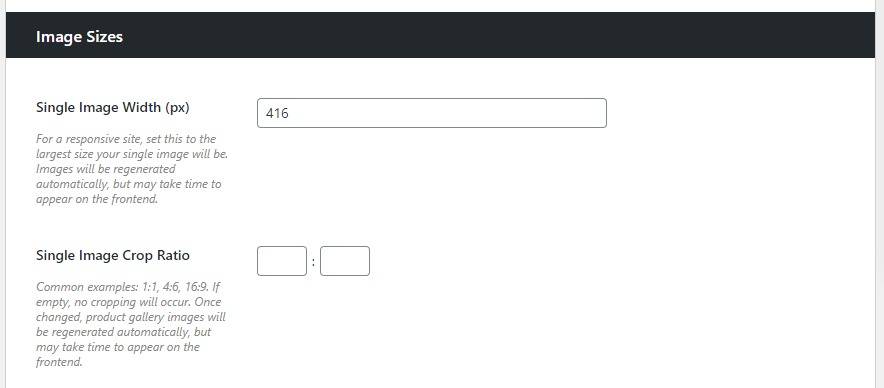
You may also set the Single Image Crop Ratio here. You may, for example, input 1:1, 4:6, or 16:9 to crop your image in various ways.
There are a few things you may do if your product photos are showing up in different sizes - too big or too small - in your WooCommerce store:
- Before submitting your product photos, make sure they are all the same size. Our advice is to utilize an image editor to build a template that you can use for each product image.
- Check that your WooCommerce product image settings include thumbnail size and cropping.
Using Smush Pro
Using Smush Pro, you will be able to optimize pictures without restriction. The plugin allows you to compress and resize big images for optimum presentation in your shop. It utilizes multi-pass lossy compression, which can result in up to a significant rise in savings. Furthermore, if you’ve already submitted most of your product photos to your shop, you can still optimize them all at once with a single click.
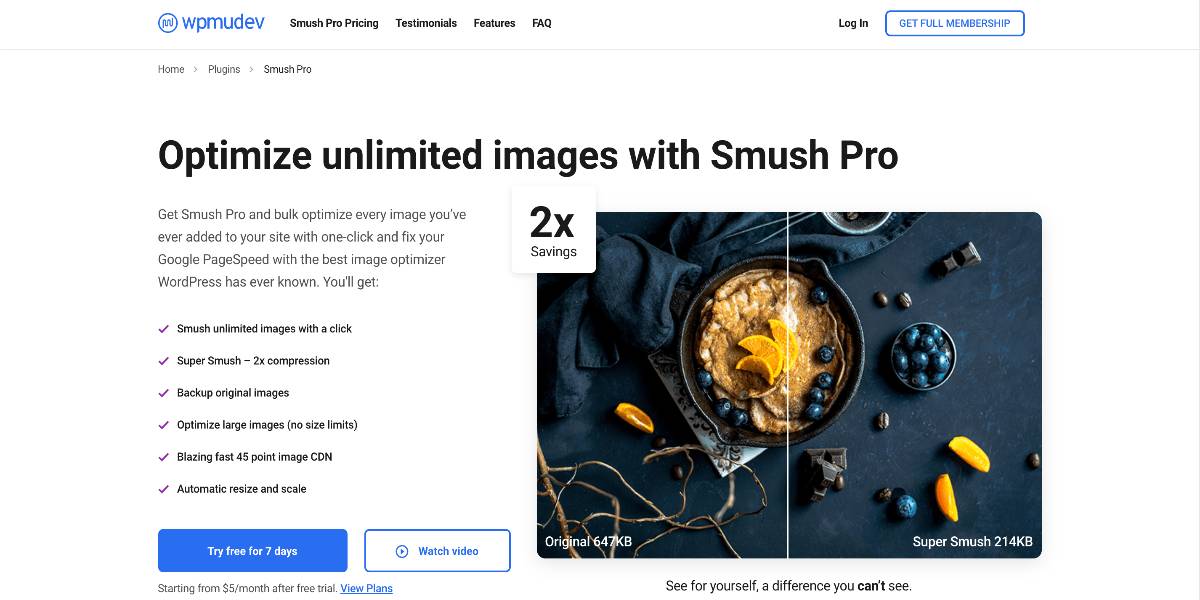
You will also receive a seamless scaling option, as required by Google. Smush Pro will resize photos and give the best size for a specific user based on the user’s screen size. Other capabilities of this plugin include web conversion, slow loading, and so forth. You will also get access to the CDN service that they provide.
Method 3: Use an image CDN to optimize image delivery
Next, we will inform you about CDN - an excellent way to optimize your image delivery. When you add an image gallery to your WooCommerce store, the photos are saved on your server. There may be a delay in providing big files due to the distance between the server and the customer location, leading to some sizing problems. This is where a content delivery network (CDN) may assist you in achieving quicker page loading times.
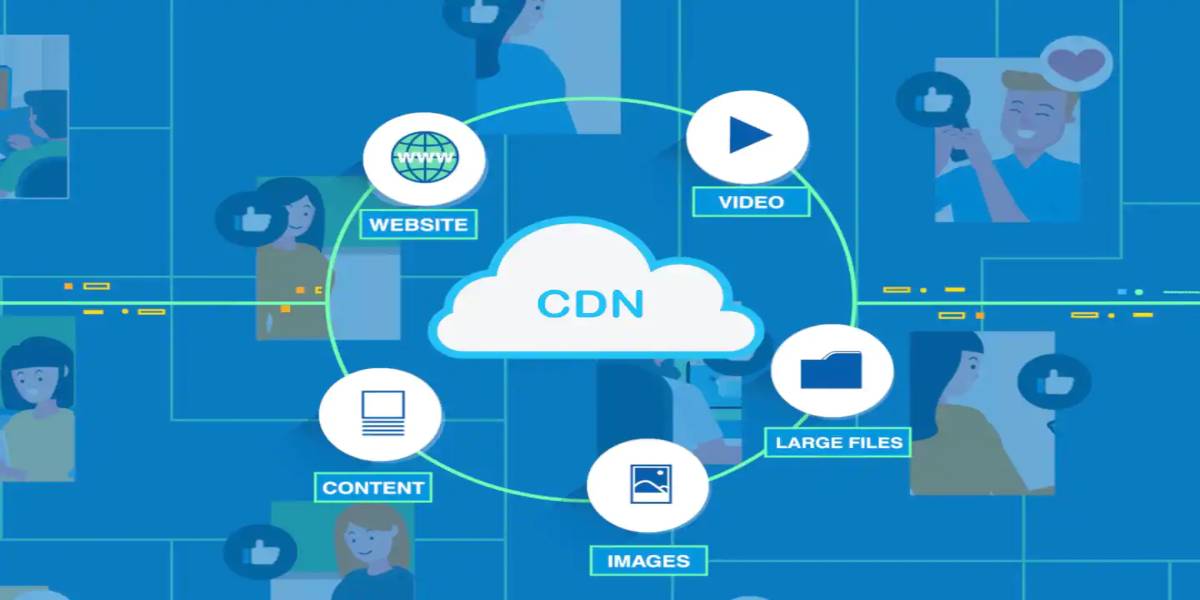
If you want to know how to optimize picture delivery, you should learn more about image CDNs. An image CDN will dramatically minimize latency in image delivery and allow for quicker picture loading throughout the world. The primary benefit of having an image CDN is that it makes it incredibly simple to have several variants of the same picture. This is why the picture URL supplied by an image CDN will include information about many factors such as size, format, quality, and so on, in addition to the source address. The picture URL will also contain different signals that will aid in creating optimal transformations based on the circumstance. You may use a variety of image CDN providers for your WordPress WooCommerce website. Here are a few examples:
Cloudinary
Cloudinary is a fantastic service that will assist you in optimizing your site speed and increasing conversions on your business. One of the primary benefits of utilizing Cloudinary is that it will automatically determine the appropriate format in a given circumstance and provide it accordingly. It also maintains the compression quality and determines the relevant parameters for each picture shown. It also adjusts image resolution dependent on the user’s device and dynamically crops photos.
Cloudinary additionally assures that there is no delay in content delivery by allowing you to use several CDNs. Furthermore, the custom picture URLs will be optimized so that search engines can understand them.
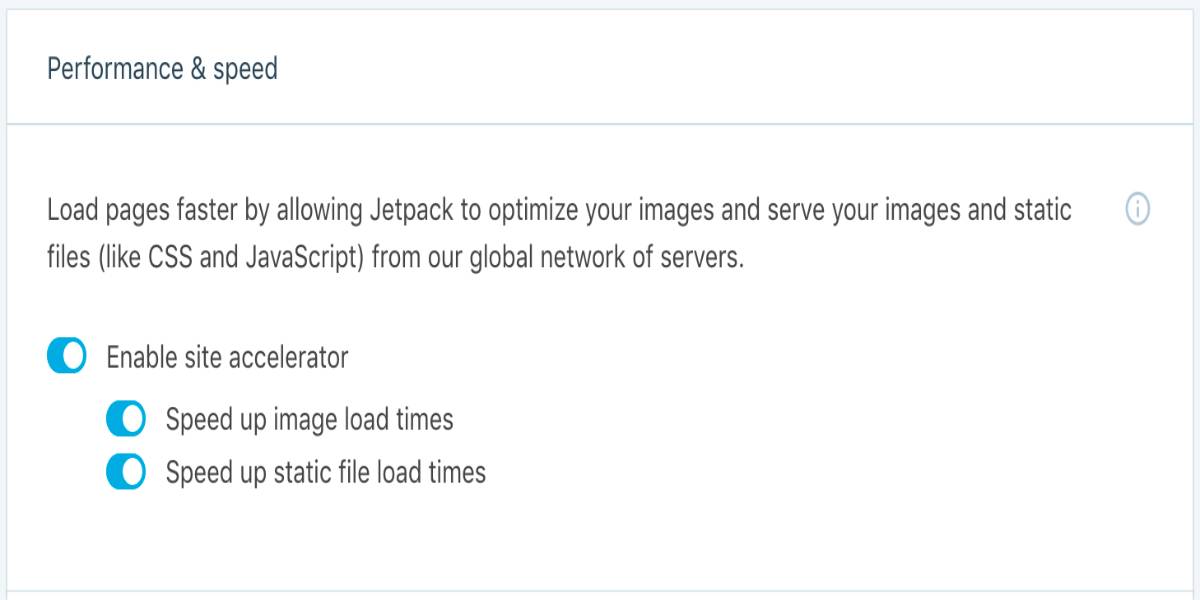
Jetpack Site Accelerator
Jetpack Site Accelerator will assist you in serving optimized pictures from a worldwide network of servers, allowing your sites to load more quickly. It will also help you in managing photos on your articles, pages, and featured images. When you set up this program, your old and new pictures will be optimized, and it also provides a simple option to disable. It will also assist you in serving photos in the.webp format if your browser supports it.
Method 4: Compress product image
You may compress product photos by reducing the file size without altering the dimensions to make them load faster for consumers. You may accomplish this without impacting the quality or with only a minor loss in quality. This is one of the most excellent strategies to minimize file size and avoid image sizing problems for WooCommerce businesses with many products. There are a few solutions available to assist you in compressing photos for your website. One will be discussed here:
Imagify WordPress
Imagify WordPress allows you to compress pictures with a single click. When you add photos to your site, they are automatically compressed to a particular level. You will also be able to restore the compression to its previous settings if needed. The plugin provides three levels of compression, from which you may select the one that you believe is best for your shop.
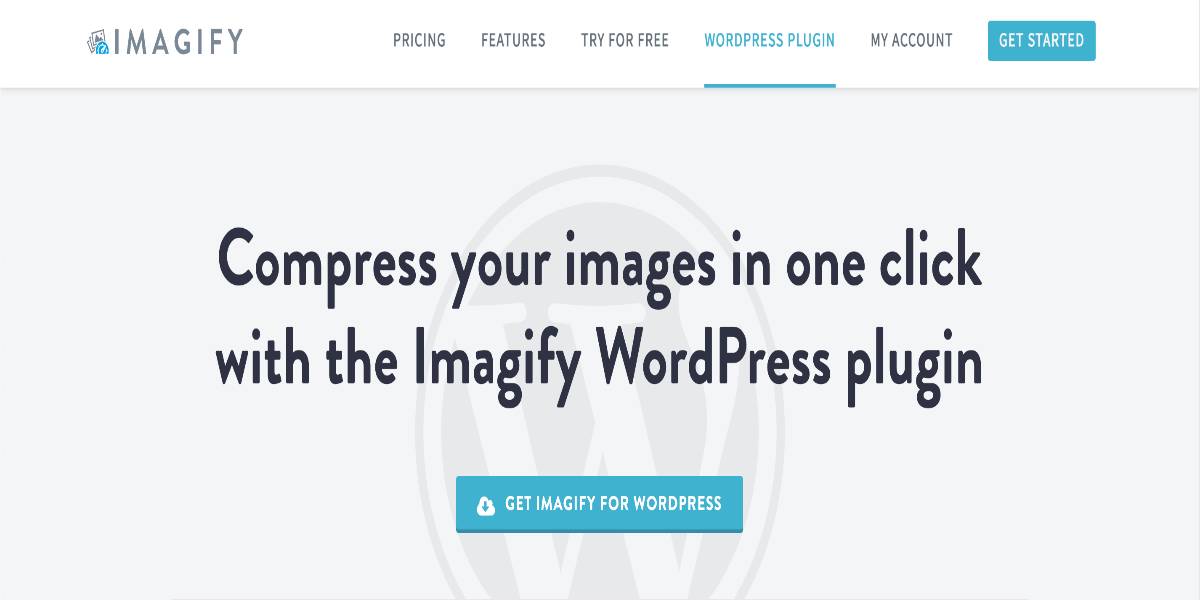
The significant benefit of using this plugin is that you don’t have to spend time and edit the photos before uploading them. It guarantees that all of your photos, including thumbnails and retina images, are automatically compressed. There is even a free plan that allows you to compress up to 25 MB of photographs.
Method 5: Change the file format
Another consideration when optimizing WooCommerce product pictures is the file type you use when uploading photographs. PNG and JPEG are two of the most used image formats for WooCommerce product pictures. Experts typically recommend jPEGs for product pictures. This is because JPEGs provide the highest quality when file space is an issue. When your image requires many features and colors, JPEG will give you a better-optimized file size.
On the other hand, PNG is an excellent choice for utilizing transparent backgrounds or pictures with opacity. Screenshots and other images that do not require various colors, for example, can be saved in PNG format. WebP is a format that will assist you in optimizing your photos. However, because not all browsers accept this format, it is not always advised. It will be an option if you use one of the image CDNs we described previously in the post, as the files will be explicitly provided to the browser. So, if your WooCommerce product image sizes are too big, changing the file format could be an effective solution.
Method 6: Use built-in features of WooCommerce
Last but not least, you can take advantage of the built-in features from WooCommerce to resize and fix this problem. WooCommerce 3.3 provides a new and more straightforward method for resizing product pictures. It now allows you to alter the size of WooCommerce product images. The best part is that you don’t have to regenerate the images after resizing them. With WooCommerce 3.3, you can now crop, resize, and renew pictures automatically. To adjust the size of a single product picture, follow these steps:
- Navigate to Appearance > Customize.
- After that, navigate to WooCommerce > Product Images.
- Fill in the “Main image width” area with the desired width.
- Click the “Publish” button.
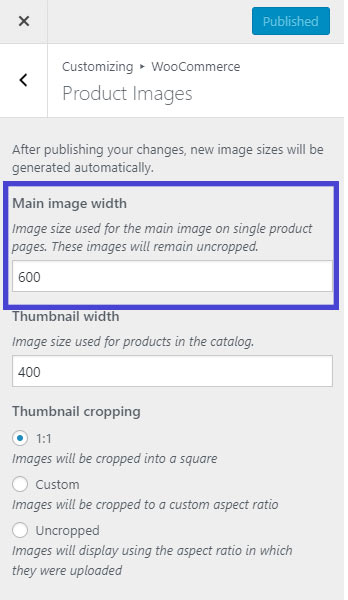
The height of a single or primary product picture will be left uncropped and unaffected by cropping settings. Automatic thumbnail scaling is one of the fantastic new features in WooCommerce 3.3. That is, when you choose the width, all of your product pictures will be scaled and regenerated in the background. We previously installed the “Regenerate Thumbnails” plugin to regenerate the images to the new resolution.
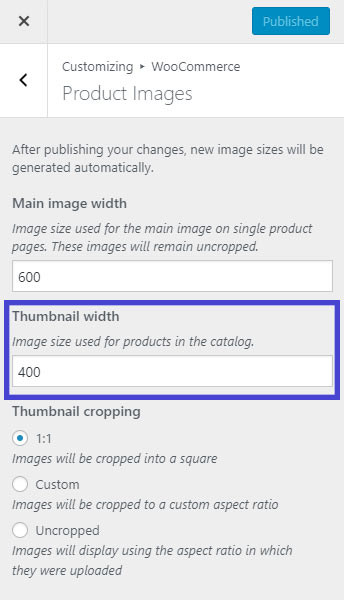
If you want to resize the shop page product thumbnail image, follow these steps below:
- Navigate to Appearance > Customize.
- After that, navigate to WooCommerce > Product Images.
- Fill in the “Thumbnail width” area with the desired width.
- In the “Thumbnail Cropping” section, you may adjust the picture height.
- Click the “Publish” button.
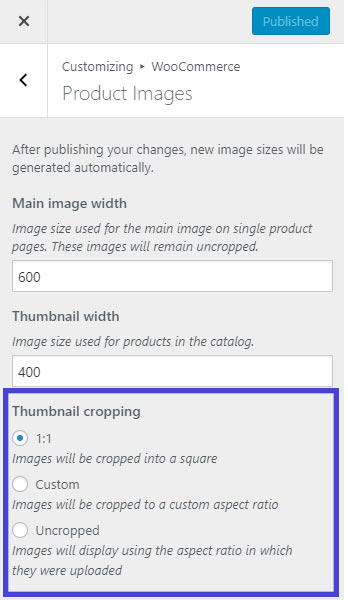
You can also specify the “height” of the store thumbnails by adjusting the width: aspect ratio of height:
- 1:1: When you choose 1:1, your photos will be chopped into squares.
- Custom: In Custom, you can change the image’s aspect ratio. Here are some of the most common aspect ratios (1:1, 5:4, 4:3, 3:2, 16:9, and 3:1).
- Uncropped: The image’s height will be left intact. Photos will be shown in the aspect ratio that they were uploaded in.
If the Theme provider sets your image size, the image width settings in your theme’s functions.php file must be removed or changed. In Storefront, for example, if there are no Main Image or Thumbnail field options, you can add this code in storefront/inc/class-storefront.php like to fix it:
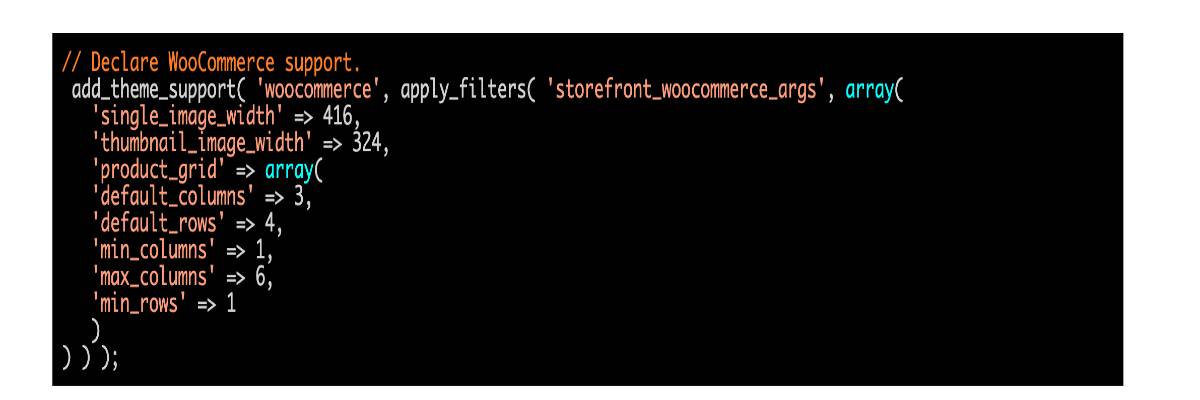
The single product image is 416px wide, while the thumbnail is 324px wide. In that case, your child theme can override this call.
Benefits of optimizing the product image size in WooCommerce
The six core methods above will fix the WooCommerce product image size too big and optimize the product image of your online store. If you still wondering why optimizing product image is crucial for online business, here are some primary benefits that you need to consider:
- Preventing picture blurriness – Images of the wrong size might seem blurry, giving your consumers a negative first impression.
- Speed – the larger a picture, the longer it takes to load, and it’s a well-known truth that sluggish websites result in lower-income and dissatisfied customers.
- Reduce the amount of bandwidth and storage space required.
- Optimize page size.
- Increase SEO by using fast-loading pages.
- This saves you and your guests’ mobile data plans.

Conclusion
We hope this guide will help you learn how to fix the WooCommerce product image size too big. We’ve covered how to adjust product and gallery picture sizes, improve them using some WooCommerce product image plugins, and troubleshoot frequent issues.
We all know how essential product photos are for increasing sales in your online business, so use this tutorial to ensure you are in good functioning order.


