How to Make Custom WooCommerce Product Loop?
When developing a product for your online business, keep in mind that your customers will not be interacting with your product for a single moment. Rather, your offering should provide a series of interconnected experiences. In other words, you should create a product loop.
Therefore, in this article, we’ll show you how to make a custom WooCommerce product loop. Let’s get started!
What is the product loop?
The product loop is a collection of items displayed on a category or archive page that visitors can scroll through. Product loops can greatly enhance your online store’s interface and boost your customers’ shopping experience tremendously.
How to make a custom WooCommerce product loop?
In this part, we’ll show you how to make a custom WooCommerce product loop in two different ways: using a plugin and coding. Let’s check them out!
Method 1: Using a plugin
Here we’ll be using the plugin Kadence WooCommerce Elementor Pro plugin. The latest update to Kadence WooCommerce Elementor Pro plugin allows you to customize your product loop layout in your shop archive pages. Therefore, you can easily create eye-catching custom product layouts with the simplicity of Elementor Page builder.
Step 1: Install required plugins
First off, make sure that you have all the required plugins installed on your site.
-
Download and install Elementor at this link https://wordpress.org/plugins/elementor/
-
Download Kadence WooCommerce Elementor at this link http://wordpress.org/plugins/kadence-woocommerce-elementor/
-
Purchase and download Kadence WooCommerce Elementor Pro https://www.kadencewp.com/product/kadence-woocommerce-elementor
-
Get both the Free and Pro version of Kadence WooCommerce Elementor installed and activated on your WooCommerce site in order for the Pro plugin to work smoothly.
Step 2: Activate product loop
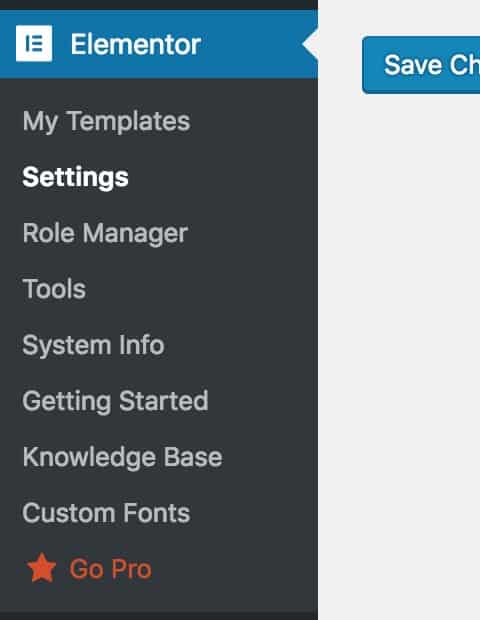
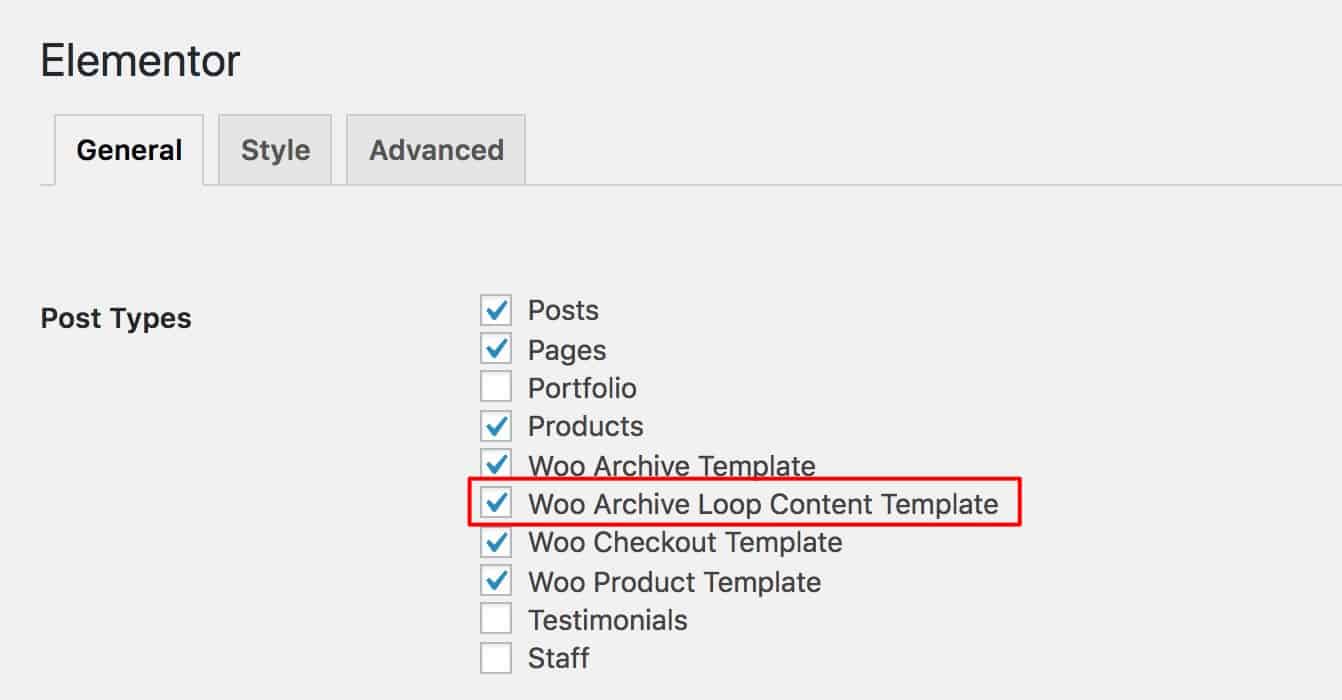
From your WP admin dashboard, go to Elementor > Settings > General.
After that, check the box Woo Archive Loop Content Template to activate the product loop.
Step 3: Create a new template
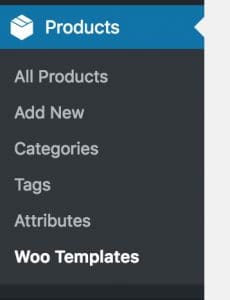
Now you need to go to Products > WooTemplates and click on the button Add Product Loop Content Template to create a new product loop template.

Step 4: Edit with Elementor
Here you need to give your template a name (For example: Custom Loop). Then click on the button Edit with Elementor.

To edit your product loop template, you first need to locate the product loop elements under WooCommerce. It would look like the image below:
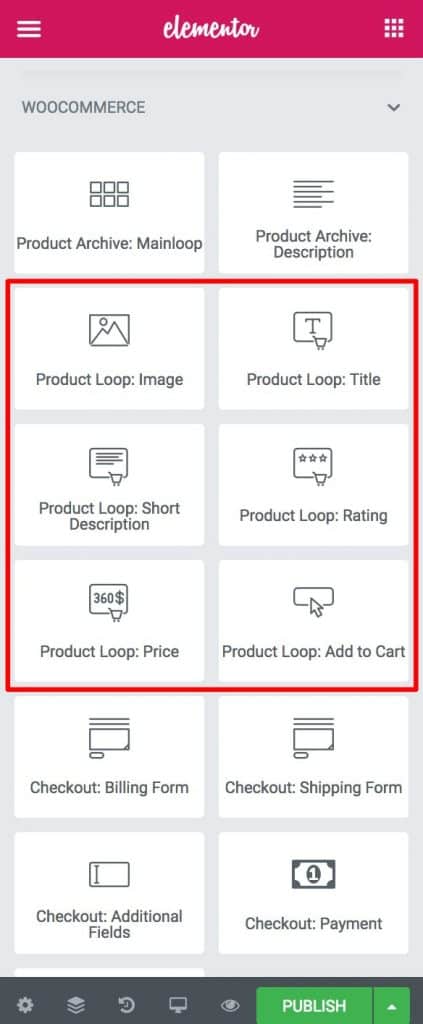
You can create a simple or complex loop template as you wish. But here, we will just rearrange the regular product loop elements in a simple way as guidance for you. Please look at the image below for more information:
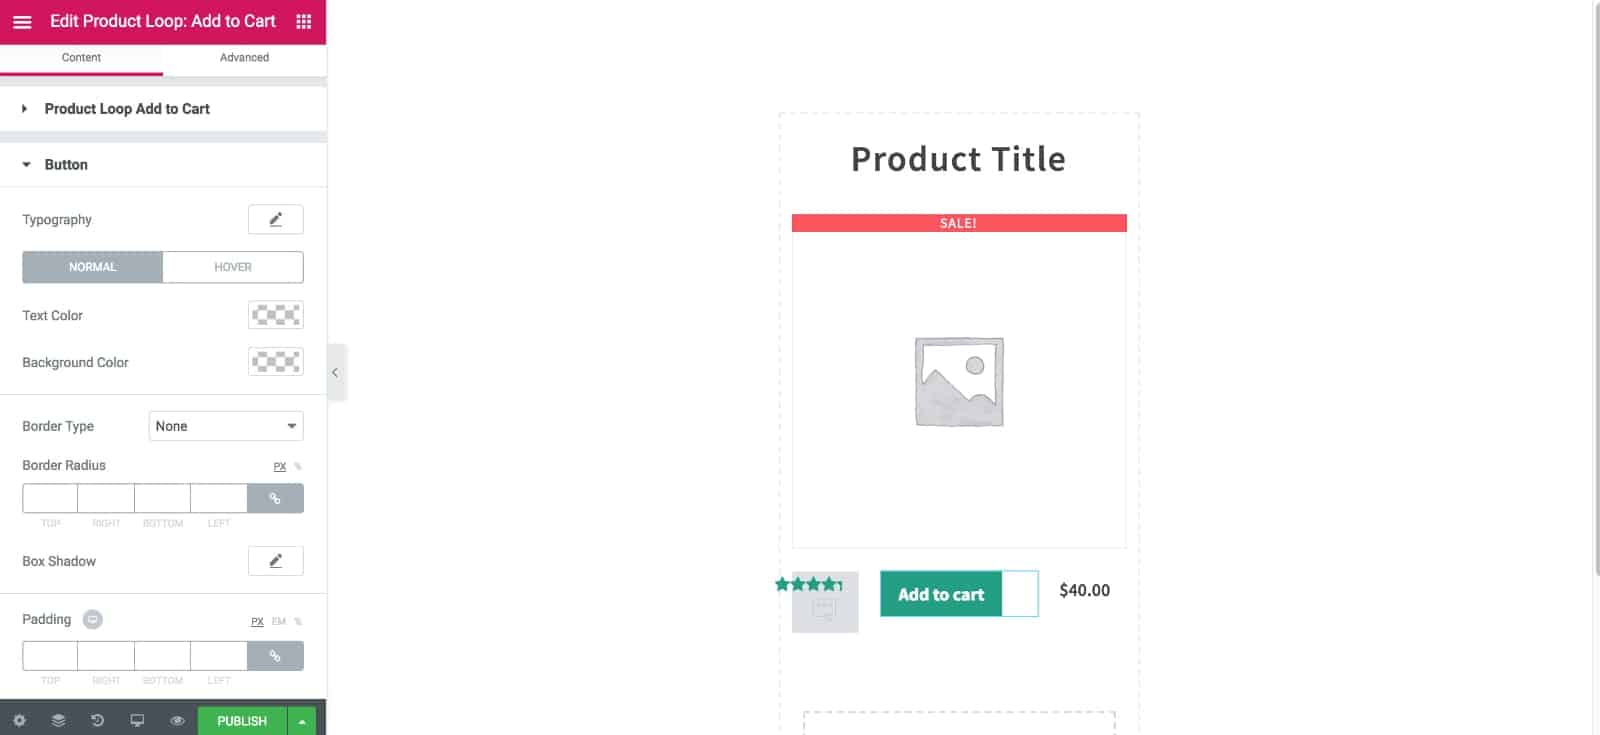
Once you’re done with the configuration, go to WooCommerce> Template Builder. After that, you need to go to Product Loop Settings and under the field Choose a default template for Product Loop Content, simple choose the loop template you’ve just created to finish assigning your new template to Product Loop:
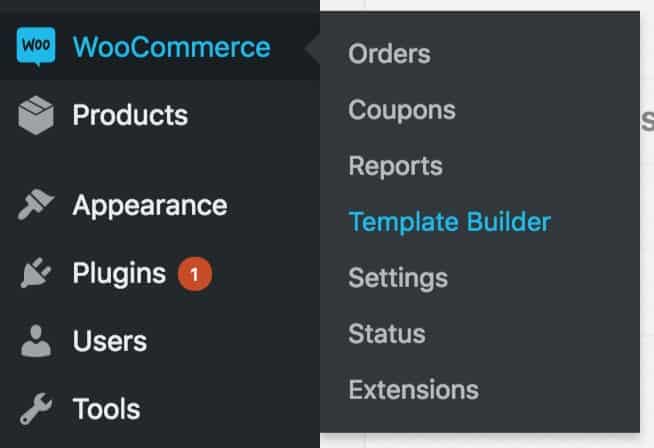

Once done, you should go check the shop archive to see the product loop to make sure you’re satisfied with the results.
Method 2: Coding
Before getting started, it’s worth noting that this approach is suitable for developers and people with coding backgrounds. So if you ever needed to create a custom WooCommerce Product loop, then you probably used get_posts() or even a WP_Query(). However, using those may cause your loop to stop operating suddenly or potentially crash your site.
The main disadvantage of creating a custom WooCommerce loop using any of the methods above is that future versions of WooCommerce are likely to break your code as data is moved to custom tables for better performance.
Much to your surprise, a native WooCommerce function can assist you in creating a custom product loop. This way, you’ll be able to preserve all of WooCommerce’s loop features while still having enough flexibility to make the changes you want. In this guide, we’ll just display only the product loop for Featured Products on a page which is similar to the main Shop page.
Step 1: Create a page template
We suppose that as a developer, you would know how to make a page template but if you don’t know, you can check out this link to have a better understanding.
Step 2: Use the custom WooCommerce product loop coding
Here we use wc_get_products() and create a foreach loop. And all you need to do next is to copy this code and paste it into the template you’ve just created:
<?php

  if(!function_exists('wc_get_products')) {
    return;
  }

  $paged                   = (get_query_var('paged')) ? absint(get_query_var('paged')) : 1;
  $ordering                = WC()->query->get_catalog_ordering_args();
  $ordering['orderby']     = array_shift(explode(' ', $ordering['orderby']));
  $ordering['orderby']     = stristr($ordering['orderby'], 'price') ? 'meta_value_num' : $ordering['orderby'];
  $products_per_page       = apply_filters('loop_shop_per_page', wc_get_default_products_per_row() * wc_get_default_product_rows_per_page());

  $featured_products       = wc_get_products(array(
    'meta_key'             => '_price',
    'status'               => 'publish',
    'limit'                => $products_per_page,
    'page'                 => $paged,
    'featured'             => true,
    'paginate'             => true,
    'return'               => 'ids',
    'orderby'              => $ordering['orderby'],
    'order'                => $ordering['order'],
  ));

  wc_set_loop_prop('current_page', $paged);
  wc_set_loop_prop('is_paginated', wc_string_to_bool(true));
  wc_set_loop_prop('page_template', get_page_template_slug());
  wc_set_loop_prop('per_page', $products_per_page);
  wc_set_loop_prop('total', $featured_products->total);
  wc_set_loop_prop('total_pages', $featured_products->max_num_pages);

  if($featured_products) {
    do_action('woocommerce_before_shop_loop');
    woocommerce_product_loop_start();
      foreach($featured_products->products as $featured_product) {
        $post_object = get_post($featured_product);
        setup_postdata($GLOBALS['post'] =& $post_object);
        wc_get_template_part('content', 'product');
      }
      wp_reset_postdata();
    woocommerce_product_loop_end();
    do_action('woocommerce_after_shop_loop');
  } else {
    do_action('woocommerce_no_products_found');
  }
As you can tell, this code is pretty simple. In lines 7-11, we get and set the variables for paging and order display, then we retrieve our Products, then in lines 25-30, we hack the WooCommerce loop variable with some parameters it requires, and lastly we loop over them using a foreach loop instead of the typical while loop. In lines 36-38, we utilize the same form and method that WooCommerce uses in its shortcodes to temporarily set the global Post object.
Top 3 plugins to make custom WooCommerce product loop
In this part, we give you our handpicked list of the 3 best plugins that can help you make a wonderful custom WooCommerce product loop.
1. YITH Product Description in loop for WooCommerce
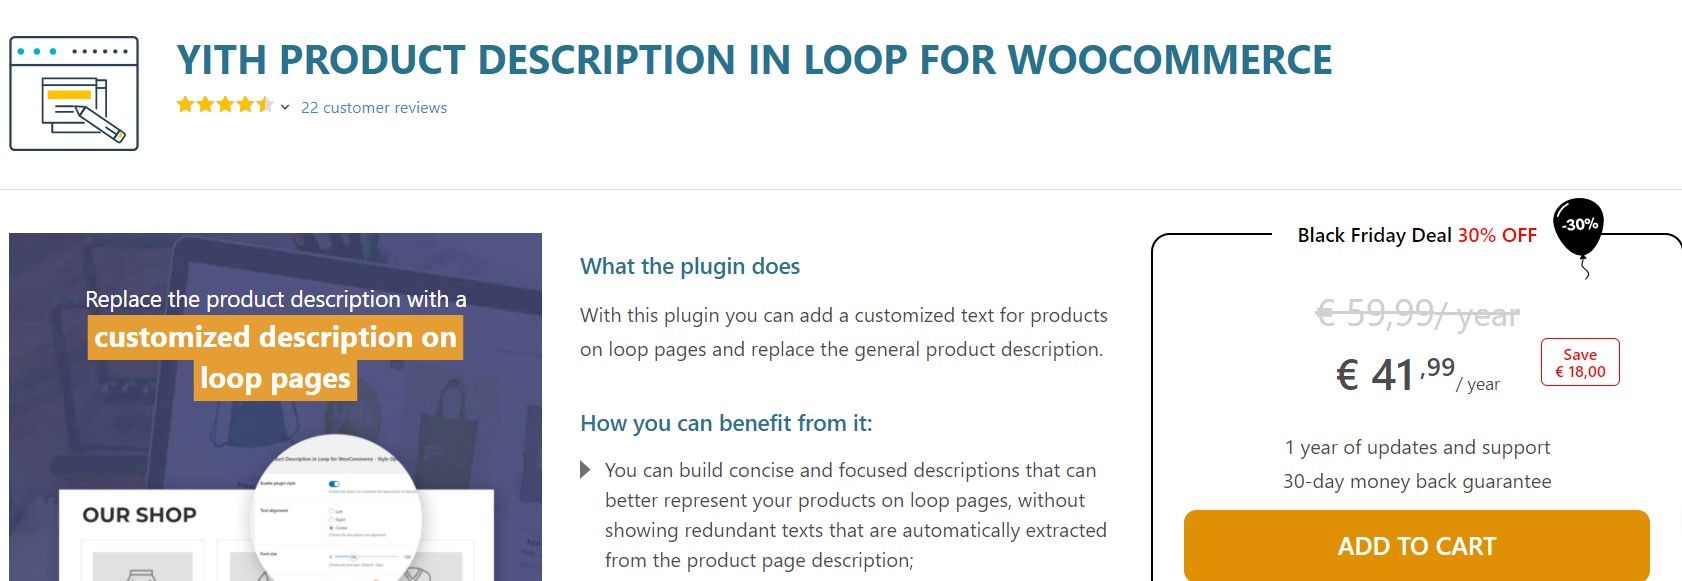
YITH Product Description in Loop for WooCommerce allows you to replace the general product description with a personalized text for products on loop pages. As a result, you can create brief and targeted descriptions for loop pages that better reflect your items. You can also use this text to include a slogan, special offers, and keywords that will draw your customers’ attention to the product page and encourage them to read the details.
Features
- Replace the standard product description with customized and sales-oriented texts.
- Add a short and custom product description.
- Show the custom description also on category and tag pages.
- Customize the description text color and size.
- Customize the position where the description appears.
- Use any shortcode in your descriptions.
- Override the general settings from the product edit page.
Pricing
This plugin is currently on sale at € 41,99/ year.
2. TP Product Description in Loop for Woocommerce
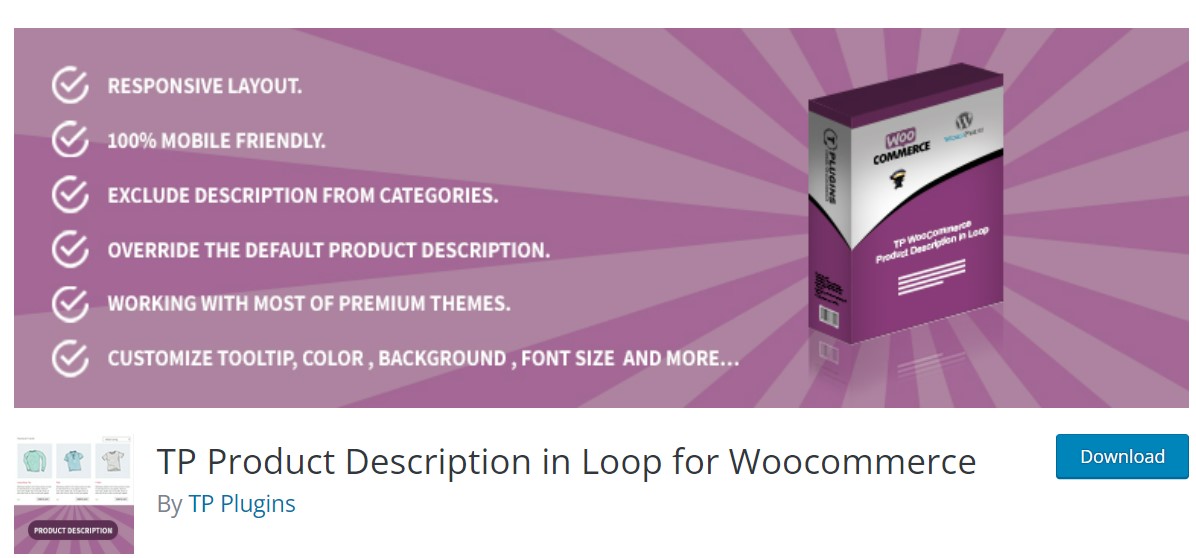
TP Product Description in Loop for Woocommerce adds product descriptions to your Woocommerce Shop, Category, and Archives pages. You may quickly provide additional information to your consumers about your products, benefits, features, or anything else you wish.
This plugin also adds a “loop description” section to the product edit page, allowing the administrator to create a different description for listing pages.
Features
- Select description position in the loop.
- Responsive Layout.
- Disable / Show on a mobile device.
- Disable / Show from Shop page, Related Products and from Up-Sells.
- Show product full/short description.
- Customize tooltips, color, background, font size, and more…
- Exclude description from categories, tags.
- SEO friendly.
Pricing
Free
3. Product Loops for WooCommerce
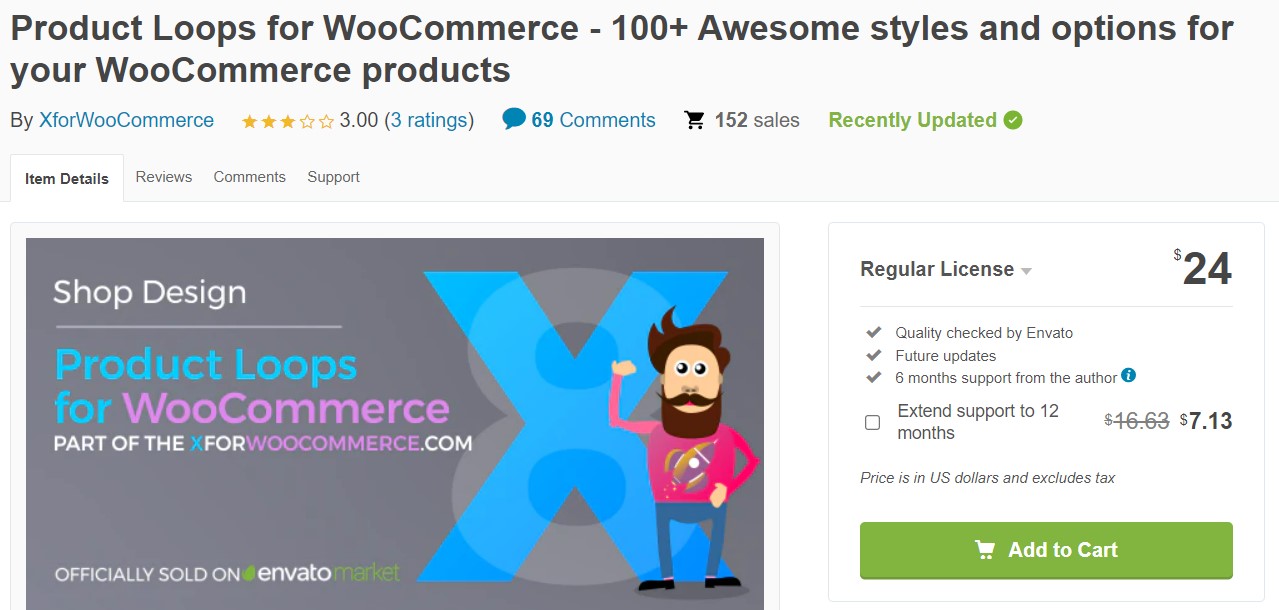
WooCommerce Product Loops enables you to replace your theme’s product styles with modern, standardized layouts that help you boost sales.
Product loops are fully compatible with this plugin, which has full AJAX support, infinite loading, and shortcode pagination. You can also assign product loop styles by criteria, such as tags, categories, featured….
Features
- Unlimited product designs
- Replace your theme product design with modern product styles
- Support product options, filters, and badges plugins
- Assign product styles by tags, categories…
- Translation ready with full WPML support
- Grid/ list views with switcher
- Fully responsive
Pricing
$24
Final words
We hope that our detailed instructions on how to make custom WooCommerce product loop have provided you with lots of valuable and practical information. Hopefully, your WooCommerce store could draw much more customers’ attention thanks to its convenient interface with dynamic product loops.
Please feel free to reach out to us via the comments section below if you have any questions. We would love to hear from you and help you out. Thank you for reading and we’ll see you in the next post.


