How to Save Credit Card Details in WooCommerce
Storing your customers’ credit card details must be vital for online stores on eCommerce platforms like WooCommerce. In today’s busy life, people tend to raise the value of their time. That’s why they always reject time-consuming activities, one of which is to remember such a long sequence of numbers as a card number and then re-enter it every time they make a purchase in an online store.
So, it’s no doubt you should equip your WooCommerce Stores with a plugin that can save customers’ credit card details for future purchases. One of the most popular ones is Stripe which is suitable for beginners and small to medium businesses.
This post will take you through some of the most fundamental processes to Save Credit Card Details in WooCommerce with Stripe.
If you expect more features to come with your payment WooCommerce plugins, don’t worry ‘cause we also get other Top 3 WooCommerce Payment Plugin supporting Card Details Storing for you.
Let’s check out below and find your companion!
See the point of Saving WooCommerce Credit Card Details
First, let’s find out how Storing WooCommerce Credit Card Details actually works to boost your stores sales. Below, we suggest 4 main reasons that you should own a WooCommerce payment plugin for your stores.
- Saves customers’ effort to enter their card details in every purchase
- Acts as an incentive for customers to choose your WooCommerce store due to the convenience in payment
- Save your time by automatically updating card details
- Appears to be particularly helpful for on-off charges
How to Save Credit Card Details in Woocommerce
Now if you already know why you need to save your customers’ credit card details, we’ll take a look at 4 practices that you may need for your stores to serve your customers better in paying.
1. Storing Credit Card Information for future use
First, to store Credit Card Information for future use, you need to enter their email address and tokenized card details to add a new Customer, not a Charge
Make sure the customer ID is saved on your side for future use. You may then charge that client by passing the customer ID in the charge request instead of a card representation.
Below are codes that you just need to copy and paste into your Stripe according to the programming language you’re using.
cURL
# Create a Customer:
curl https://api.stripe.com/v1/customers \
  -u {SECRET_KEY}: \
  -d source=tok_mastercard \
  -d email="paying.user@example.com"

# Charge the Customer instead of the card:
curl https://api.stripe.com/v1/charges \
  -u {SECRET_KEY}: \
  -d amount=1000 \
  -d currency=usd \
  -d customer=cus_7sqFSKcBzzYEAf

# YOUR CODE: Save the customer ID and other info in a database for later.

# When it's time to charge the customer again, retrieve the customer ID.
curl https://api.stripe.com/v1/charges \
  -u {SECRET_KEY}: \
  -d amount=1500 \
  -d currency=usd \
  -d customer=cus_7sqFSKcBzzYEAf
Python
# Create a Customer:
customer = stripe.Customer.create(
  source='tok_mastercard',
  email='paying.user@example.com',
)

# Charge the Customer instead of the card:
charge = stripe.Charge.create(
  amount=1000,
  currency='usd',
  customer=customer.id,
)

# YOUR CODE: Save the customer ID and other info in a database for later.

# When it's time to charge the customer again, retrieve the customer ID.
charge = stripe.Charge.create(
  amount=1500, # $15.00 this time
  currency='usd',
  customer=customer_id, # Previously stored, then retrieved
)
Java
// Create a Customer:
CustomerCreateParams customerParams =
  CustomerCreateParams.builder()
    .setSource("tok_mastercard")
    .setEmail("paying.user@example.com")
    .build();

Customer customer = Customer.create(customerParams);

// Charge the Customer instead of the card:
ChargeCreateParams chargeParams =
  ChargeCreateParams.builder()
    .setAmount(1000L)
    .setCurrency("usd")
    .setCustomer(customer.getId())
    .build();

Charge charge = Charge.create(chargeParams);

// YOUR CODE: Save the customer ID and other info in a database for later.

// When it's time to charge the customer again, retrieve the customer ID.
ChargeCreateParams chargeParams2 =
  ChargeCreateParams.builder()
    .setAmount(1500L) // $15.00 this time
    .setCurrency("usd")
    .setCustomer(customerId) // Previously stored, then retrieved
    .build();

Charge charge2 = Charge.create(chargeParams2);
2. Automating Card details updates
But what if a card was expired or reported to be stolen? Do customers have to provide their new card details? The answer is No. Stripe interacts with card networks, and anytime a consumer receives a new card, Stripe attempts to update saved card information automatically.
However, in this case, the issuers must be participants of the network and provide this information. It’s generally accepted in the United States, which allows Stripe to update most American Express, Visa, Mastercard, and Discover cards issued there instantly. The level of international assistance varies depending on the nation. It’s impossible to tell which cards can be changed automatically.
Webhooks can notify you before and after a card is automatically changed. payment method.updated tells you of card updates that occur through an API call, whereas payment method.automatically updated notifies you of network-wide card updates. If you need to update your records, these events contain the card’s new expiration date and last four numbers.
3. Allowing customers to make changes to their default payment method
Another scenario is that your customers have their own reasons to replace their saved card details.
At the end of the process, an updated customer call is required, which will provide a new token for the source parameter.
cURL
curl https://api.stripe.com/v1/customers/cus_V9T7vofUbZMqpv \
  -u sk_test_4eC39HqLyjWDarjtT1zdp7dc: \
  -d "source"="tok_visa"
Python
stripe.Customer.modify('cus_V9T7vofUbZMqpv',
 source='tok_visa',
)
Java
Customer customer = Customer.retrieve("cus_V9T7vofUbZMqpv");

CustomerUpdateParams params =
  CustomerUpdateParams.builder()
    .setSource("tok_visa")
    .build();

customer.update(params);
This action also gets rid of the previous card details and saves the new one as default.
4. Saving several payment options
The last practice serves those customers who want to save several payment methods. The first saved option is set as the default_source. This is used for subscription payments, and a charge request with only a customer ID is submitted anytime.
You can alter the default_source to another stored payment method at any time, and edit the payment methods saved to a client (e.g., add or delete cards).
Top 3 WooCommerce Payment Plugin supporting Card Details Storing
Now, if you haven’t decided which plugin to adopt, it’s a good idea to take a look at the below 3 payment plugins.
#1 WooCommerce PayPal Pro Hosted Gateway
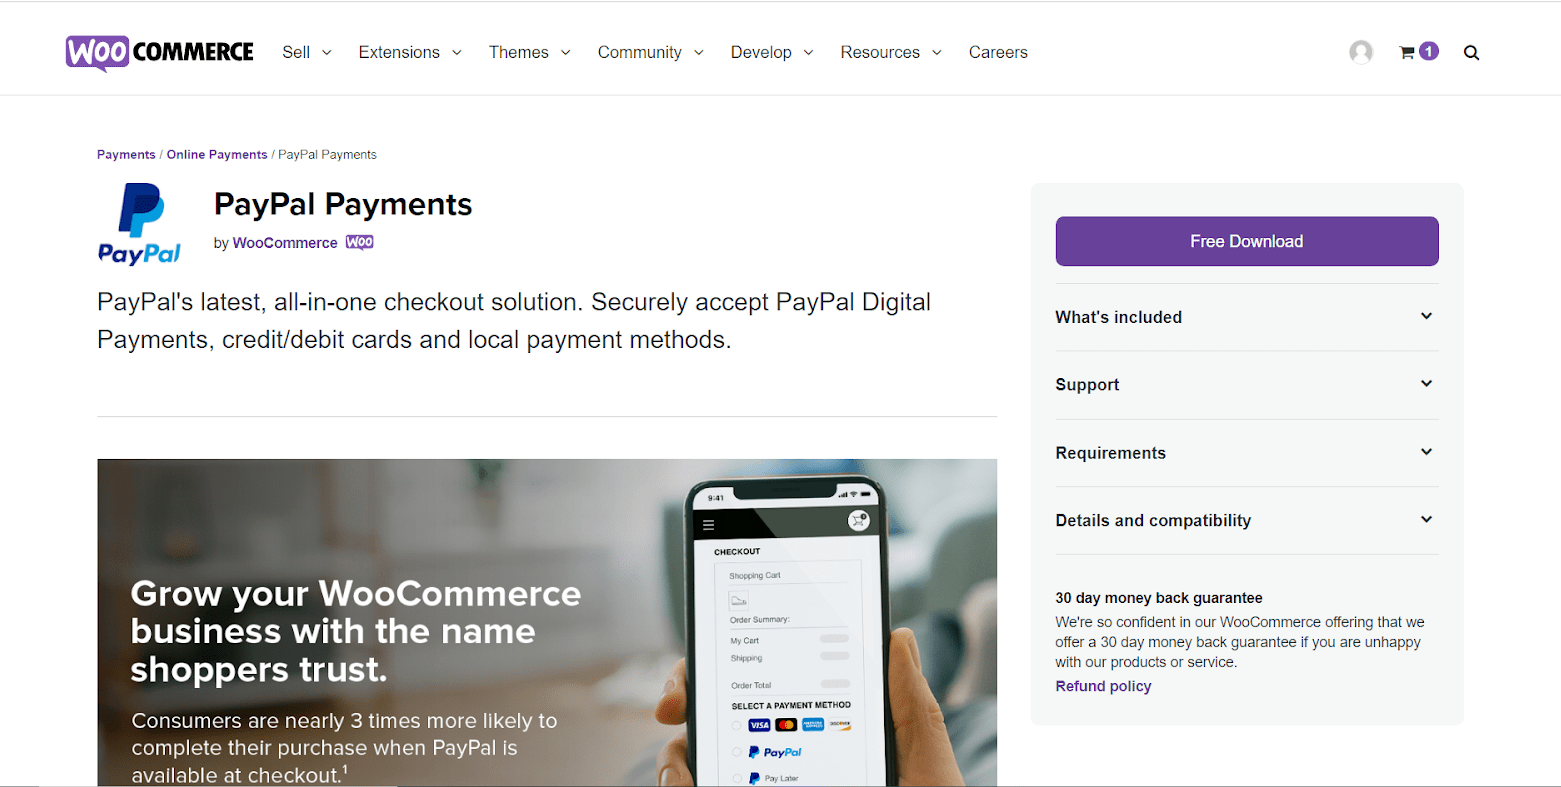
If you have a PayPal business account, you should try WooCommerce PayPal Pro Hosted Gateway. With this plugin, you can allow your customers to pay without storing any card details on your website. It also offers your customers an inline frame of PayPal and the security, convenience of this payment gateway.

Key features
- It uses an inline frame of PayPal to accept credit and debit cards on your WooCommerce store.
- Detect a customer’s location automatically and provide country-specific, local payment options.
- You don’t need to store payment details on your website.
- PayPal ensures all of the security policies of PayPal.
Price
The installation of this plugin costs $99, which includes 1-year updates and support as well as 30-day money-back policy.
#2 Authorize.net
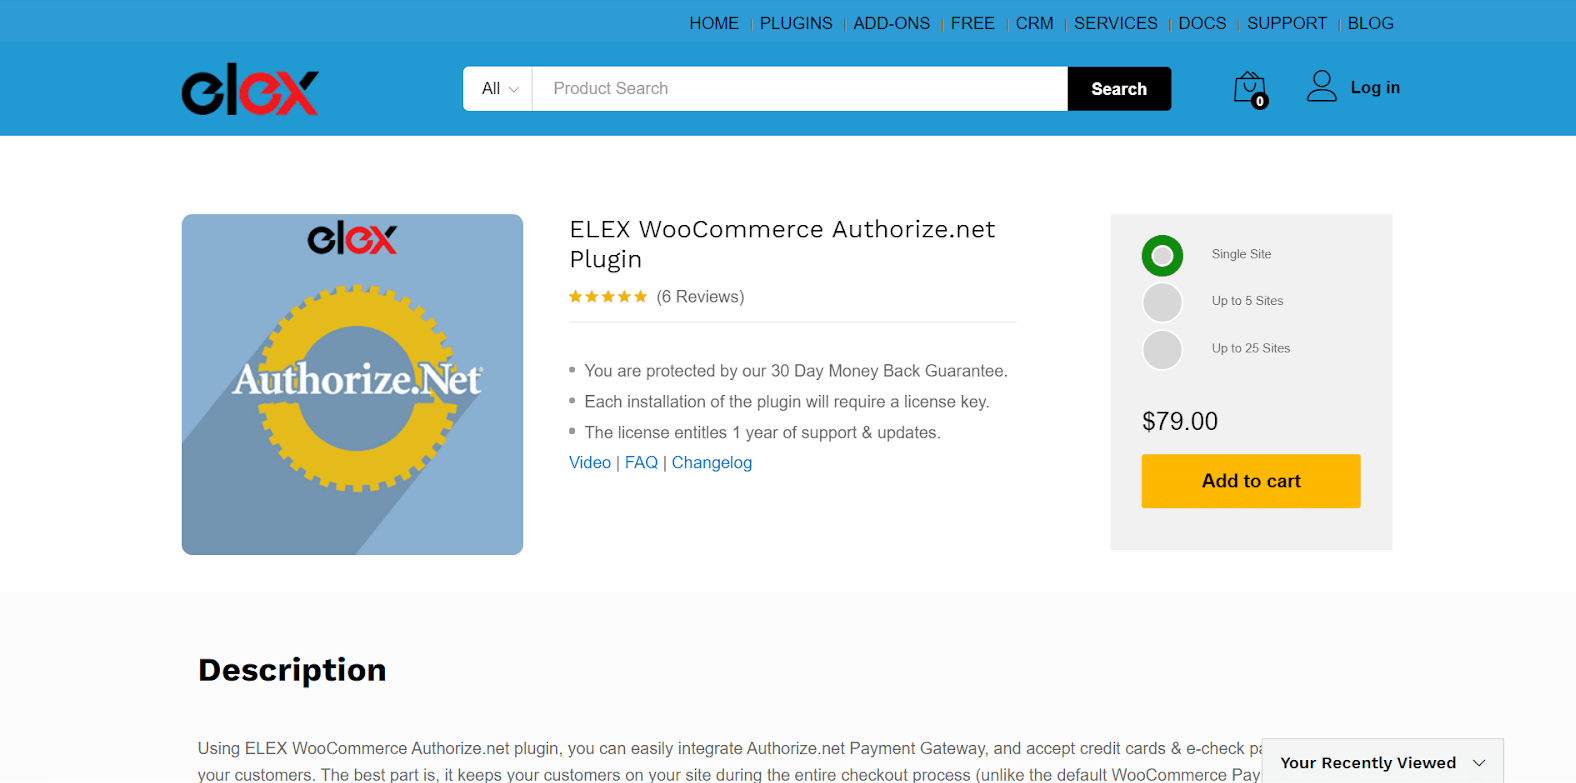
Another plugin whose 30-day money-back guarantee you can benefit from is ELEX WooCommerce Authorize.net Plugin. This plugin helps you benefit from Authorize.net, which provides easy-to-use, secure, and cost-effective credit card processing. To secure your customers’ credit card details, you may need to get an SSL certificate for PCI compliance.

Key features
- Allows your customers to stay on-site during the checkout process.
- You and your customers can be secured by the AIM (Advanced Integration Method) API from Authorize.Net .
- Most popular cards such as MasterCard, Visa, American Express, Discover, JCB and Diners Club are supported.
- Allows eCheck payments for those having Checking, Business Checking or Savings accounts.
- Easy to customize some features like Redirection URL, Checkout page, Checkout Status notification in the billing pages to serve your customers better.
Price
Authorize.net offers you 3 pricing options with 30-day money-back guarantee, 1-year support and updates while a license key is required.
- Single Site: $79
- Up to 5 Sites: $119
- Up to 25 Sites: $199
#3 Square
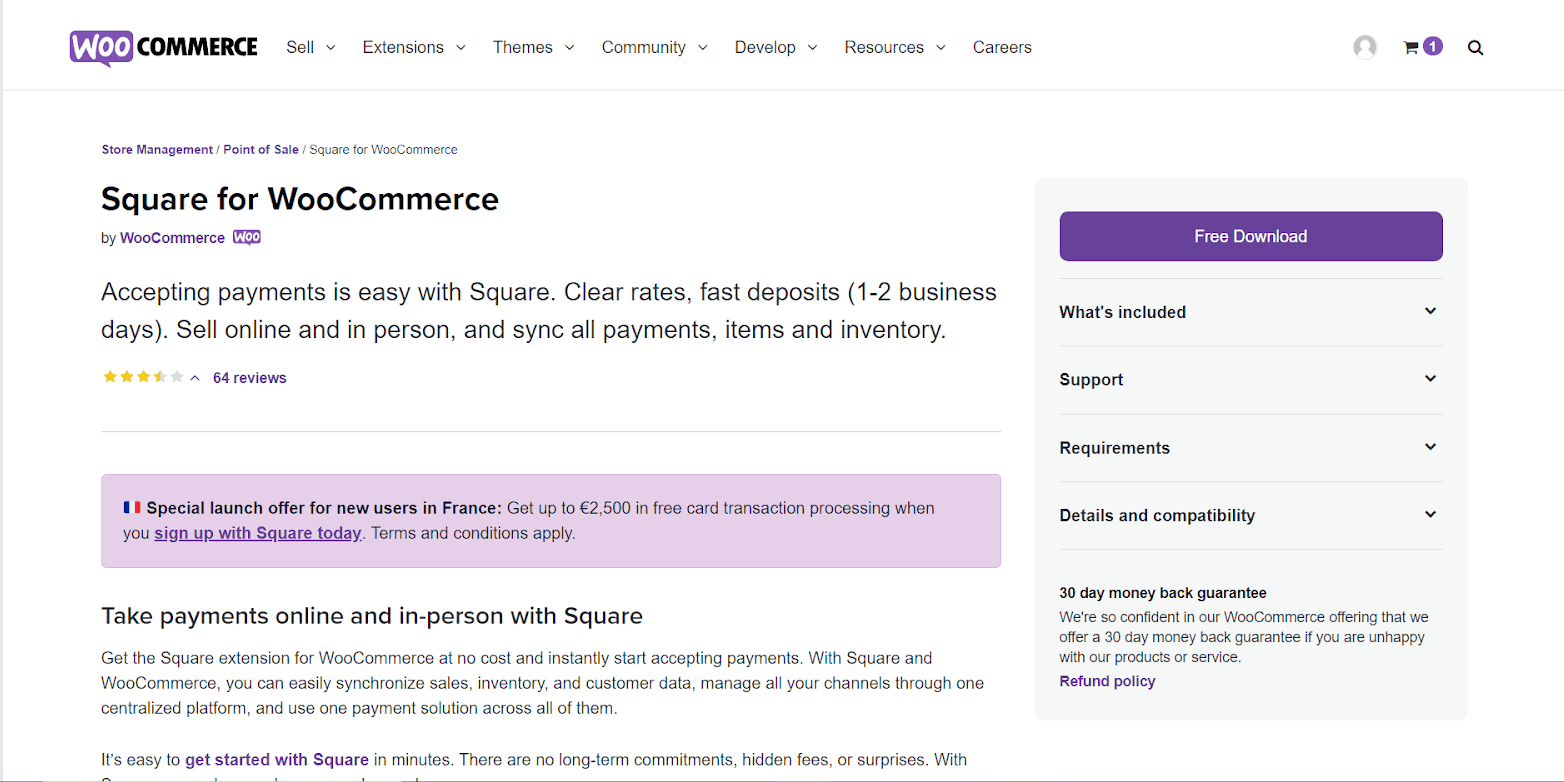
If you want to take complete control over the transactions of your WooCommerce store, Square should be on top of the list. With this WooCommerce extension, you can easily manage all your channels, from sales to customer information, with a single centralized platform.

Key features
- Not only online stores, but Square also supports physical stores
- It automatically updates all changes, including product titles and prices
- Square provides security and fraud prevention for your stores with risk management services as well as tools and resources
Pricing
Square offers free download and installation. You will only be charged when you make a sale.
Summing up
Billing is one of the most important processes which determines whether a visitor becomes your customer. So it’s worth considering optimizing your customer-paying experience. For online store owners on the WooCommerce platform, Saving Credit Card Details in WooCommerce is among the most important practices.


