How to Set up Shipping Tracking in WooCommerce
eCommerce is rapidly expanding. Therefore, shipping and delivery are also becoming more and more popular. This helps customers save time by shopping right at their homes. So, offering customers the most amazing shopping experience is now a thing to be prioritized.
If you are looking for a way to provide your consumers with essential tracking data for accurate and on-time delivery, shipping tracking will be a lifesaver in this situation. This undoubtedly reassures that customers’ orders will be on the right track and they will not miss any delivery. Follow us to know how to set up a shipping tracking in WooCommerce and your customers will feel satisfied while shopping at your WooStore.
How to set up shipping tracking in WooCommerce
With Shipping Tracking, customers can track their shipments easily, quickly, and accurately. To be more specific, once your set it up, you could take an opportunity to add the shipping tracking to the email that you send to your customer. Let’s thrive in to see how to set up shipping tracking in WooCommerce within just a minute.
Step 1: Check the requirements of the plugin
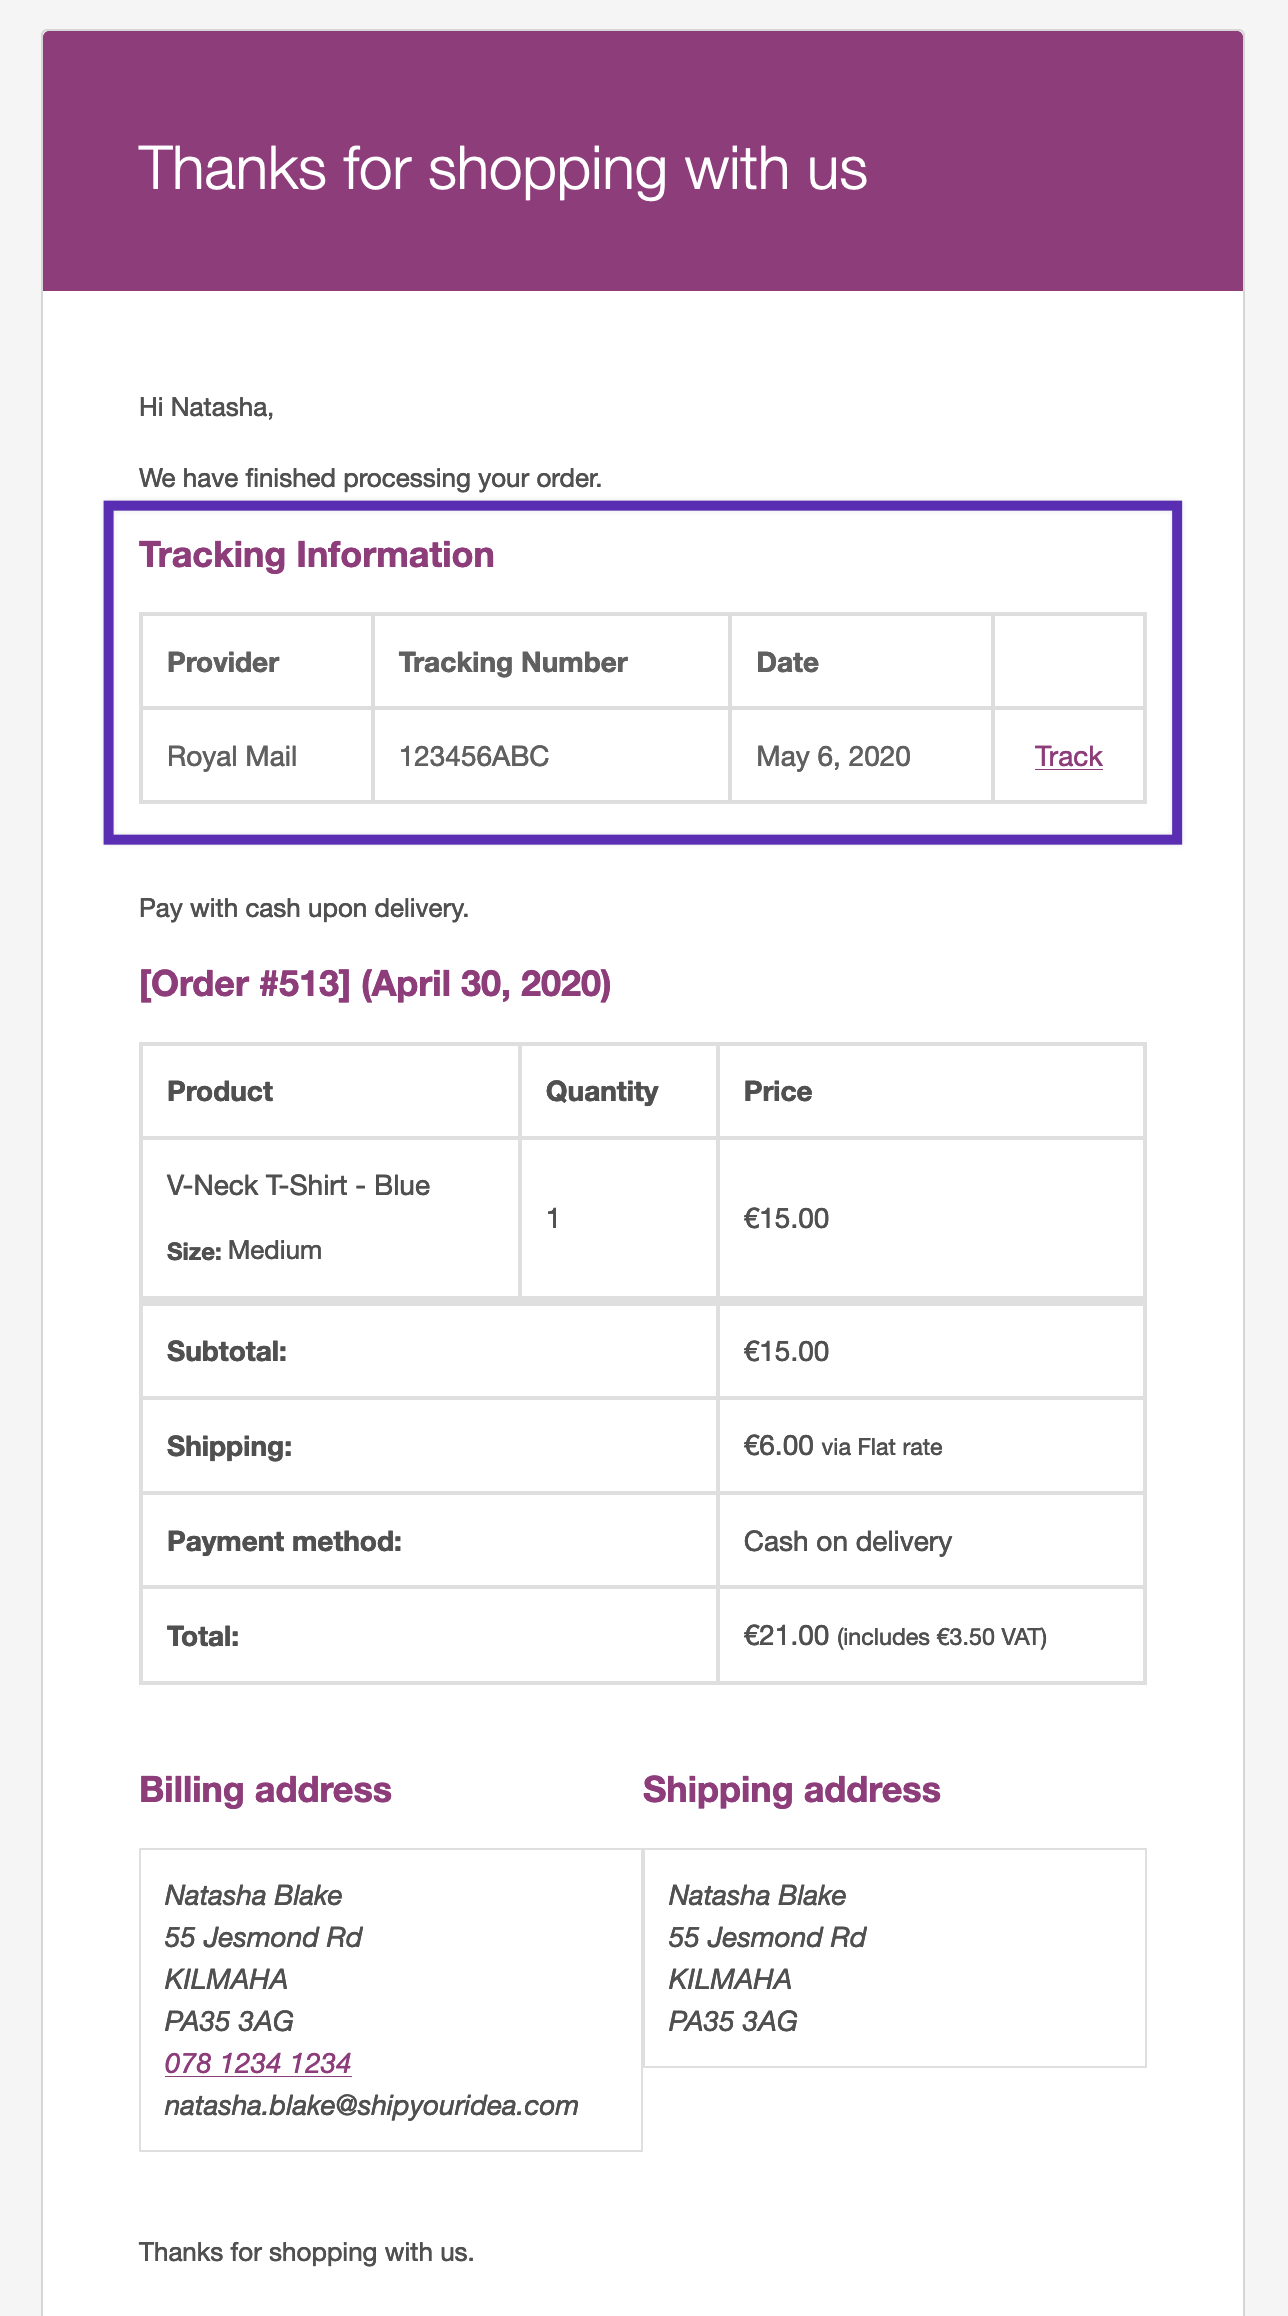
What you need to do first is to complete the information of tracking for each order. Any details related to shipment tracking will be added to “completed order” emails when order statuses are completed.
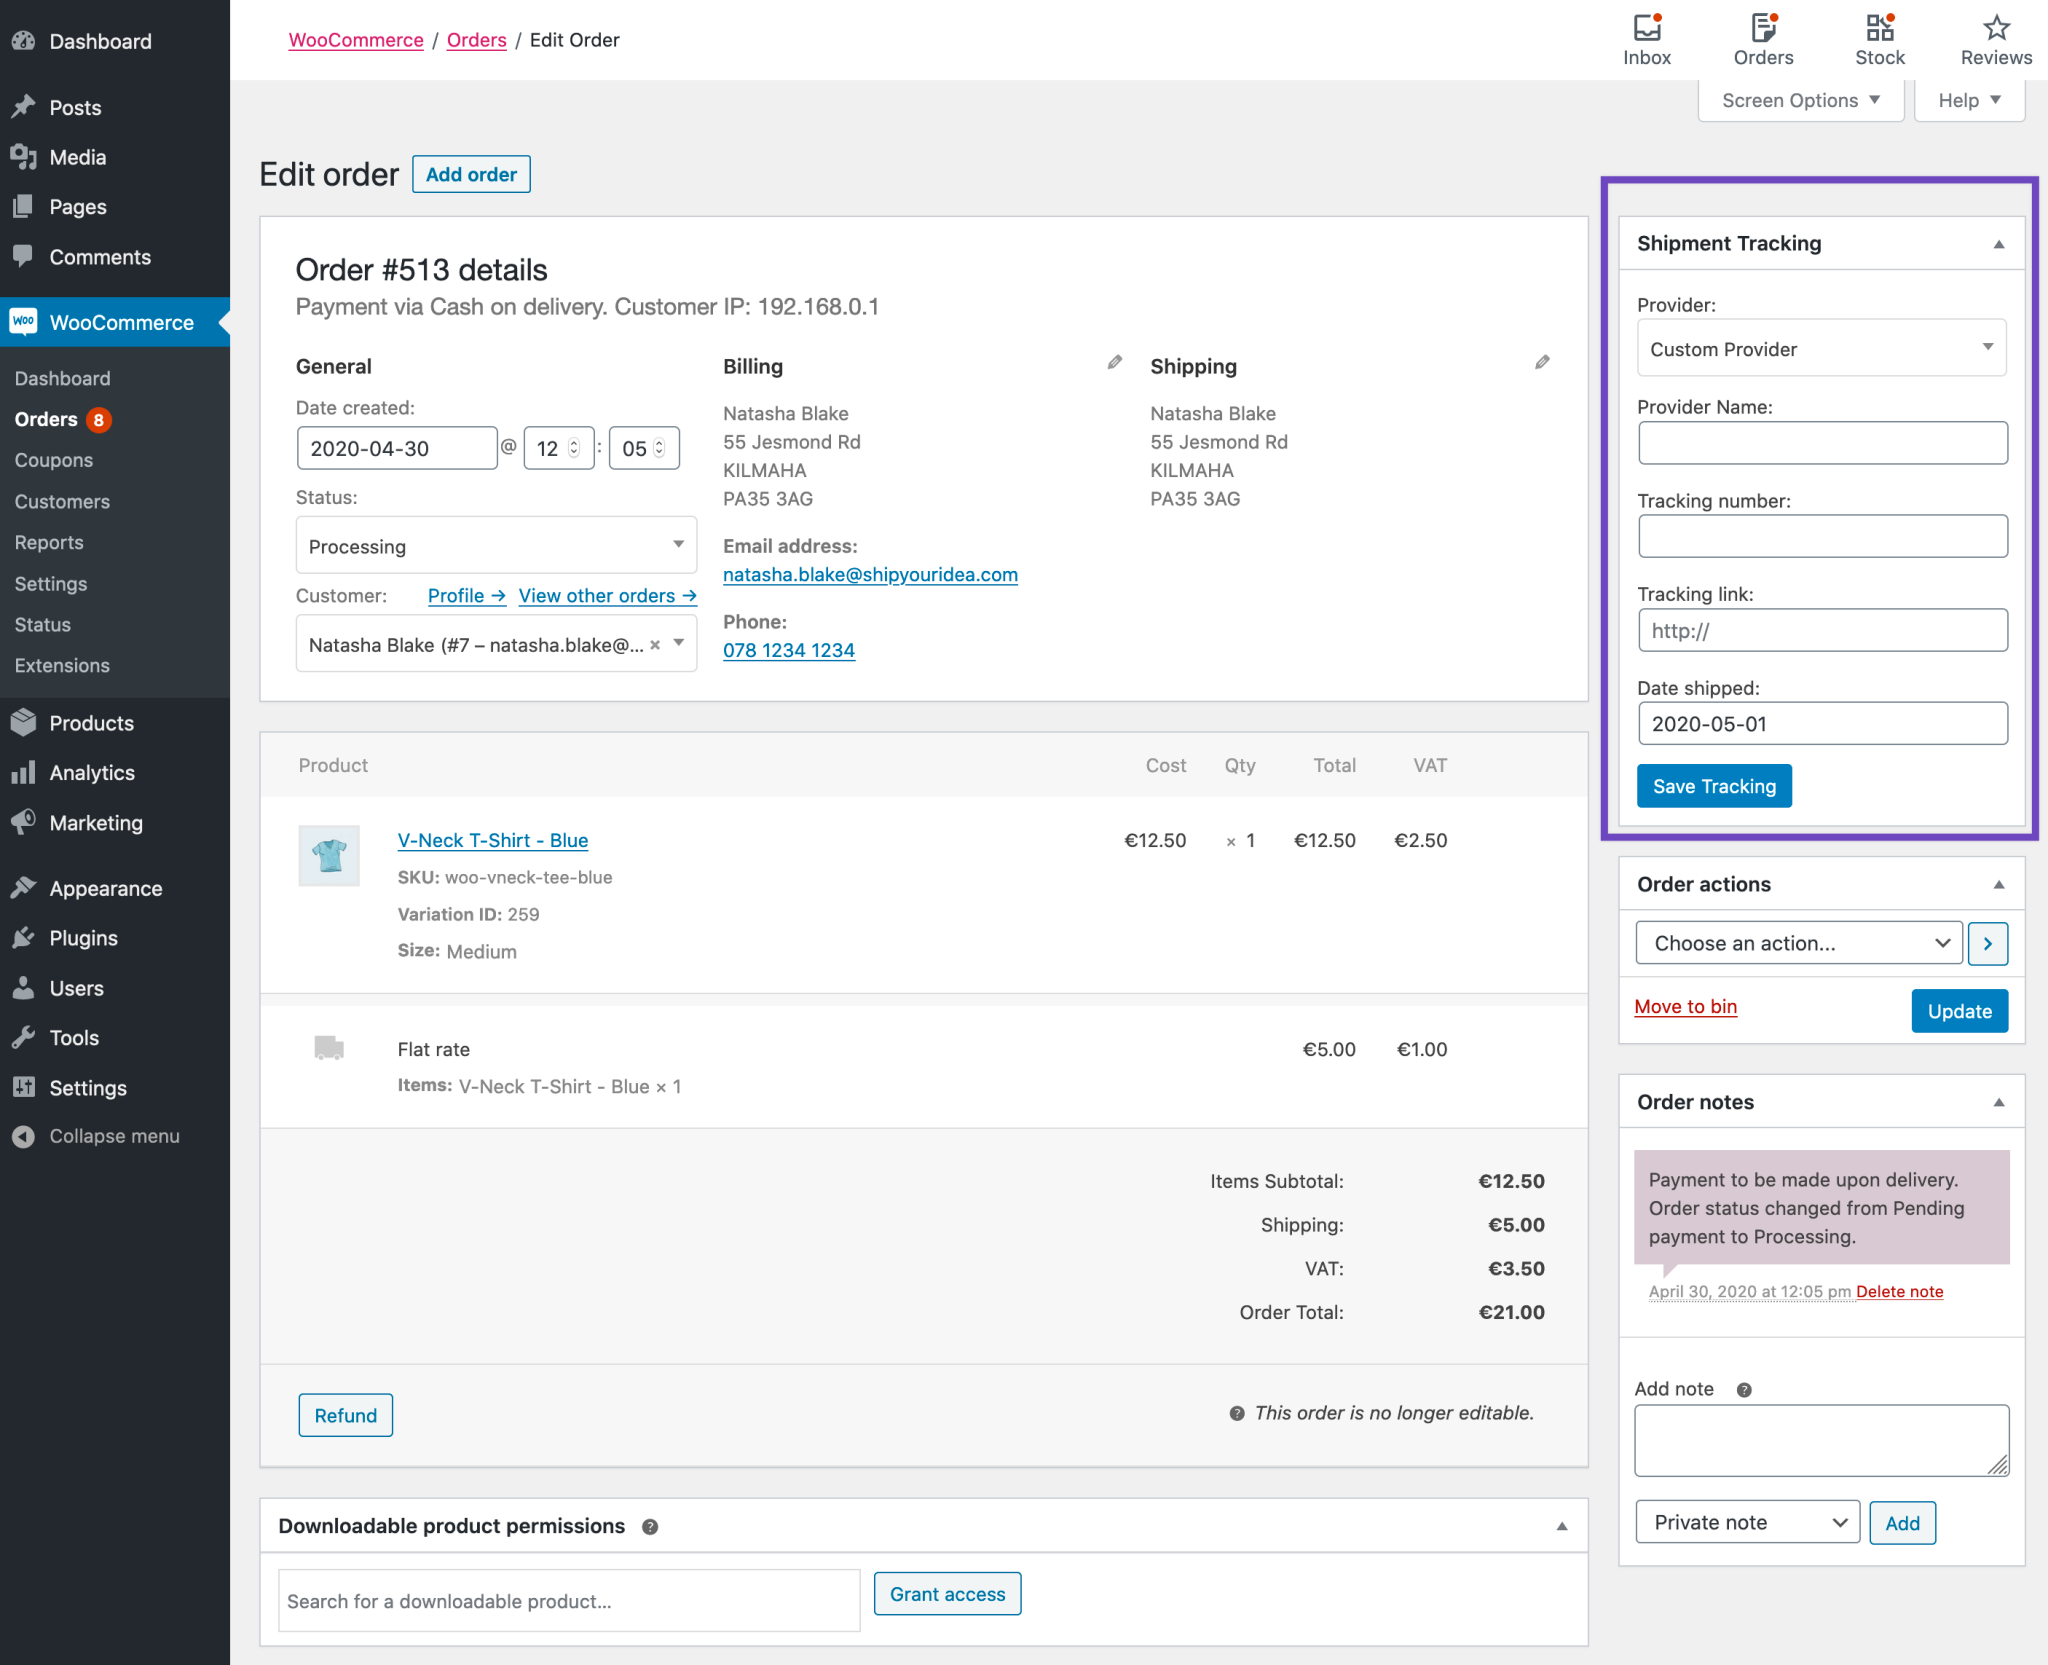
To perform this step, you navigate to WooCommerce and choose Orders. On this view/edit order screen, you will encounter a new panel that will be filled in with shipment information. Check the below screen:
In this write panel, you will need to add shipping information for customers to view. In implementing that, check out how and what you need to fill out the information:
-
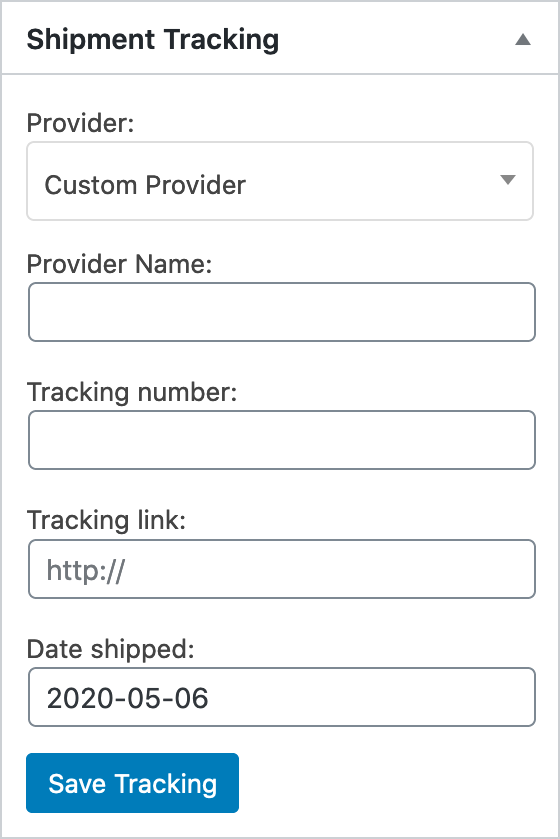
Select a provider: In terms of choosing a provider, you will be required to enter a shipping company that you use to ship your products to customers. In case the provider isn’t listed, you will pick up the option “Custom Provider”.
-
Fill out a tracking number: In this part, you will fill out a tracking number assigned by the provider. When you select the option “Custom”, you will add a link to the tracking page of the company if applicable
-
Decide on the shipping date: This step is not compulsory. However, in case you need to enter this information, just go ahead. This shipping date will be the one that the products were shipped.
-
Make a test of the link: When you are here, spend some moments to test of that preview link works to your expectation or not.
-
Save tracking: This will be when your mark your order status as “Complete”. When it is marked as “Complete”, the email of “Completed Order” will be sent to your customers.
-
Add extra tracking number: You could choose to add an extra tracking number or not. To implement it, click the section “Add Tracking Number”.
Step 2: Implement to download this extension
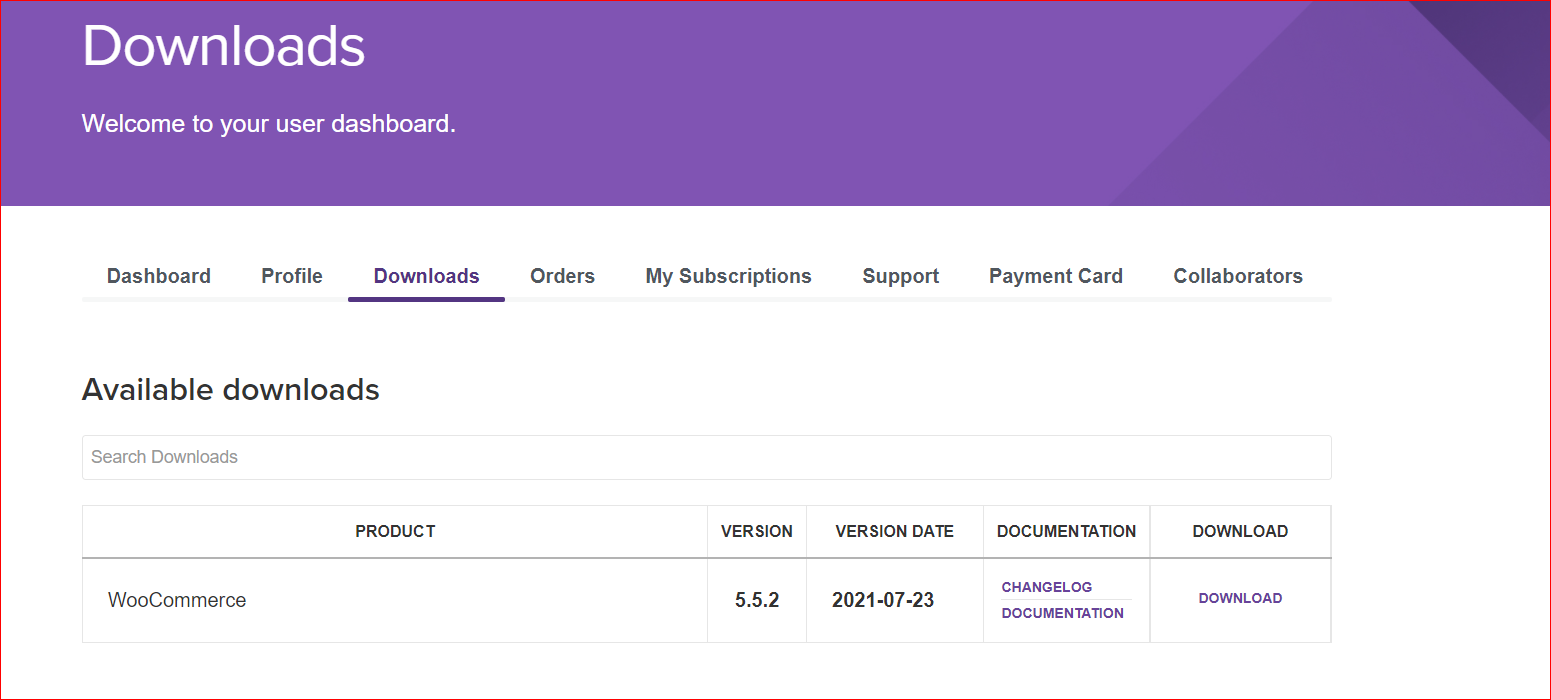
The second step is to download this extension by navigating to the dashboard of your WooCommerce. Click “Download” to get a ZIP file.
Step 3: Execute to upload the downloaded ZIP file
As you finished downloading the above Zip file, you will then approach the section “Plugins”, select “Add New” and “Upload”. Then you pick up your downloaded ZIP file.
Step 4: Install and Activate
When you are here, things get simpler. What you need to do now is just to select “Install Now” before clicking “Activate” to enable Shipment Tracking.
Congratulation! You have successfully set up the shipping tracking in WooCommerce. So, after this installation, go ahead to apply it to your WooCommerce Store.
Top 2 shipment tracking plugins
If you are not good at coding or manually create shipping tracking in WooCommerce, you could seek the help of plugins. We have come up with the top 3 shipping tracking plugins below.
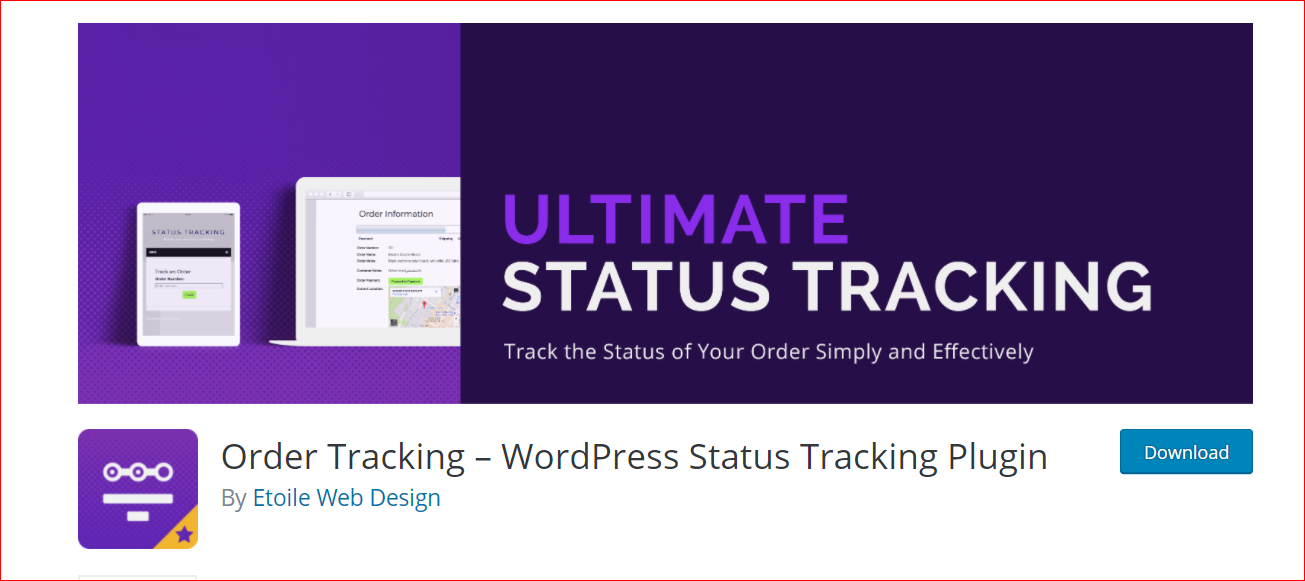
1. Ultimate Status Tracking
Ultimate Status Tracking is useful in monitoring statutes of packages, programs, and deliveries. You can utilize it to keep your consumers updated about order statuses. As soon as an order is ready, you could send the shipment email to clients, letting them keep track of their shipment.
Main feature
-
Provide customers with precise details of delivery information, customer notes, email address, order number, and so on
-
Come with a quick and straightforward payment method
Pricing: $30/1 site, $100/5 sites, and $170/10 sites
2. TrackingMore Parcel Tracking Plugin on Woocommerce
There is nothing quite like having both buyers and merchants be updated shipping tracking information within one email. With TrackingMore Parcel Tracking Plugin on Woocommerce, you could access every order of your store with comprehensive shipping tracking information instead of verifying tracking information separately.
Main features
-
Manage the information of order and shipping tracking easily
-
SMS and email notifications involving deliveries are available
Pricing
-
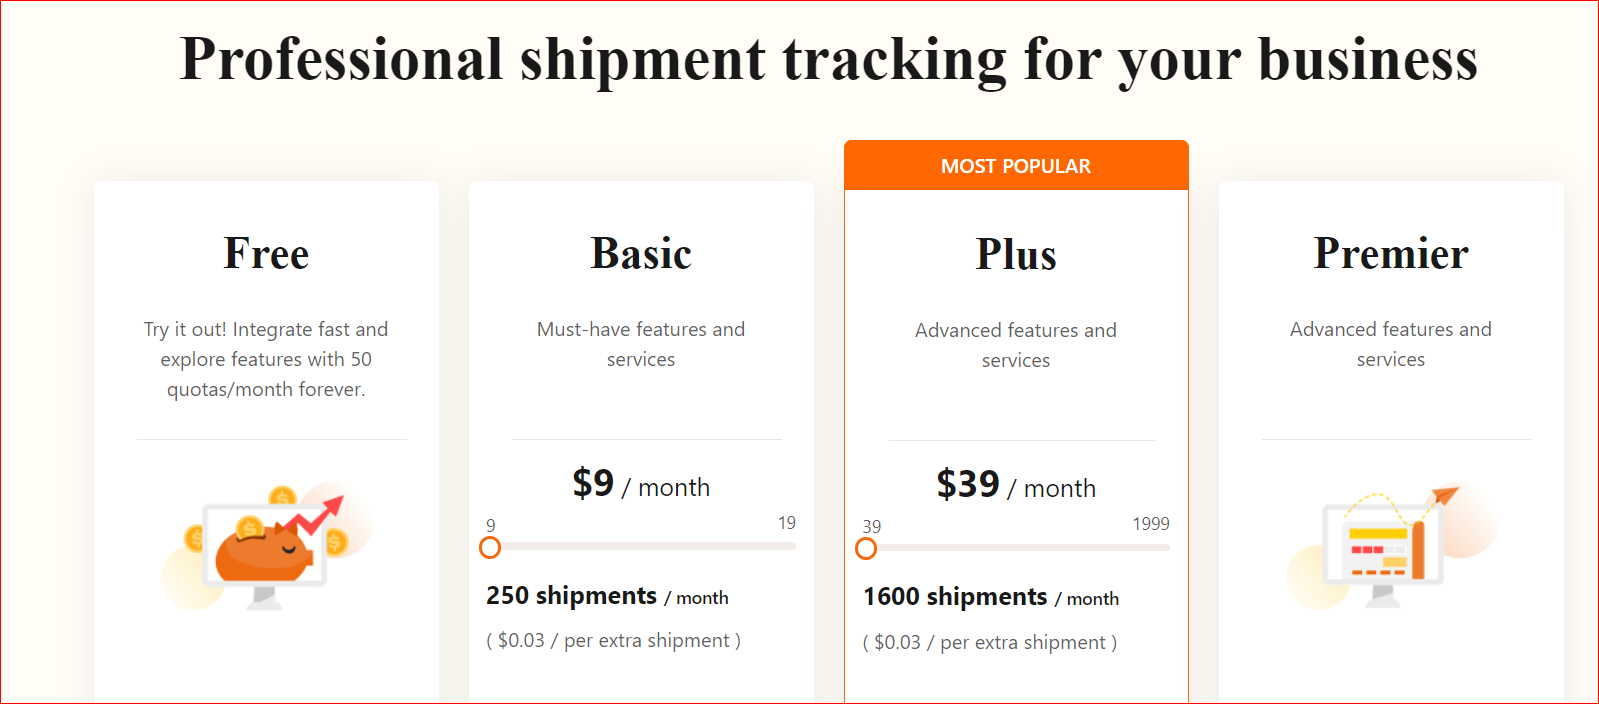
Free version for starters
-
Basic: $9 each month
-
Plus: $39 each month
Conclusion
The benefits of setting up shipping tracking in WooCommerce are undeniable. So, let’s get started with our above instruction. Hope you could get more success and gain more customers. Keep following us for further useful instruction.


