6 Steps to Print a Customs Declaration Form on Shopify
In this writing, you will be shown how to print a customs declaration form on Shopify on Desktop, iPhone, and Android. Completing a customs declaration form for an order on the Fulfillment page is a must if you want to ship internationally. There are several mail types requiring you to print out the separate customs declaration forms for your shipment, and the other can contain the form in accordance with the standard shipping label:
-
In case you use Priority Express Mail International or Priority Mail International, you have to print out a separate customs declaration form apart from the shipping label and stick them outside of the package.
-
Alternatively, if you use Priority Mail Flat International flat rate envelopes, First Class Package International Service or Priority Mail International small flat rate boxes, the customs declaration is added to the shipping label.
Take note that when you purchase and print the multiple shipping labels at the same time, you can print out the customs declaration in this process. Now let’s get into the actual steps.
How to print a customs declaration form
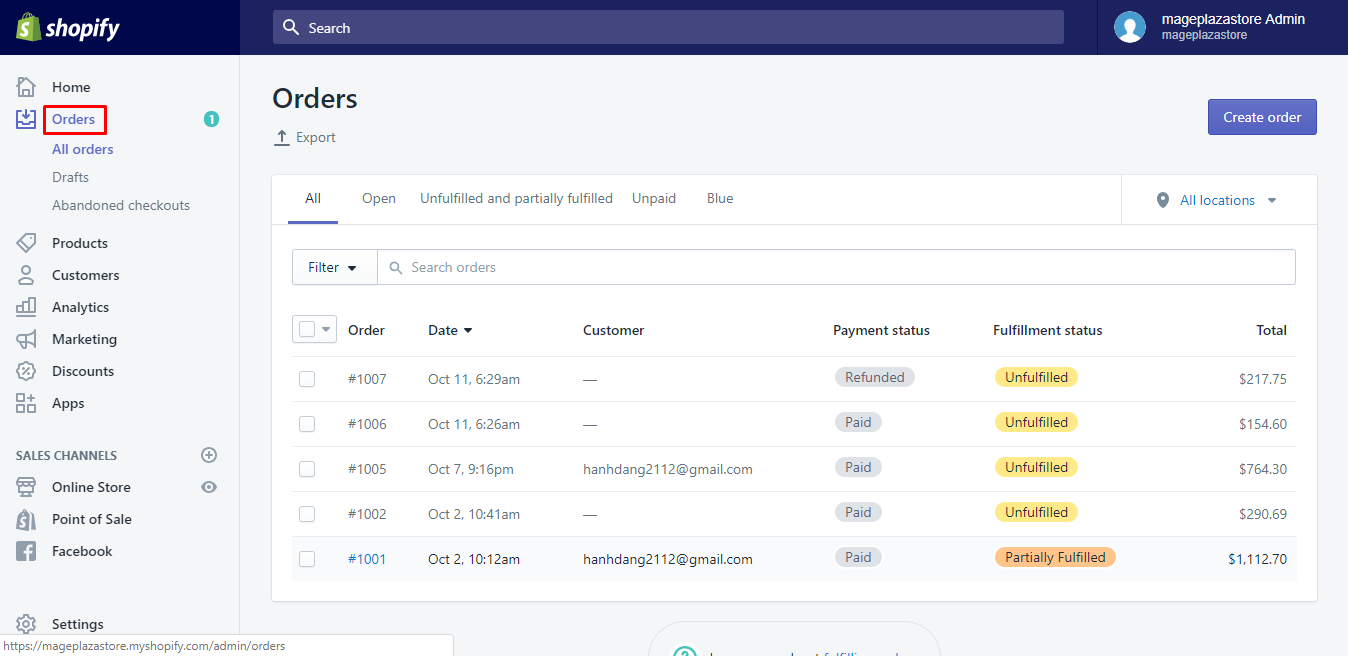
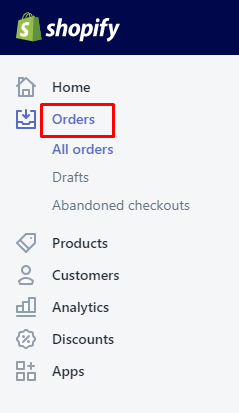
Step 1: Choose Orders.
After logging in your Shopify admin, choose Orders.

Step 2: Select international orders’ quantity.
Select the number of the international orders which need the separate customs declaration forms.
Step 3: Go to Continue.
Go to Continue next to the Buy postage and ship order from the Order details area to help open the Fulfillment page.
Step 4: Complete Customs declaration form.
Then, you need to complete a Customs declaration form.
Step 5: Select Buy shipping label.
As you are willing to buy the shipping label, select Buy shipping label.
Step 6: Print customs declaration form.
After that, a customs declaration form is printed off with your shipping label.
To print a customs declaration form on iPhone (Click here)
-
Step 1: Tap Orders. At the Shopify app, you can tap
Ordersat the bottom of the page.
-
Step 2: Choose the orders that you need its custom declaration.
-
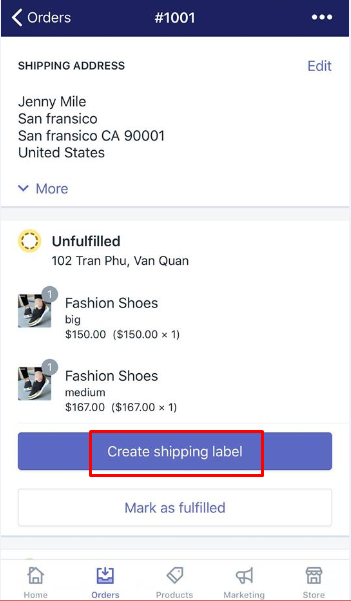
Step 3: Opt for Create shipping label. From the
Unfulfilledarea, you can opt forCreate shipping label.
-
Step 4: Touch Edit customs information. To continue, you can tap
Edit customs informationfrom theItemssection. -
Step 5: Tap Save to save your customs information form. Before clicking
Save, you need to finish the customs information forms. -
Step 6: Touch Buy shipping label. Once you are ready to buy your shipping label, then go to
Buy shipping label. -
Step 7: Touch Print shipping label. Finally, touch
Print shipping label.
To print a customs declaration form on Android (Click here)
-
Step 1: Go to Orders. You can go to
Ordersfrom your Shopify app. -
Step 2: Select the orders that need the customs declaration forms.
-
Step 3: Tap Create shipping label. At the
Unfulfilledsection, you can tapCreate shipping label. -
Step 4: Choose Edit customs information. Choose
Edit customs informationat theItemssection to keep going. -
Step 5: Choose Save. You must fill out the customs information forms and then go to
Save. -
Step 6: Tap Buy shipping label. If you are ready to buy the shipping label, then tap
Buy shipping label. -
Step 7: Tap Print shipping label. To finish your current work, you can tap
Print shipping label.
Conclusion
We hope that this article about the steps on how to print a customs declaration form is helpful for you. If you are a newcomer to this e-commerce platform, don’t forget to practice often.
Related Posts:


