How to Set a Compare at Price For a Product on Shopify
When your store has sales, you need to let customers know by setting the price compare. You can use discount codes to set the sale price for your products or do it manually by changing the price in the Pricing section of the product settings page. When you make a sale off promotion, you want your customers to see the original price then they will know that there is a discount. If you curious about this process, do not miss out this writing because I will discuss how to set a compare at price for a product on Shopify.
Related Posts:
Step 1: Choose Products
Open your admin page on Shopify and head to Products section which stays right below the Orders or the third place in the list.
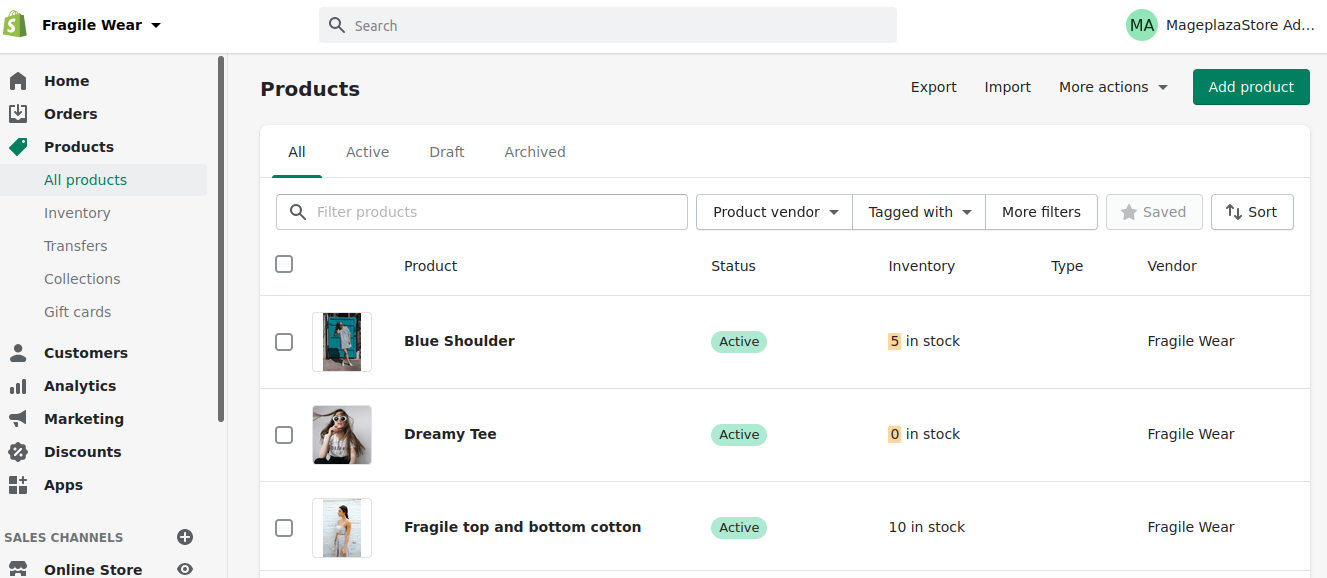
Step 2: Pick a product
There are 5 smaller categories in the Products, including All products, Transfers, Inventory, Collections and Gift cards. However, the website will automatically move to the All products part then you just have to select the item which you want to set the compare price.
Step 3: Enter the Compare at price
In the detail page of the product, you can see there are other settings, therefore, scroll down until you find the Pricing section. Under this part, fill in the space Compare at price.
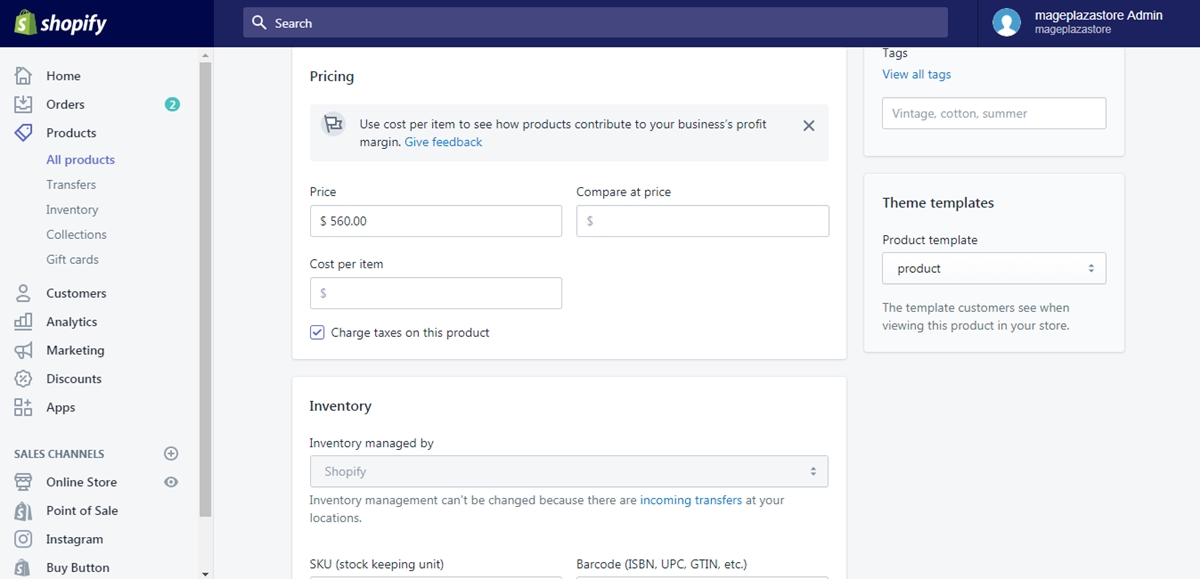
Step 4: Set the Price
After adding the compare price, you can set the new price in the Price box. Be noted that you need to enter your original price in the Compare at price and the sale one in Price.

Step 5: Click Save
Once you changed anything in Shopify, the system will remind you to save your adjustment that you need to remember to select Save to end the process.
To set a compare at price for a product on iPhone (Click here)
- Step 1: Go to Products
Sign in your account on Shopify app and select Products which has a symbol of something like a tag price.
- Step 2: Choose a product
Open the list of All products and decide on the one that you want to make a comparison price.
- Step 3: Fill in the Compare at price
In the settings page of your chosen product, find the Pricing section then enter the original price of the item into the Compare at price box.
- Step 4: Add the Price
You have just set the compare price that you can edit the price for sale afterward in the Price box. To let your customers know that the product is on sale, you have to set the value of Price lower than the Compare price.
- Step 5: Tap Save
If you have completed all the above steps, choose Save to finish.
To set a compare at price for a product on Android (Click here)
- Step 1: Go to Products
Get access to your Shopify account on app and tap Products which stays next to the Orders on the bottom bar.

- Step 2: Choose a product
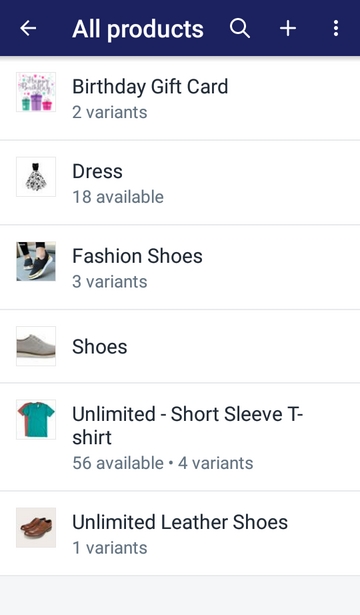
Tap on All products to show the list of all the items that you sell. Select the product that you want to edit the compare price from that list.
- Step 3: Fill in the Compare at price
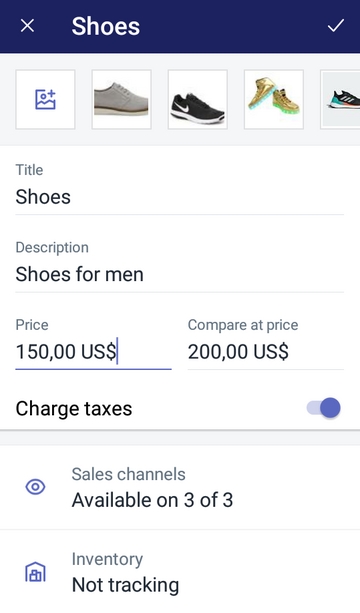
Below the Title and the Description of the product, you will see the Compare at price box then enter the price of the item in it. For example, I sold shoes at $200.00 at first and now I want to sell it at a lower price. Therefore, I have to fill in the Compare at price the value $200.00, like this picture:
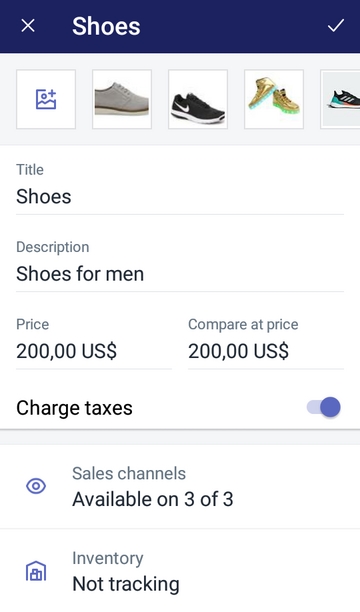
- Step 4: Add the Price
Set the new price for sale purpose in the box next to the Compare at price called Price.
- Step 5: Tap on the checkmark
If you forget or skip this step, nothing will be stored and you have to repeat the process again then remember to choose tick on the top right of the screen to save all your changes.
Conclusion
To sum up, I have introduced to you the process of how to set a compare at price for a product on Shopify. By practicing five steps which take about three minutes, you can set the sale price for your product. Therefore, you can manage the percentage you put on sale off and your customers also know how much do they save if making purchases. Hope that with such informative writing, you can have a good time reading and get some benefits from it.


