How to Display Customizations in Email Templates in Shopify
Email marketing is a powerful way to capture customers’ attention and keep them engaged with your products. However, knowing how to effectively display customizations in email templates within Shopify can be a challenge. Customizing your emails to match your brand and showcase the right information is essential for boosting engagement and driving conversions. This guide will help you understand how to display customizations in email templates on Shopify and make the most of your email marketing efforts.
Table of content:
- What display customizations in email templates is
- How to display customization in email templates in the sectioned theme
- How to display customization in email templates in the non-sectioned theme
Related Posts:
- How to Show a photo gallery on your site in Shopify
- How to insert a layout, collection and blog to a static site in Shopify
- How to use collections on your site in Shopify
What display customizations in email templates is
Displaying customizations in email templates allows you to show line item properties. When emails are sent to buyers, they would know about the number of goods left or other types of items based on customers’ buying history. The email will inform about their orders and suggest buyers shop around relevant items.
The tutorial will give you the instruction to display customization in email template for both sectioned and non-sectioned theme in the Shopify platform.
Attention: these steps below are advanced level and requires knowledge about web design languages namely HTML, CSS, JavaScript, and Liquid. Therefore, if you find it hard to follow, it is better to hire an expert to help you.
How to display customization in email templates in the sectioned theme
Step 1:
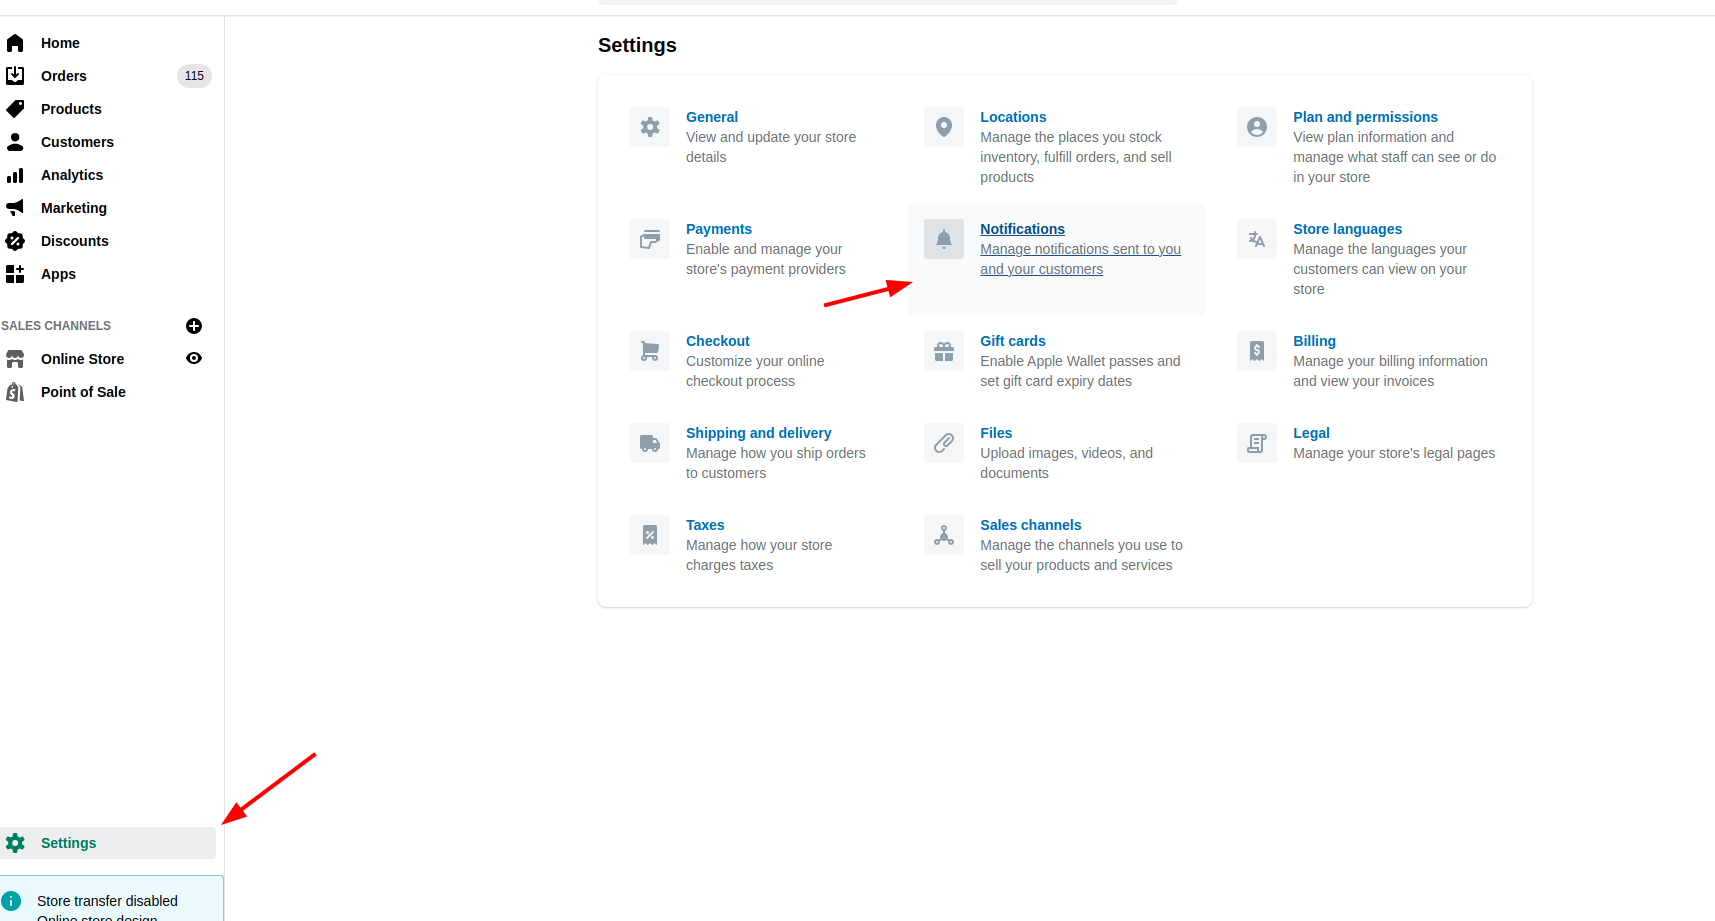
You access Shopify admin, click Settings and go to Notifications.

Step 2:
Click the name of the notifications that you want to add the line.
Step 3:
Look for the code like:
{{ line.title }}
And replace it with the code:
{{ line.title }}{% for p in line.properties %}{% unless p.last == blank %} - {{ p.first }}: {{ p.last }}{% endunless %}{% endfor %}
Step 4:
Click Save and you displace customization in email templates.
Do these step again if you want to change and include the line item properties.
How to display customization in email templates in the non-sectioned theme
Basically, the non-sectioned theme is used on both the desktop and iPhone/ Android platform. As a result, steps to customize the information in email templates remain the same as that for sectioned themes.
Remember: if you encounter any difficulties, you should hire an expert to fulfill the task for you. By that way, you can save a lot of time and quickly launch the email marketing campaign.
Conclusion
Now that you understand how to display customizations in email templates in both sectioned and non-sectioned themes, you can enhance your email marketing campaigns on Shopify. Customizing email templates is a valuable way to keep customers informed and engaged. By optimizing your email templates, you’ll be better equipped to drive engagement and boost conversions.


