How to manage if Liquid loops over the content in Shopify
Liquid is known as a safe, flexible language, used in various types of environments. It was created for Shopify stores and Jekyll websites using. There are three popular versions of Liquid, which includes Liquid, Jekyll Liquid, Shopify Liquid.
The latest version of Liquid is always in use in Shopify, but there are also a remarkable number of tags, objects, and filters included. These contain a huge amount of information about customer, store, product, and also filters for displaying store data and manipulating storefront assets such as product photos.
However, to help you deeply understand the way Liquid loops over your content and have an overlook at all the available options to us when we loop over arrays, this instructional writing on how to manage if Liquid loops over the content will be a great help for your site.
How to manage if Liquid loops over the content
- Option 1: Cycle
- Option 2: Index
- Option 3: First and last
- Option 4: Rindex
- Option 5: Length
- Option 6: Continue
- Option 7: Break
- Option 8: Reversed
- Option 9: Limit and offset
- Option 10: Else
Option 1: Cycle
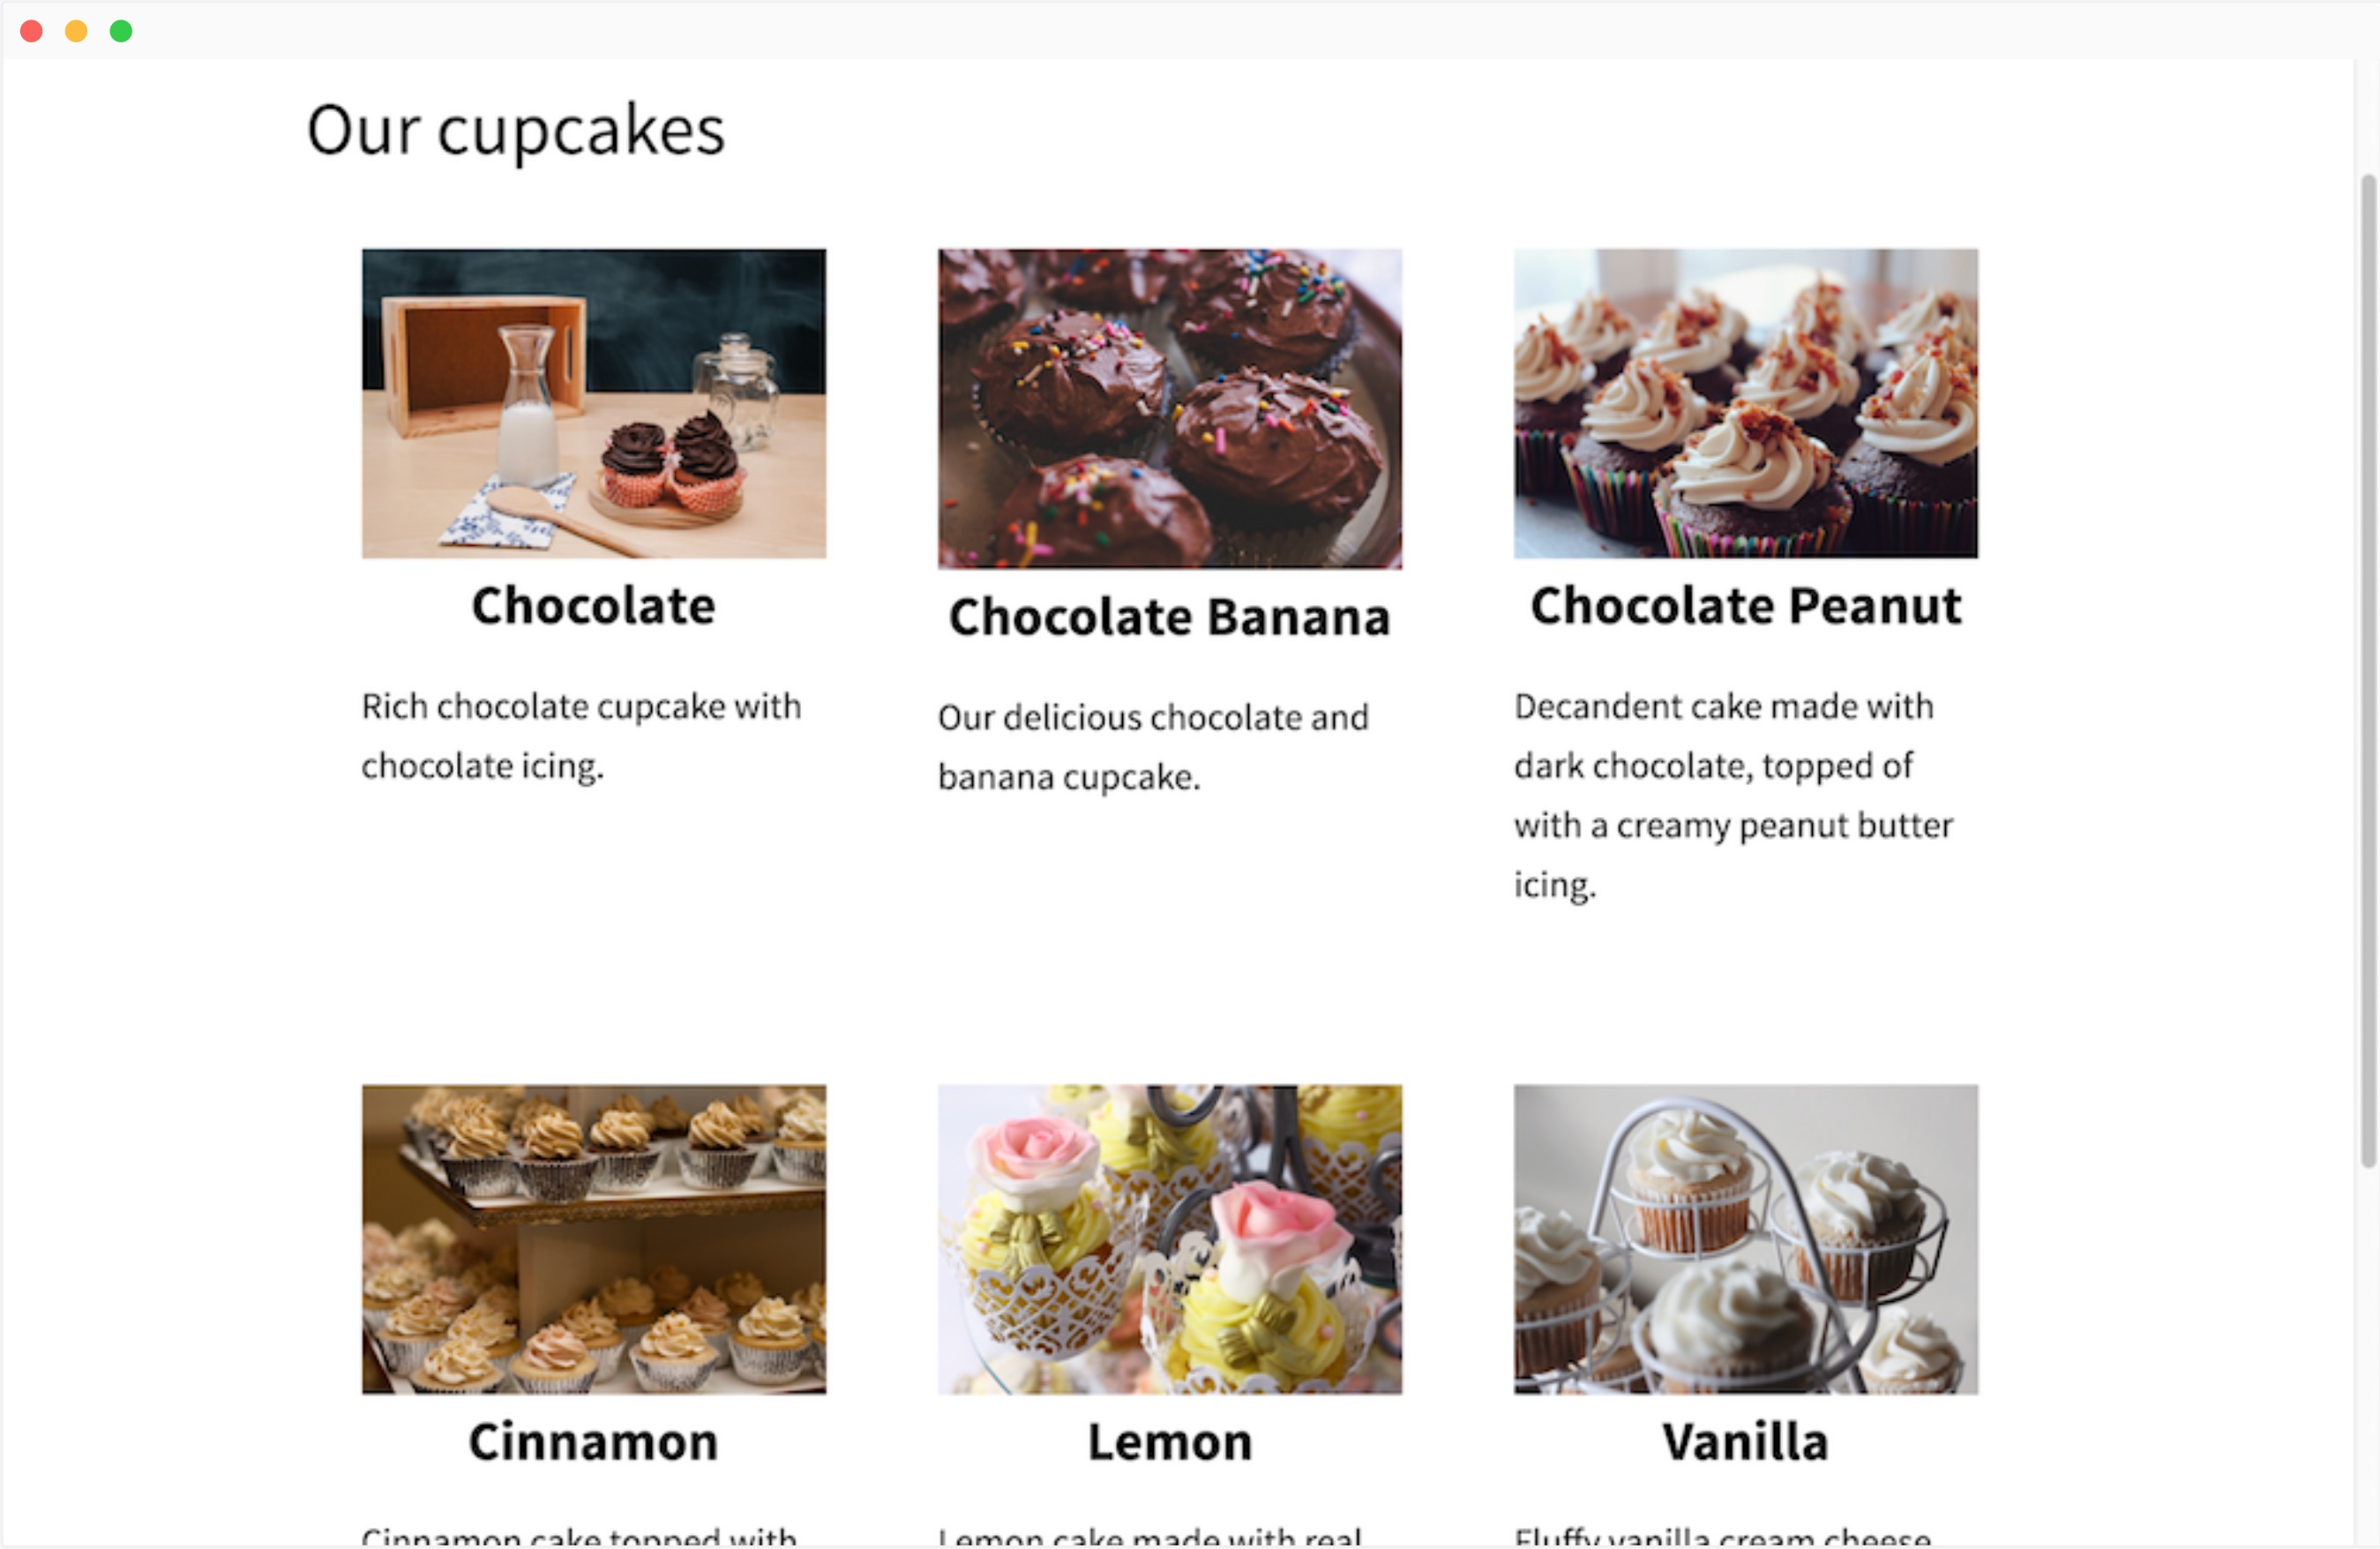
Please note that in this instruction we will take our demo Bakery Store site as an example.
We have cupcake.html listing all the cupcakes we need:
---
layout: page
title: Muffins
---
<h1>Our cupcakes</h1>

<div class="cupcakes">
  {% for cupcake in site.cupcakes %}
    <div class="cupcake">
      <div class="image">
        <img src="{{ cupcake.image_path }}" alt="{{ cupcake.type }}" />
      </div>
      <h2>{{ cupcake.type }}</h2>
      <p>{{ cupcake.description }}</p>
    </div>
  {% endfor %}
</div>
Option 2: Index
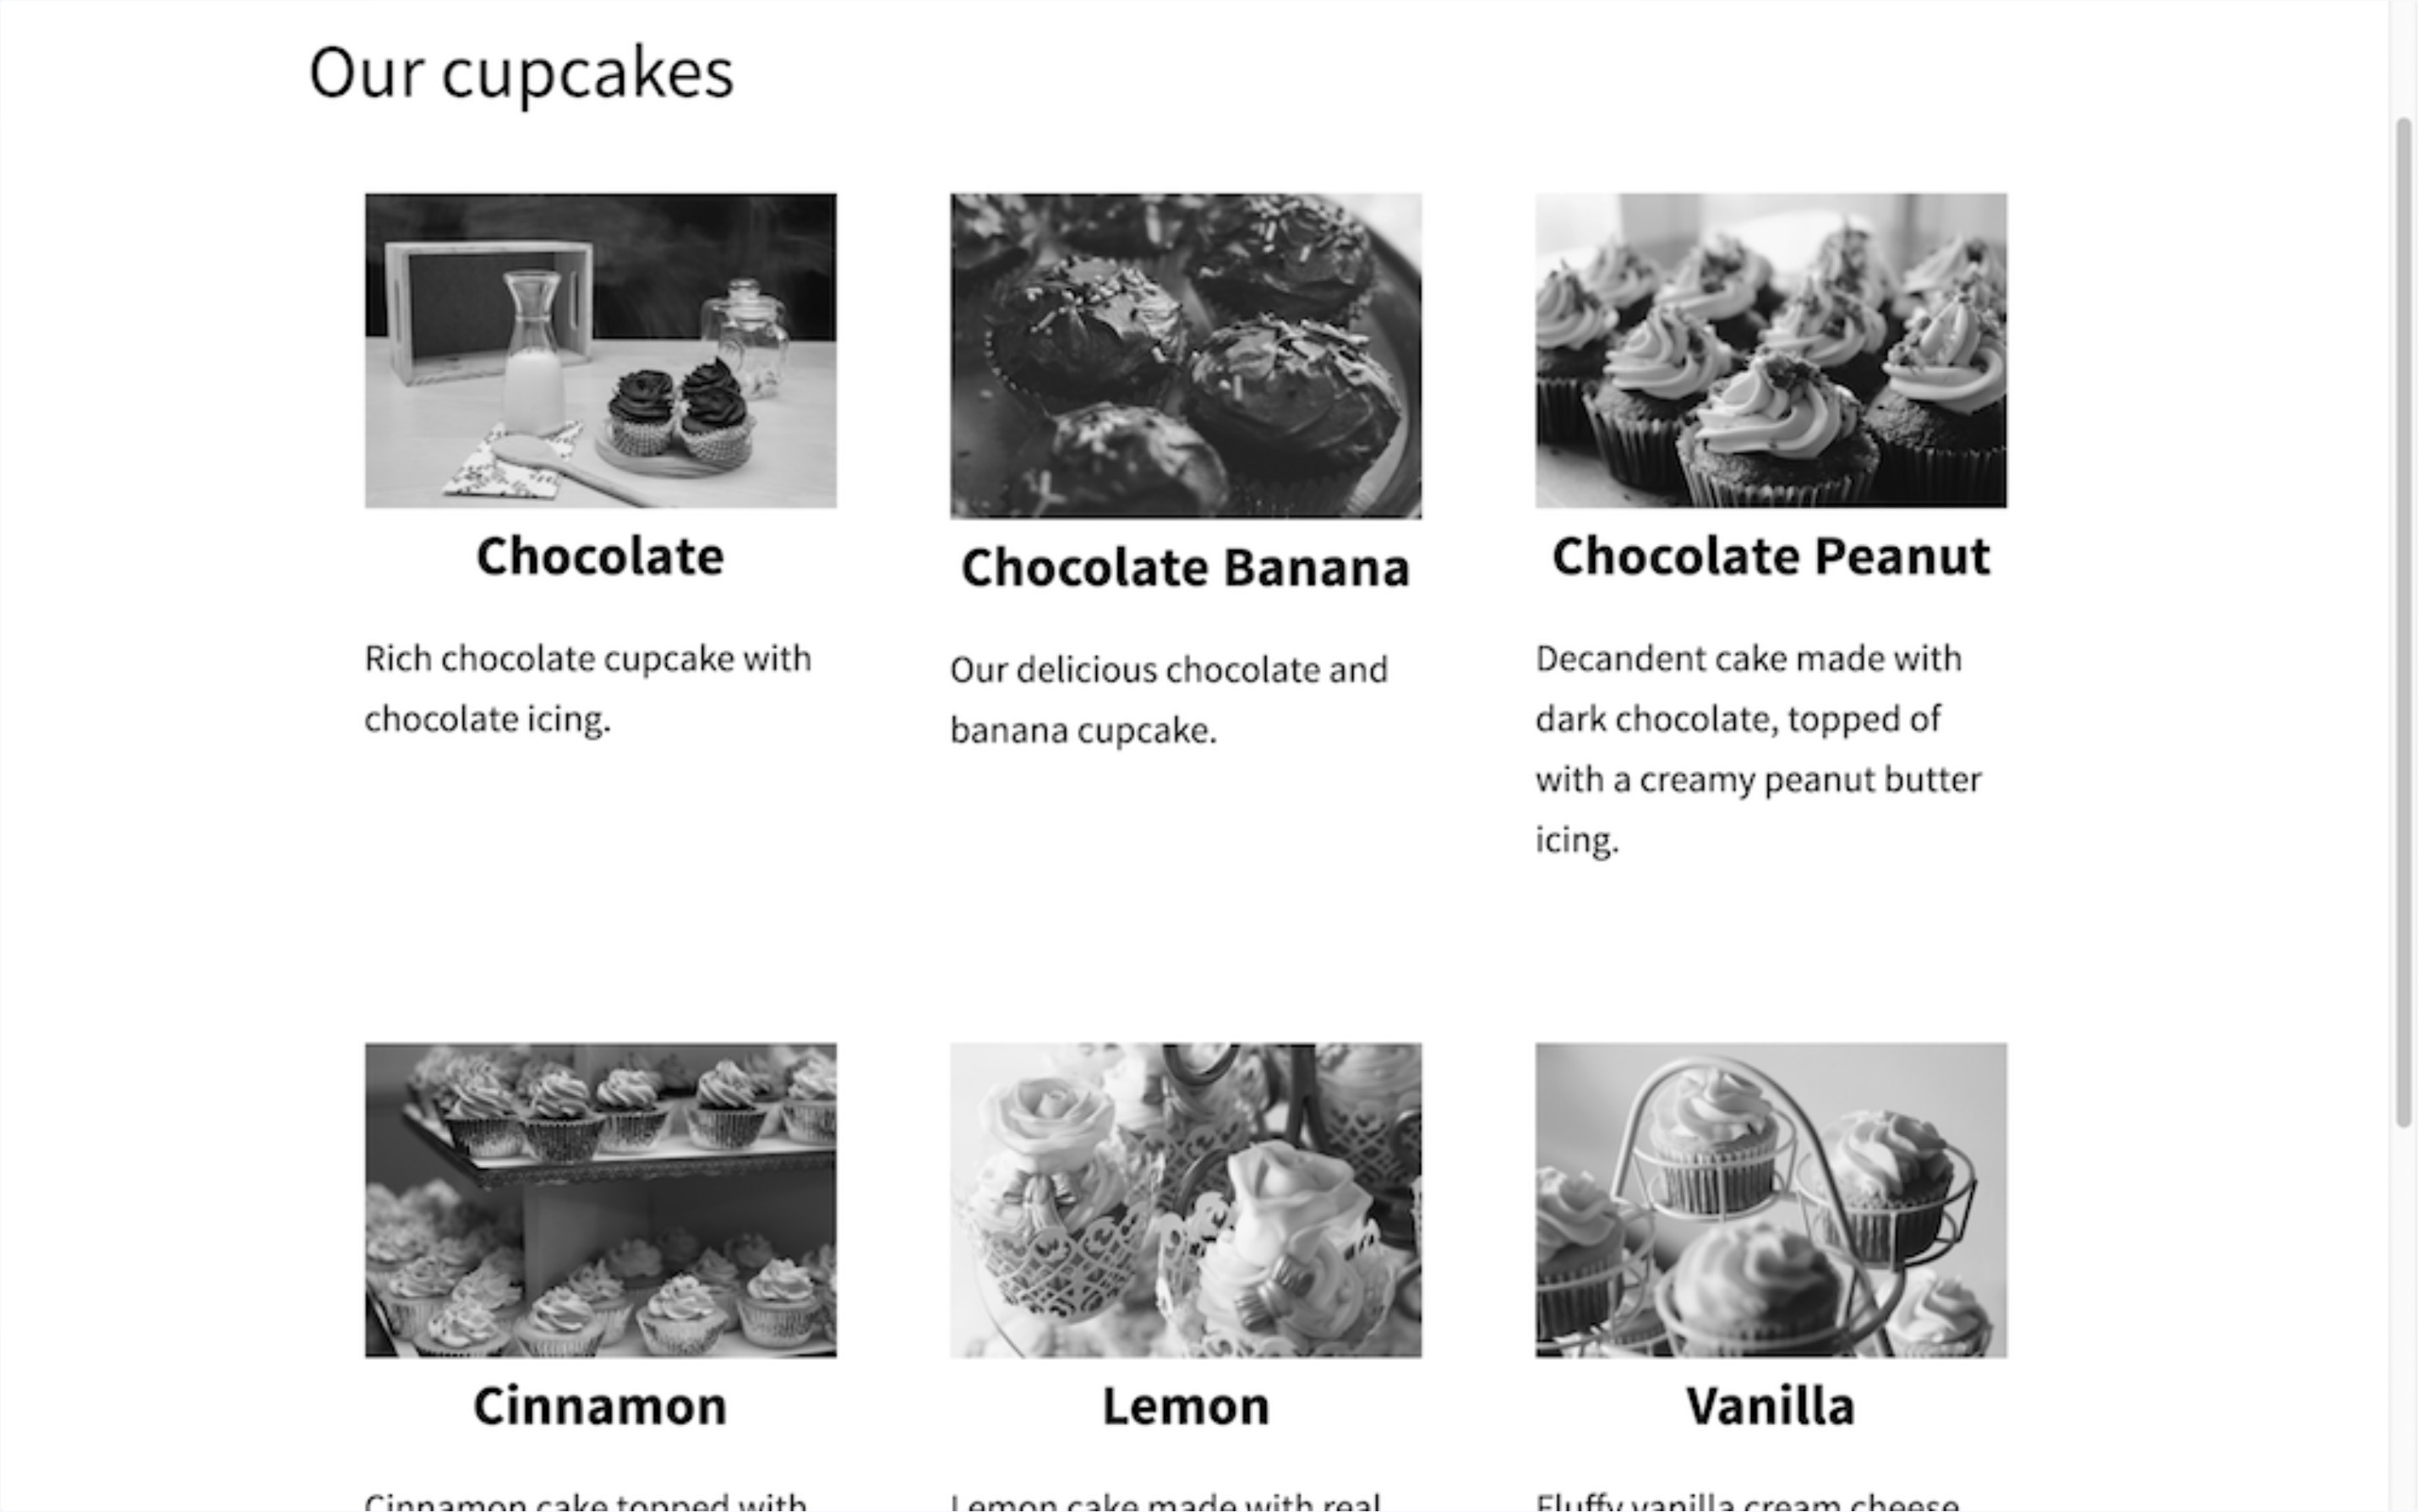
To begin, we will turn all the images into black and white by adding an image filter in CSS:
...
<img src="{{ cupcake.image_path }}" alt="{{ cupcake.type }}" style="-webkit-filter: grayscale(100%)" />
...
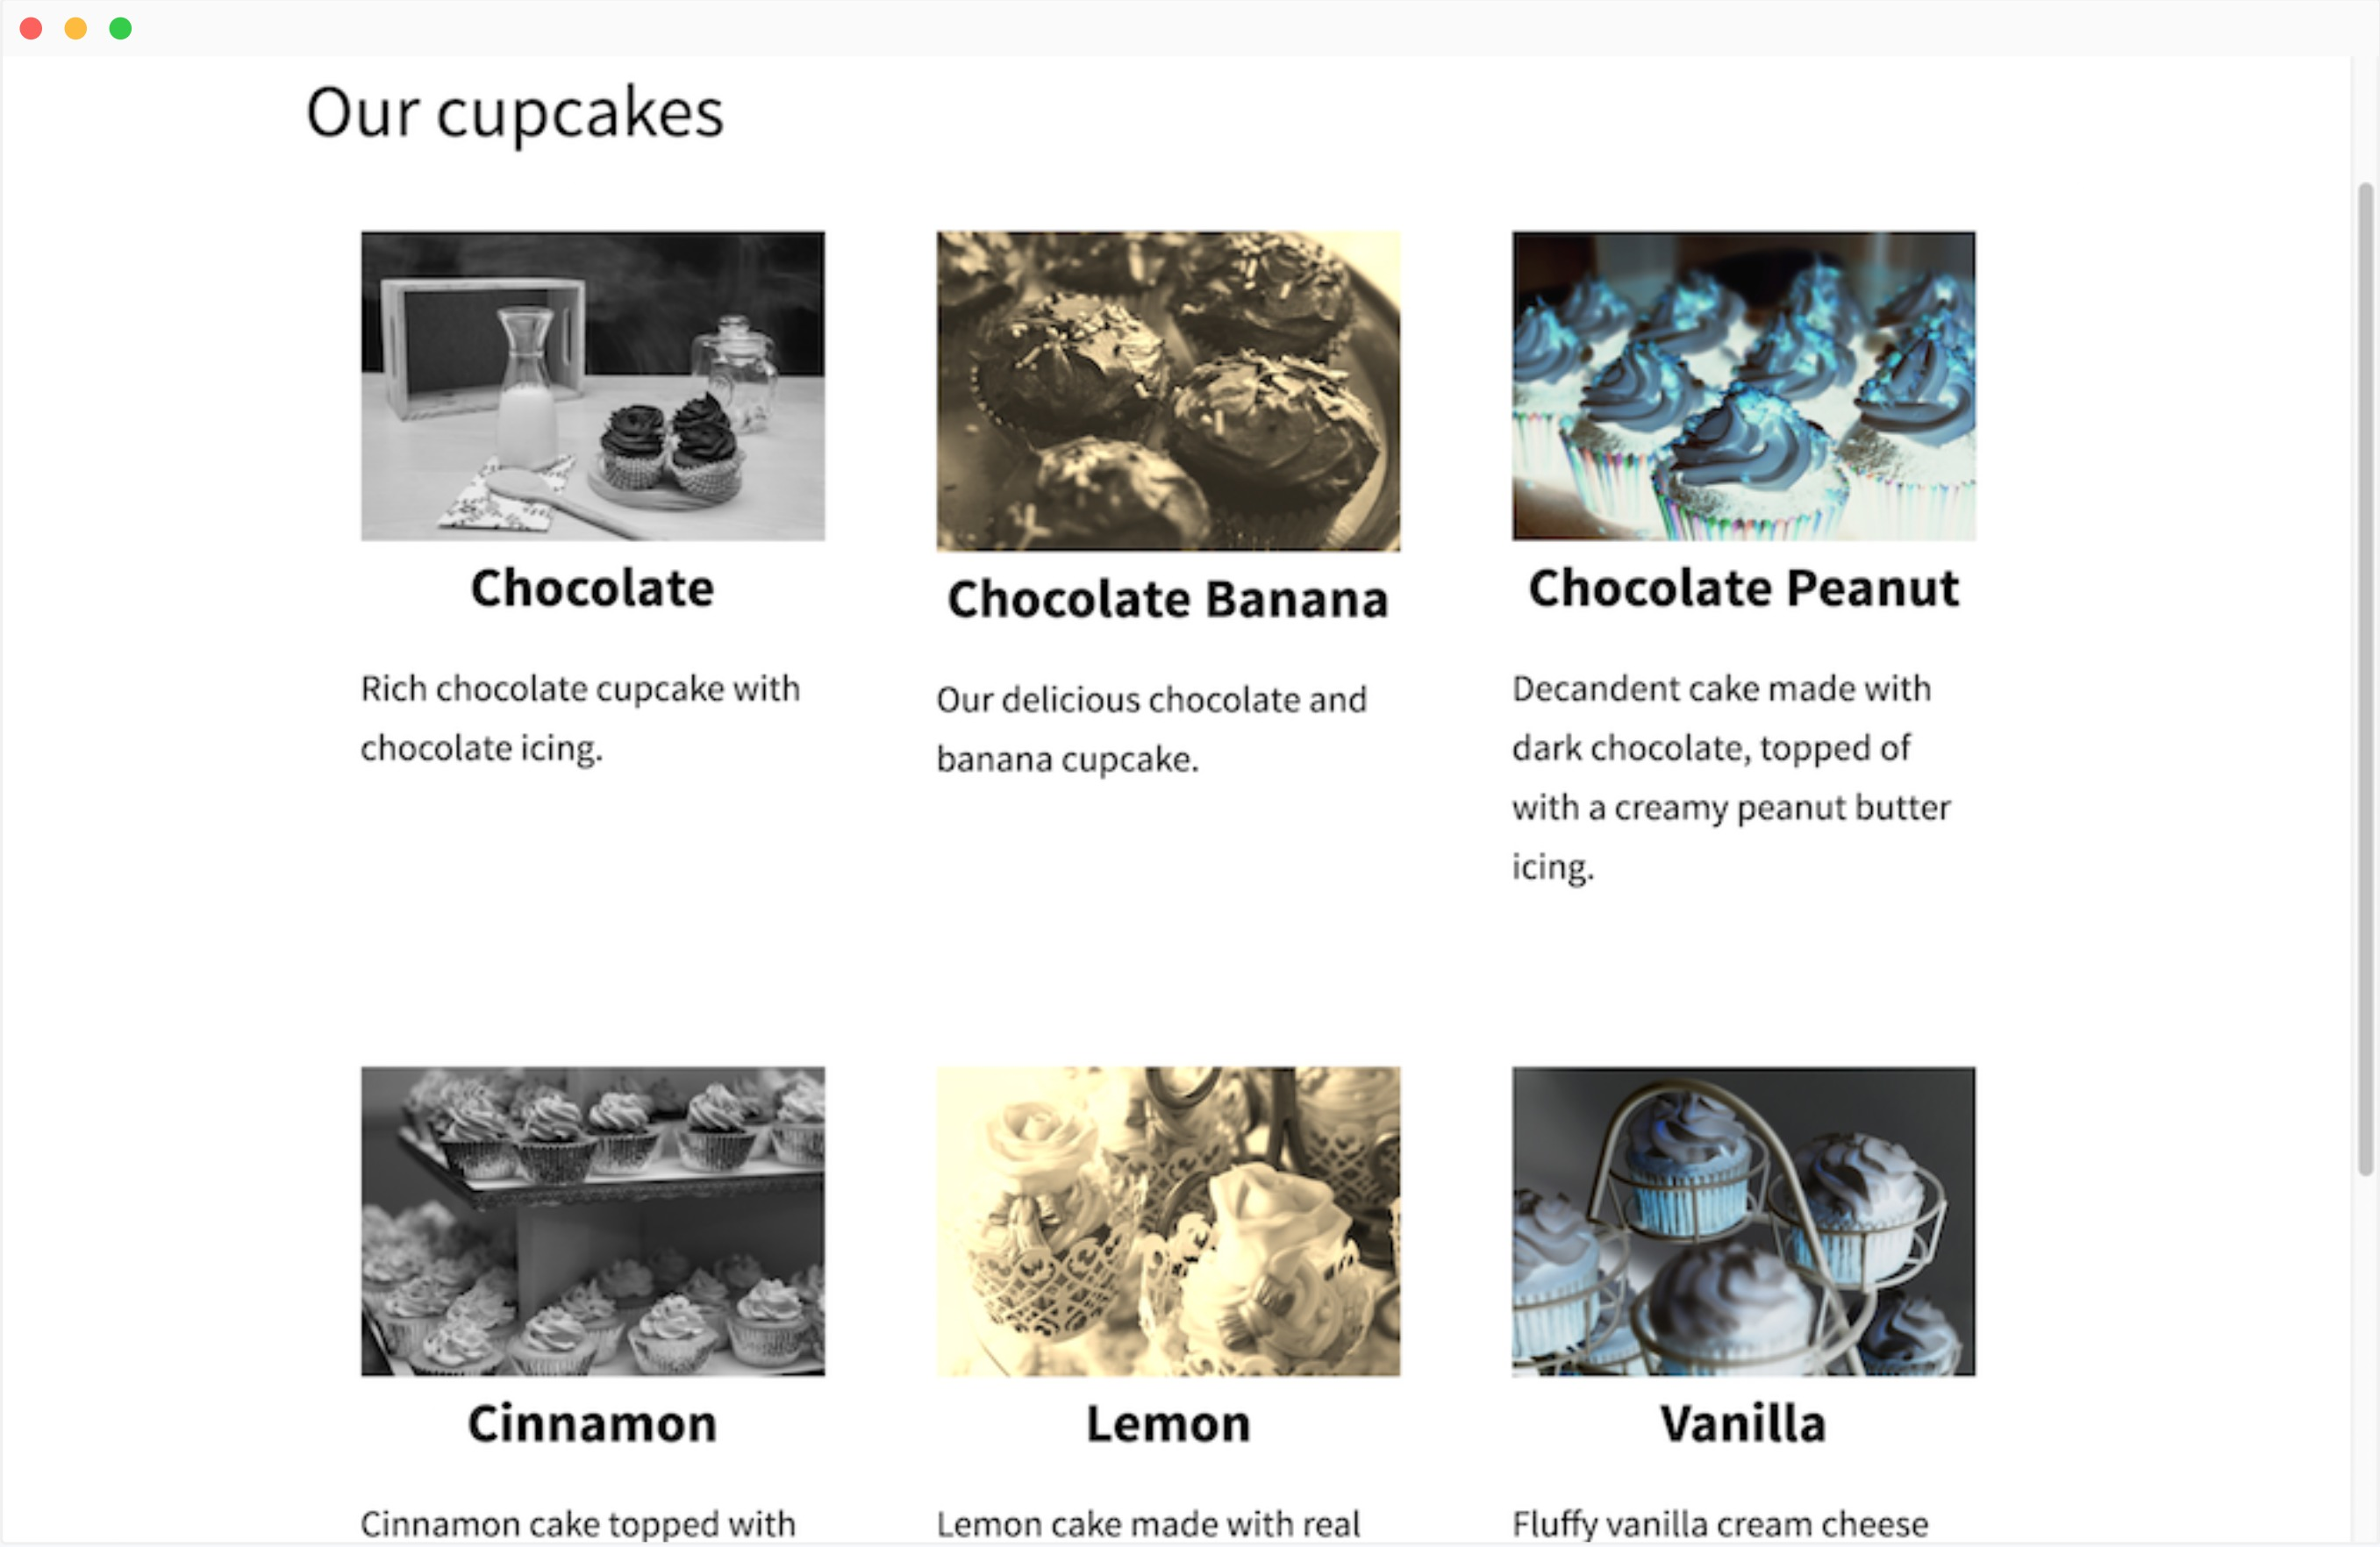
Now please change the filter for every each of those images. More into details, we will keep the first one staying black and white, the second sepia, inverted for the third and then, cycle through those options for the rest of the pictures. To make cycle enabled, please use this code given below:
...
<img src="{{ cupcake.image_path }}" alt="{{ cupcake.type }}" style="-webkit-filter: {% cycle "grayscale", "sepia", "invert" %}(100%)" />
...
The result must be like this:
Option 3: First and last
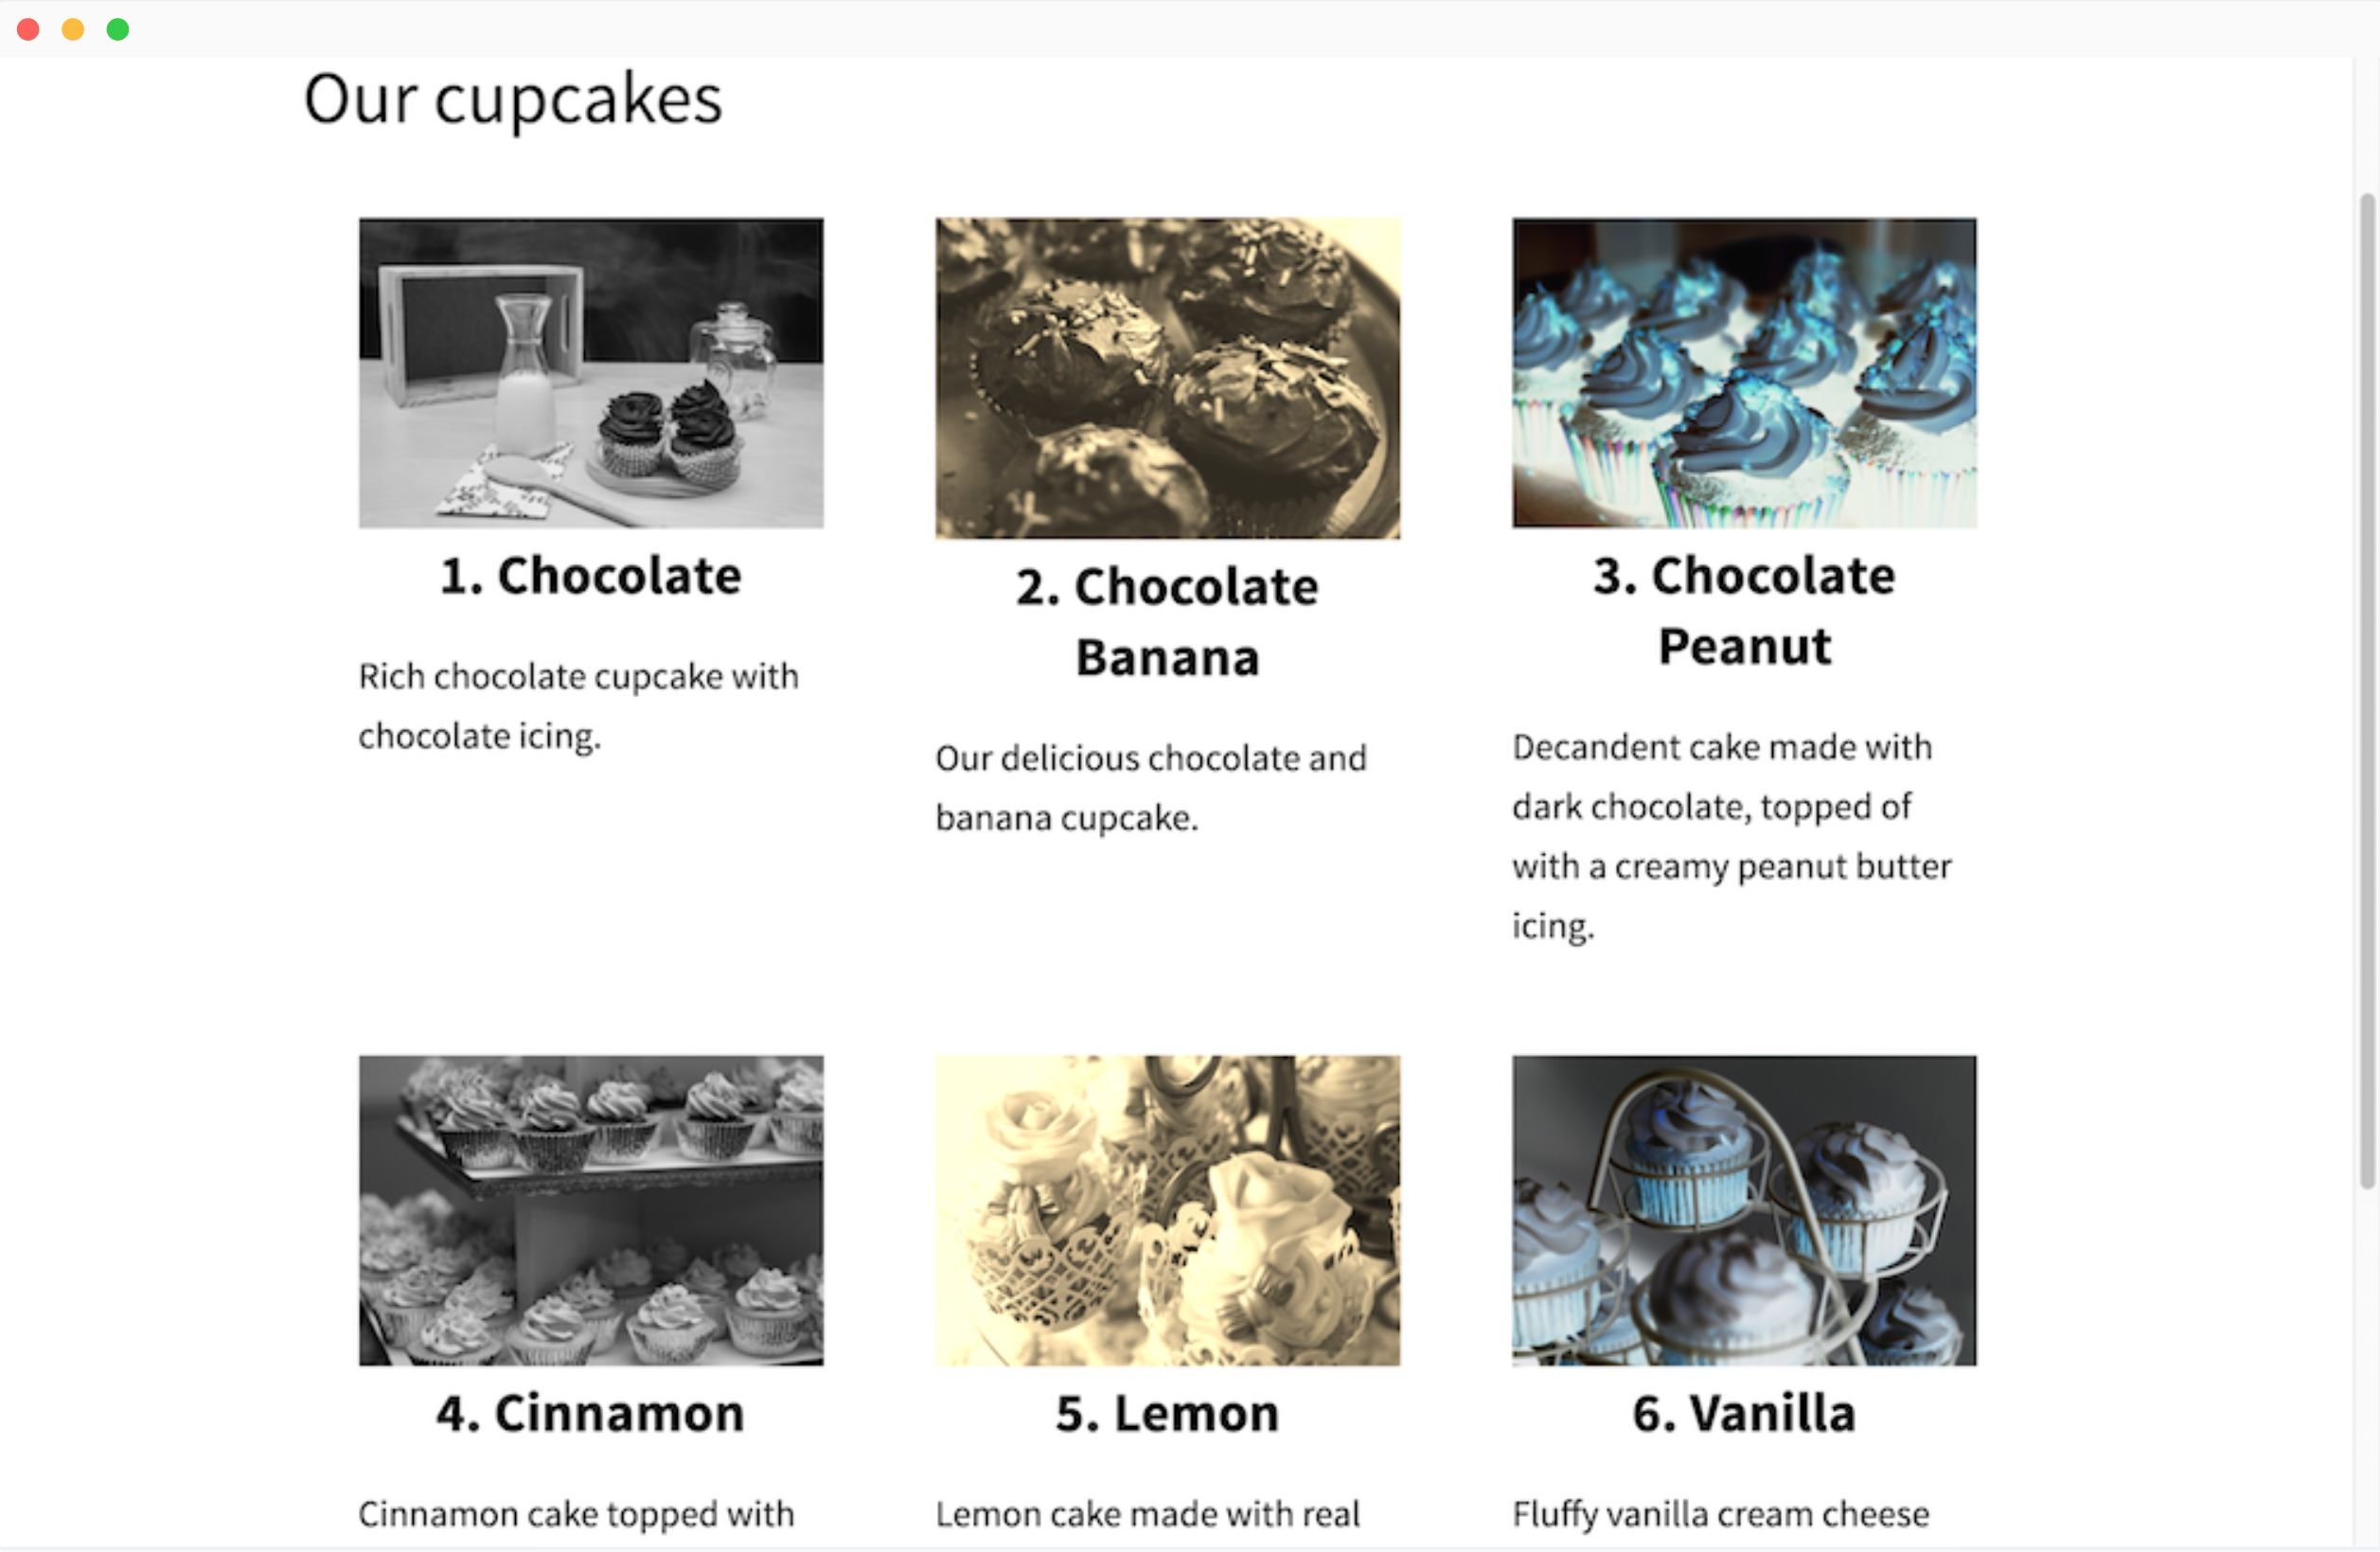
You are also able to number the cupcakes. The current iteration of the loop can be easily accessed by using forloop.index:
...
<h2>{{ forloop.index }}. {{ cupcake.type }}</h2>
...
This is the result:
Option 4: Rindex
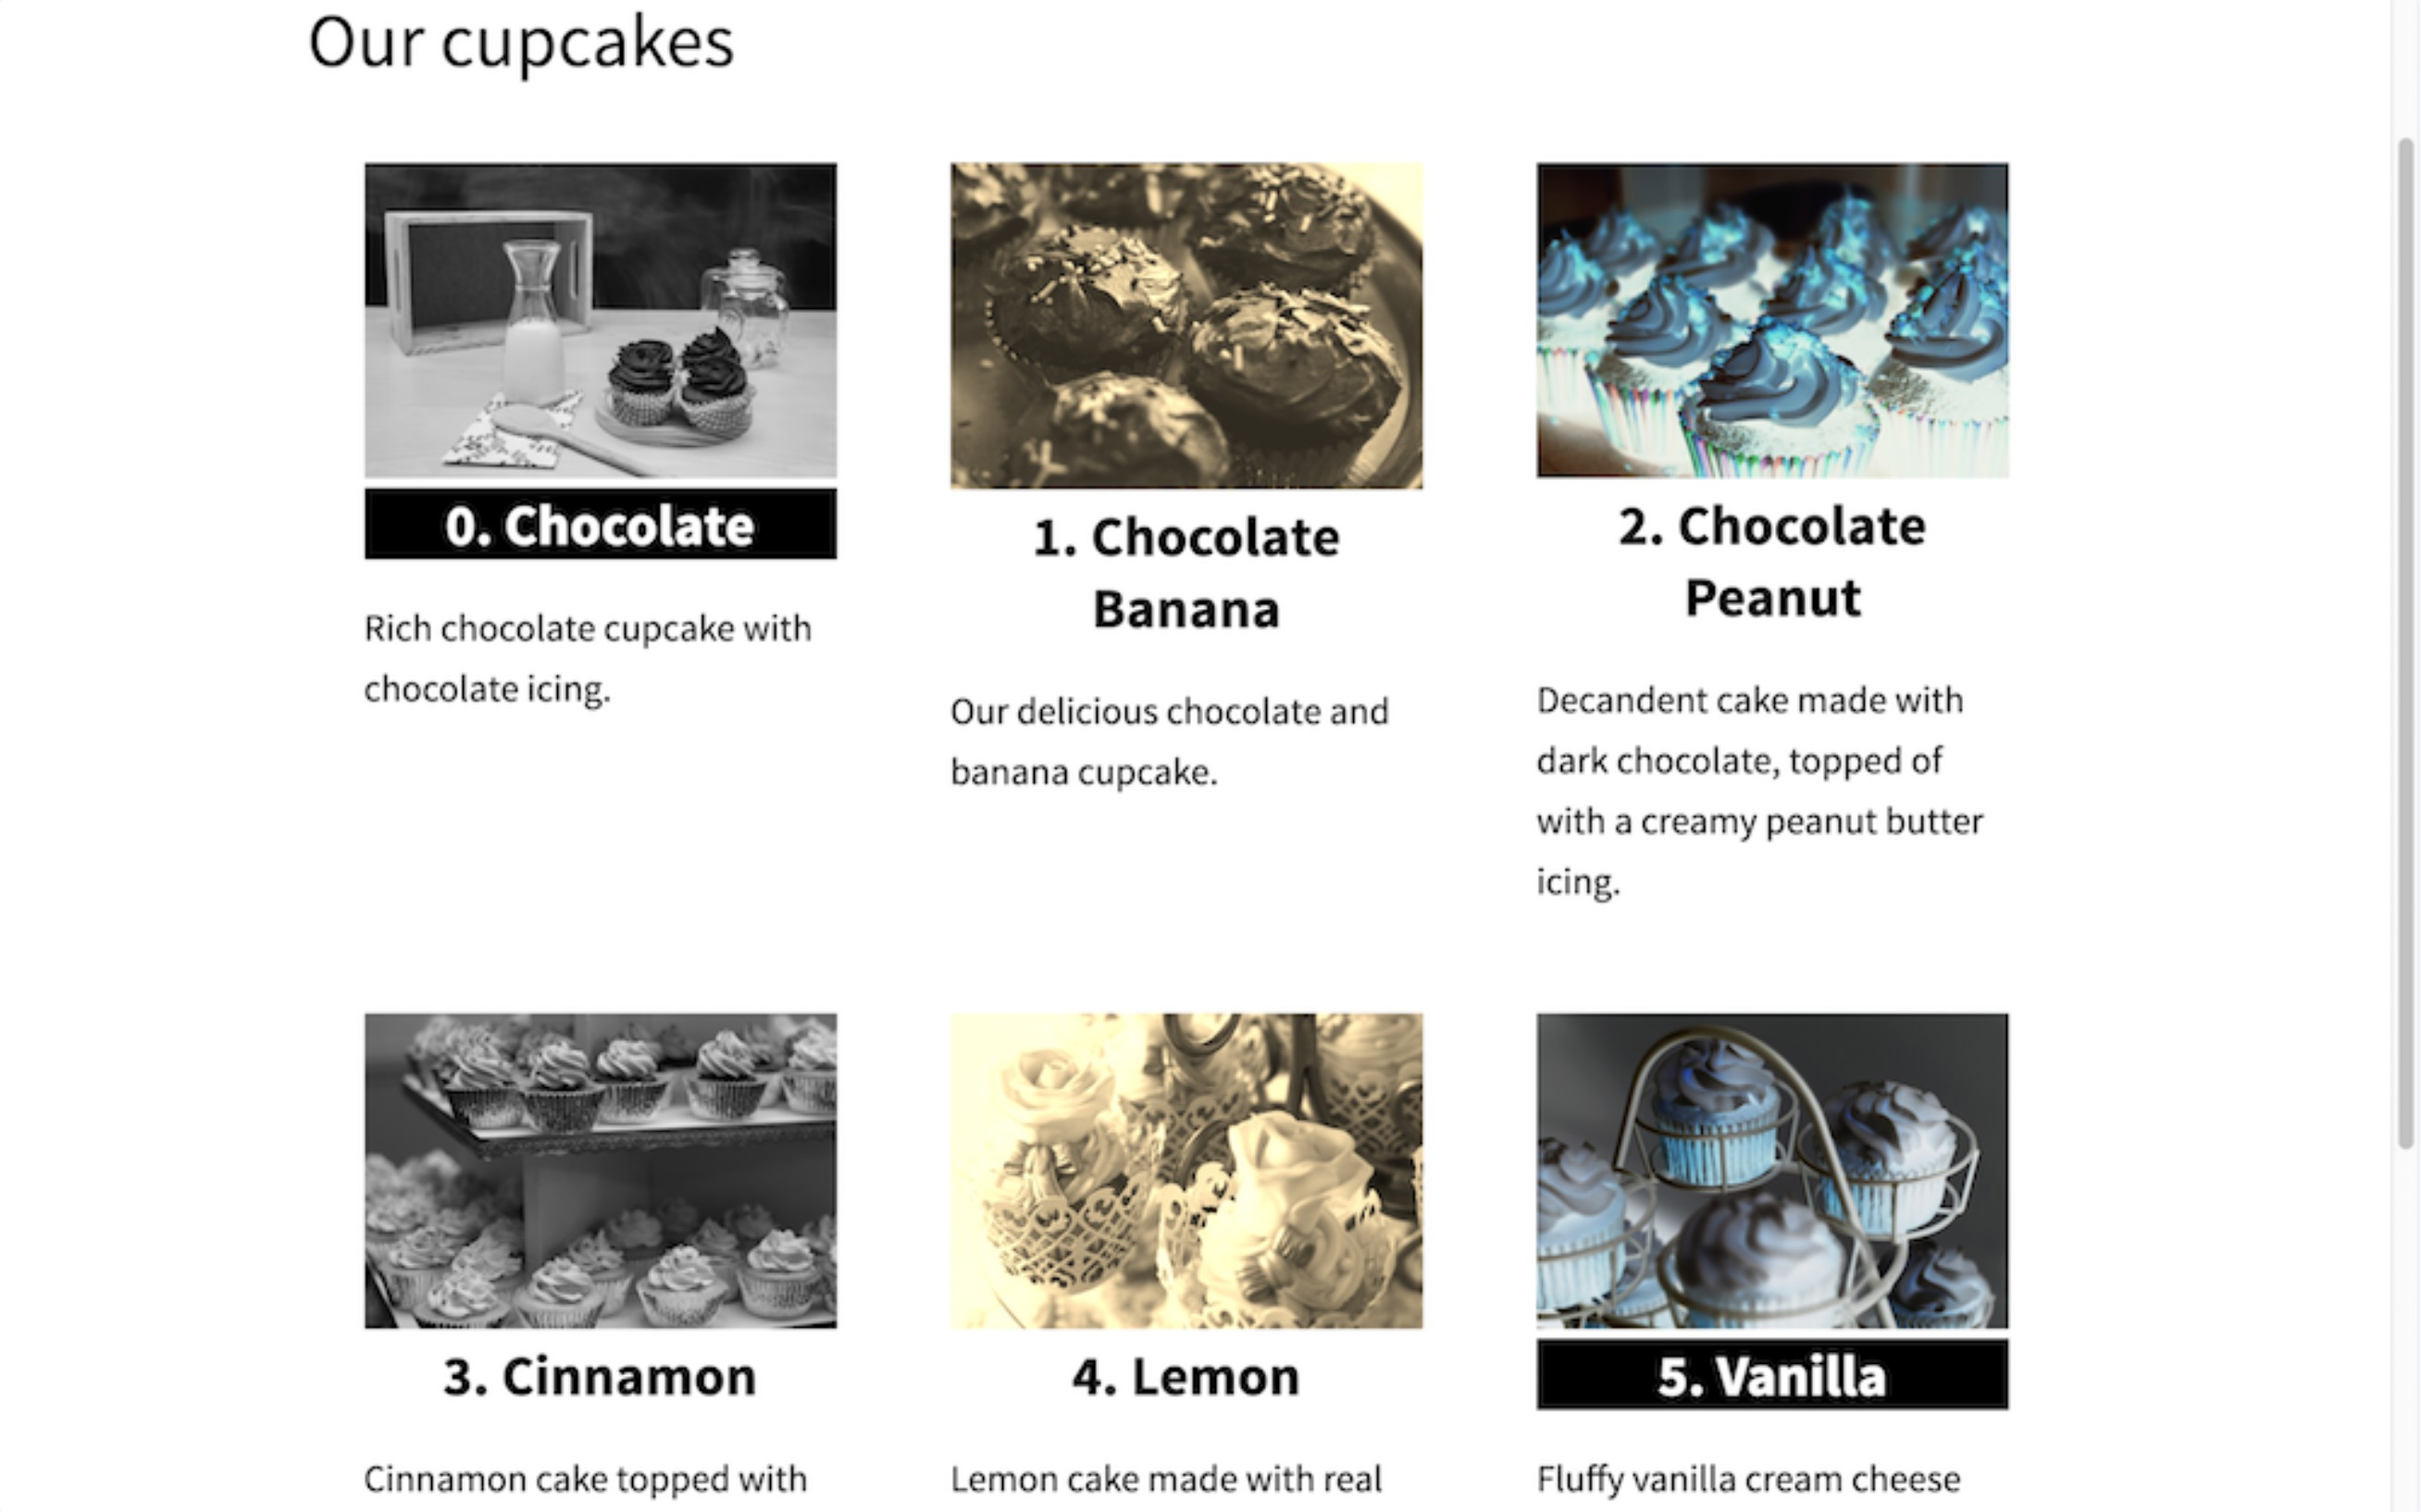
Titles of the first and the last cupcakes can also be changed into white while their backgrounds turn into black. To make this job done, we can use forloop.first and forloop.last:
...
<h2
{% if forloop.first or forloop.last %}
  style="background: black; color: white;"
{% endif %}
>{{ forloop.index0 }}. {{ cupcake.type }}</h2>
...
Let’s see how it works:
Option 5: Length
Let’s make the total number of your available cupcakes visible when you move your mouse to its heading on the cupcake page. You can use site.cupcakes.size to get the size from the collection or from the forloop if you use forloop.length:
...
<h2
{% if forloop.rindex <= 3 %}
  style="background: black; color: white;"
{% endif %}

title="{{ forloop.length }} cupcakes"
>{{ forloop.index0 }}. {{ cupcake.type }}</h2>
...
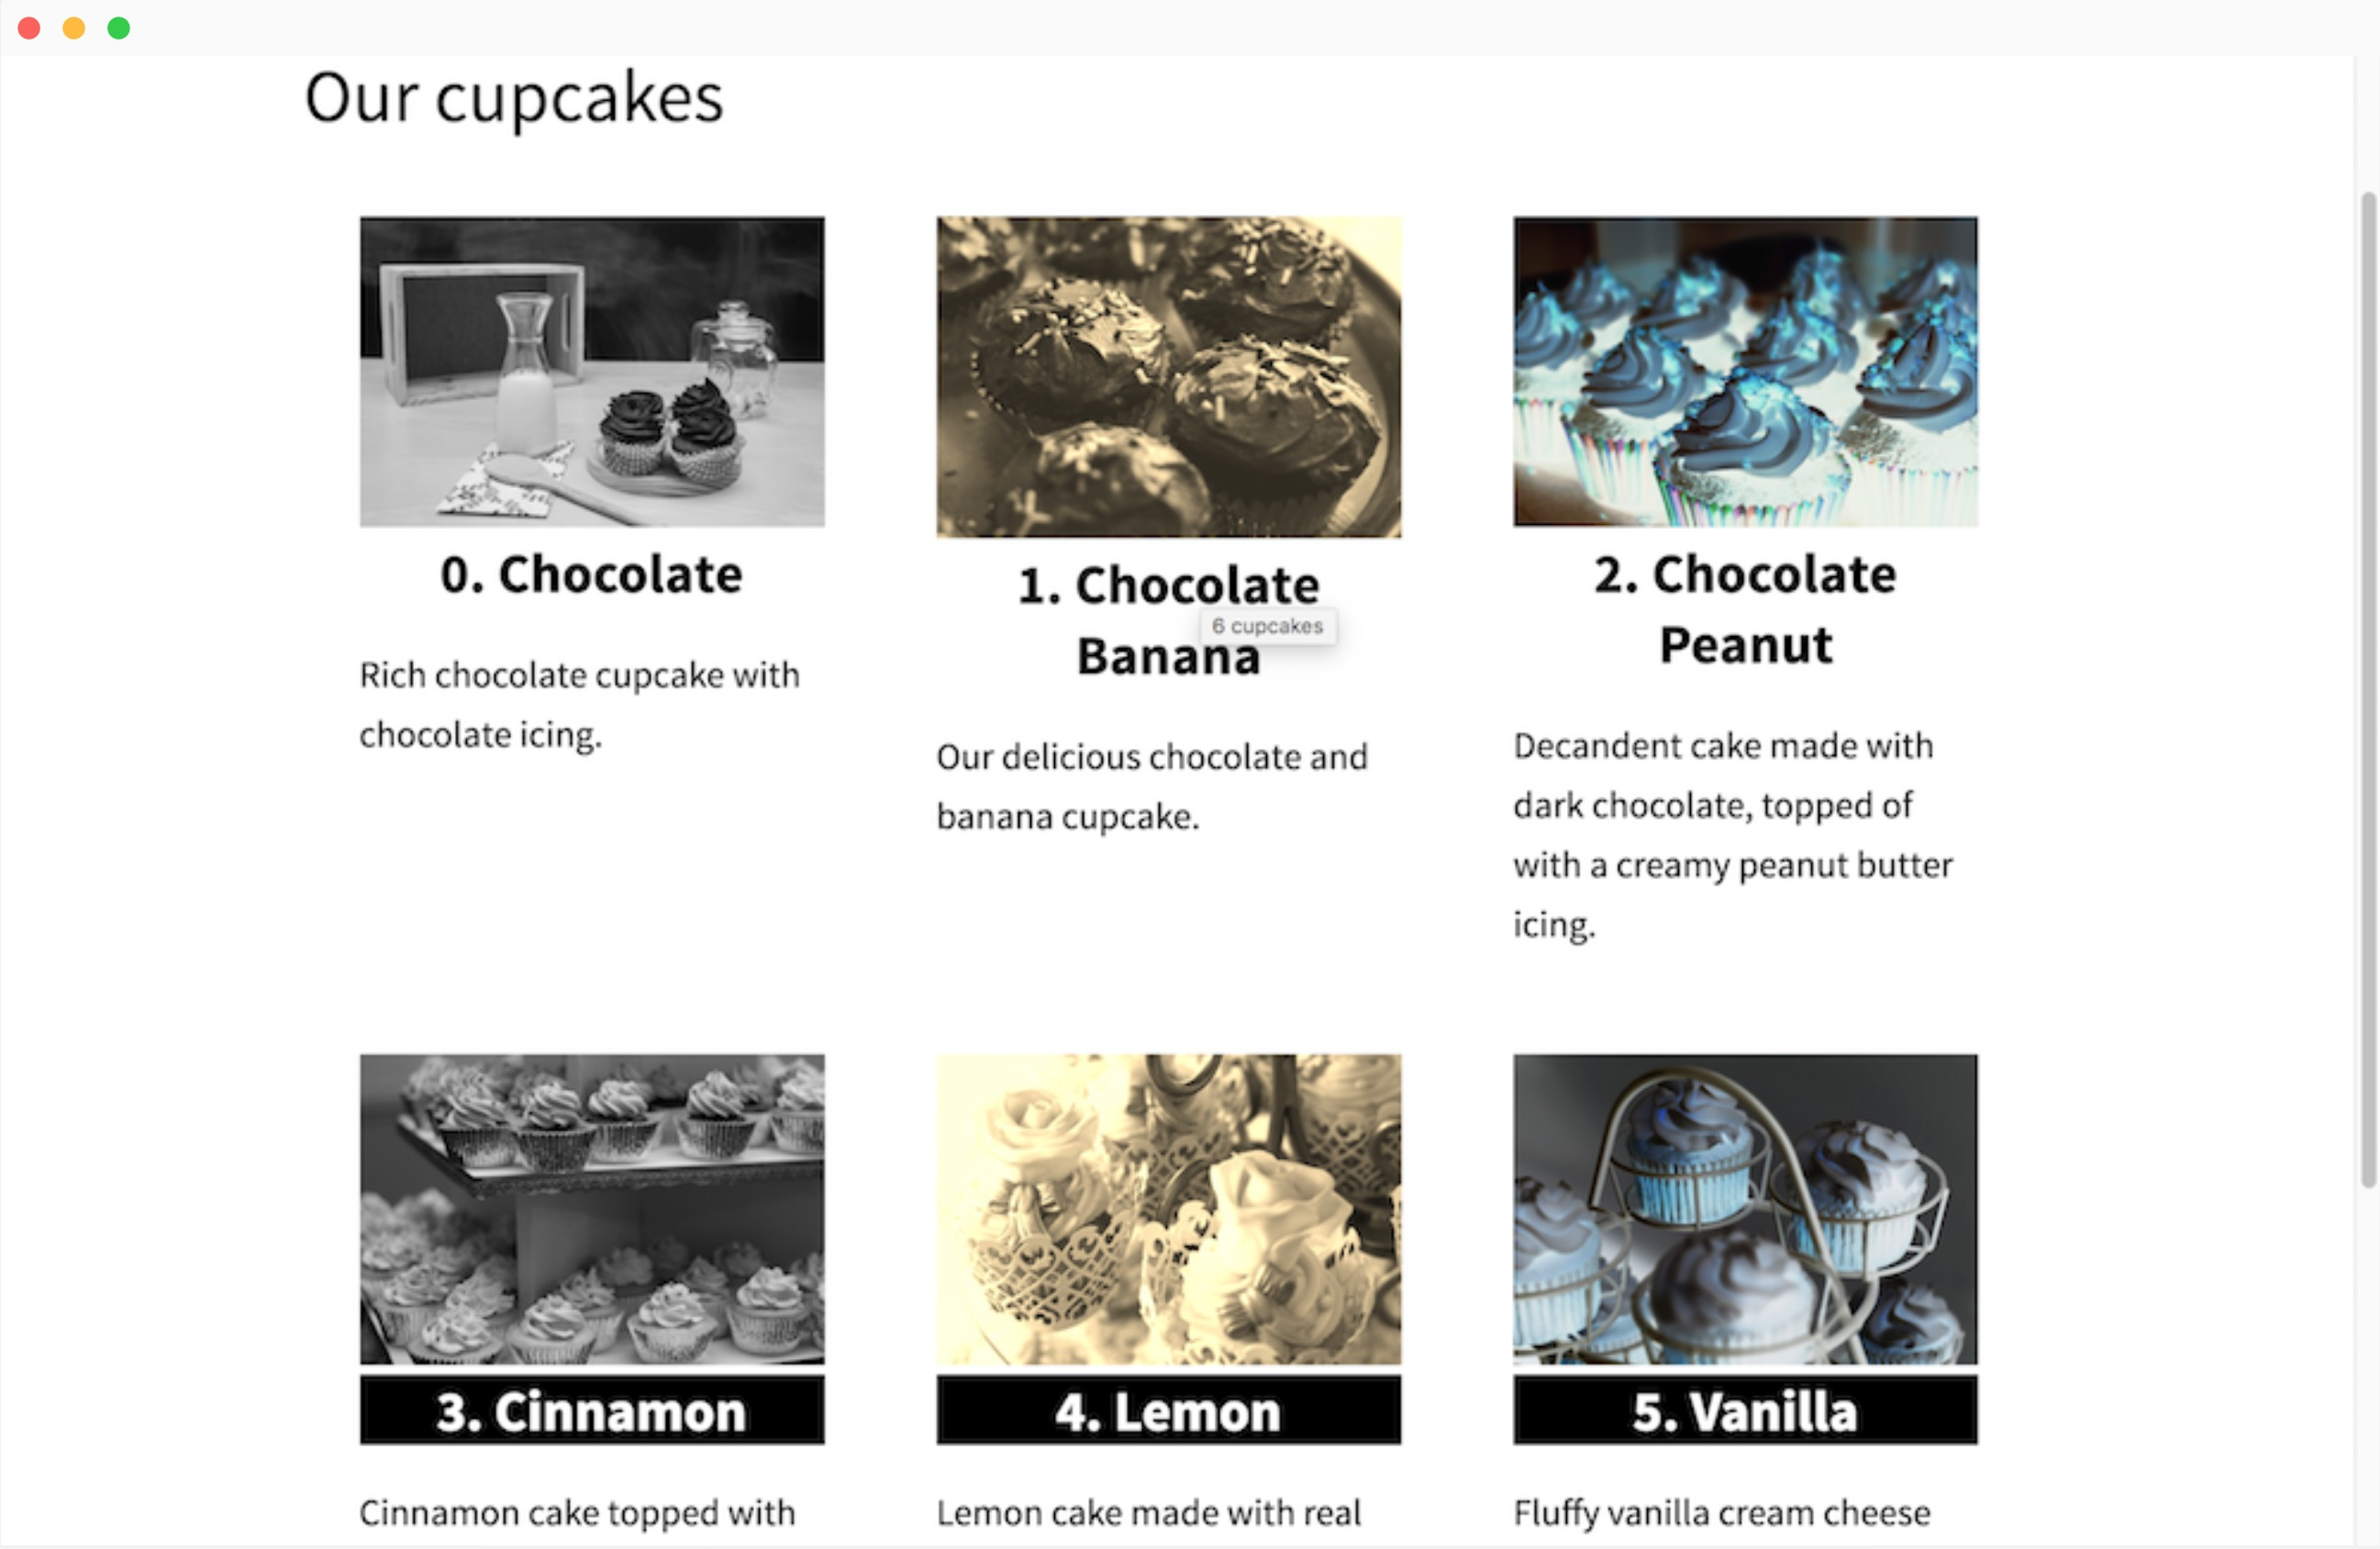
Option 6: Continue
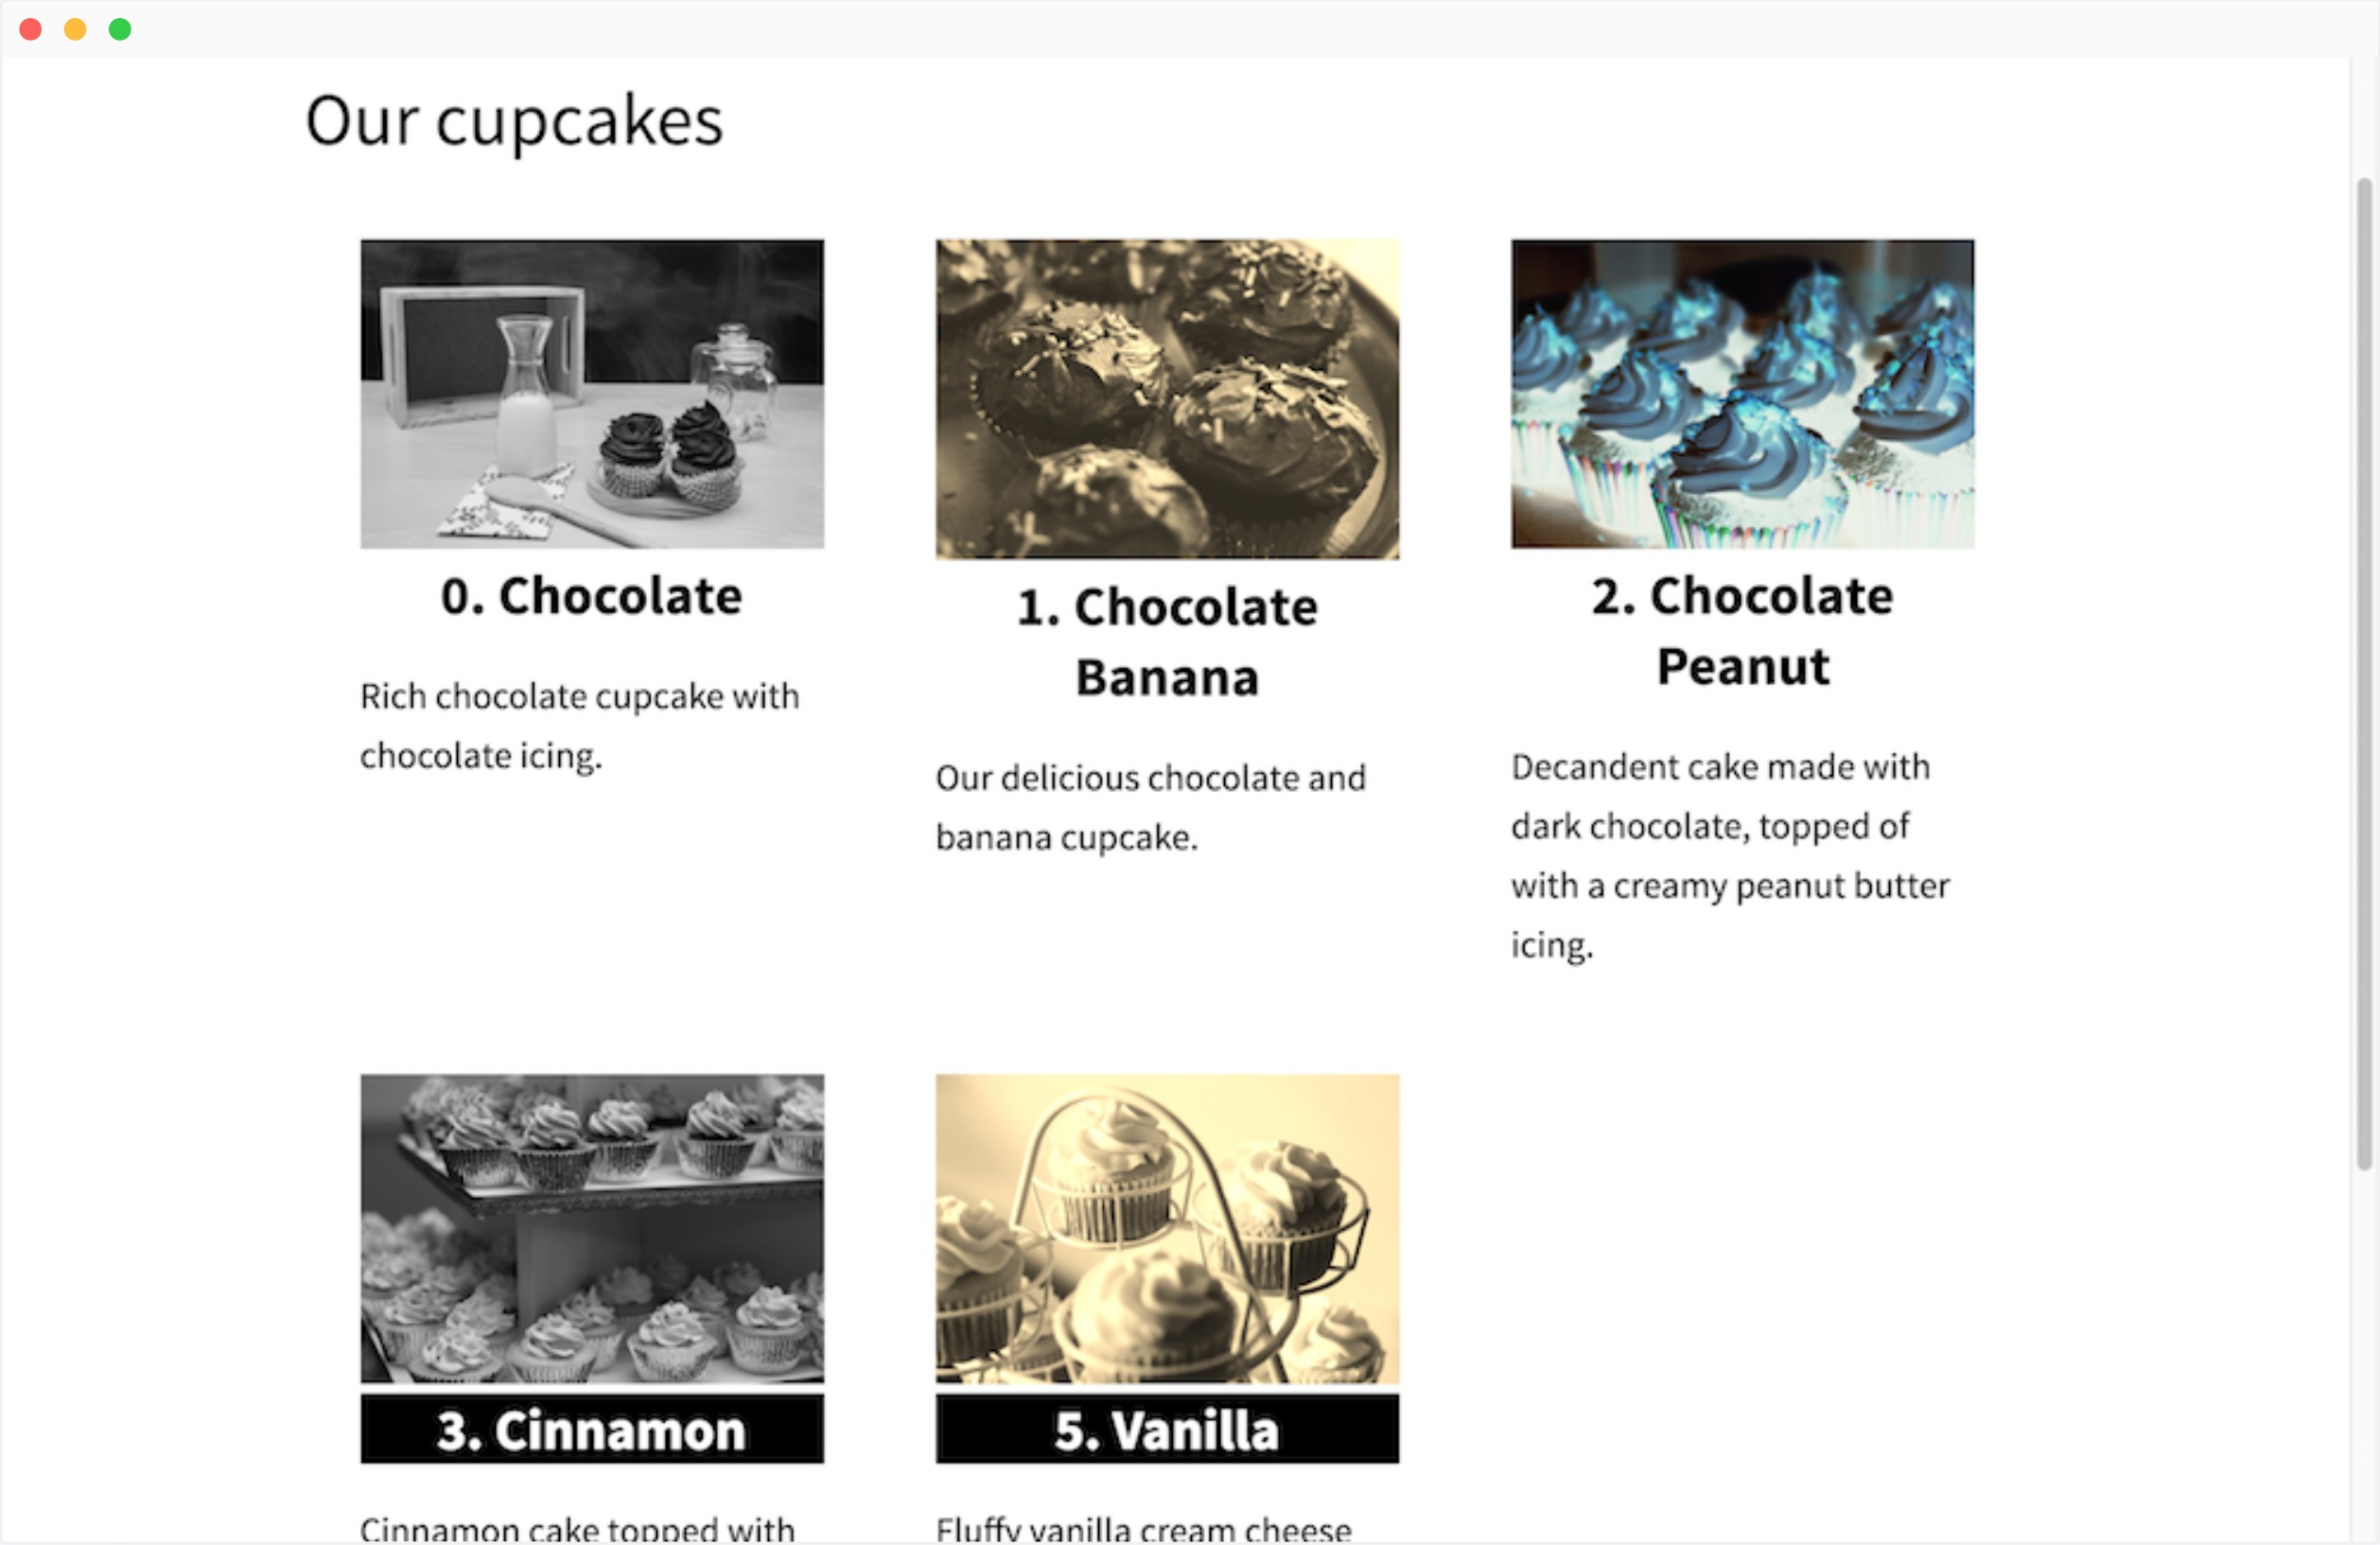
continue can be used if you want to skip straight to the next product in the loop. For example, we will skip over the Lemon cupcake:
...
{% for cupcake in site.cupcakes %}
  {% if cupcake.type == "Lemon" %}
    {% continue %}
  {% endif %}
  <div class="cupcake">
    <div class="image">
      <img src="{{ cupcake.image_path }}" alt="{{ cupcake.type }}"
        style="-webkit-filter: {% cycle "grayscale", "sepia", "invert" %}(100%)"
      />
    </div>
    <h2
      {% if forloop.rindex <= 3 %}
        style="background: black; color: white;"
      {% endif %}

      title="{{ forloop.length }} cupcakes"
    >{{ forloop.index0 }}. {{ cupcake.type }}</h2>
    <p>{{ cupcake.description }}</p>
  </div>
{% endfor %}
...
This is how the Lemon cupcake is skipped:
Option 7: Break
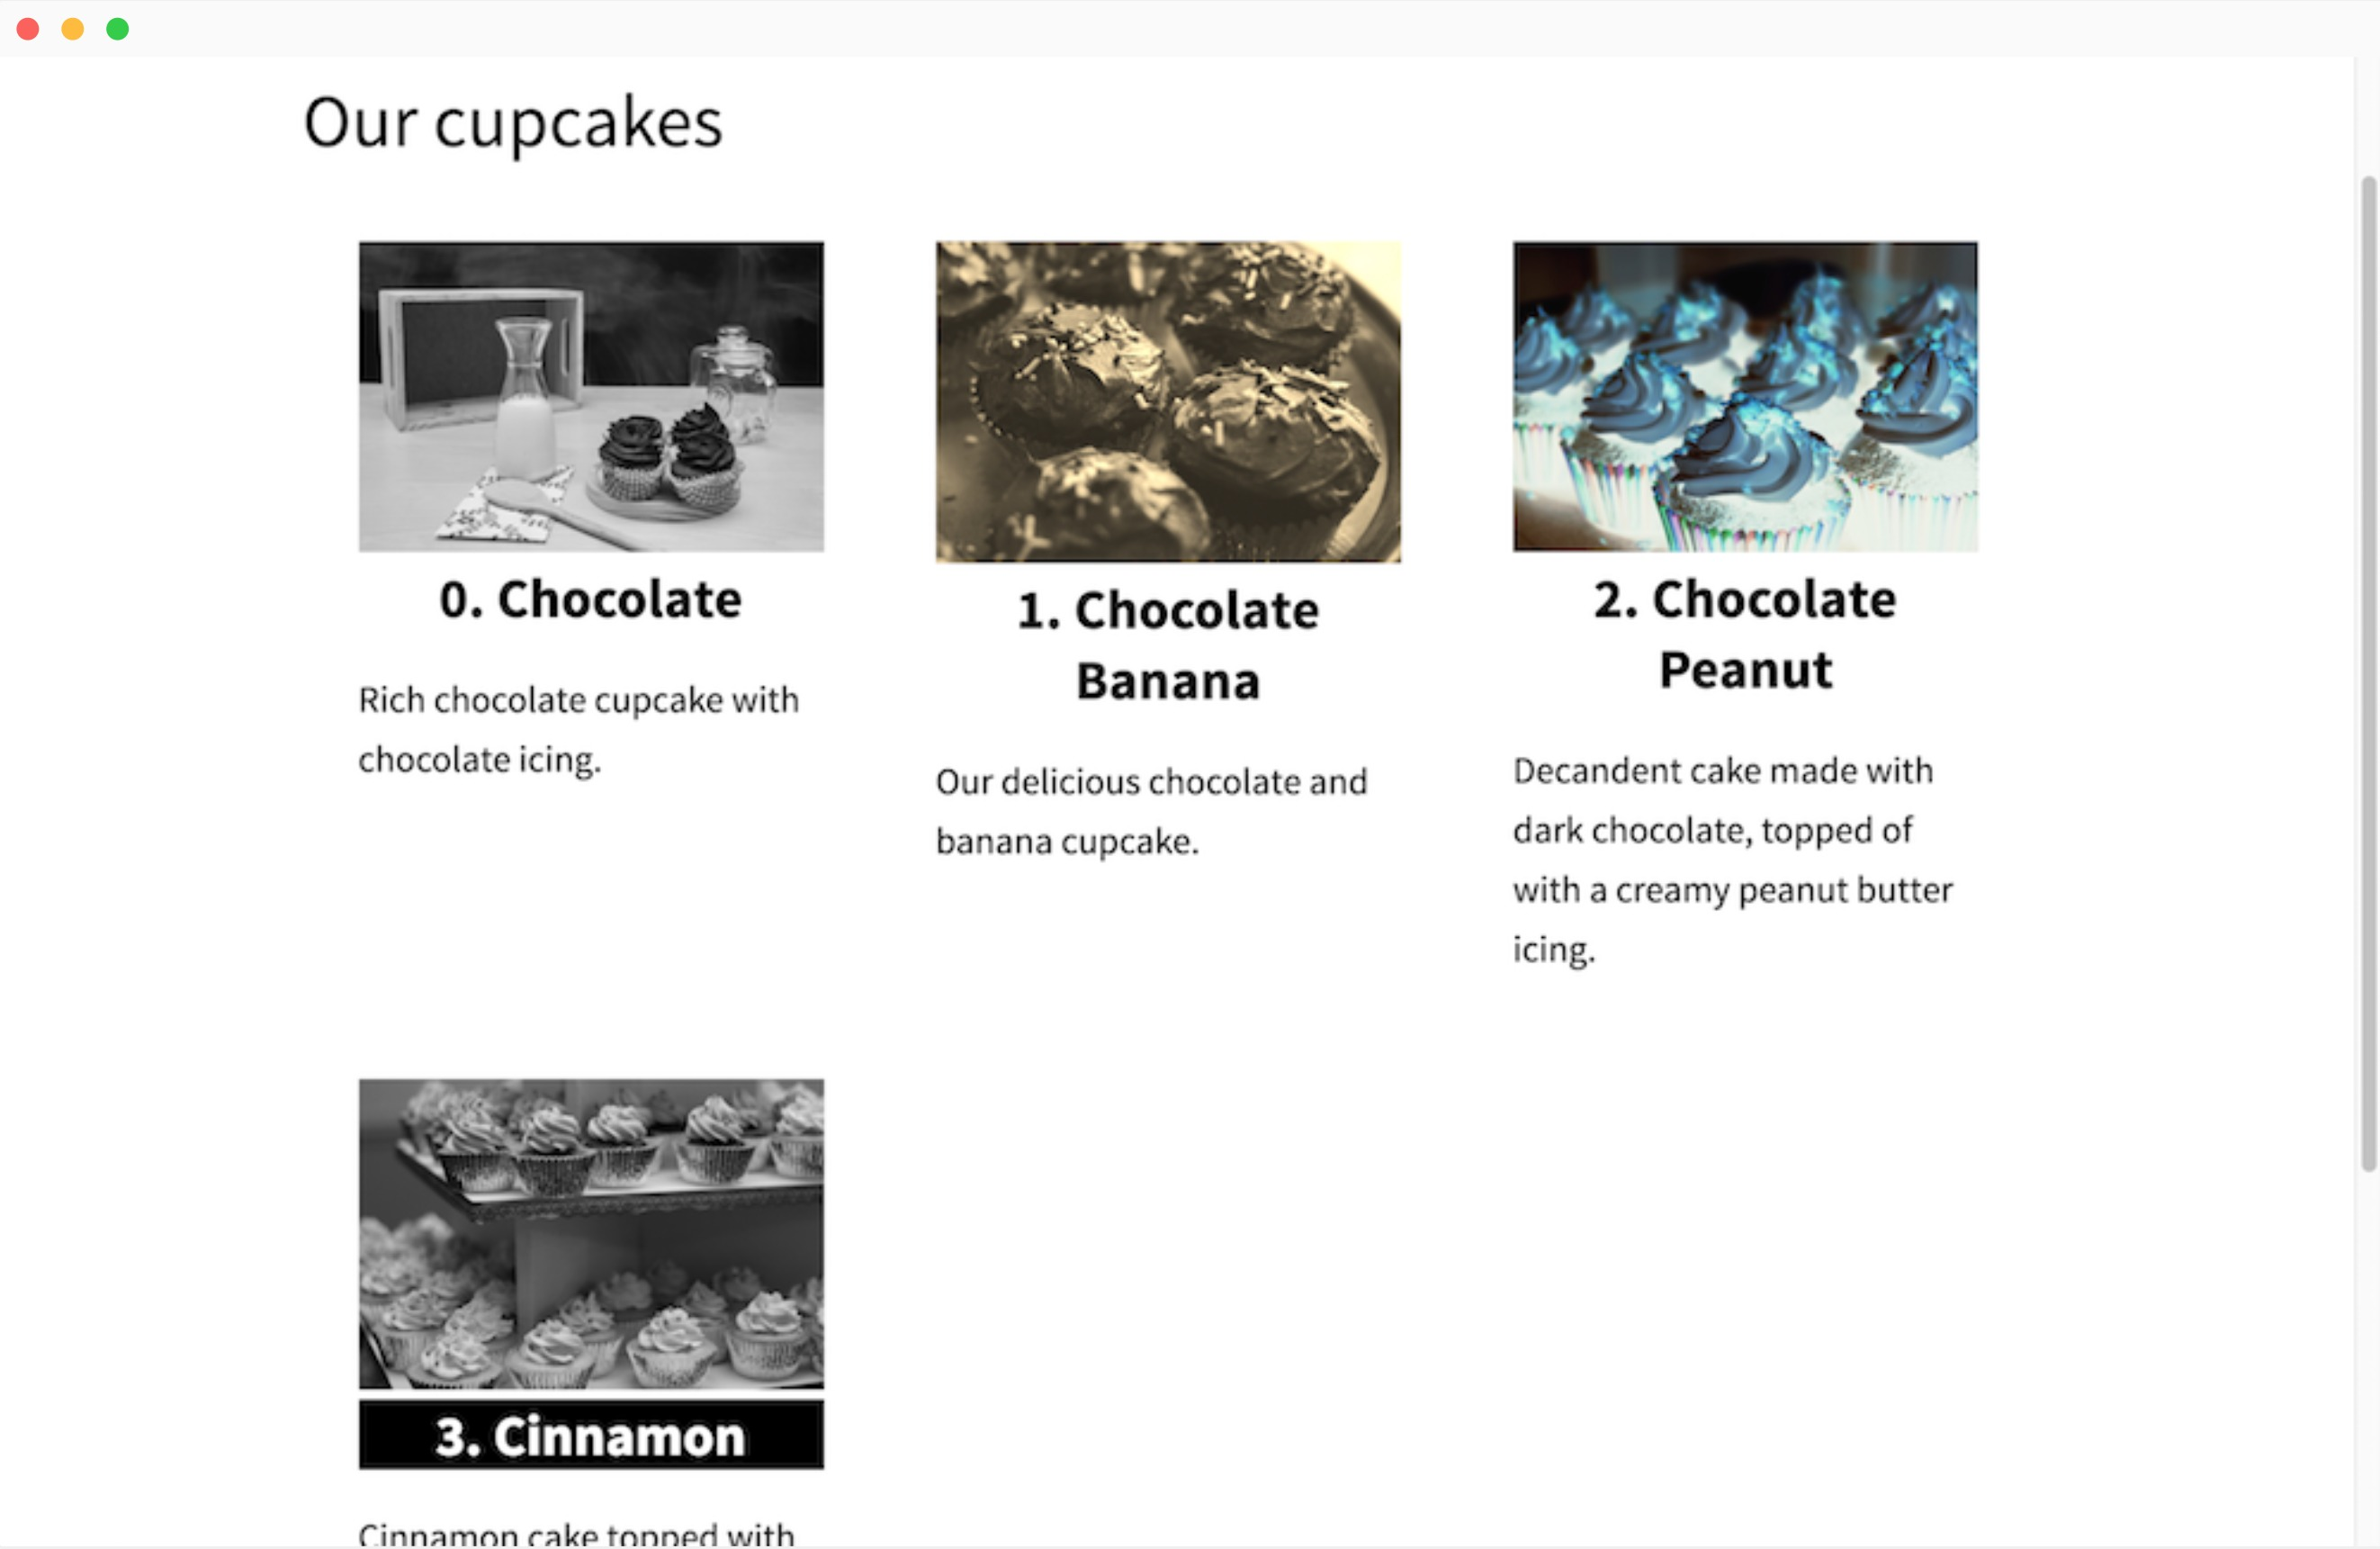
To exit the loop, you can use break. For example, we are cutting the loop when it gets to the Lemon cupcake:
...
{% for cupcake in site.cupcakes %}
  {% if cupcake.type == "Lemon" %}
    {% break %}
  {% endif %}
  <div class="cupcake">
    <div class="image">
      <img src="{{ cupcake.image_path }}" alt="{{ cupcake.type }}"
        style="-webkit-filter: {% cycle "grayscale", "sepia", "invert" %}(100%)"
      />
    </div>
    <h2
      {% if forloop.rindex <= 3 %}
        style="background: black; color: white;"
      {% endif %}

      title="{{ forloop.length }} cupcakes"
    >{{ forloop.index0 }}. {{ cupcake.type }}</h2>
    <p>{{ cupcake.description }}</p>
  </div>
{% endfor %}
...
Option 8: Reversed
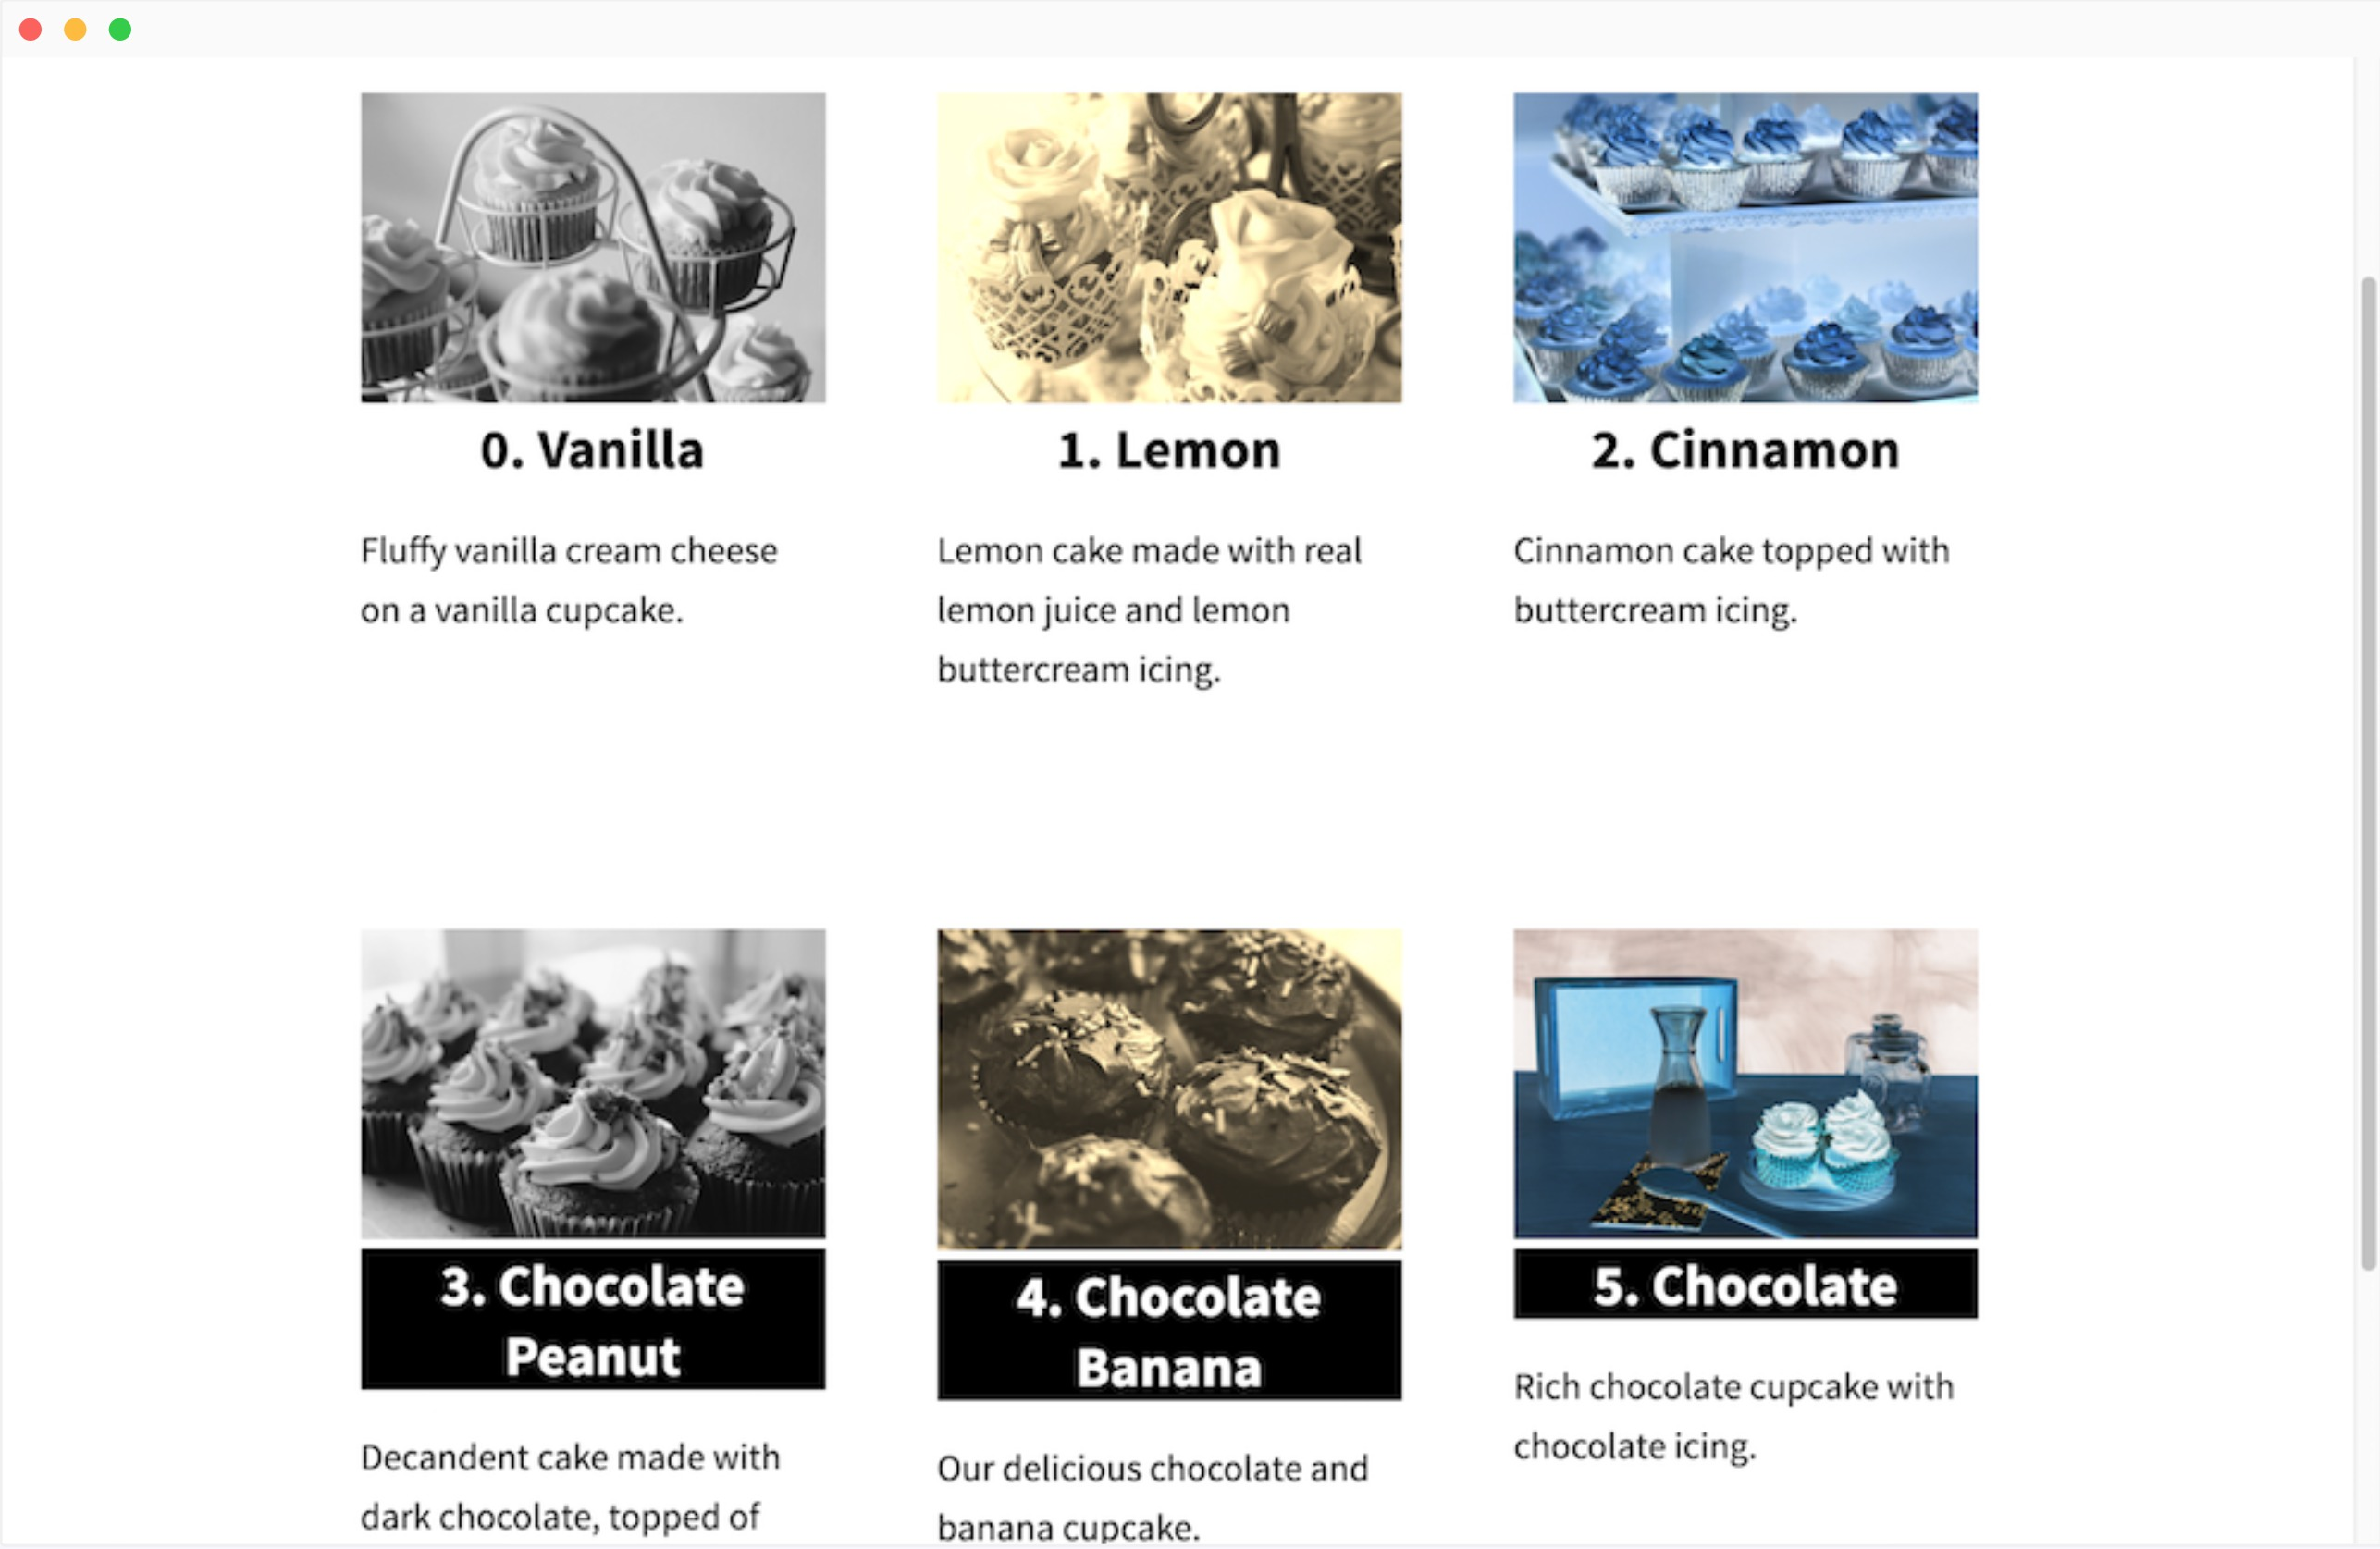
Let’s wipe out the break statement and reverse the order of the loop. This job can be done when we pass reversed to the forloop:
...
{% for cupcake in site.cupcakes reversed %}
...
Option 9: Limit and offset
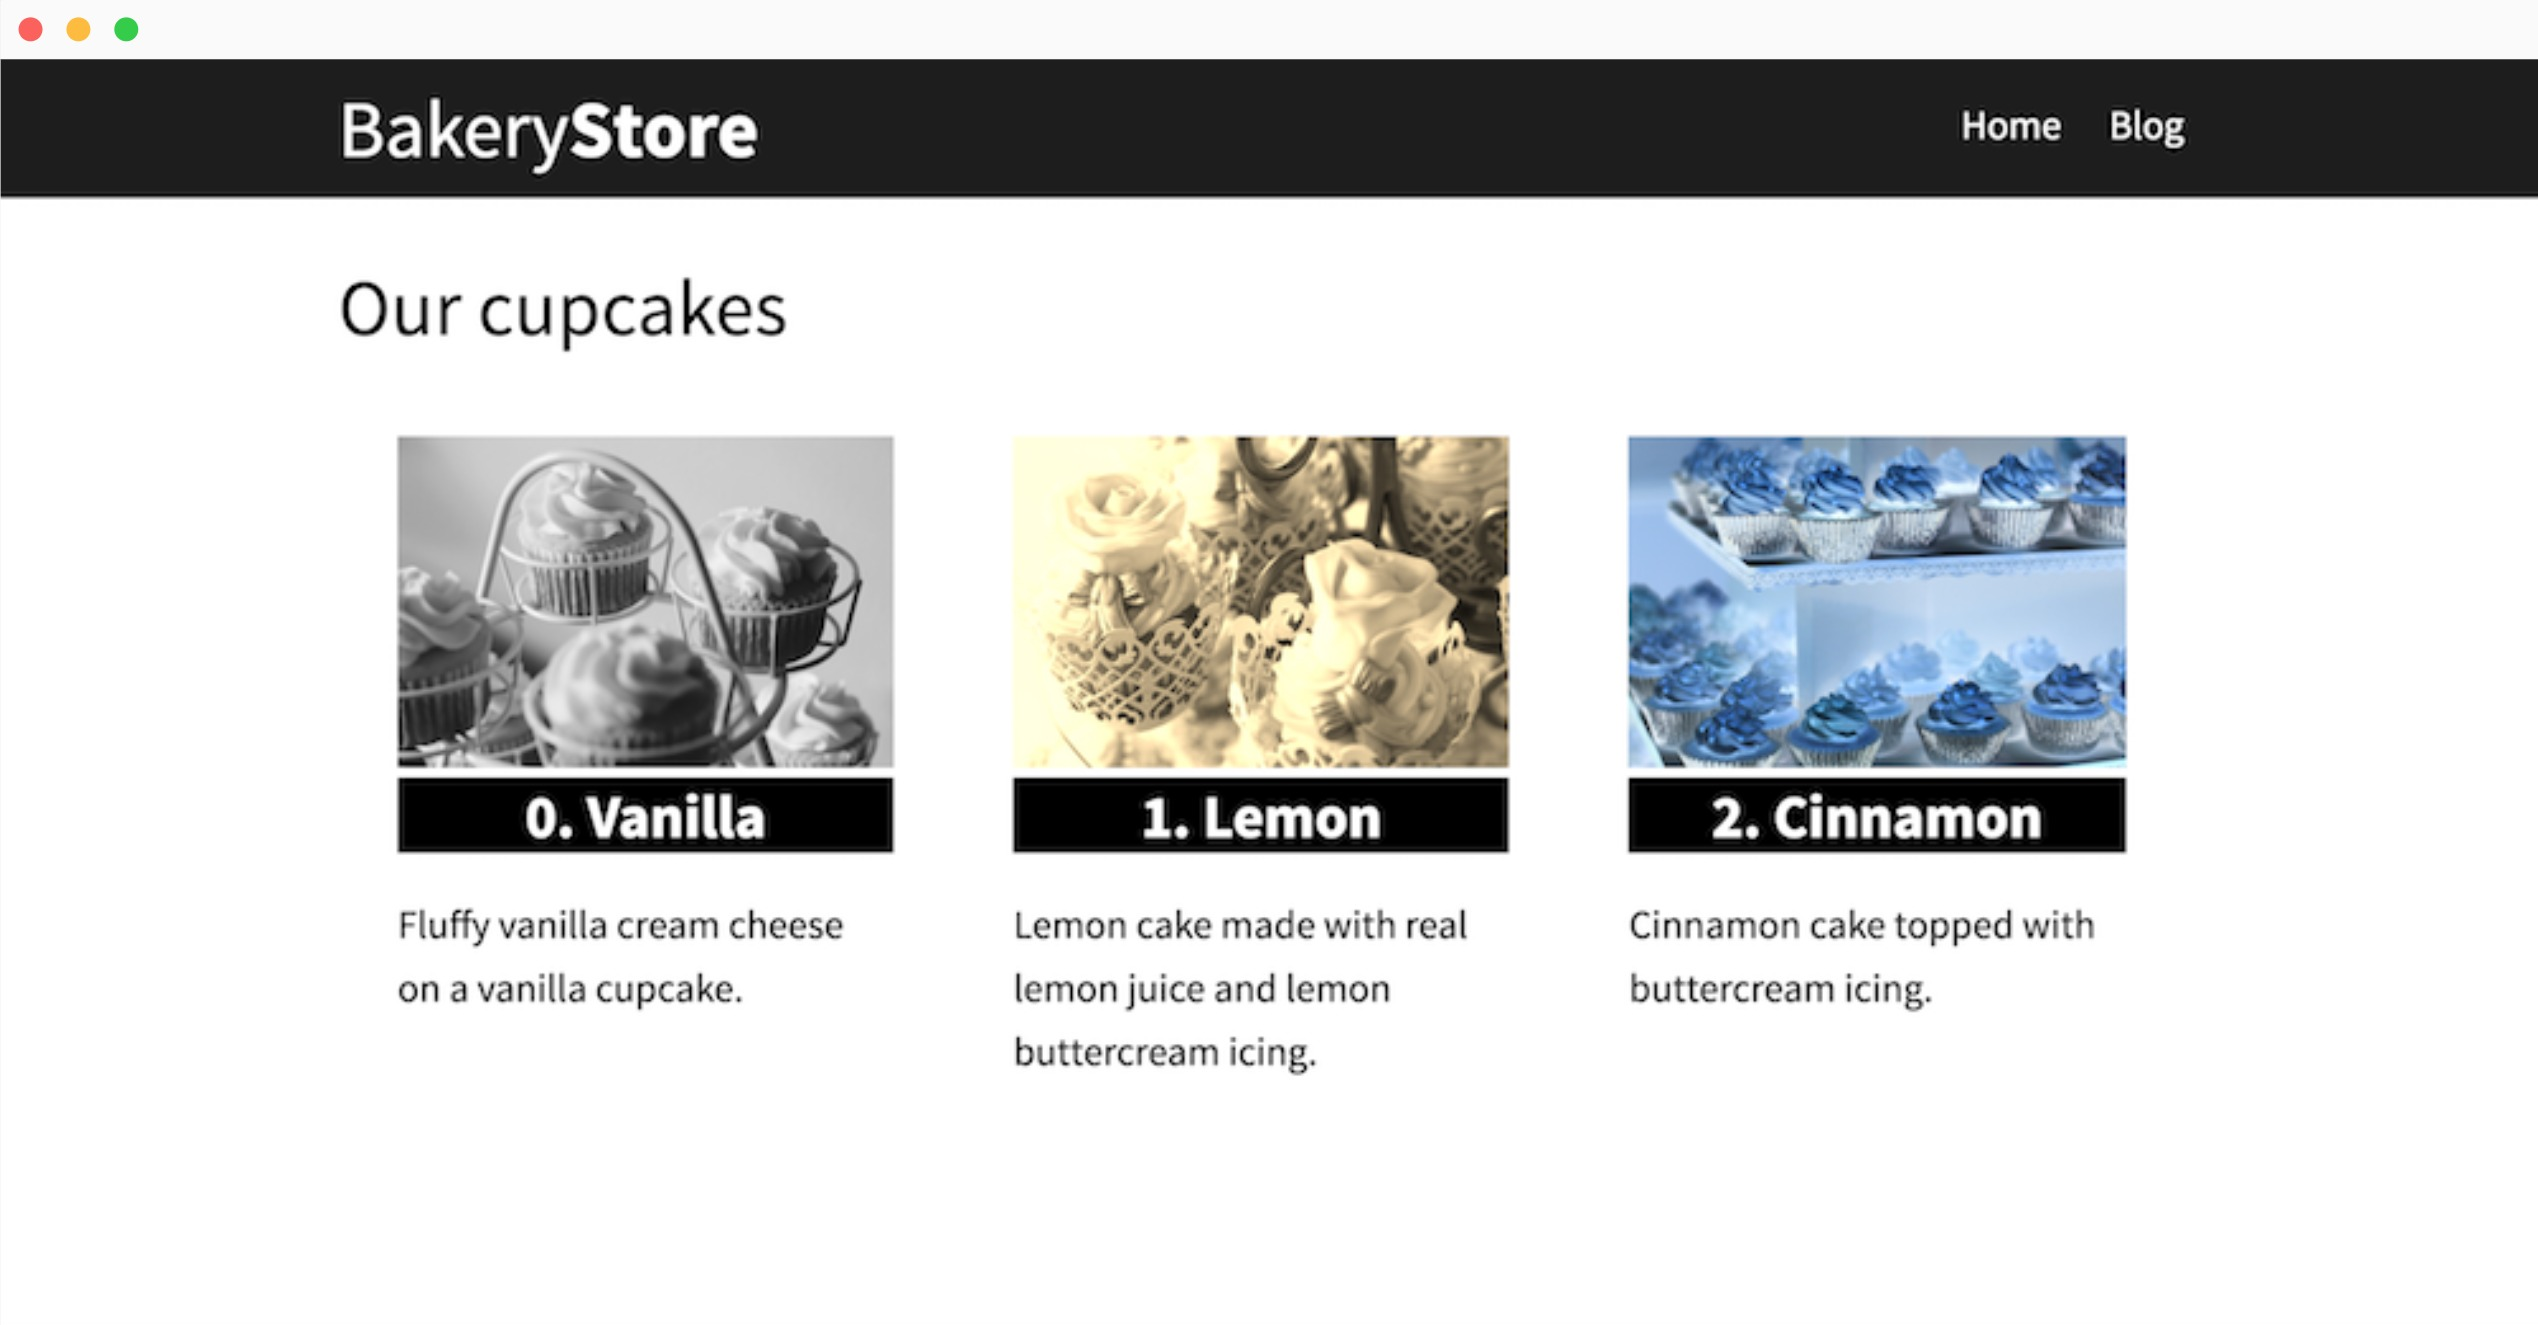
You can add a limit to a show maximum of an offset and 3 cupcakes, which could skip over a certain number of the first cupcakes:
...
{% for cupcake in site.cupcakes reversed limit: 3 offset: 3 %}
...
Option 10: Else
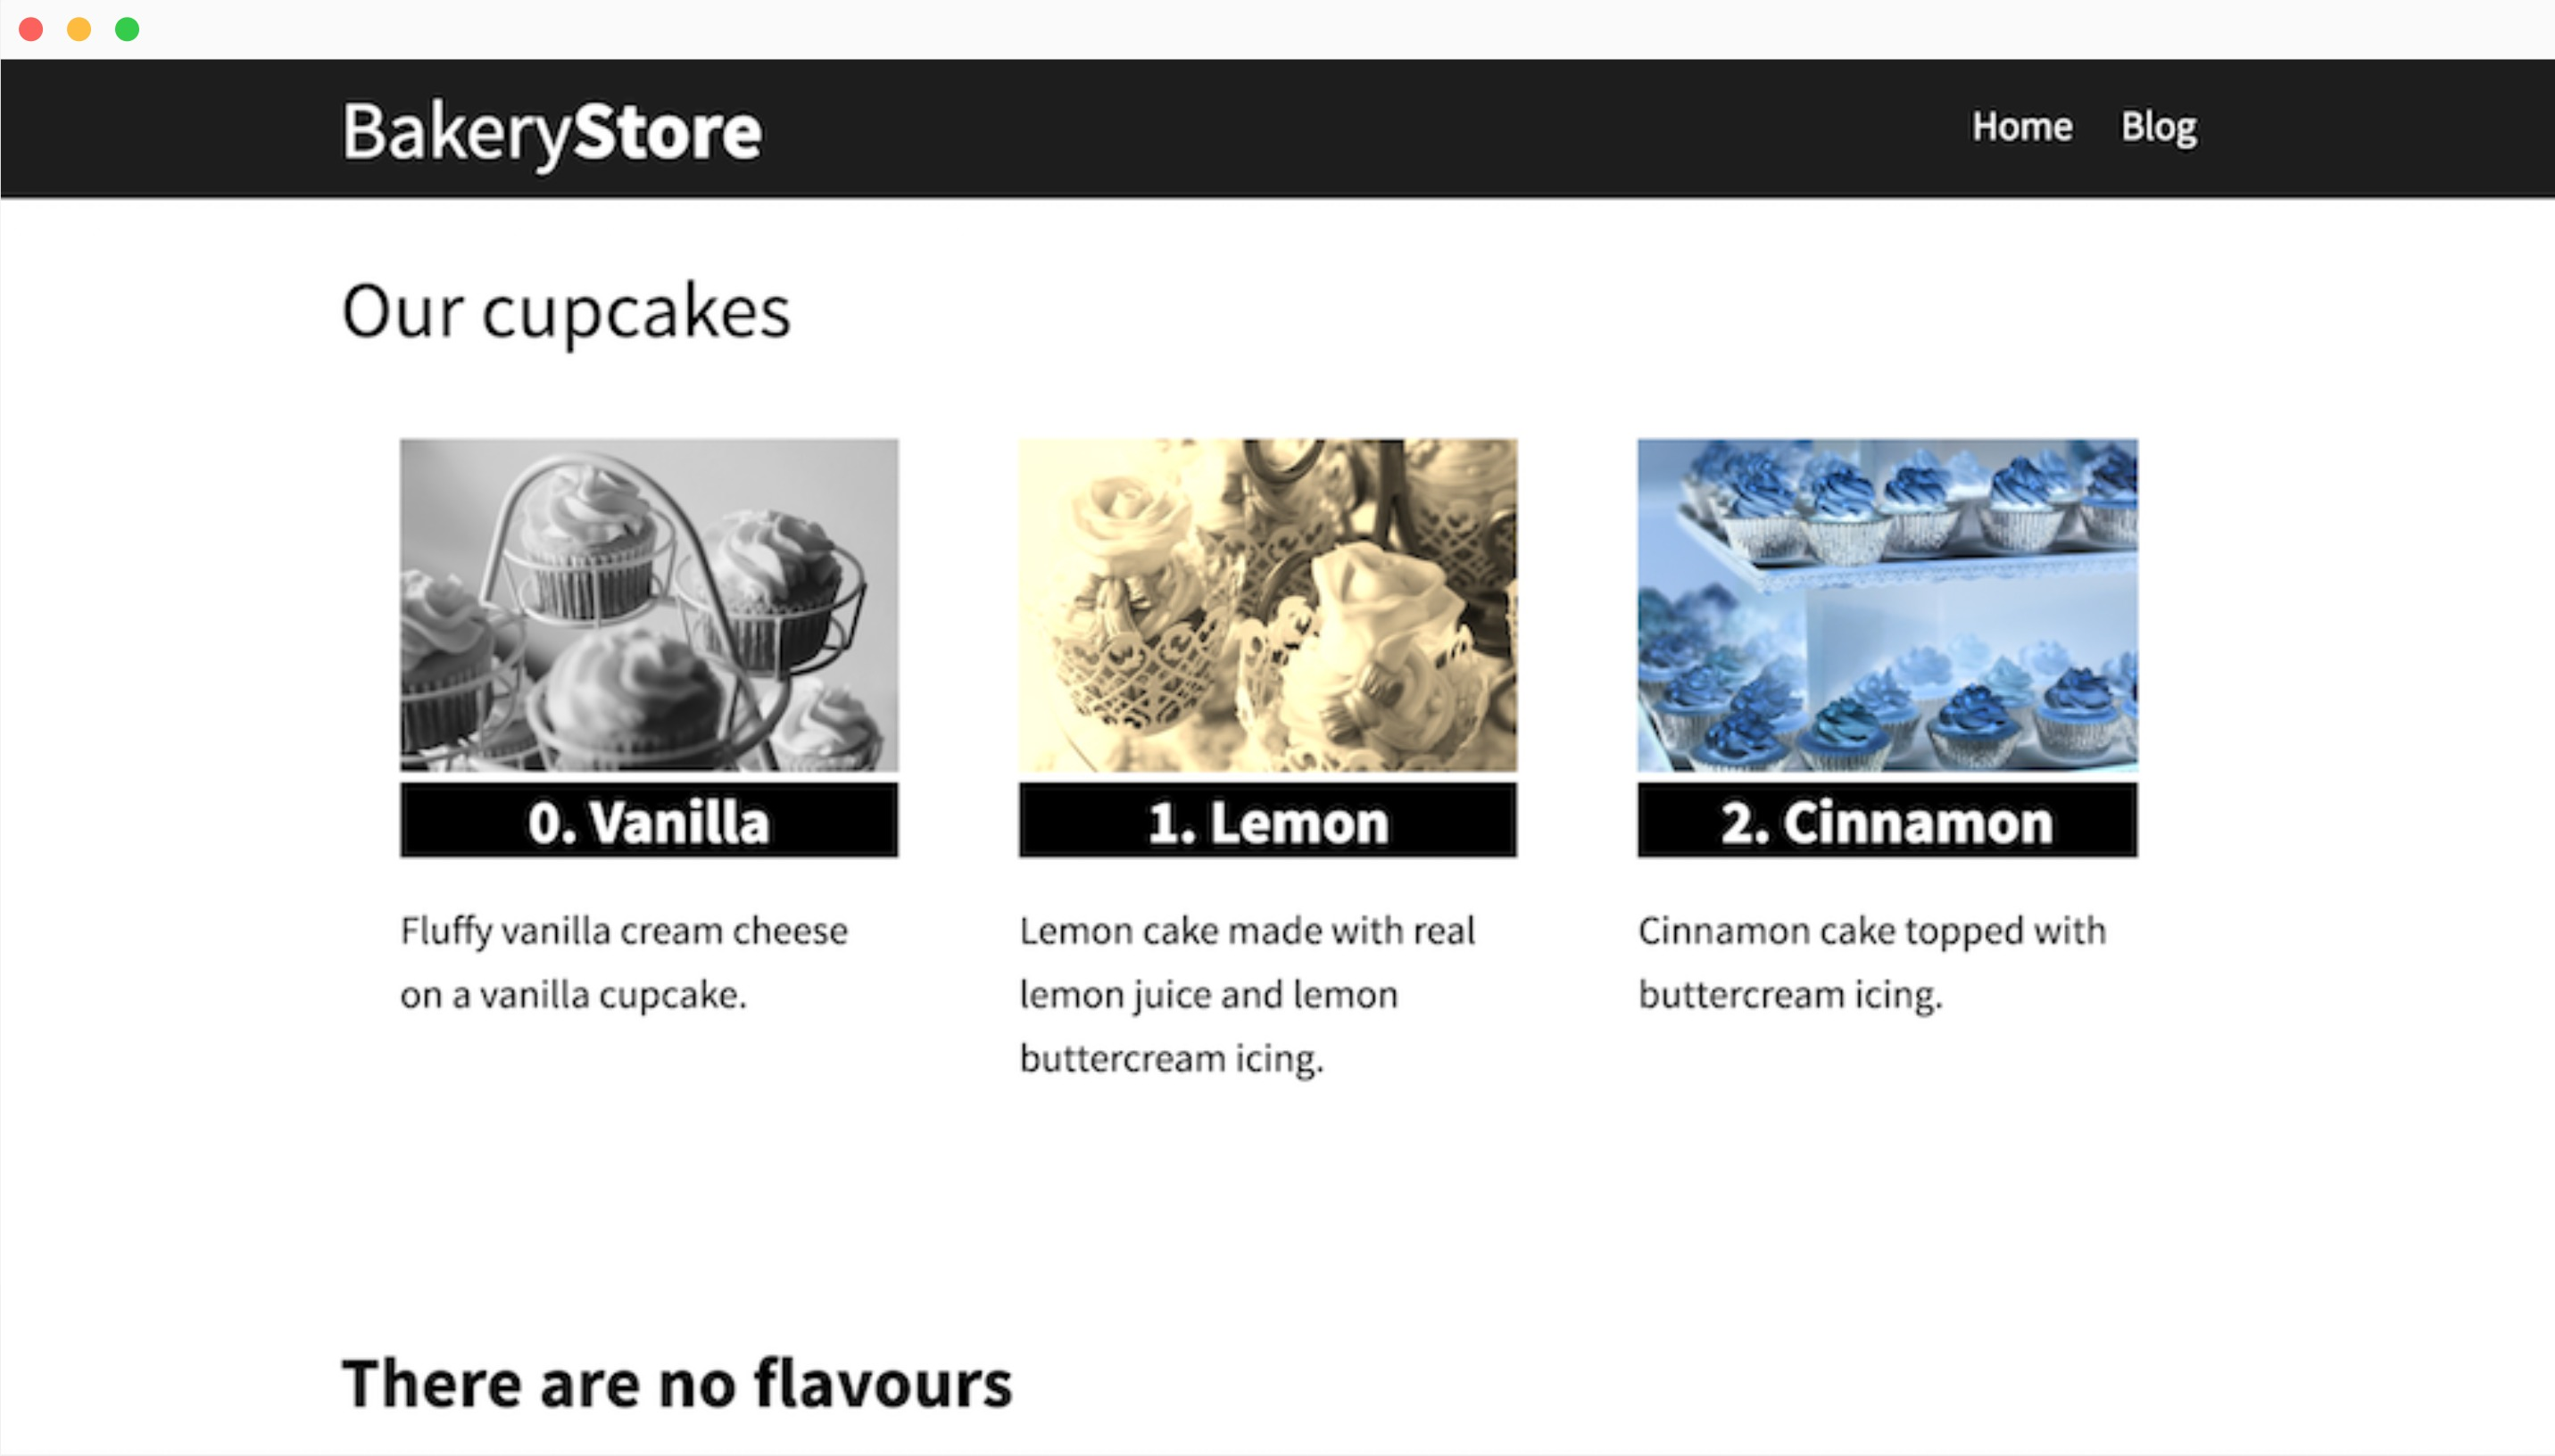
There might be a case that your array is empty. Under that curriculum, you can loop over that array and specify an else that is the case where the array is empty:
---
layout: page
title: Muffins
flavours: []
---
...
{% for flavour in page.flavours %}
  {{ flavour }}
{% else %}
  <h3>There are no flavours</h3>
{% endfor %}
...
Conclusion
We hope that this helpful instruction to know to manage if Liquid loops over the content in Shopify can help you self-answer all the queries and address the problems you are facing!


